
An Easy Way to Pin Parts while Building Models
In this Sunward Hobbies Tutorial I’ll be showing you a handy technique to increase the security of your parts attached to the model. You’ll see how easy it is to pin parts along with creative tips to give your project a more animated real-life look.
All the materials and supplies used in this Sunward Hobbies article (unless otherwise stated) came from the store. Nothing special was used and the techniques can be replicated by almost everyone.
Pinning certain parts adds a tremendous amount of resistance to breaking from shear forces. Parts with small connection points are at risk of being snapped off when bumped. The direct benefit to you is the piece of mind knowing that many of your delicate parts will stay put. You’ll be able to work with more ease and quicker.
Now let’s grab some necessary items from the store and have some fun.
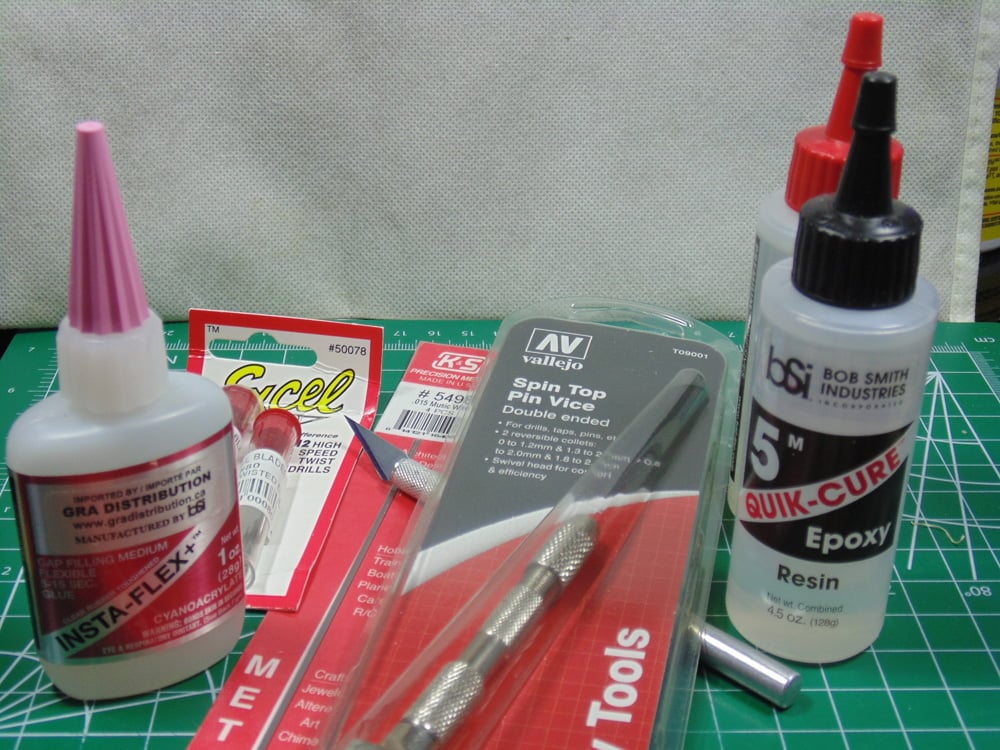
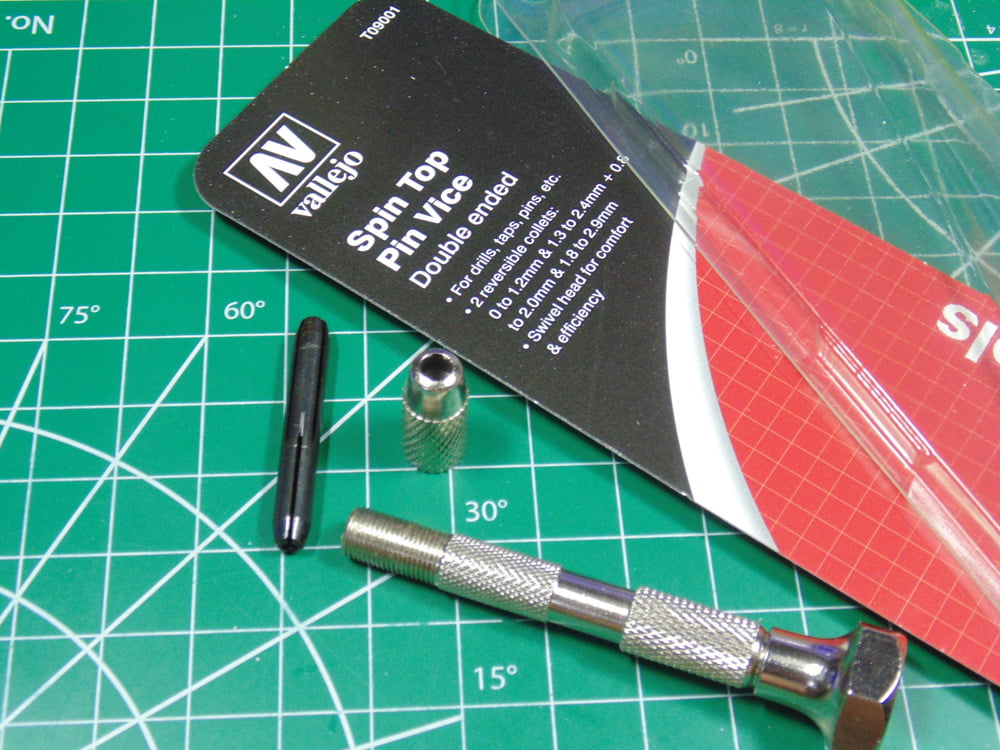
In the first example I’m going to combine a current project with the tutorial. It’s a real-life work in progress and a very important one. This project has an incredible amount of pinning throughout, thus the tool which is most used is a decent pin vice. I’ve bought, and lamented those lost dollars, cheap Asian pin vices only to throw them away. Please consider buying a good quality one, such as this Vallejo Spin Top Pin Vice. It turns smoothly without grinding, has a double ended collet and has a good feel in my hand.
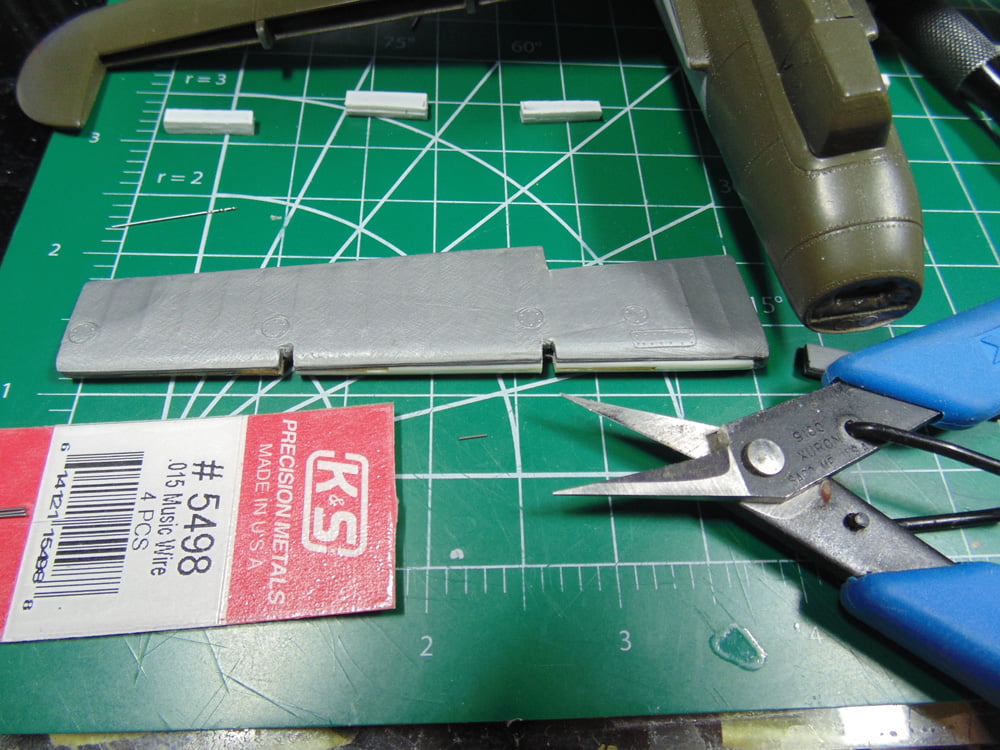
The project is a highly detailed 1/48 Revell B-17F, the very same one you can pick up at the store. I’m preparing the elevators to be pinned, but in a specific way. You can easily do the same “plug and pin” in very little time. You’ll need Evergreen Scale Model Styrene or Plastruct Styrene card stock and your choice of K and S Precision Metal, in this case .015” music wire.
This B-17 Flying Fortress is the most detailed example in the world and after the client brings it to many IPMS shows it will have a permanent home in the largest air force base in the USA. It’s vital that every detail be exact. I’ve already sawed the trim tabs free and now they get pinned in at a slight angle.
The K&S laminated product card does a great job holding the spares in place, so it’s easy to snip off the needed length. I use my Xuron photo etch cutters here because they give a super clean edge, making the pin slip into the hole with minimal struggle.
Here I’ve drilled a 0.4mm hole in the elevator, added my pin and am using the end to mark where my hole should be on the trim tab. Here’s a tip, put a dab of paint on the end of the pin to see the location easily. Once test fitted the pin gets a dab of BSI CA glue and inserted, obviously doing one end at a time.
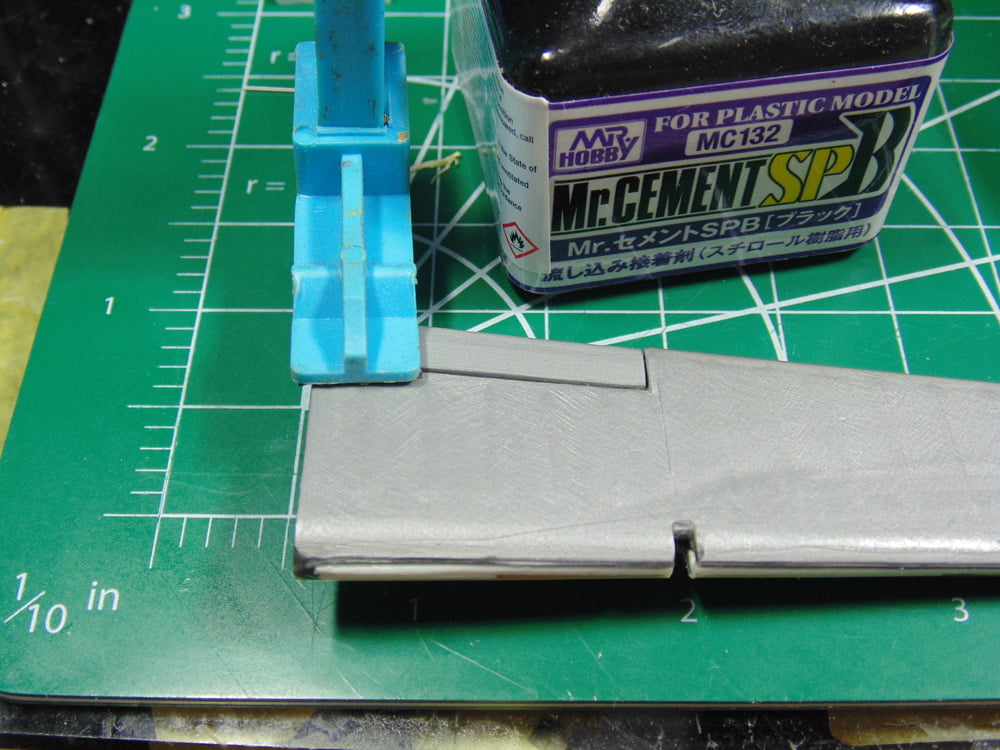
Now that the trim tab is at a slightly different angle it looks like a separate component and can be cemented and clamped. The pin has taken a huge amount of stress off the cement and will hold it solid despite the numerous times it will be handled in the future.
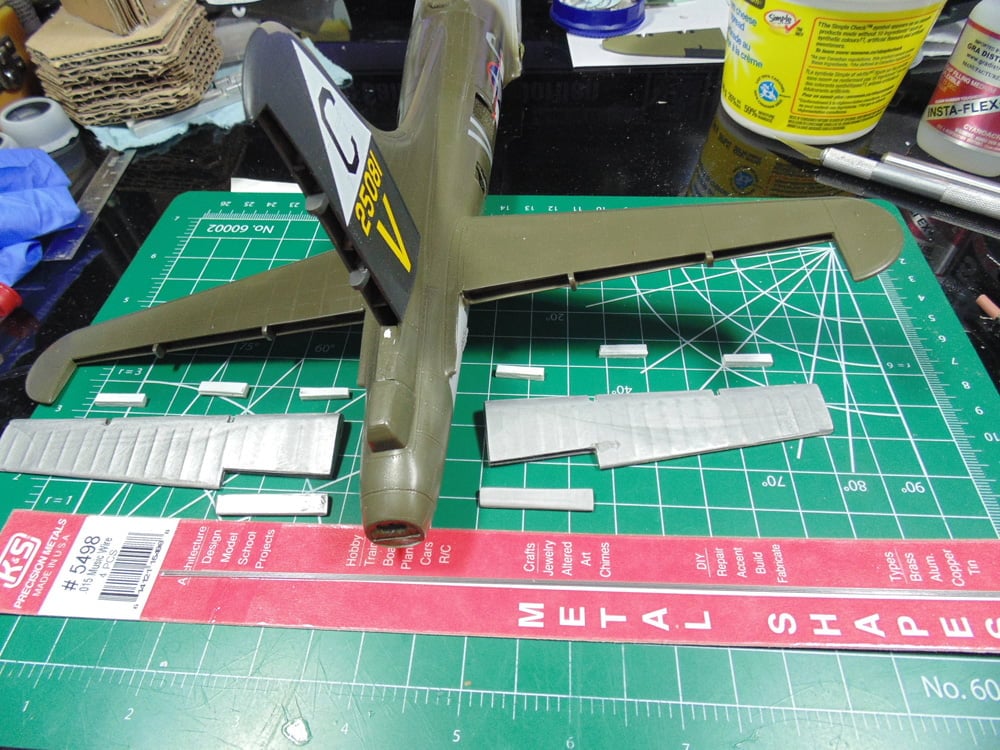
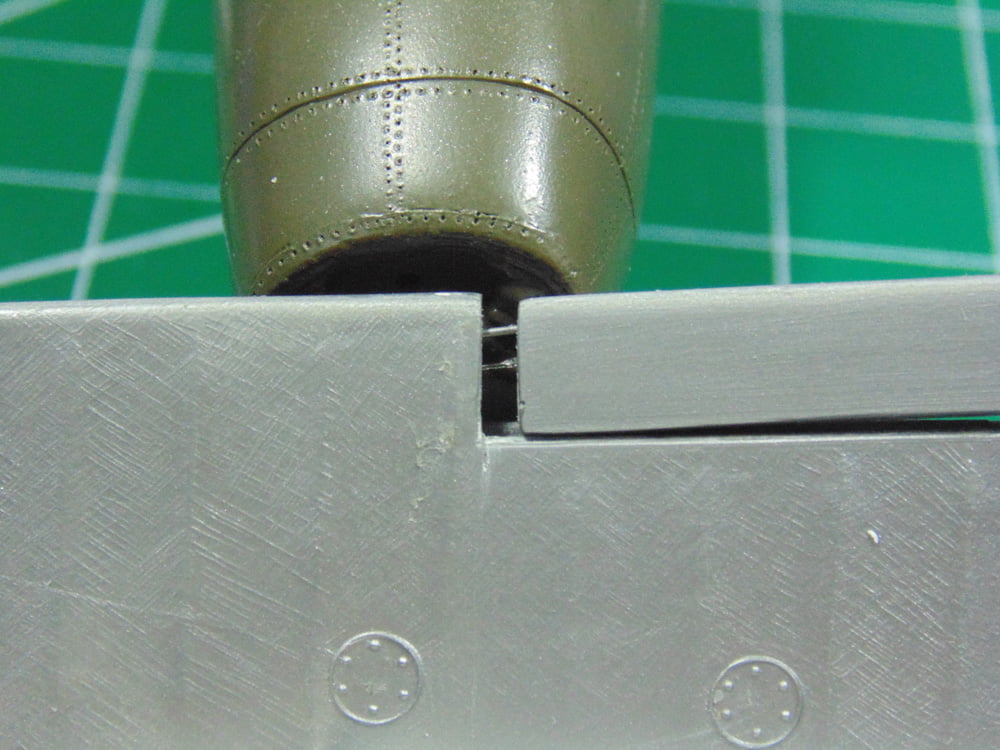
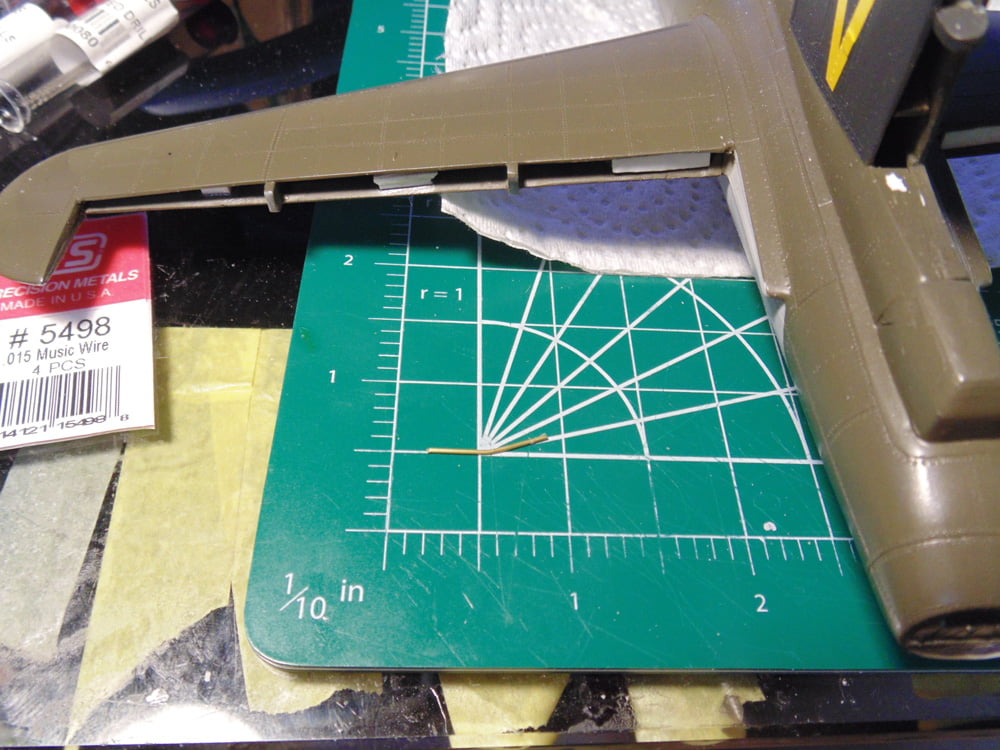
The elevators need to be at 15 degrees drop, as they would on the ground. This meant cutting them free from the original Revell stabilizer parts and leaving me with very few connection points, a disaster waiting to happen.

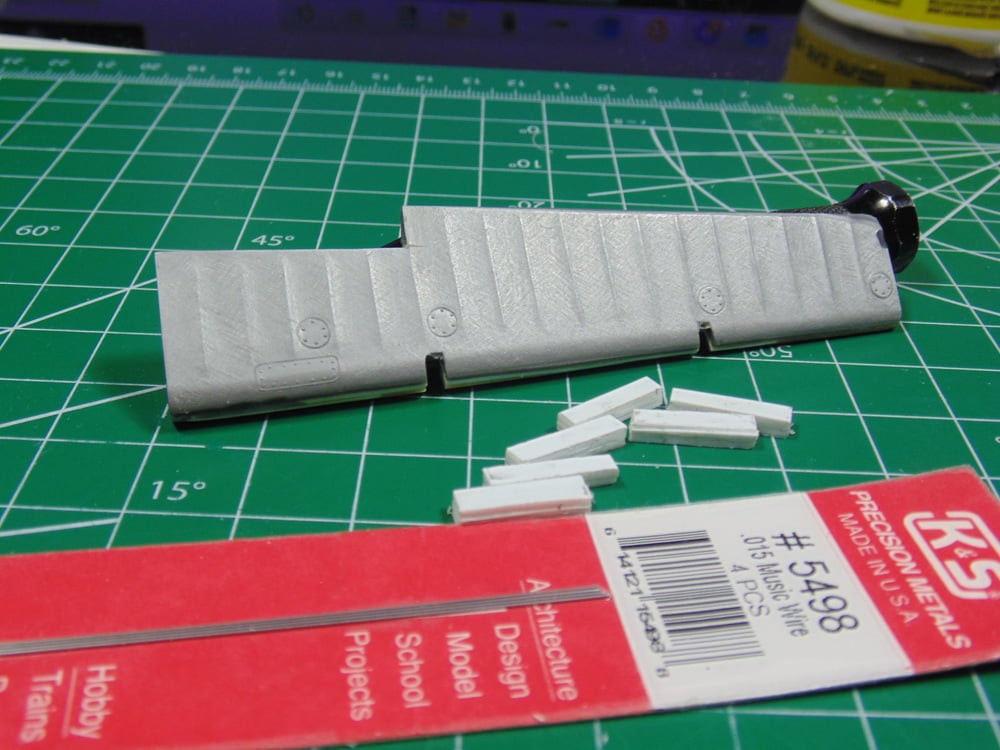
This is where the plugs come into play. The styrene plugs, in the case Plastruct, are no more than laminated 1mm cemented strips cut to shape to fill the gap. The plugs also add needed support that was lost from cutting them away.
So, let’s do a simple tutorial. The long rectangle is the 2mm thick plug and the square represents the elevator. The actual completed parts will be joined later, but don’t worry I’ve got a finished model to show you later. I’ve drilled my holes on both parts to a specific depth, after test fitting to find the proper location as I did with the trim tab.
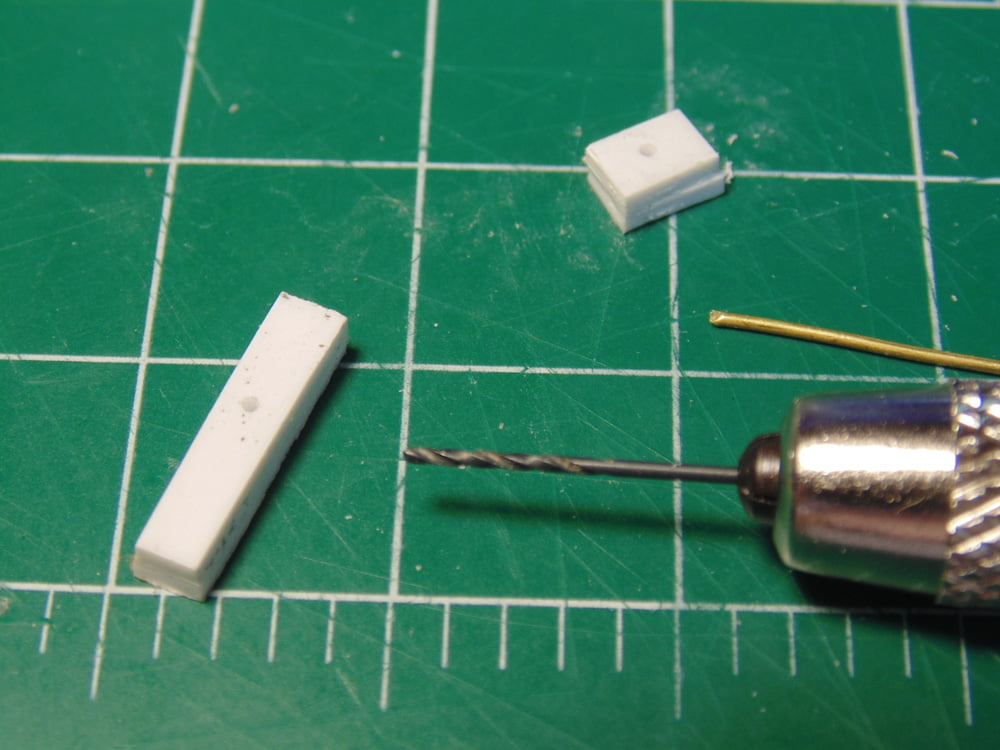
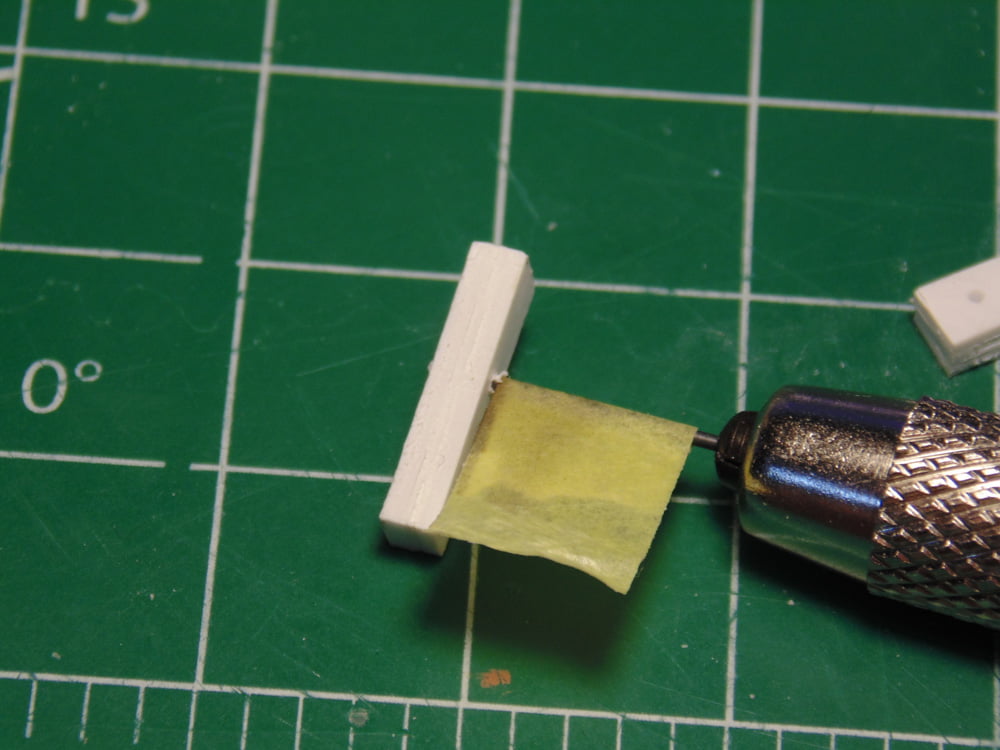
Here’s another tip, if you don’t want to go past your needed depth, measure it out on the drill bit and add a bit of masking tape as a stopping point. You should not have the pin go all the way through because down the road it might get annoyingly knocked in even deeper. Sunward Hobbies have an excellent selection of drill bits both in single and sets. The amount of time you’ll save with sharp high quality drill bits, like this set of 20 from Excel Hobby, is enormous.
Now I need to get the correct 15-degree angle. This K&S brass rod will be cut down later, but having it this long makes for an easier adjustment. The extra bits get used to pin something else… waste not want not, right? The Excel cutting mat has an angle finder and since brass is a softer metal it makes getting the right shape a cinch. This saves a good amount of time considering I have to make 6 exact shaped pins.
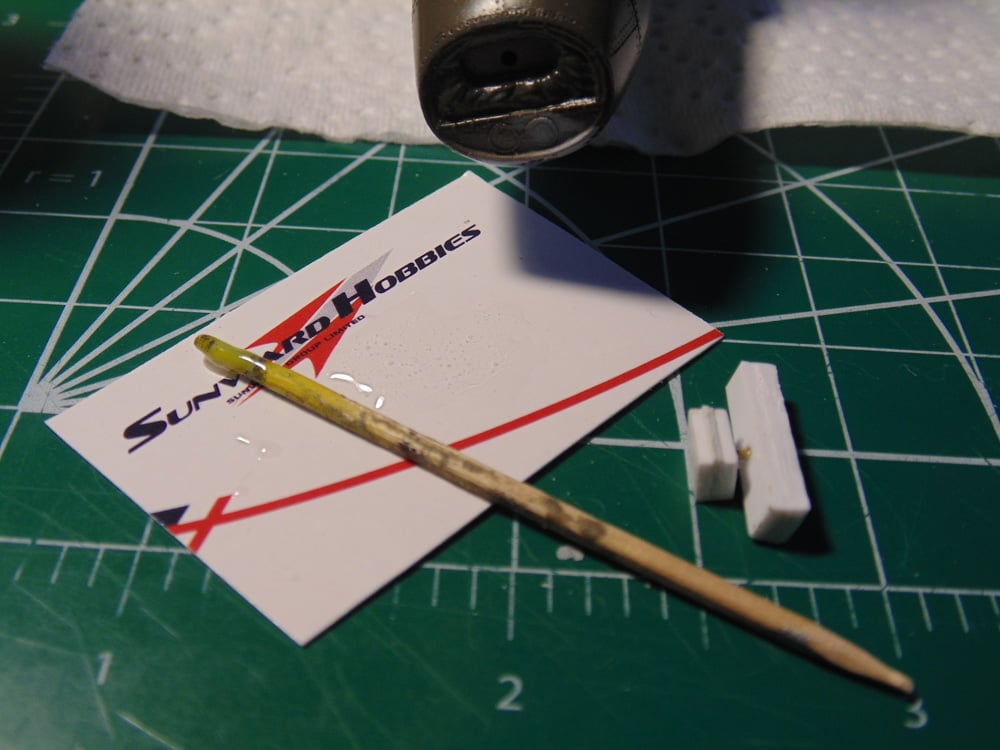
If given the choice of which glue to use it will always be epoxy resin. Because of the slower drying or curing time it gets into all the tiny drill lines and scratches you make in your metal to form a stronger bond. That said, it has to have a place to go. Using a slightly larger drill bit than the pin really helps. You’ll also have time to move the pin into its final location. Here’s a tip, don’t throw out your Sunward Hobbies Thank You cards. Cut them up, they make great pallets for BSI mixing epoxy (toothpick not purchased from the store).
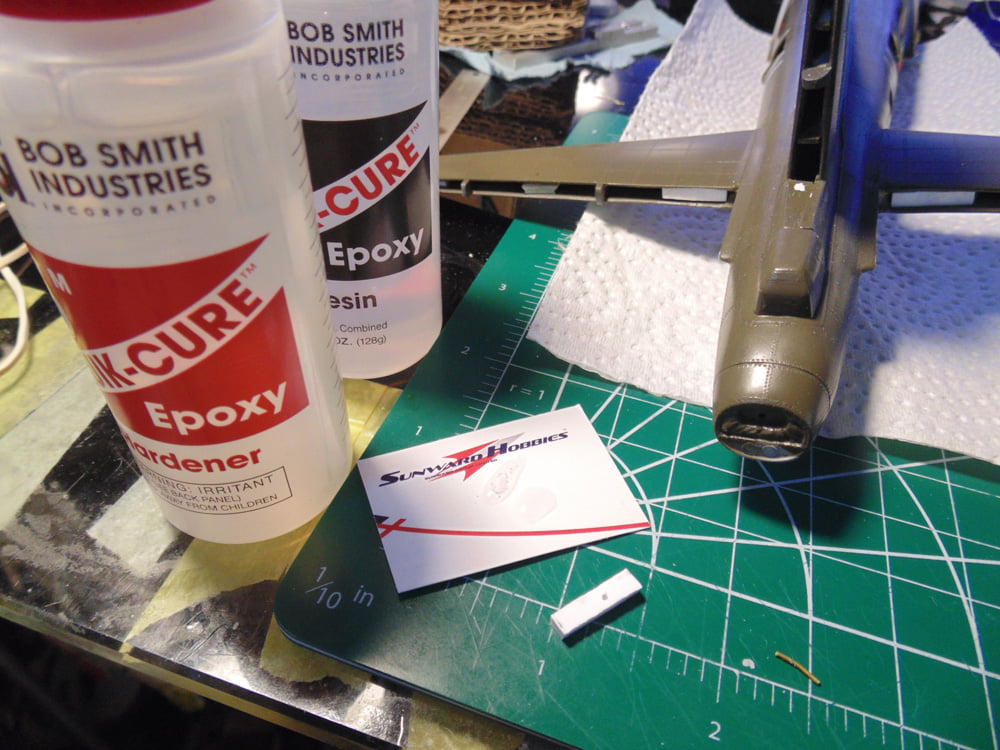
After a tiny dab of the epoxy on each end of the pin the parts went together. The longer you stir the resin and hardener the quicker it sets up. As you can see the white square is at a slightly different angle to the rectangle. I make it sound easy because it is. No special tricks other than what you’ve seen.
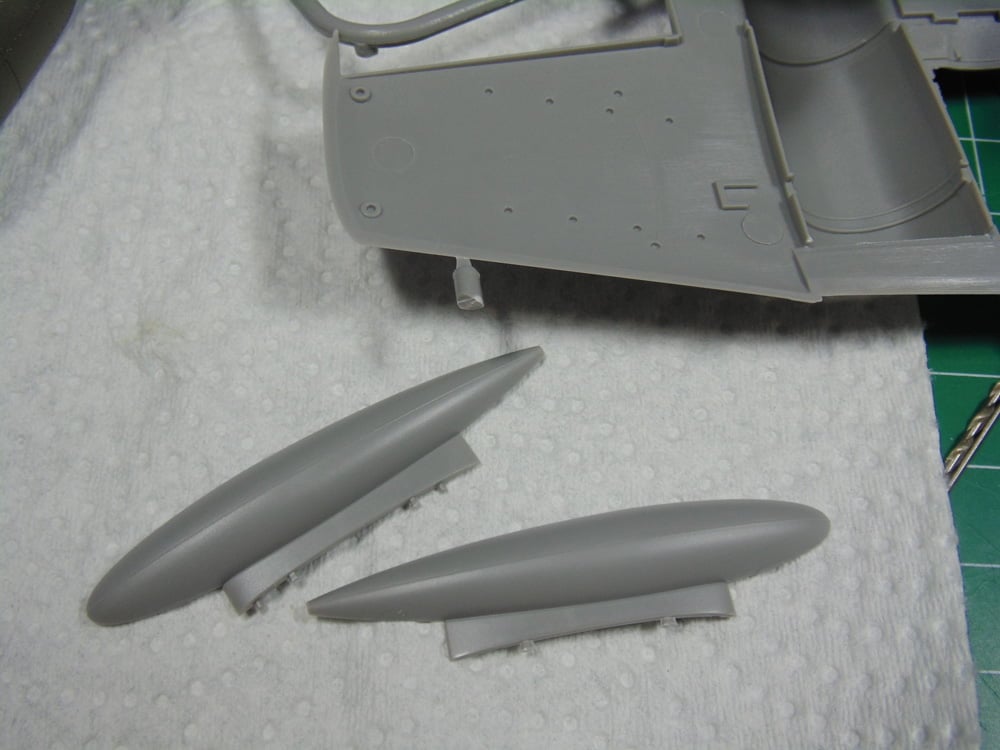
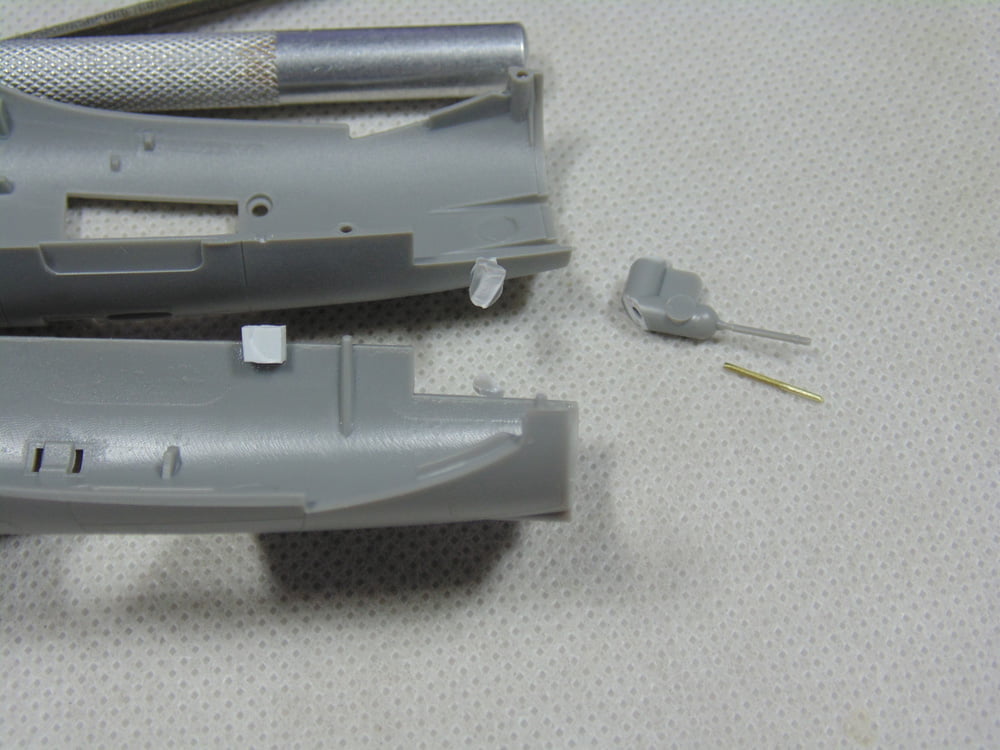
Let’s look at a few more ways and situations you could use a pin or two. This is a section of a 1/48 Airfix Gloster Meteor FR.9, which looks like a dynamite kit. Some of the most common parts to get knocked off of models are grab handles, fuel tanks, missile racks, antenna and pitot tubes. There are many more, but you get the idea. In this case it’s the fuel tanks because the connection points are only two tiny plastic pins. Bear in mind, these delicate bits get put on after the model is painted and decals applied. Sure, you could run the risk of scratching an unseen spot to get more cement bite, but that risks a mishap and adding more cement could damage the finish nearby.
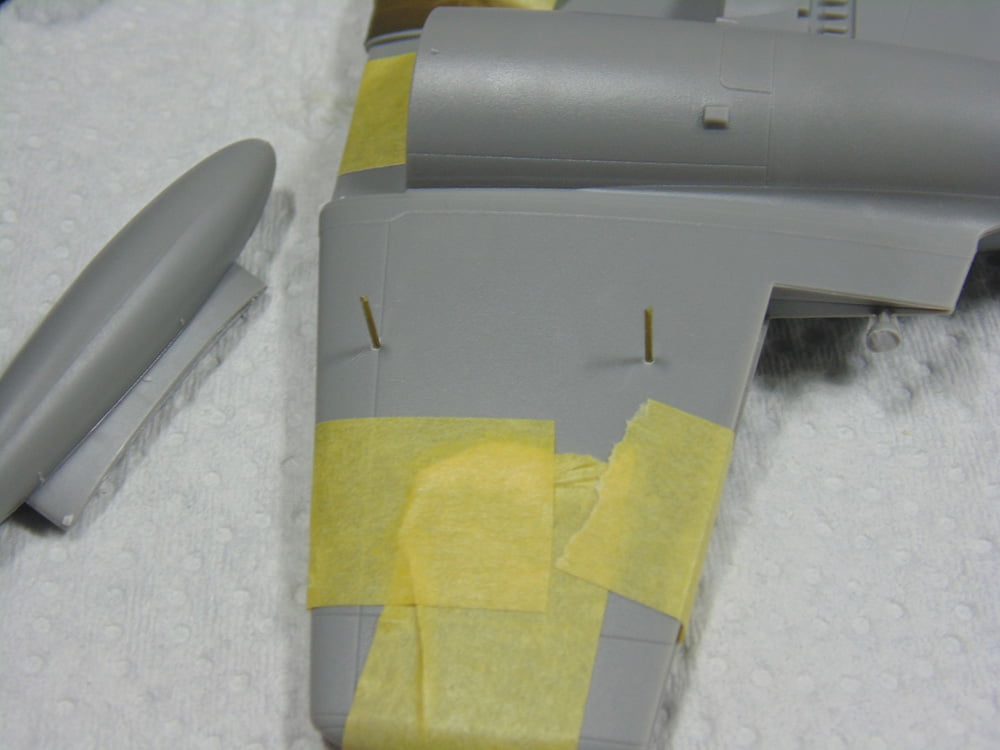
Try this, since your location holes have already been drilled, insert longer rods and remove the plastic connection pins on the tank racks. Drill out where those plastic tabs were so the length of the rod goes all the way to the bottom of the part. Now your rods are touching the upper wing part through the lower and all the way through the middle of the tank.
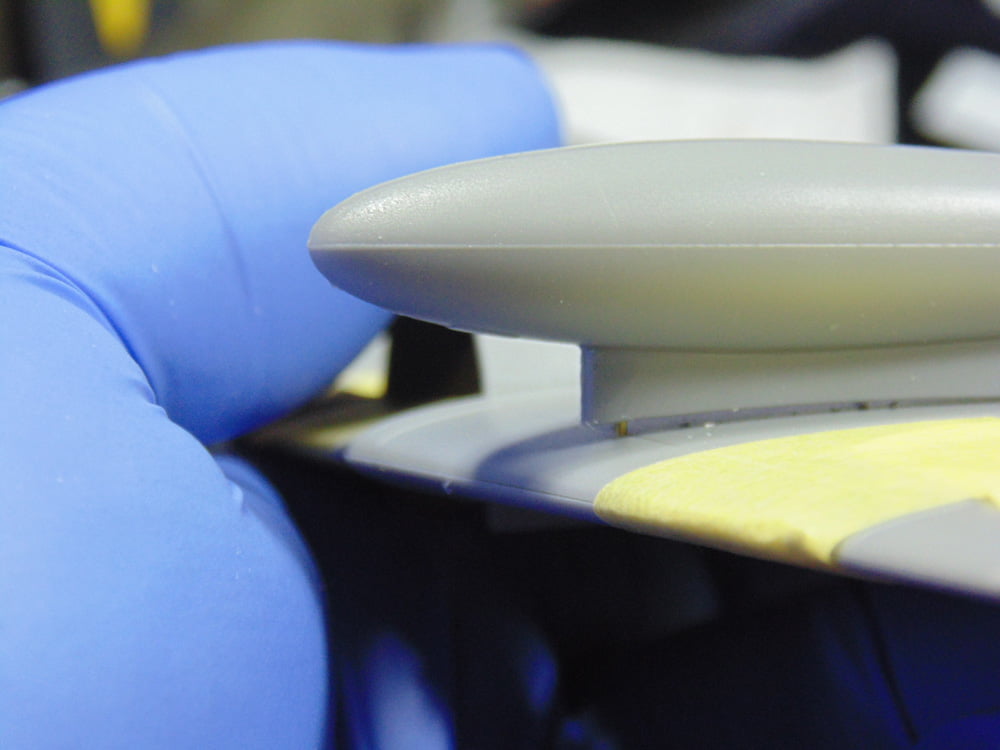
Once you’re happy with the length being correct you add a small dab of epoxy to the end and slide one in. Wait to make certain the epoxy has held, if not simply try again then repeat this with the tanks. You can also add a bit of epoxy to the unseen area of the Tank’s rack for and even stronger hold. Again, make sure the ends of the rod are scuffed up for a better bite.
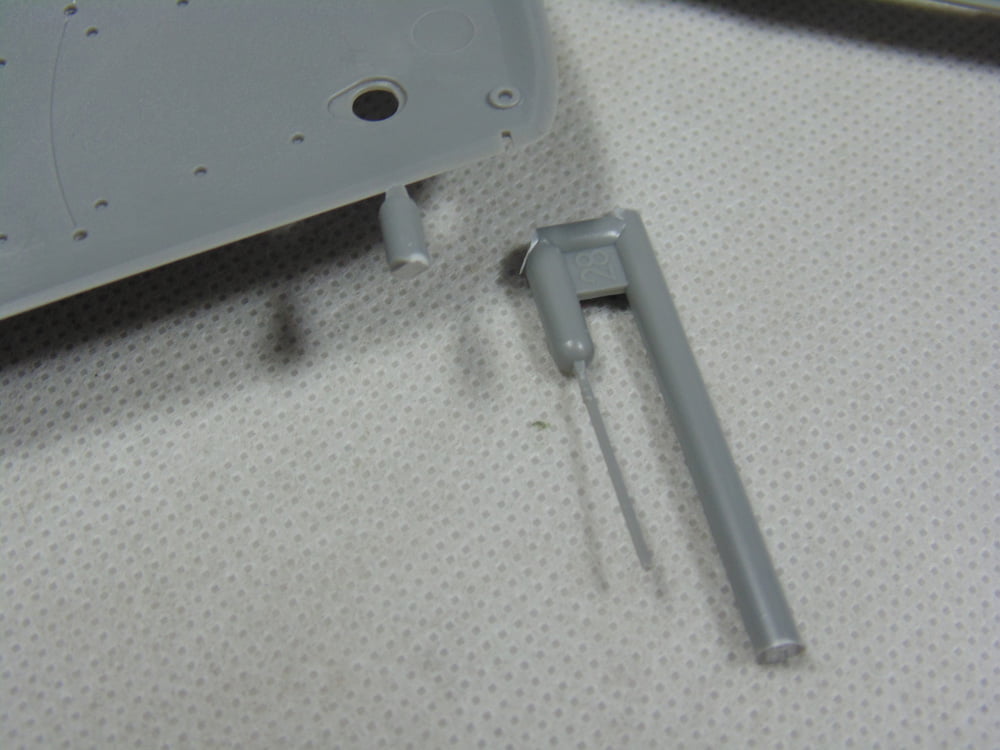
Tiny parts like this antenna post often fall victim to mishaps. A solution is to back plug the area where the connection hole is with some styrene. When you’re ready, replace the plastic part with a pinned rod. This also gives you another solid connection for the fuselage halves.
The same applies to the long pitot tube. Replacing the Airfix part with a rod will spare you mountains of frustration. Back plug the area before assembly, giving yourself another couple of millimetres of extra insert distance. After final assembly and the epoxy or even CA glue has cured, I’m confident this entire model could be carried around by just holding the pitot tube… tested and retested.
Let me finish with another method to pin your parts. Drill your holes as needed then load up your pin vice with the same diameter pin. Then literally drill the pin into place. The bond is very strong, flexible and if needed the parts can be detached, with some effort of course. A lot more care and attention with hole placement is required here, but it’s another option where this technique may be the only one.

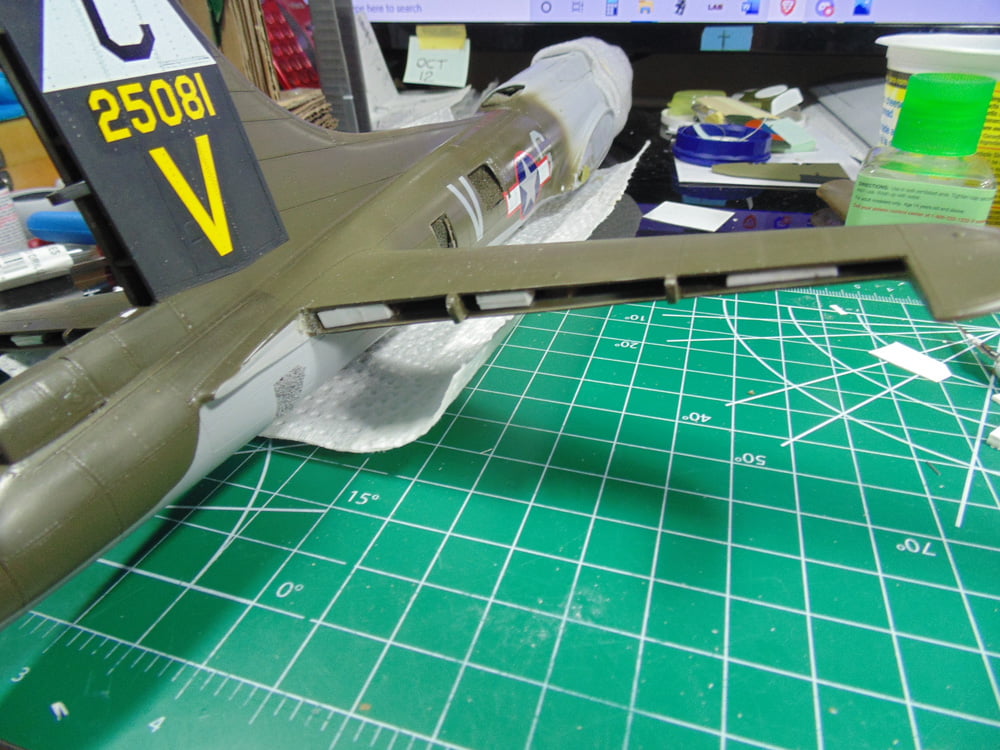
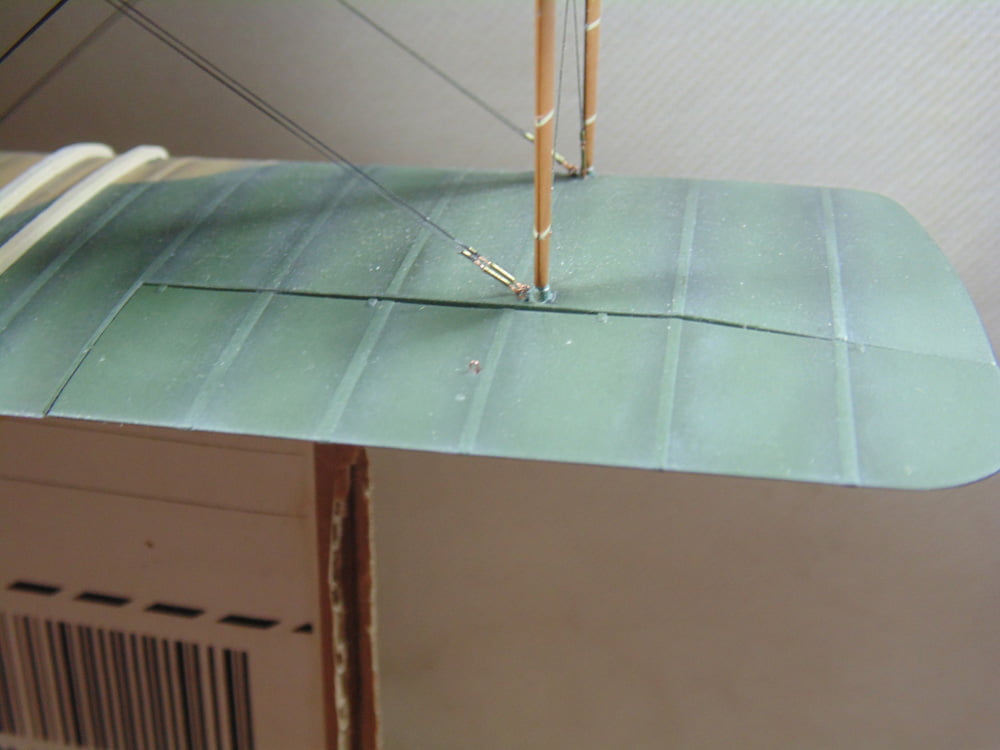
As promised, here’s a Sunward Hobbies project I’m working on. These 2 long shiny pins turned into 3 so I could flex the aileron to the desired angle. The tiny plastic connection points are abysmal, hence why I drilled pins into place.
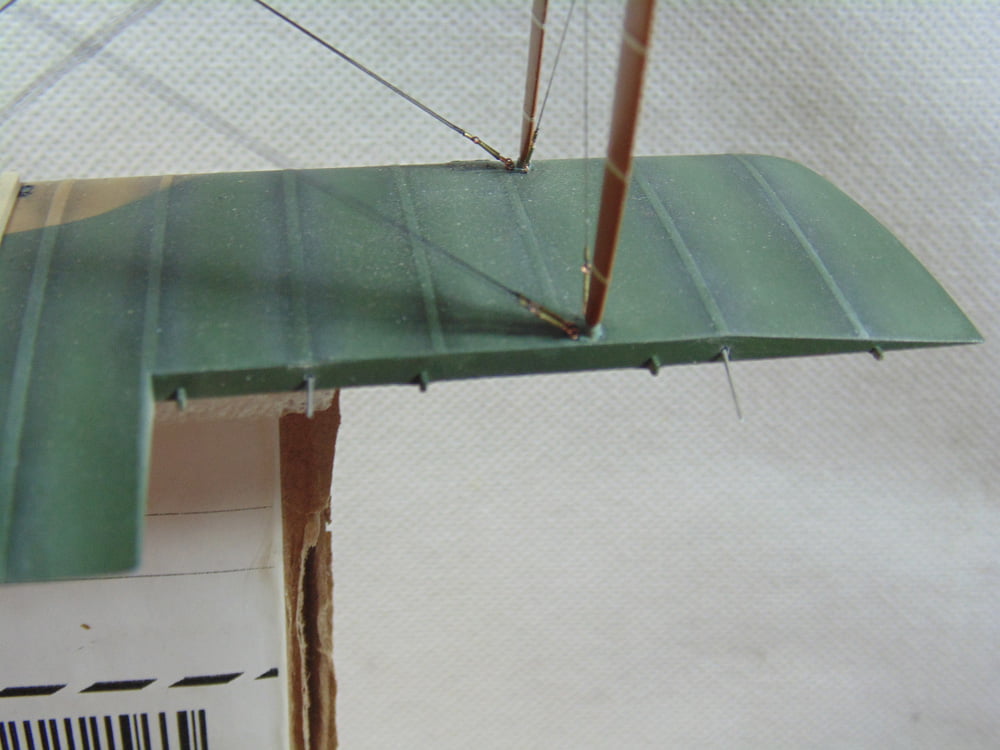
To make life easy I chose matching points of the wing and aileron, sharpened the open tip with a file, drilled then pushed the part on. It’s seriously in place, yet can still be fine tuned without worry of detaching.
And there you go, a terrific way to put your mind at ease knowing your creation is far more secure now then was ever possible with a plastic weld from cement.
As always, if you have any questions about the products used or this article, please feel free to ask when you pick up or place your next Sunward Hobbies Parts Pinning order.
Thanks for following along and best of health.
About the Author:
H.G. Barnes is a former voice-over artist and retired sales and marketing professional. He’s the author of two large volume science fiction adventure romance novels with many more in the works. For well over 40 years he’s been building scale model replicas and now does commission work for clients in Canada and the USA, plus completes projects for companies in Asia and Europe.
Currently H.G. is involved as an Associate Editor with KitMaker Network’s Online Magazine Channels.