
Tamiya Lockheed Martin F-35A Lightning II 1/48 Scale Kit 61124 – Part 7
In this Sunward Hobbies article and review I’ll be continuing with the cool looking details you add on to your Tamiya F-35A Lightning II in 1/48 scale (item # 61124). Previous: Part 6
Let me state for the record, not every model kit is identical. Tamiya do a fantastic job with quality control, yet even they can’t control what happens after the box leaves the manufacturing plant. That said, your model may or may not have some minor flaws.
Ok, let’s have some fun! I love how many mini models there are in this model kit. Oh, sure you opt not to have them added, but they provide so much extra detail and interest, in my humble opinion. Regardless of my thoughts, I’ll guide you through the process of each step in the instruction manual.
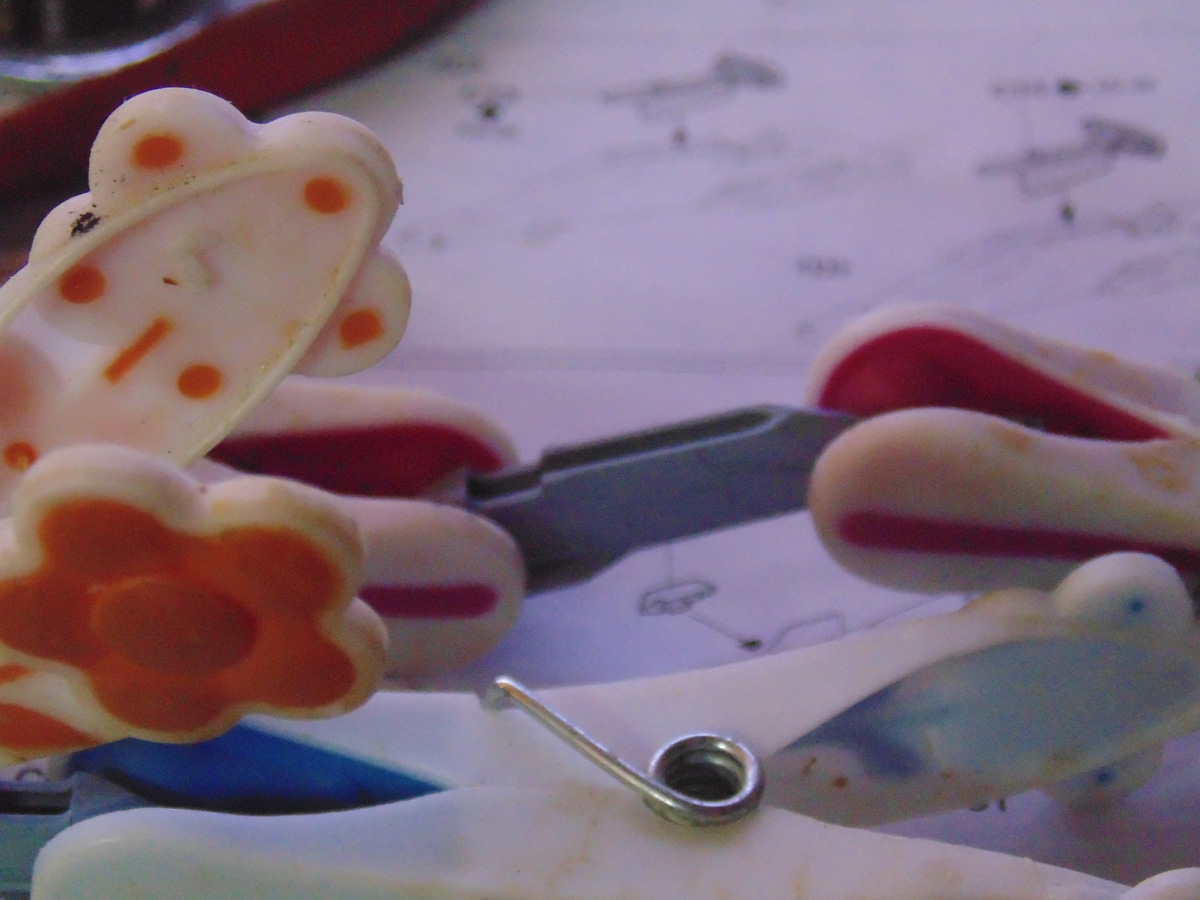
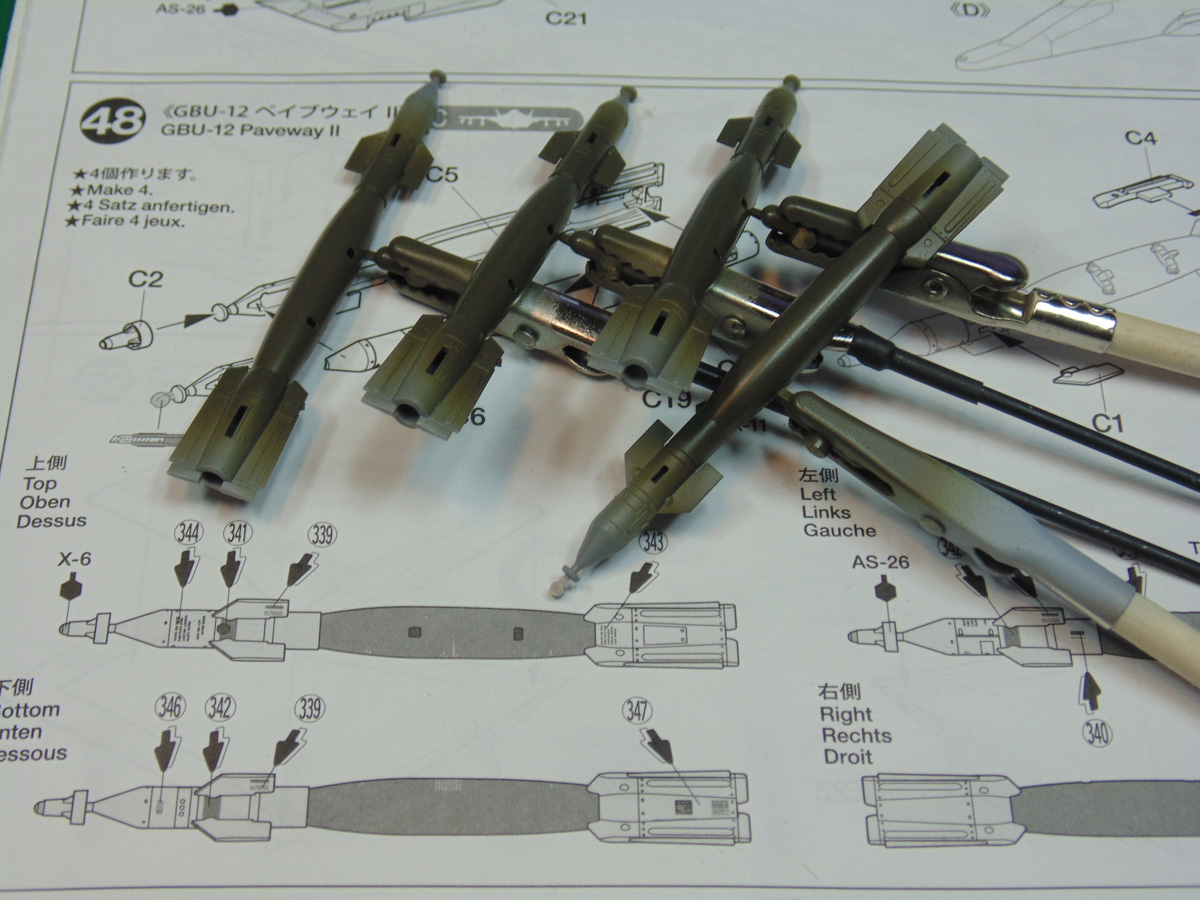
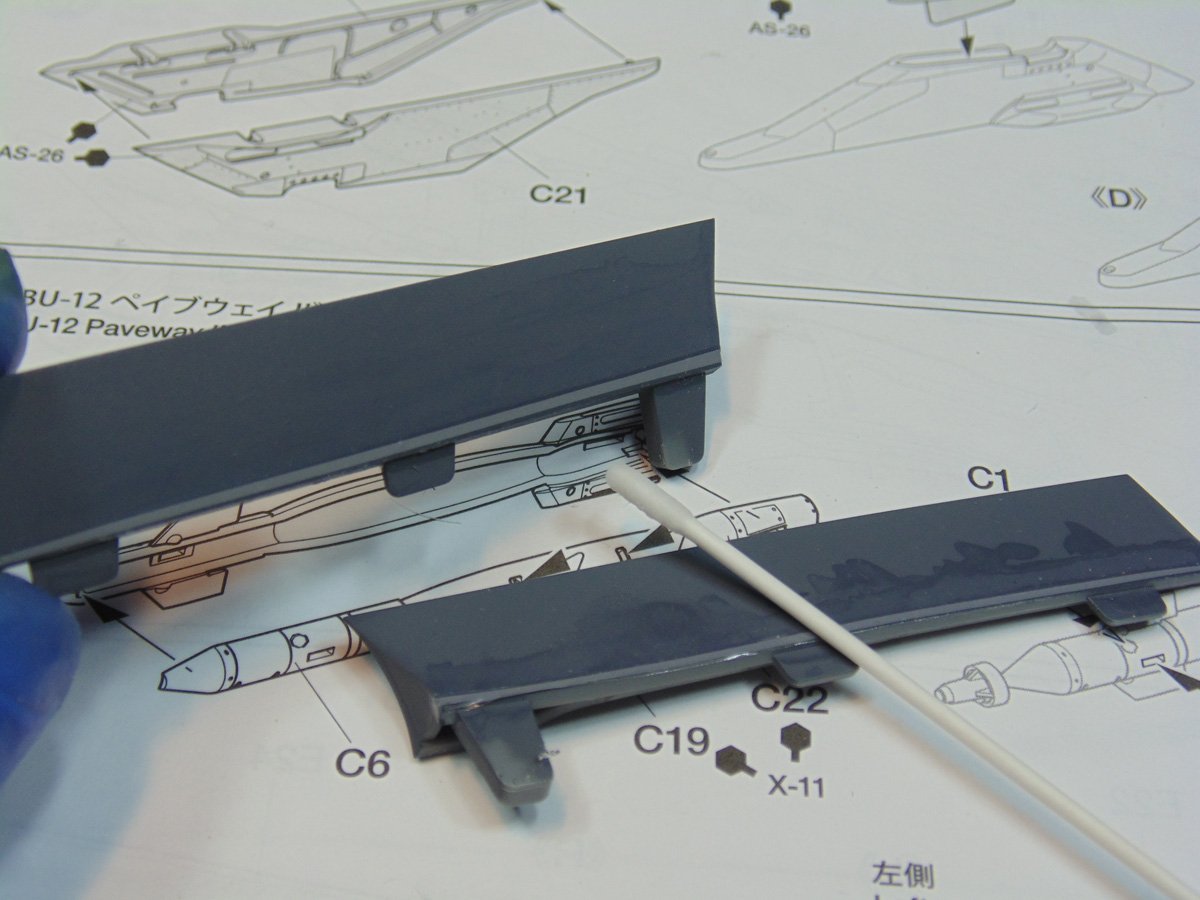
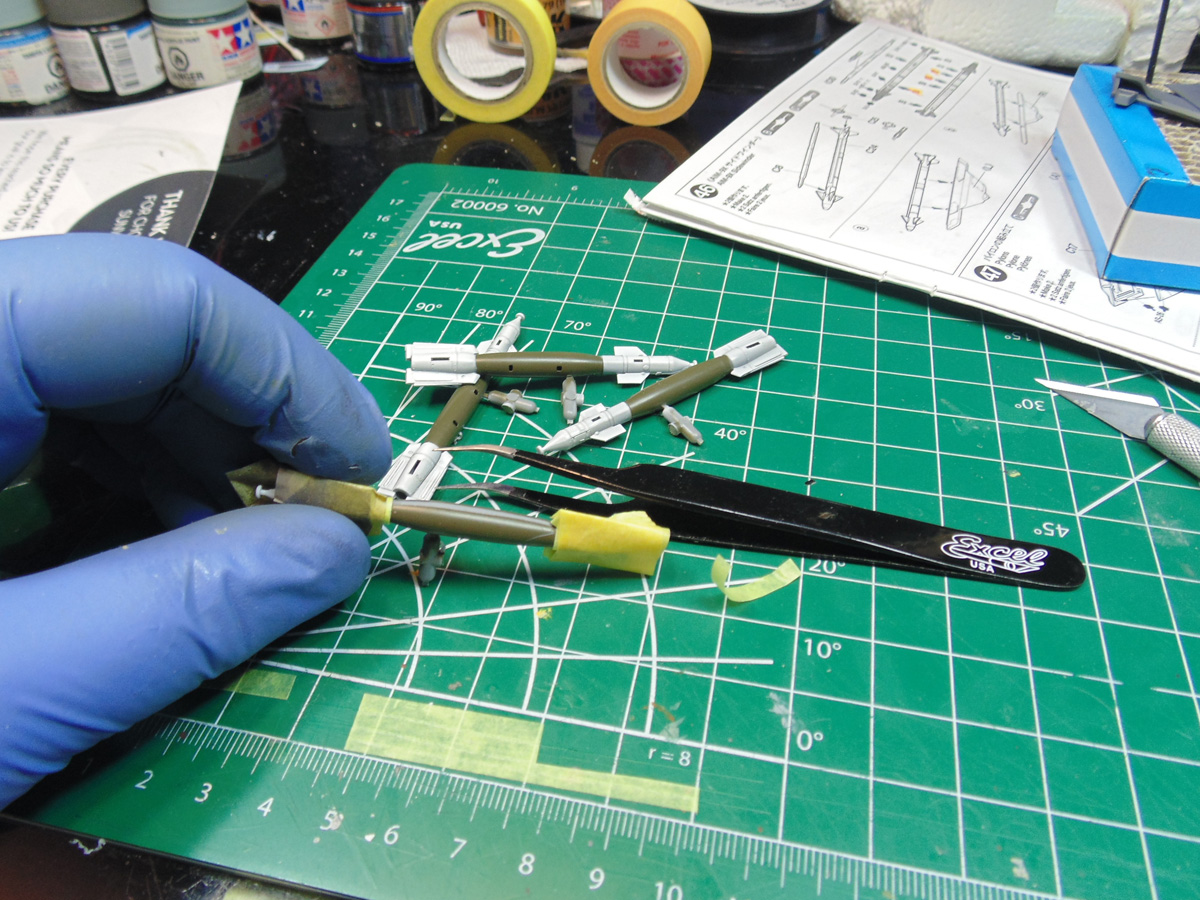
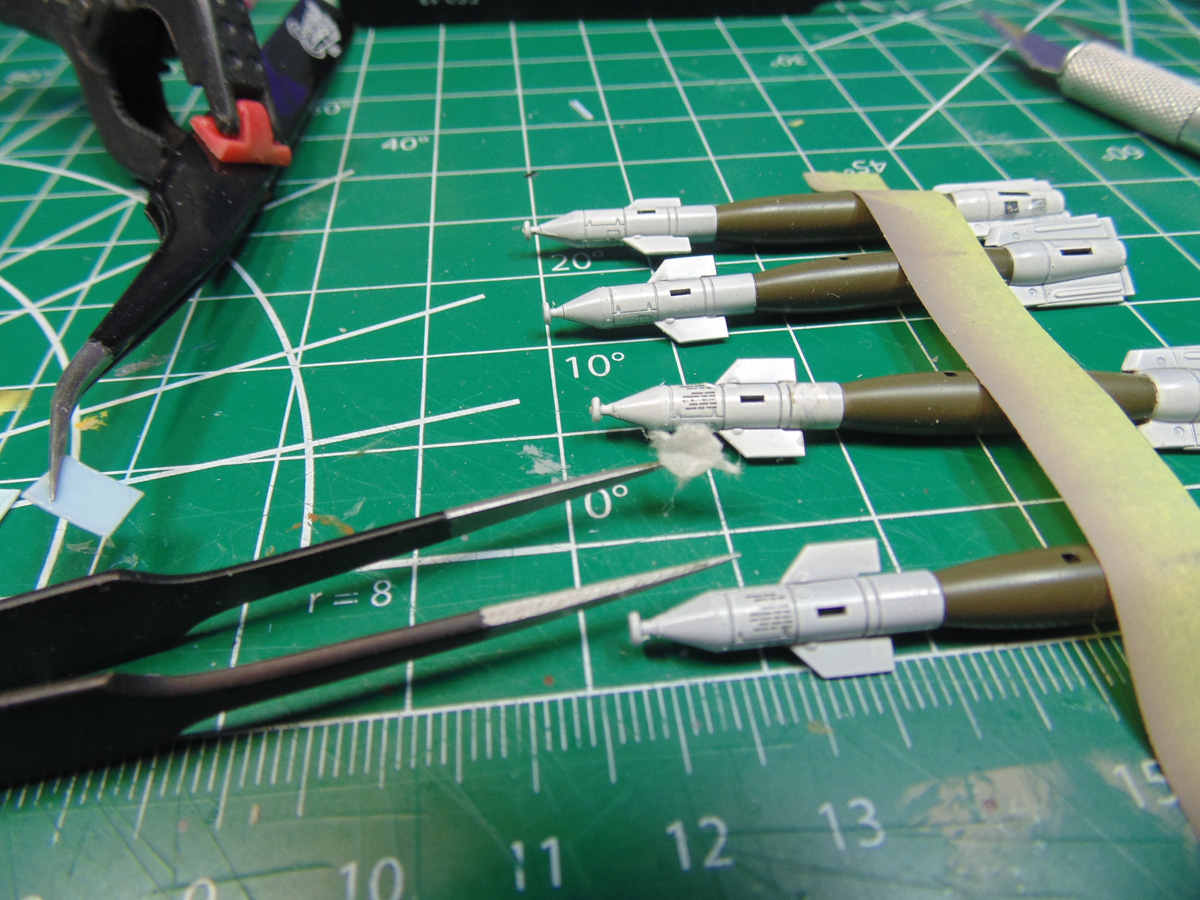
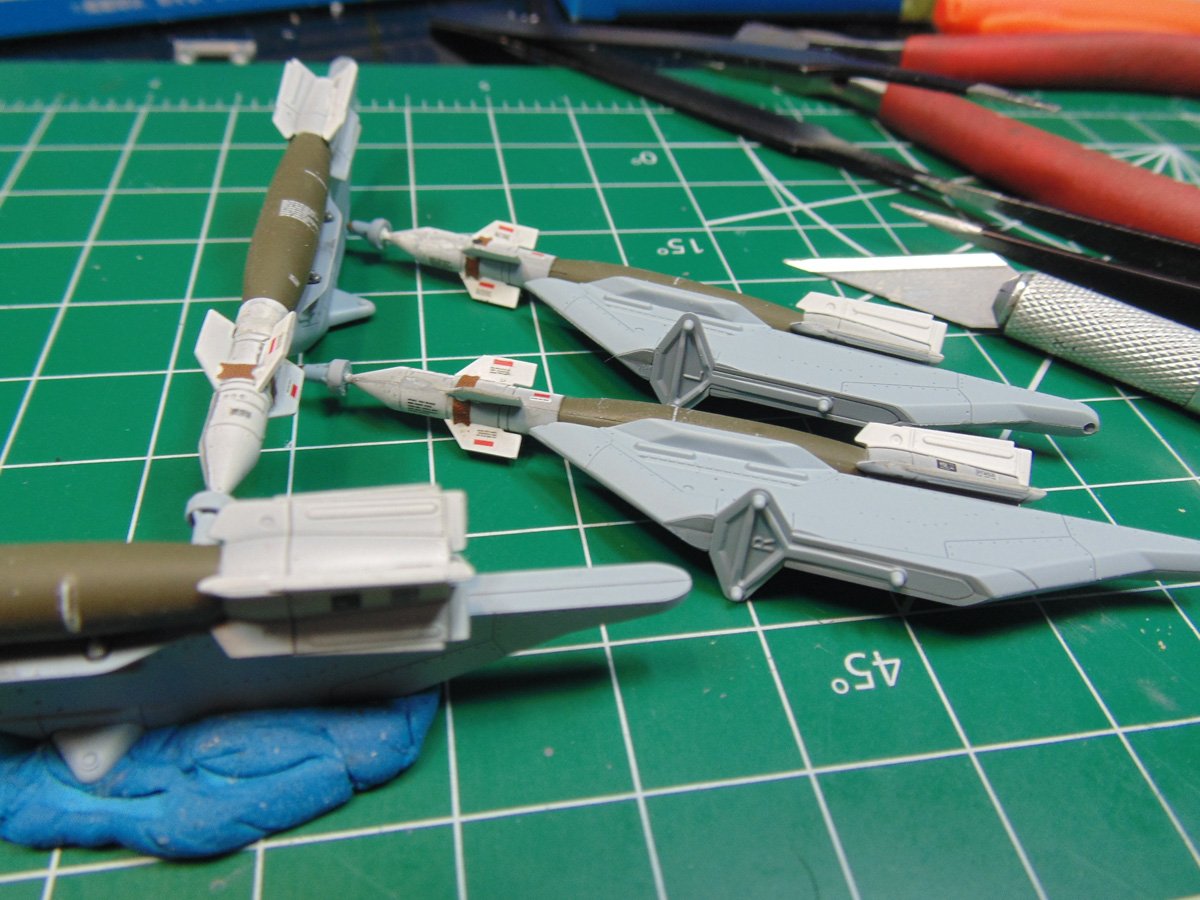
The Guided Bomb Unit (GBU) bombs have slight warp and need clamping. Make sure to fit these parts as accurate as possible due the parts you’re going to add later.
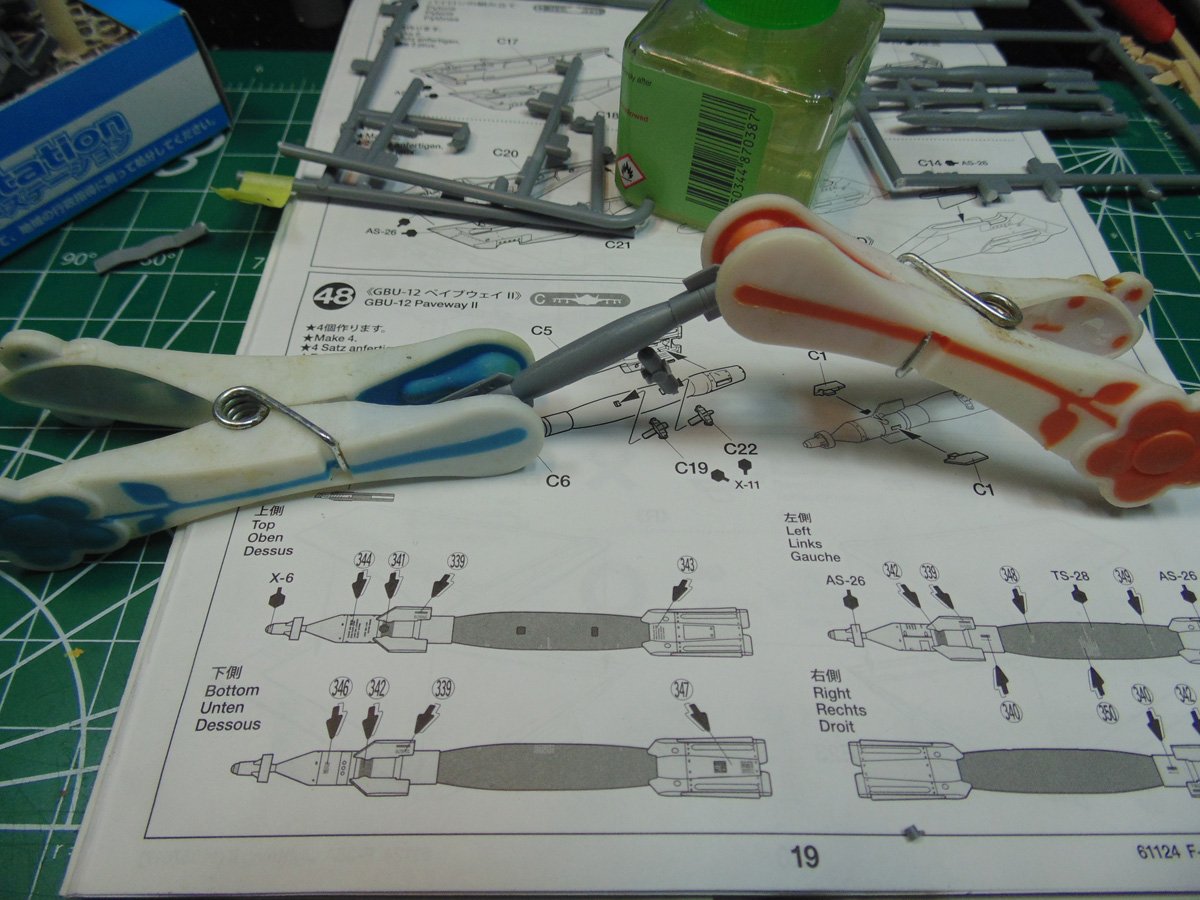
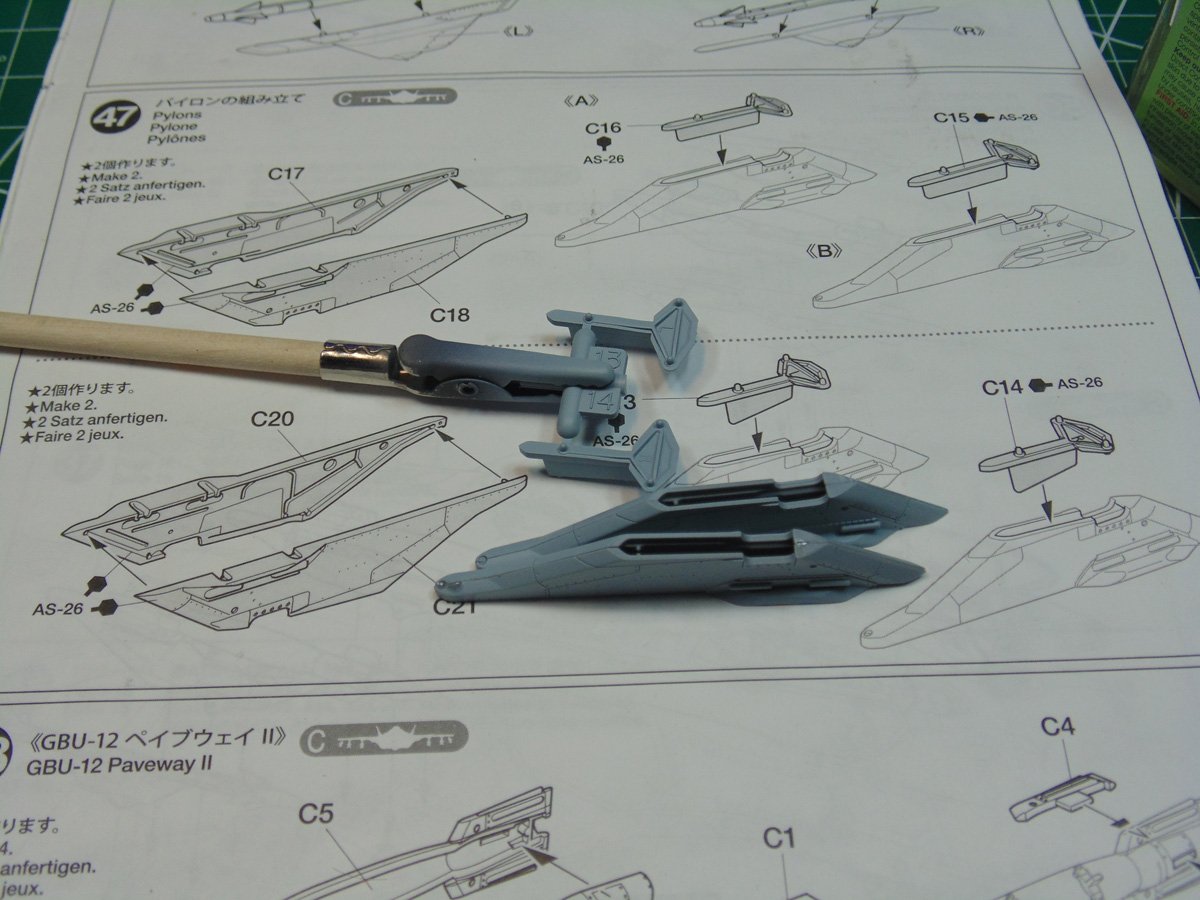
Also, the pylons need just a minor touch of help fitting snuggly. Make certain you have mating surfaces super smoothly sanded for the best connection. Sorry about the out of focus shot, but you get the picture.
Follow the instructions for the best color match. Sunward Hobbies have all the supplies you’ll need for paint and thinners. Do your best to sand or file the cement-squeeze oozing from where the parts joined and let them dry for a few hours prior to sanding. You need to have the surface as smooth as possible for decals to move around easily and then lay down the best.
Now back to the pylons. They are very specifically keyed for the location on the wings (more on that later). If Sunward Hobbies are out of stock on Tamiya AS-26 you can buy from them other Tamiya colors and do an easy mix to get close. The same thing is done by the people at the Lockheed Martin facility.
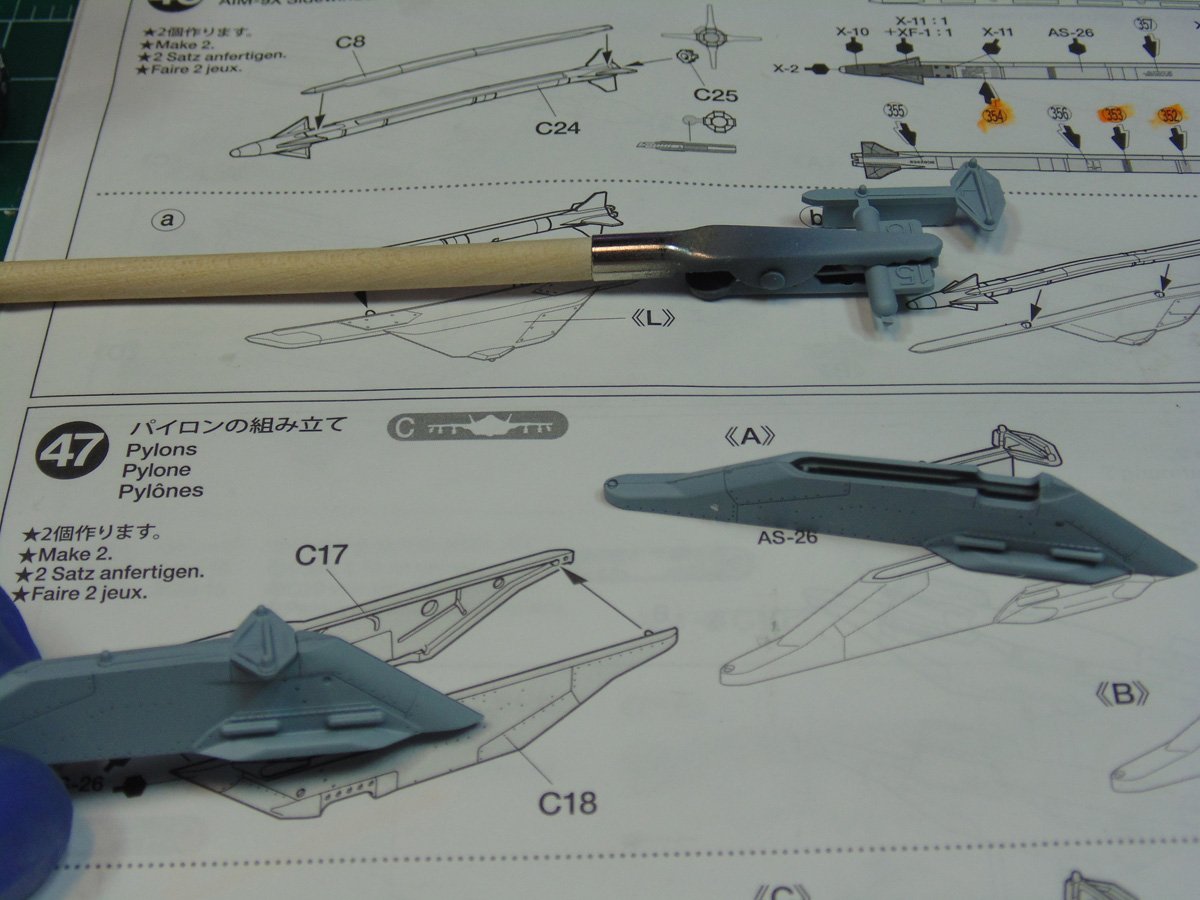
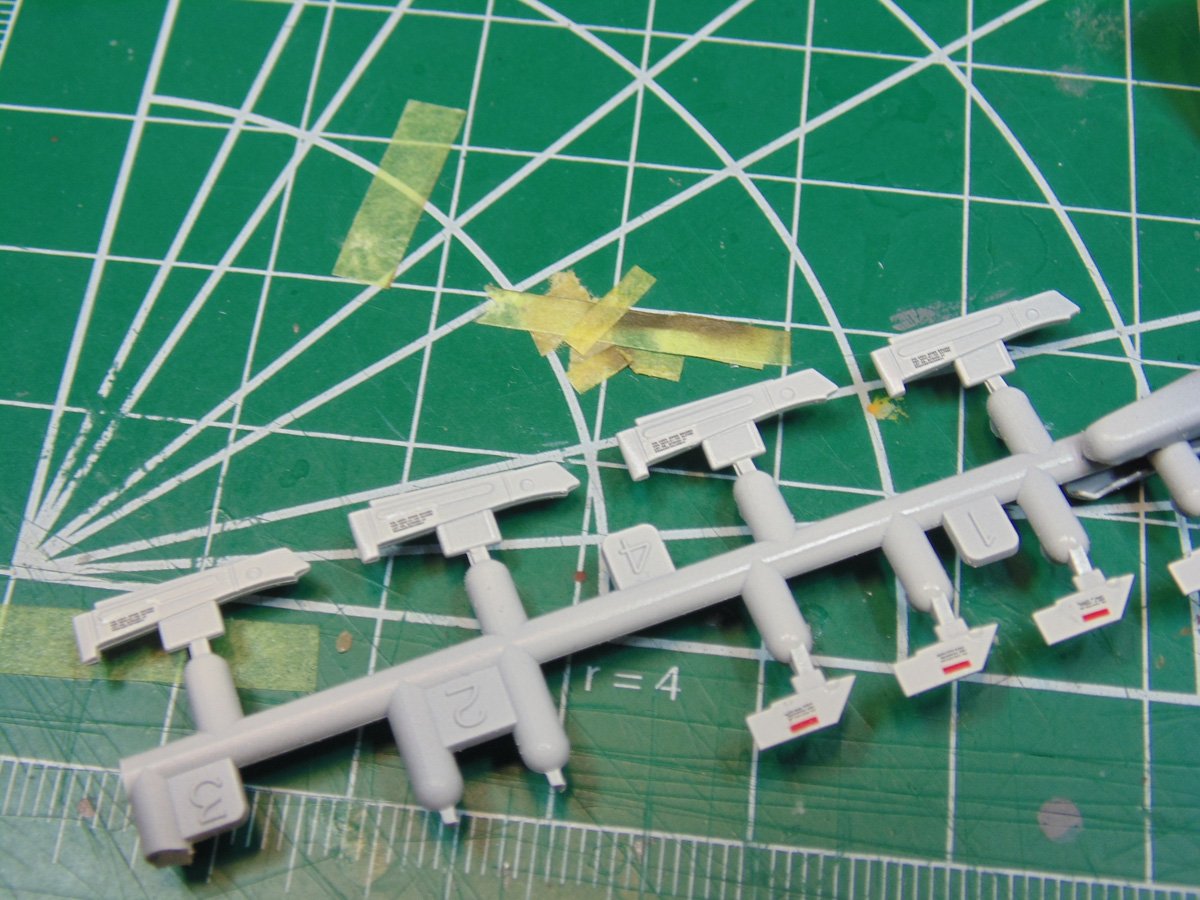
The pylon connection parts for the inner outer wing posts are different lengths so pay close attention and keep your completed items separated and labeled to make your life easier.
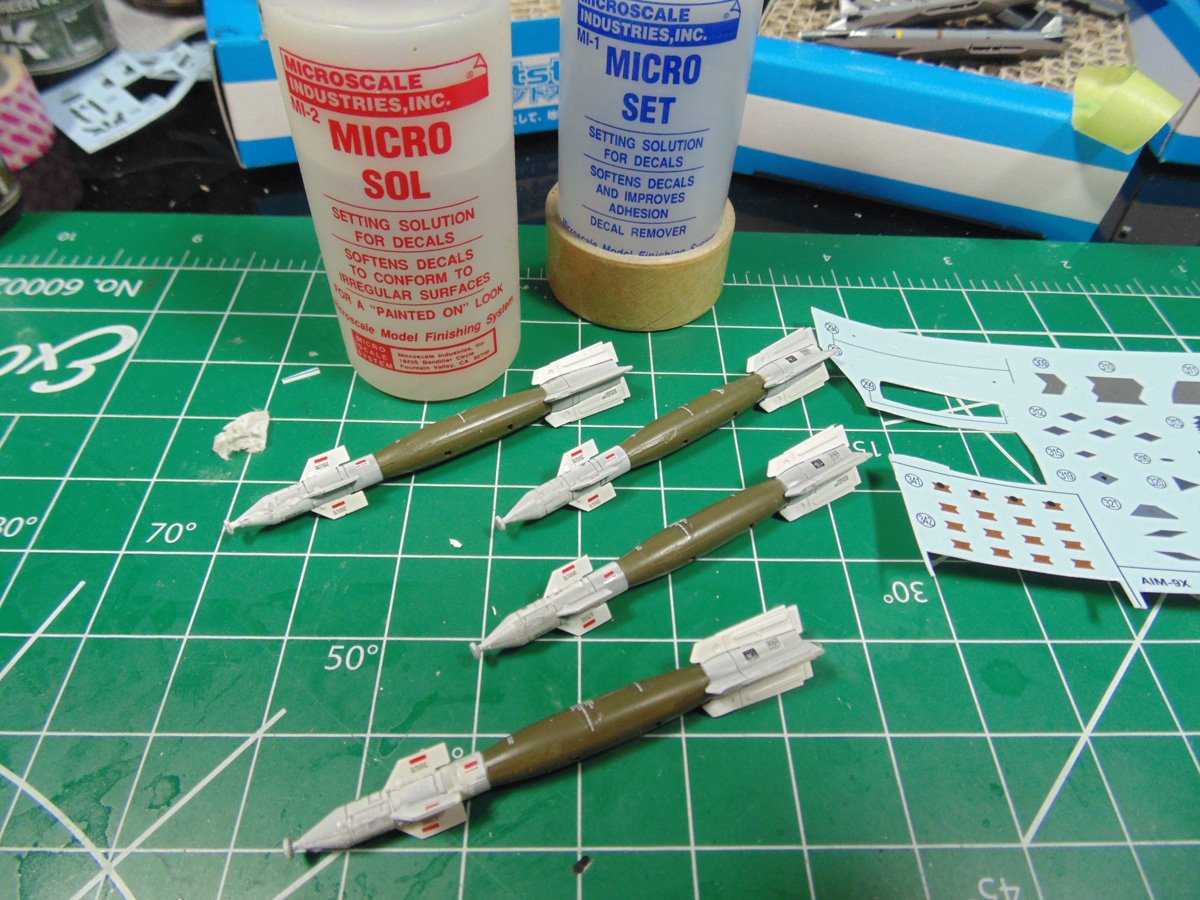
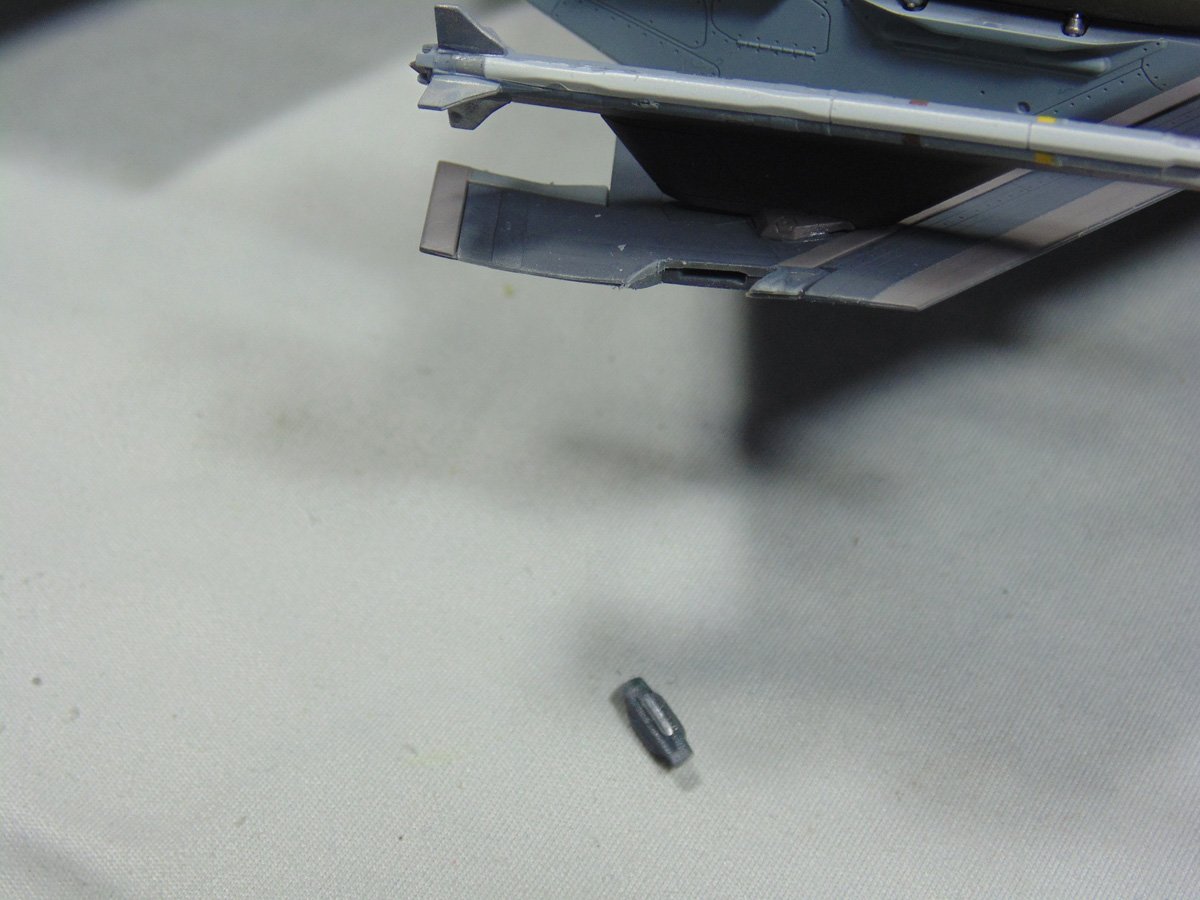
Be mindful when to attach parts, such as these flaperons. Tamiya call out for decals on the edges. They are excellent additions to the look of your replica, but setting solutions can stain the paint. Pick up some small Tamiya cotton swabs from the store and once the decals have dried for six hours (at least) douse them in filtered water and gently rub the surface, as you see in this photograph.
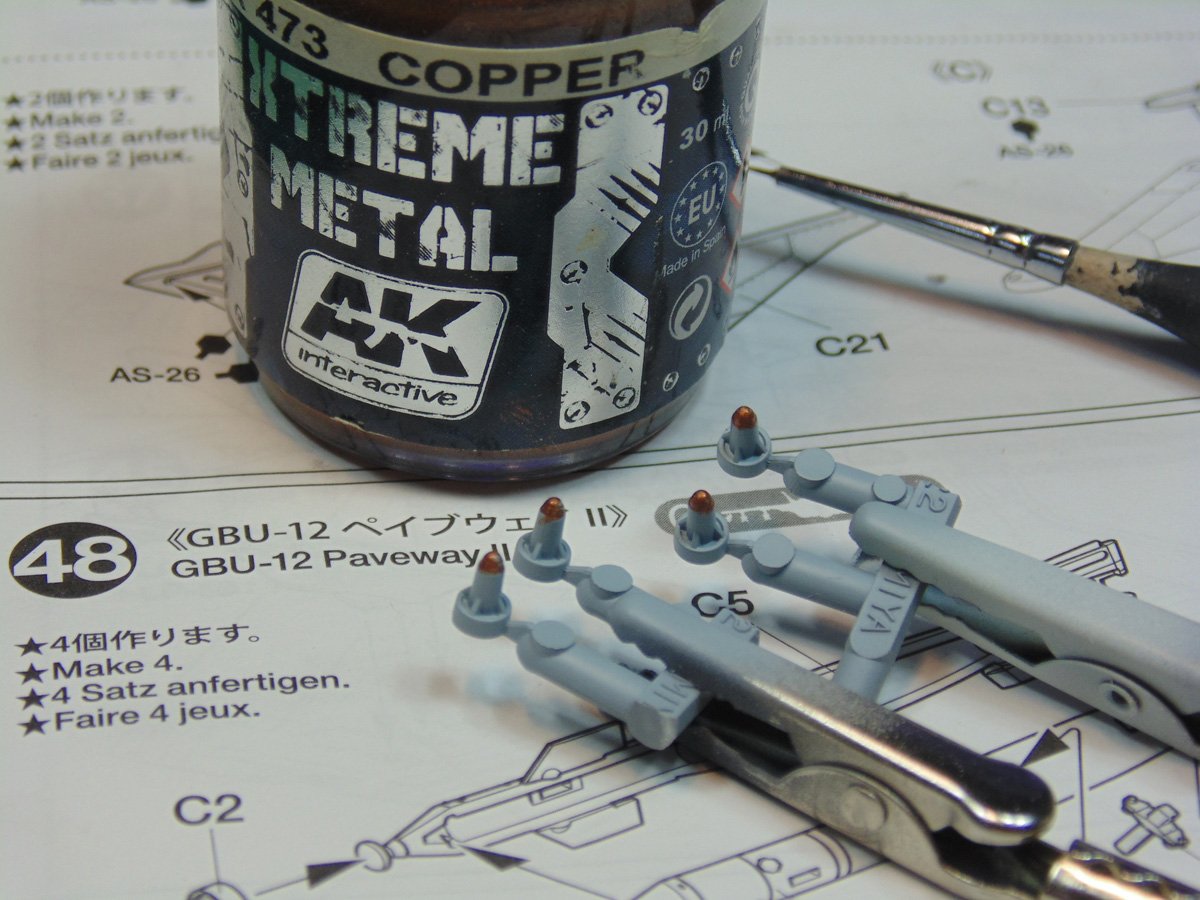
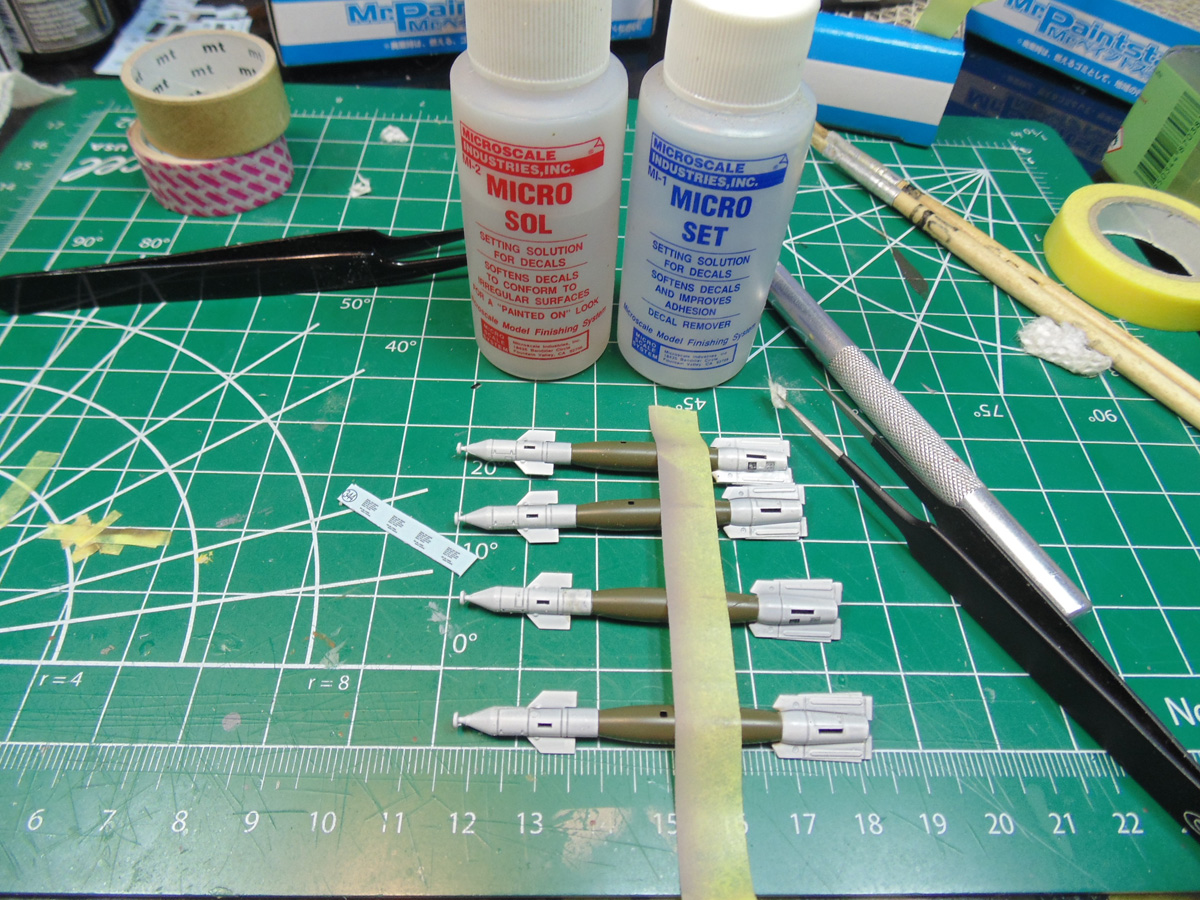
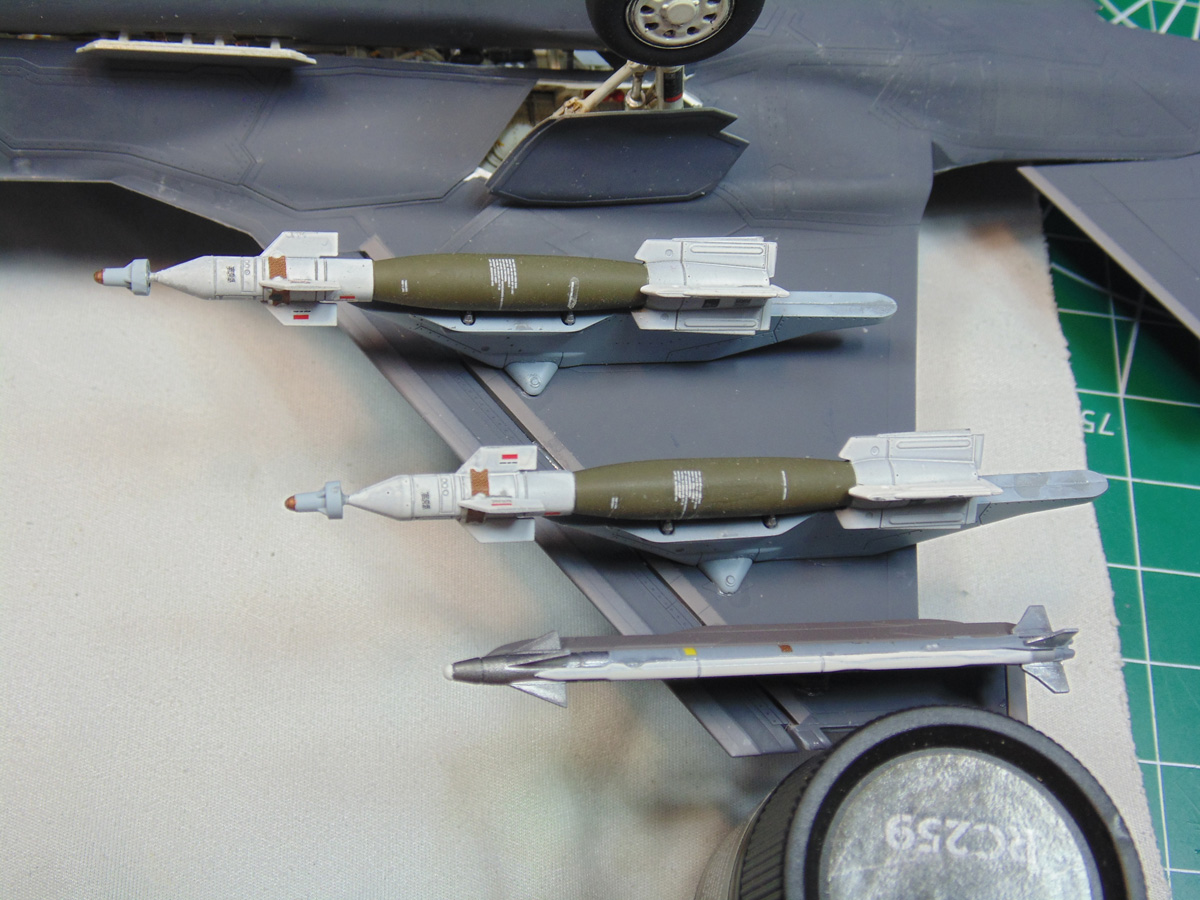
After spraying the tip parts of the GBU-12 I used AK Interactive 473 Xtreme Metal copper and hand painted it. Normally this product is sprayed with an airbrush, yet here the tiny area can be brushed. Make certain these spots dry overnight since this is an enamel fluid and needs to harden properly. I’ll do the touch-ups once they are attached, if needed. Please examine the connecting surface and remove any plastic flash where needed.
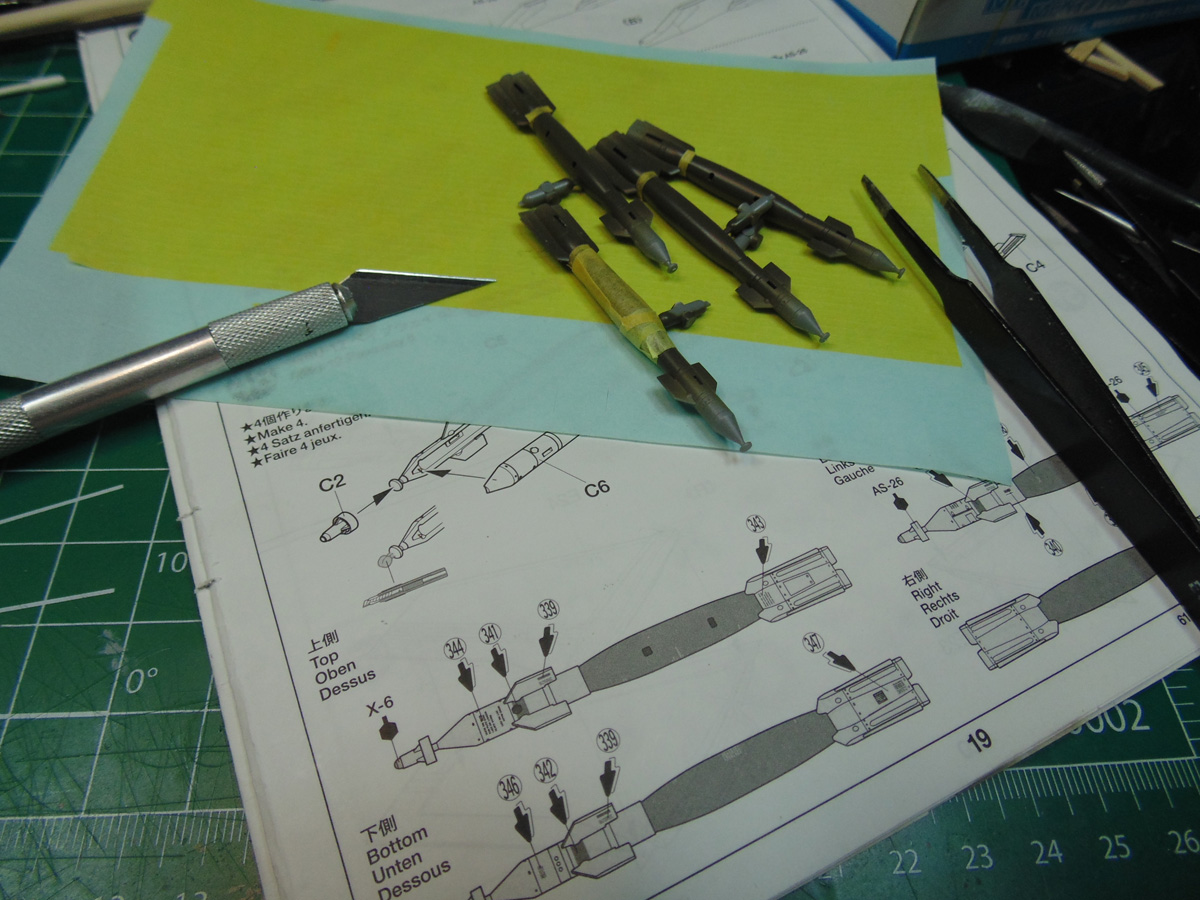
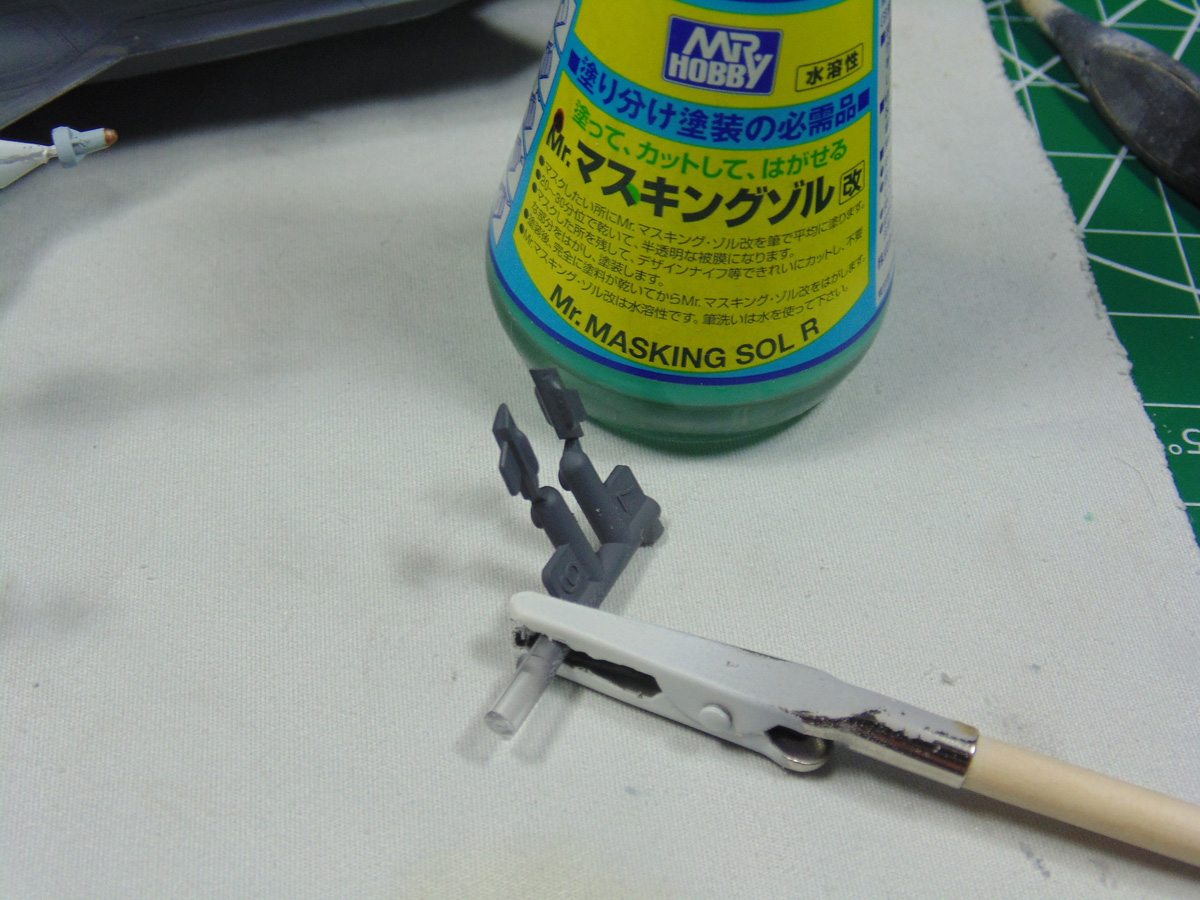
Now you’ll need to mask off the main body of these weapons. Consider using a very thin masking tape to begin with. In this case I’m going with Mr. Hobby 1mm pre-cut slices for the edges, then working up to the wider sizes. It’ll take a bit of time, but the result is worth it. Tamiya put a huge amount of effort into this replica and deserves an equal amount. And besides that it will look awesome on your display shelf.
With these places now painted you do some final sanding to fix the places which might have been missed. Keep in mind that the paint needs a good twelve hours to properly firm up. Here, I’m re-masking the tips to do the job. Please follow the steps mentioned or whatever works for you secure painted areas. Again, the smoother the surfaces are the better it is for to apply the decals.
The front and back fins are airbrushed with Mr. Color 316 USN 316 (my preferred white color) because this is a primarily naval aircraft. While this replica will have a different county marking it will get the same white painted on it. Obviously, use your own choice. You will be handling these small parts to scrape off the excess paint so use gloves to prevent fingerprints. There are a few decals to add that add a ton of detail to these little models.
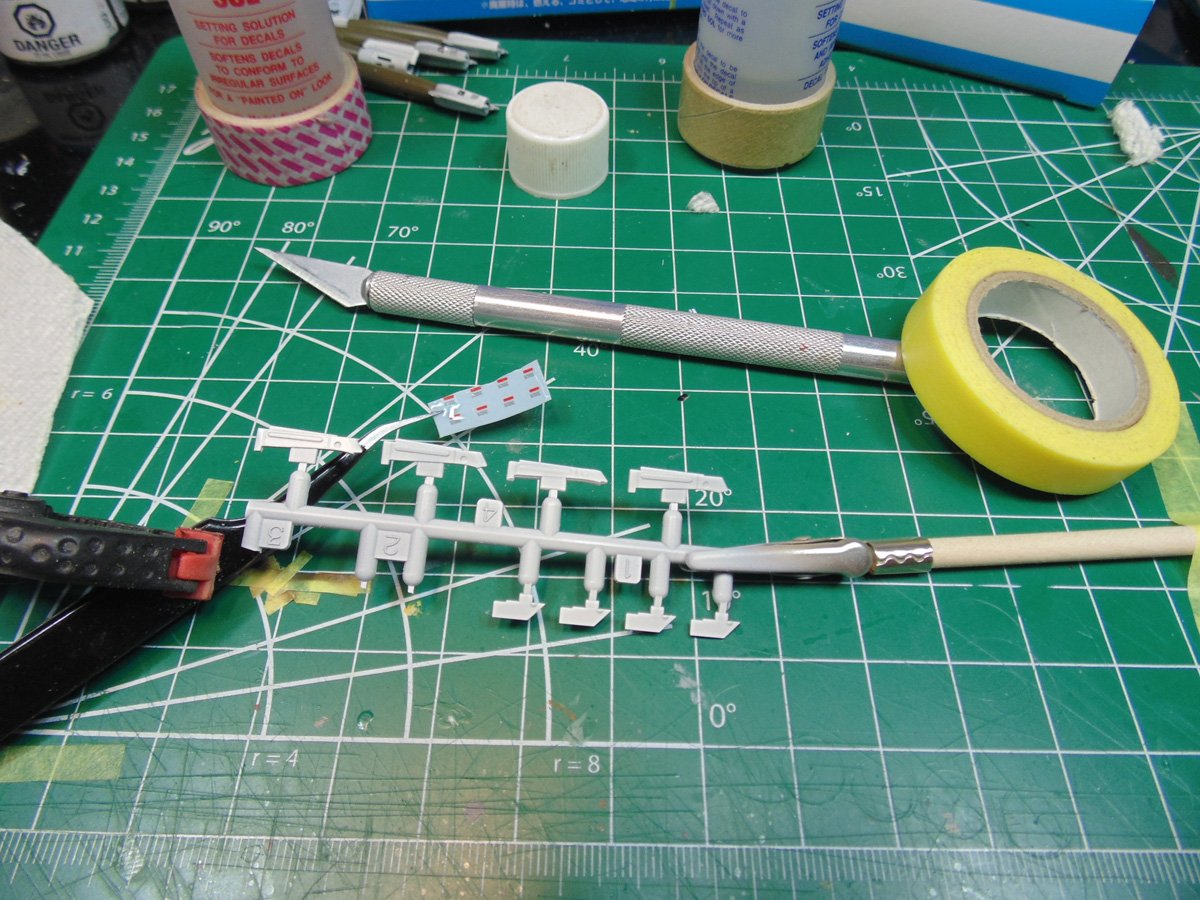
When adding your decals I strongly advise to use separate brushes for each Microscale solution. Place a measure of tape to hold down the holding stick or sprue tree. This tip is handy because it will help you from constantly having to reposition the part to get the decal in place.
Follow Tamiya’s instructions about adding the decals. These were carefully printed. Use an old/new strip of de-tacked hobby tape to hold them all down and not hardware tape. Even lacquer paint will get ripped off your hard work should you use the incorrect tape product.
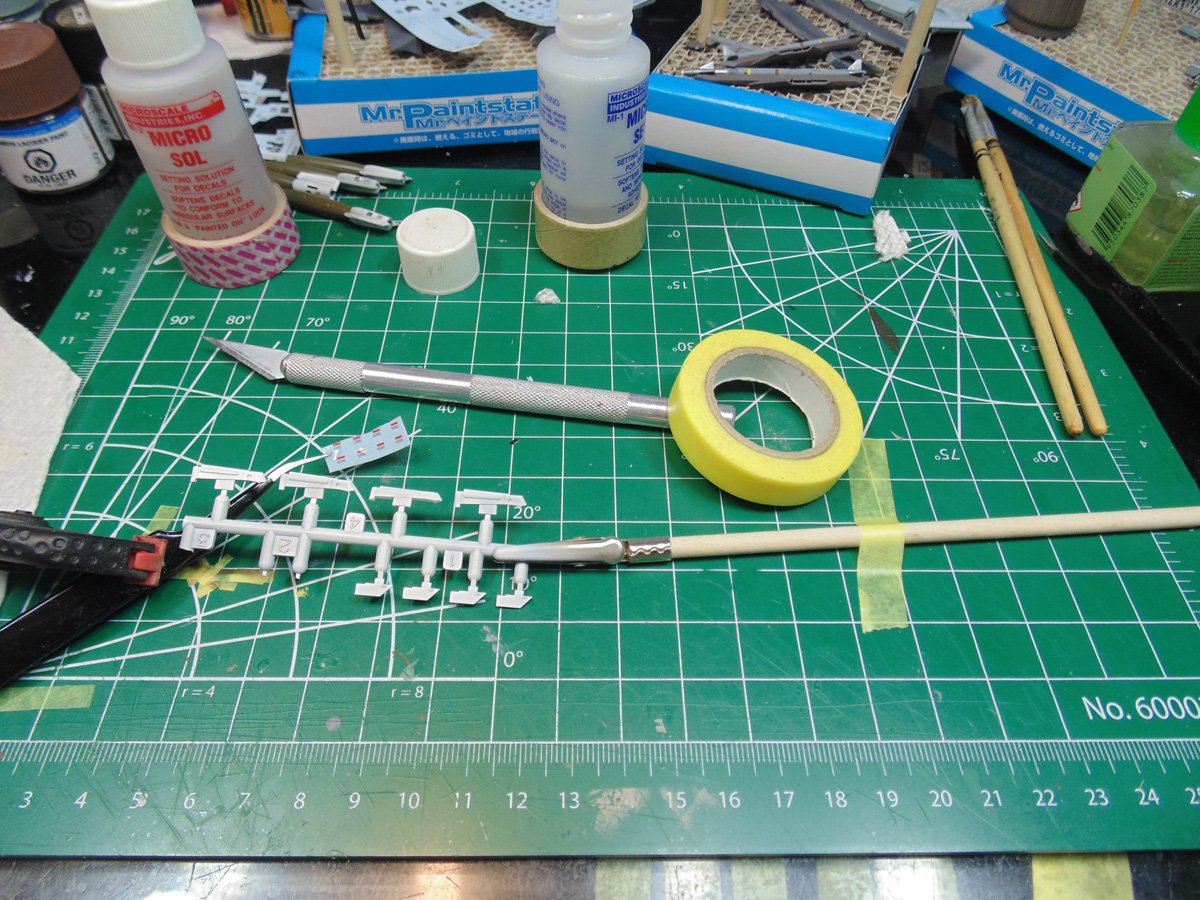
Use your Excel Hobby Blade tweezers to pluck a bit of tissue paper or disposable kitchen roll to gently absorb the excess moisture of the setting solution. Don’t dry it out completely should you need to make minor adjustments (you will).
As in the previous picture, I use a common small clamp to crimp my tweezers shut, just a modeler’s tip. When it comes to little tiny decals as these use whatever tools you can to not only make the parts not move but to make the application of applying them easier.
Tamiya decals are made for all ages of life and experience. The key thing is to let them dry overnight. That’s why it took me an extra week to get this article to you. Work at your own pace, but remember the setting solution will have to have enough time to dry properly, hence the overnight comment. Sure does look neat though…little mini models.
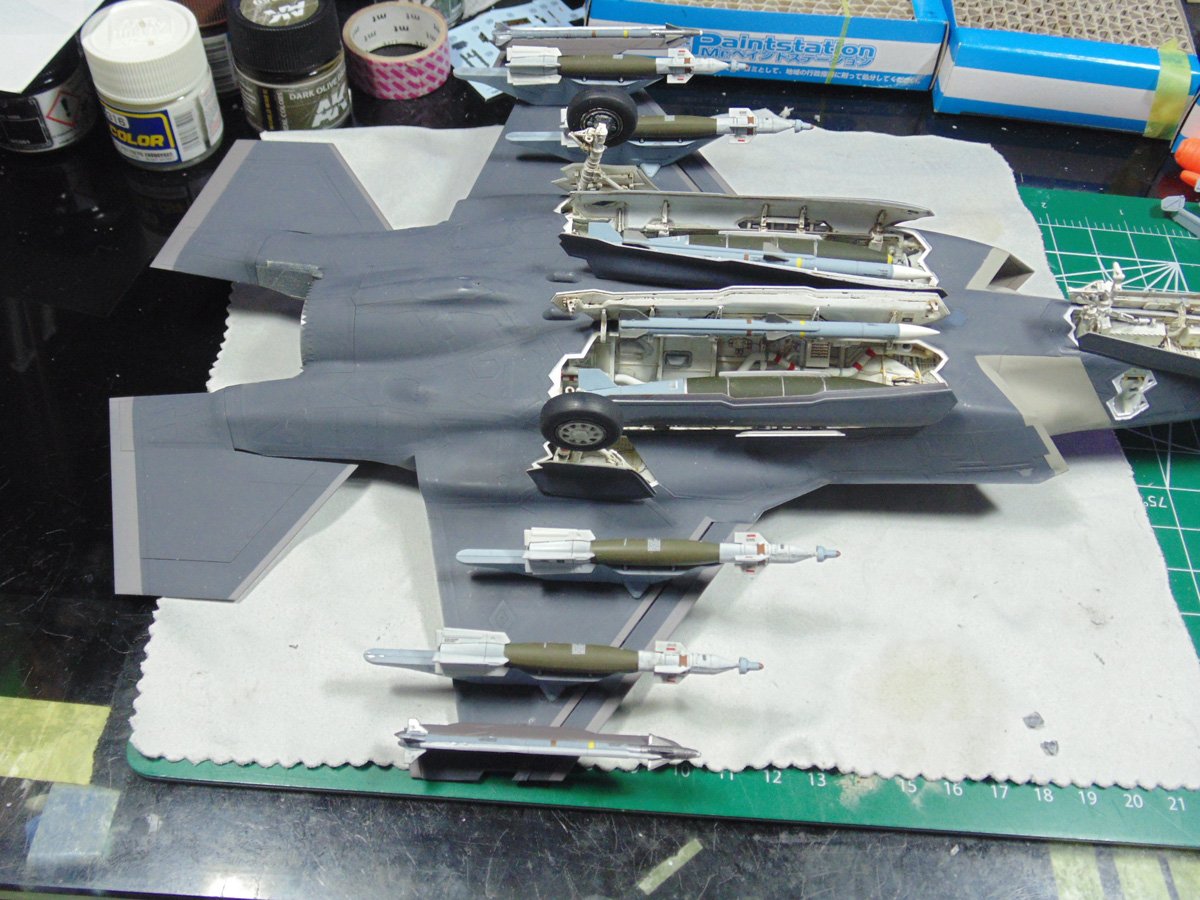
Next are the attachments Tamiya gracefully engineered! These parts bring the detail to a new level and look great on their own.
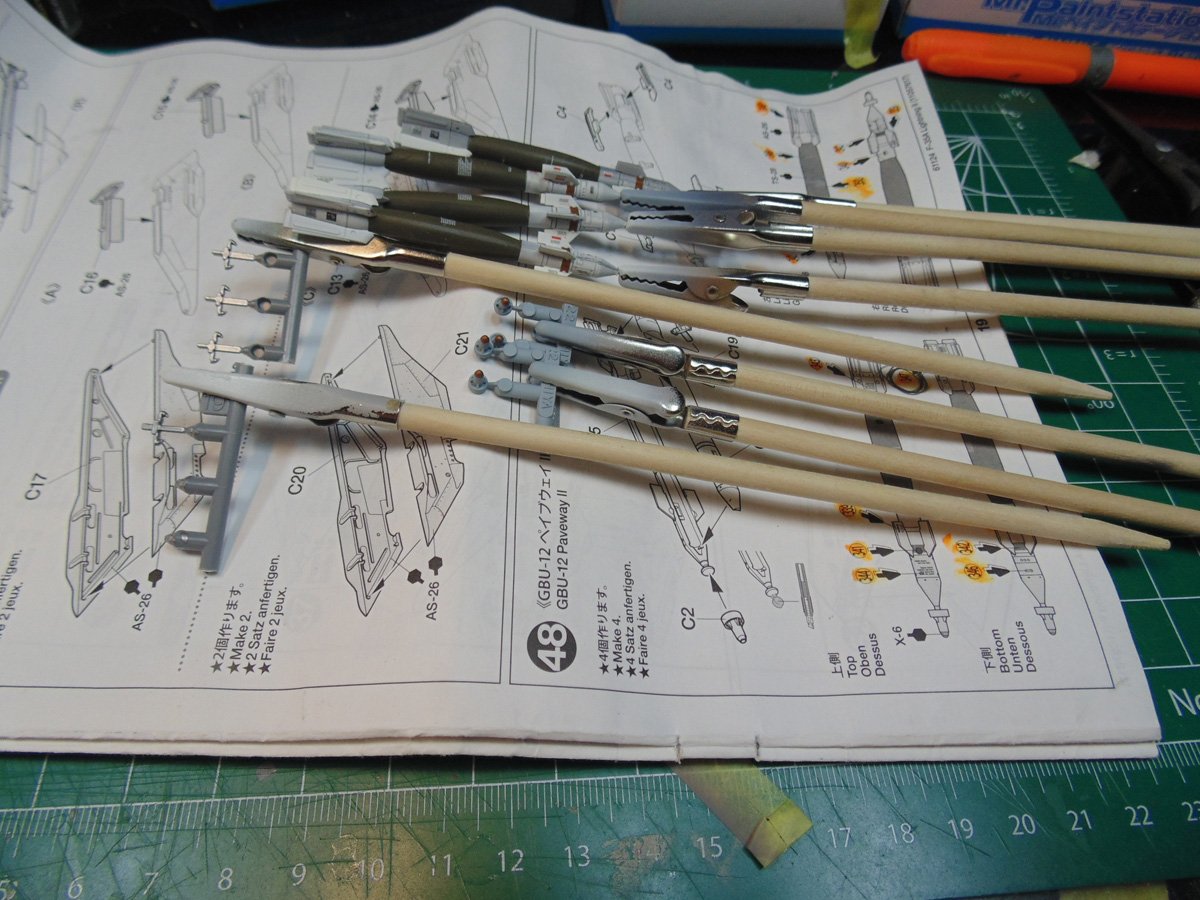
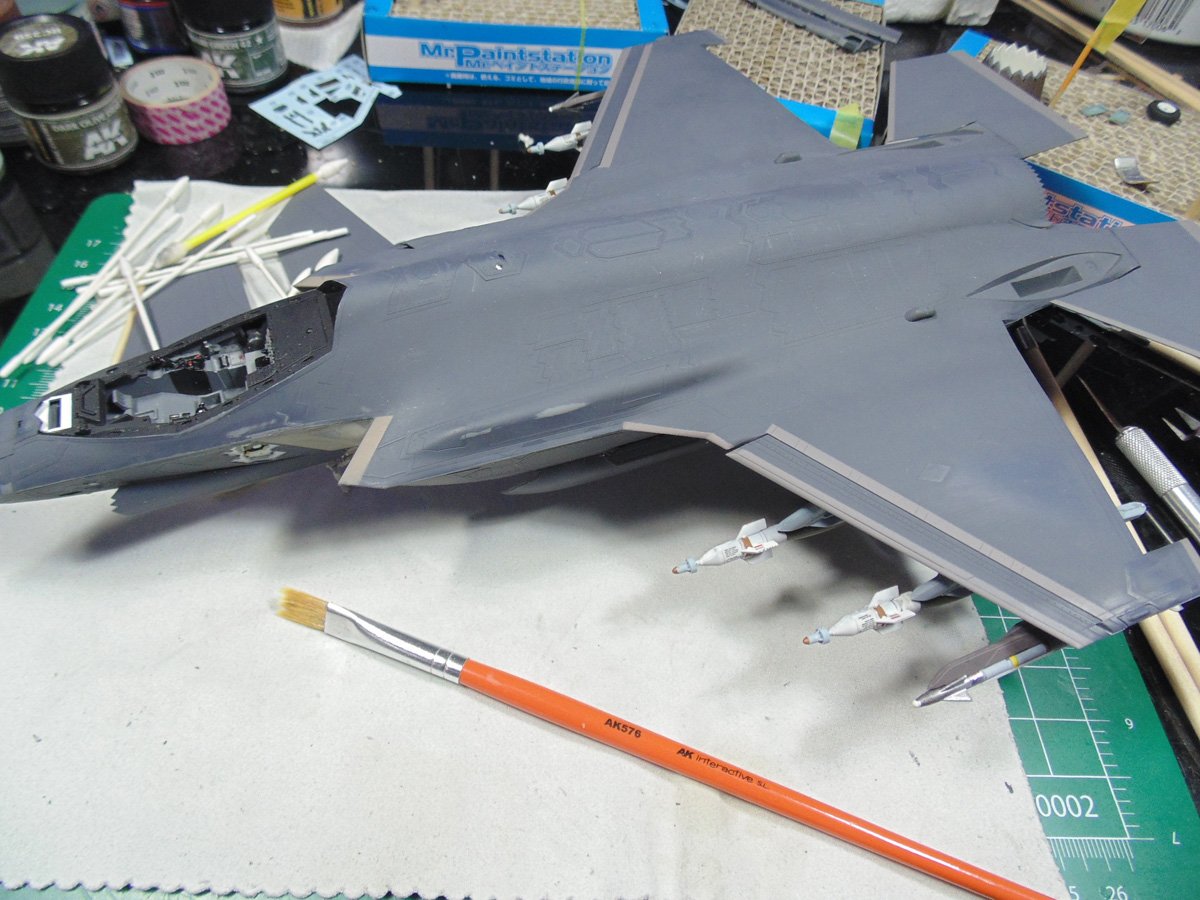
Attaching the pylons is easy so long as you look at the keyed parts. These determine at which section of the wing they go. With the small connecting rod parts in place, consider using some poster tack to keep the pylon stable when affixing the bombs. There is a left and right key setup to help you attach them.
The order of assembly is best from the inner out. The outer missile is a challenge so you’ll have to hold it in place for a few minutes then prop up the wing so it doesn’t keep falling over. The edge of the wing will fit in the gap of a paint jar lid and bottle.
I use a soft cloth to rest my projects on, but it is critical to allow each ordinance enough time to affix (an hour) before moving to the next, being that there is very little room to move and you don’t want to knock the previous one off. This is not a 24-hour project, just take your time and enjoy the fun of it. This took me four days at 16 hours each one, but work at your own pace because the result is splendid!
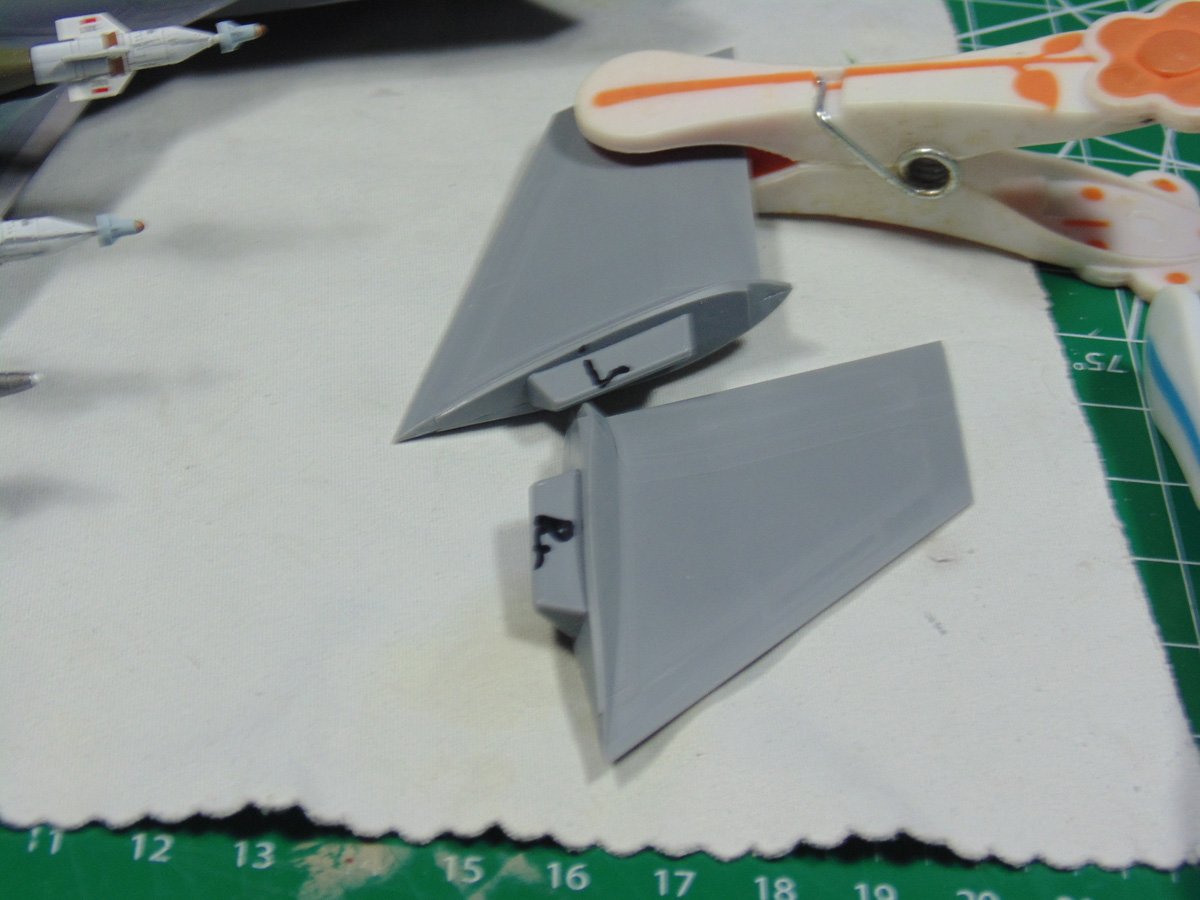
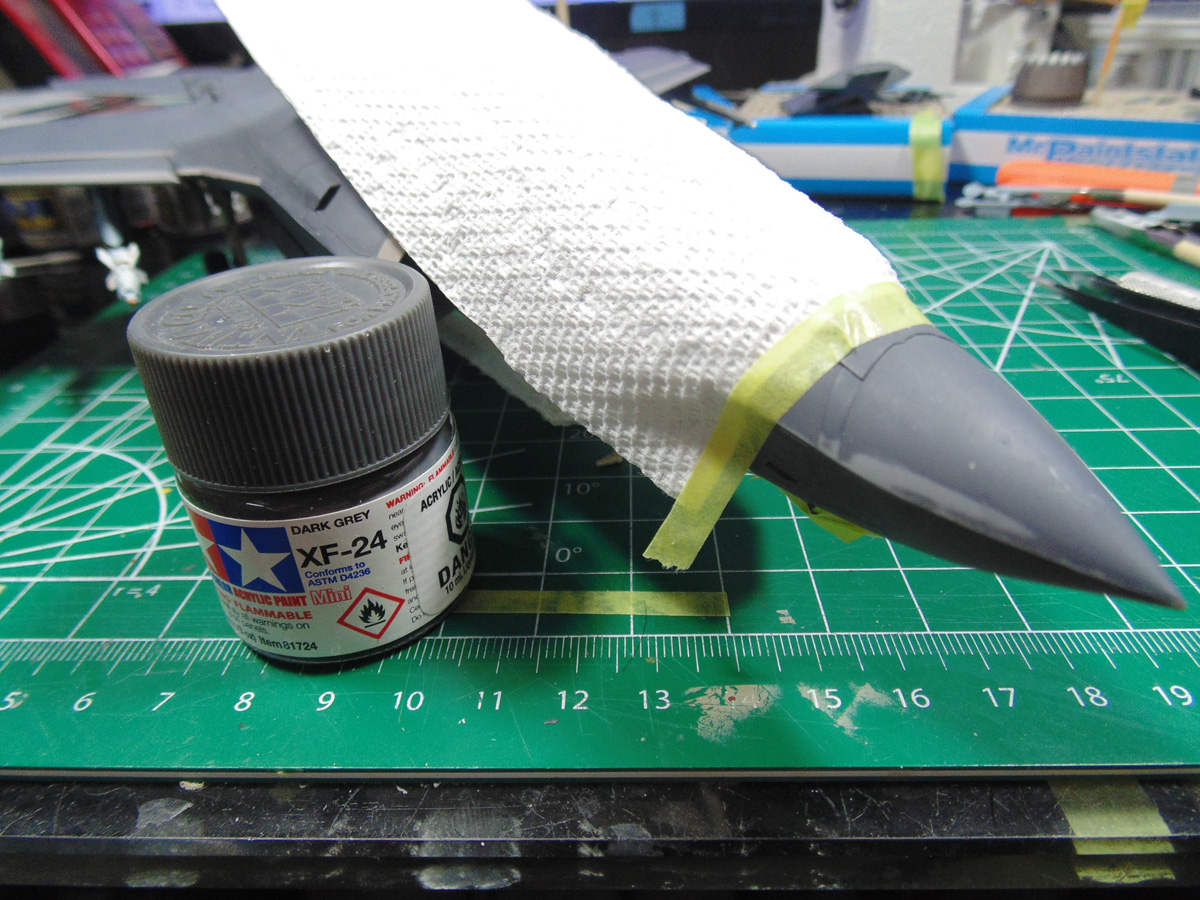
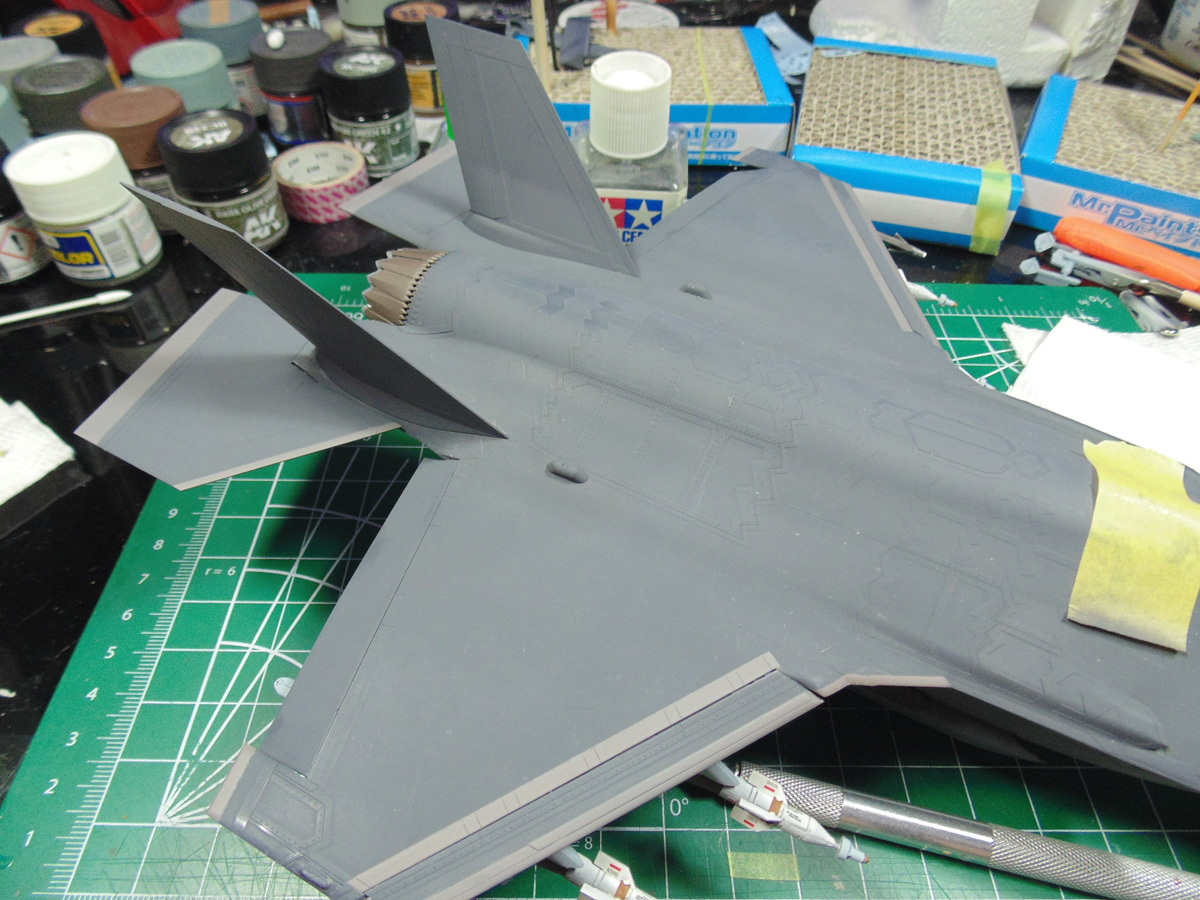
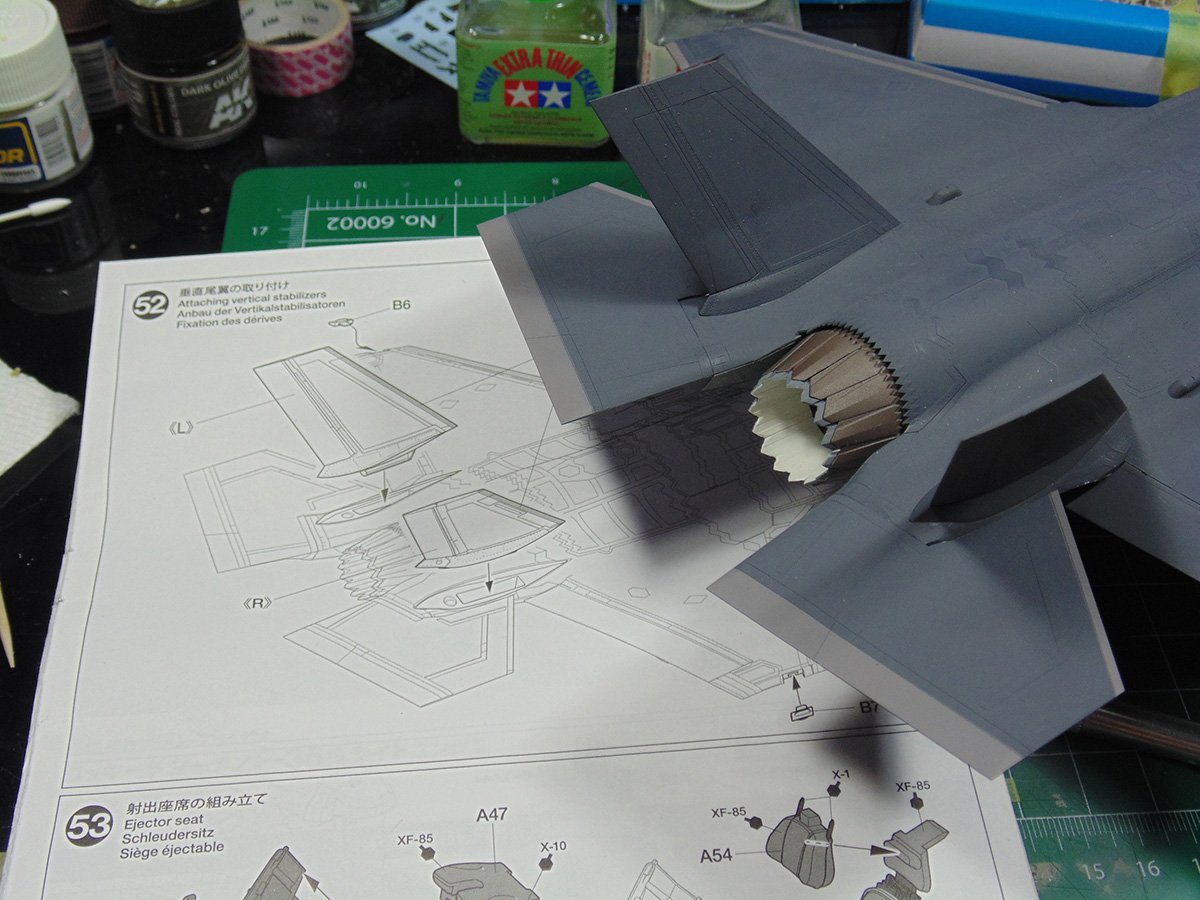
The rear stabilizers need to be ladled and while the parts fit really good there is a slight flex in them. An easy fix with some clamps. Let these cement dry for a good 30 minutes before moving on. Use some IPA to wipe any finger marks or debris to have a clean surface to spay your paint.
When doing the outer light markers you have pay close attention to the supplied correction sheet of Step 52. Here I’m masking them a frisker first then spraying each later.
In my decades of experience clear styrene never fits perfectly with pigmented styrene. It’s just how things go for every manufacturer. You will have to gently remove some material from the wing tips and core out the inserts which the part has to fit in. Plus, it’s a good idea to scrape the paint from the connecting insert tabs of the clear parts.
Because you have to handle this replica so much it’s a good idea to wipe it down. I use a combination of cotton swabs, but my favorite are Tamiya micro swabs. They are super high quality and keep water in them long enough to do the job. This vital to have a nice paint finish for the touch-ups to come.

After you’ve done the wiping down and things have dried use a brush to remove any lint. This will get rid of the dust and help smooth the surface even more. Rince that brush in lacquer thinner right away though.
As mentioned, you’ll need to do some masking of the airframe. It will take some time yet a necessary one. Some kitchen roll will work here along with either Tamiya or Mr. Hobby tape.
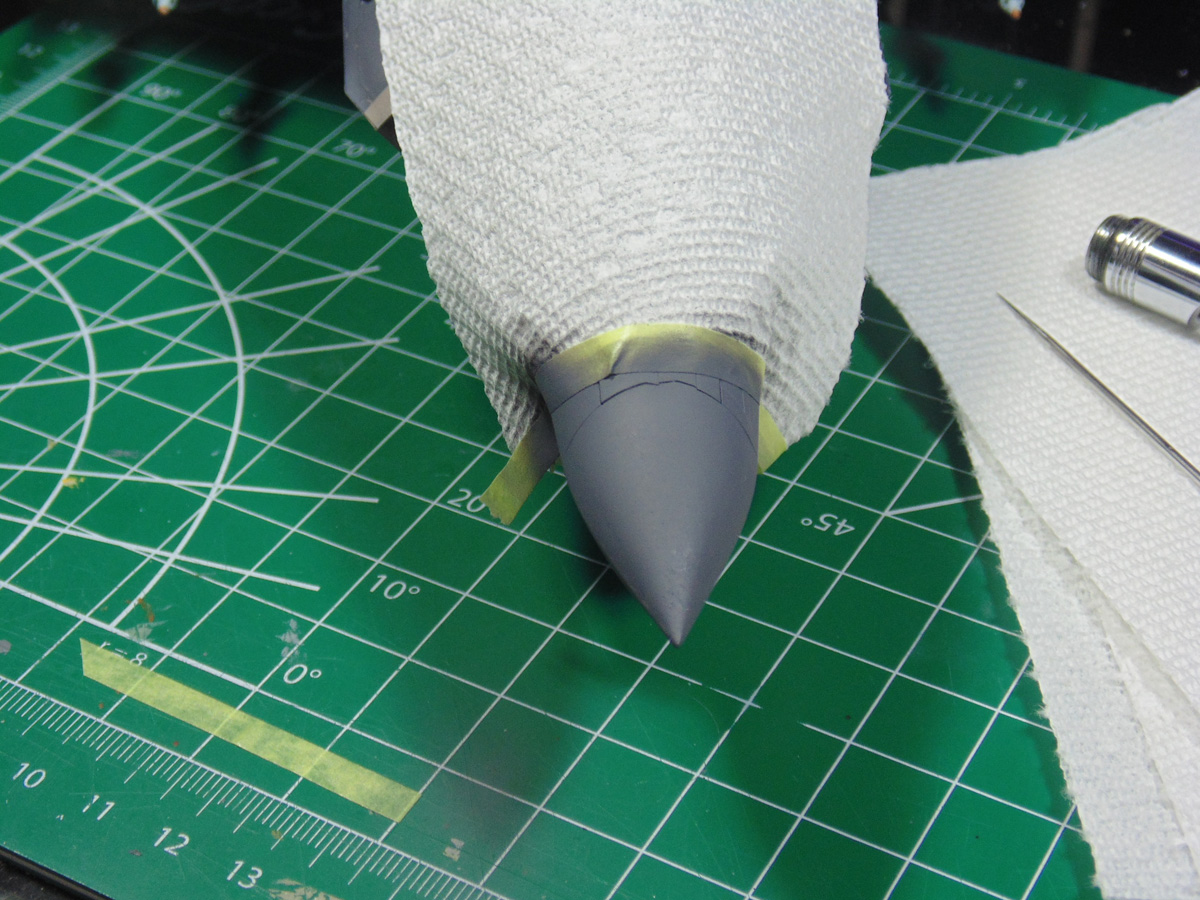
Other areas need attention if you chose to have sanded them. The fit of the model is nice; however, the seams need a smidgen of help if want them better.
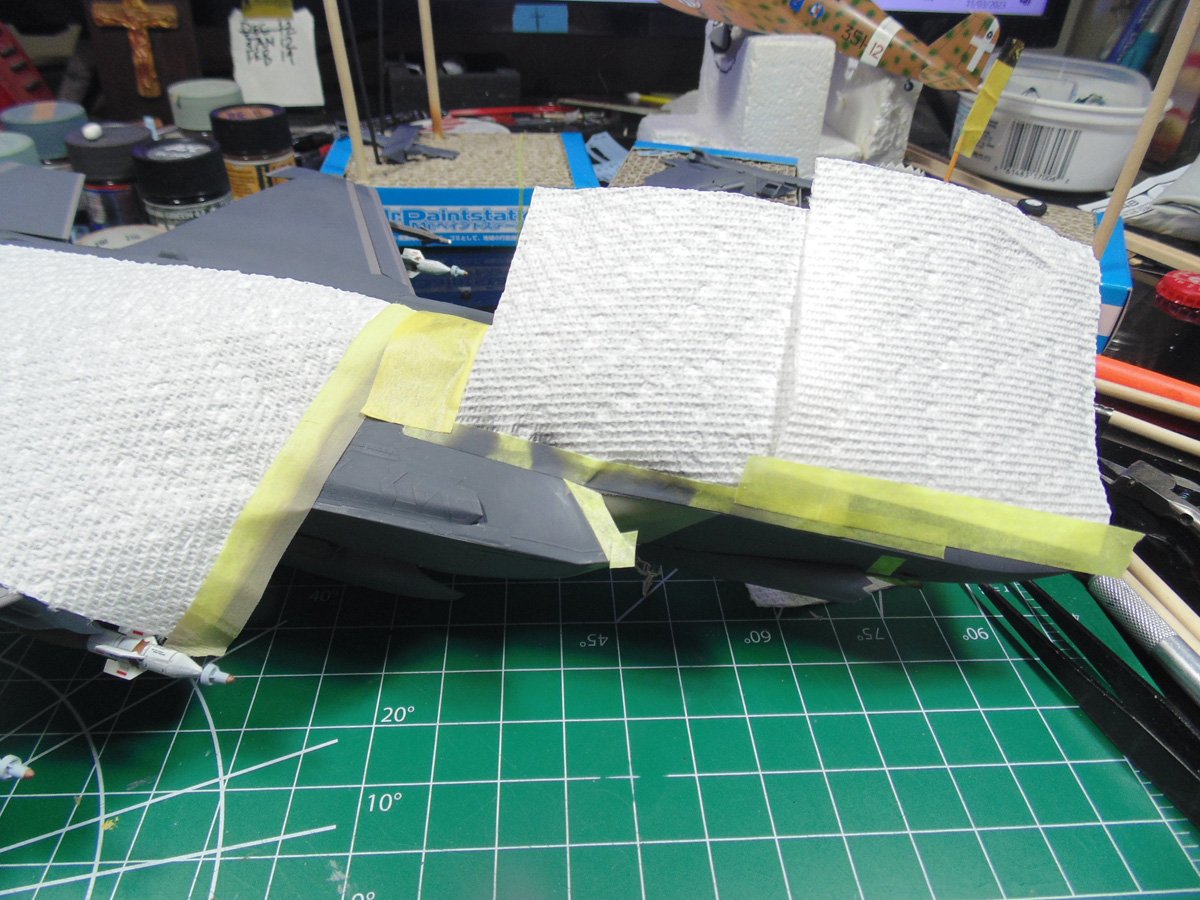
Be sure to mask any clear parts when re-spraying. Those masked off sections are to be removed at the end of the project’s completion. Now that the bombs, missiles, flaperons, exhaust and minor touch-up are complete you can add the stabs. You must hold these in place for no less than ten minutes and let them settle for an hour before moving to the next one.
And there you have it. Plenty of complicated work which anyone can do. Just some time and patience are all that’s needed, but the end result looks great.
If you have any questions about the products or methods used in this article, please feel free to ask the staff when you pick up or place your next order from Sunward Hobbies.
About the Author:
H.G. Barnes is a former voice-over artist and retired sales and marketing professional. He’s the author of two large volume science fiction adventure romance novels with many more in the works. For well over 40 years he’s been building scale model replicas and now does commission work for clients in Canada and the USA, plus completes projects for companies in Asia and Europe.
Currently H.G. is involved as an Associate Editor with KitMaker Network’s Online Magazine Channels.