
Airfix Supermarine Spitfire F Mk.IXc 1/24 Scale A17001 Build – Part 4 Final Post
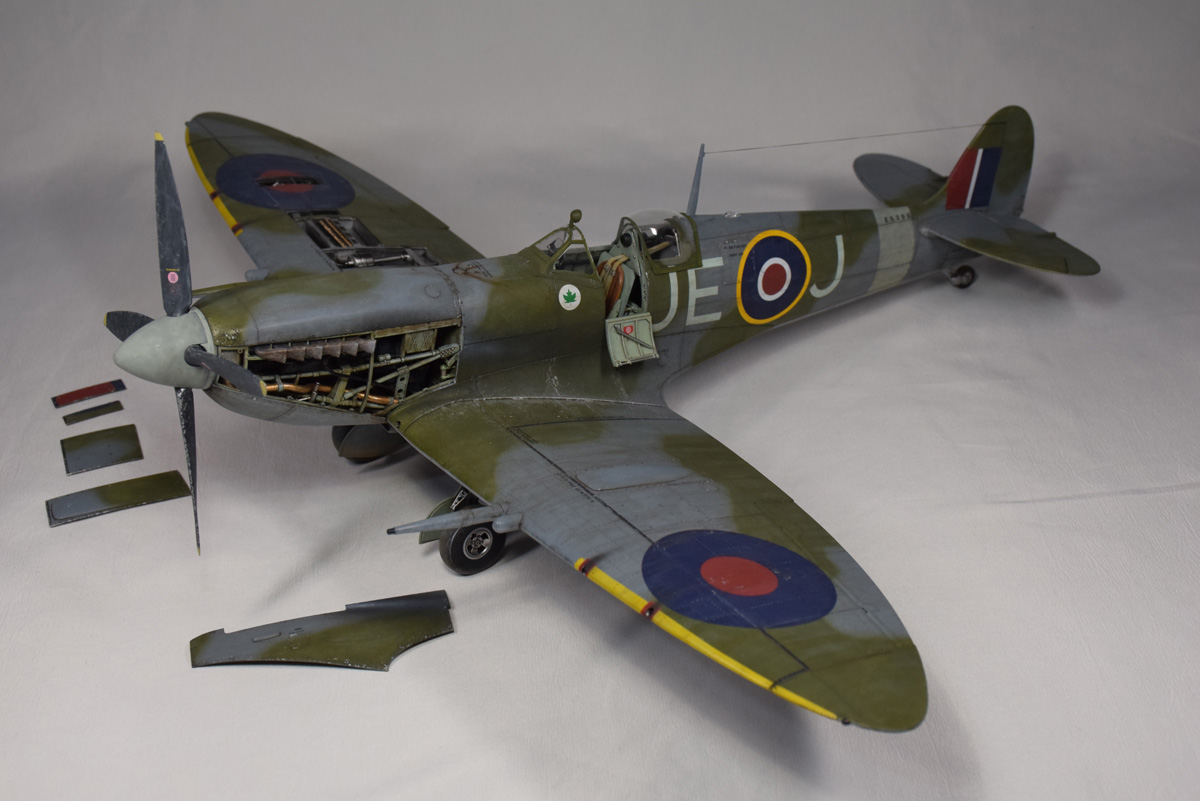
And now we’ve come to the last leg of this Spitfire build. All that remains is to attach the remaining parts, paint and apply the decals of this large kit- the Airfix Supermarine Spitfire F – Item 17001
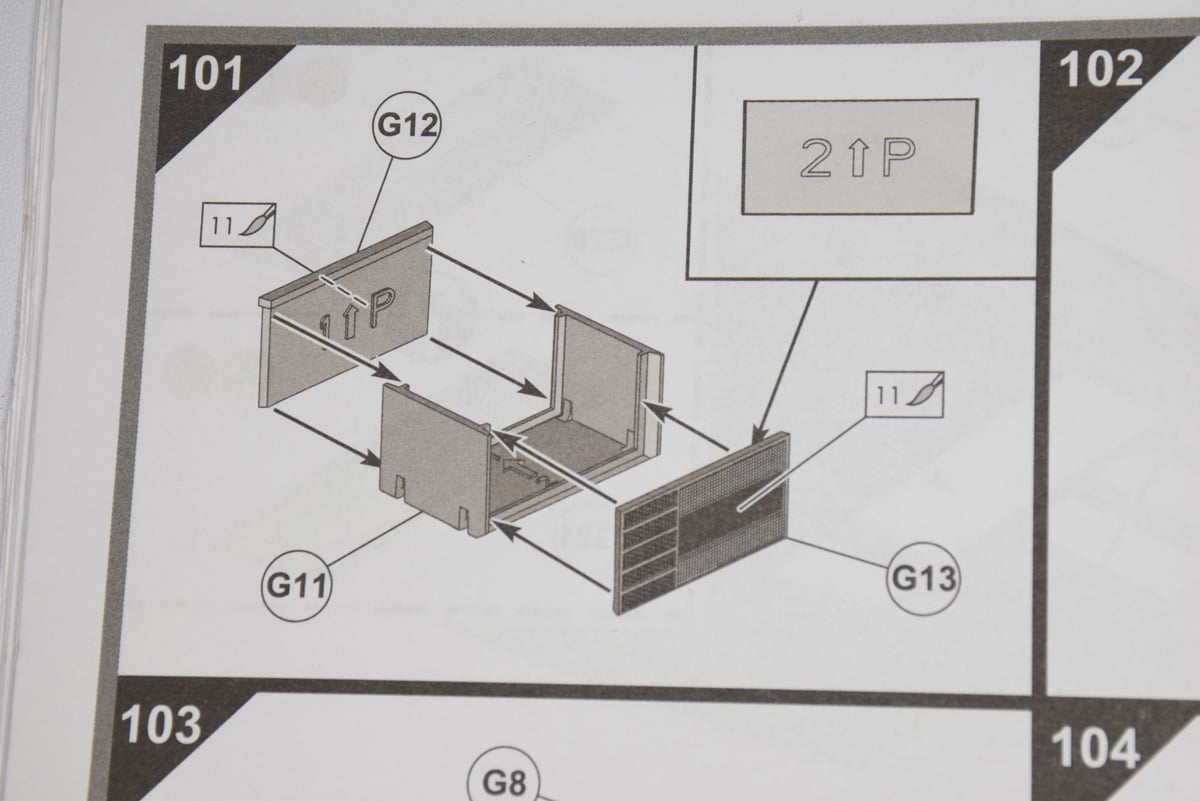
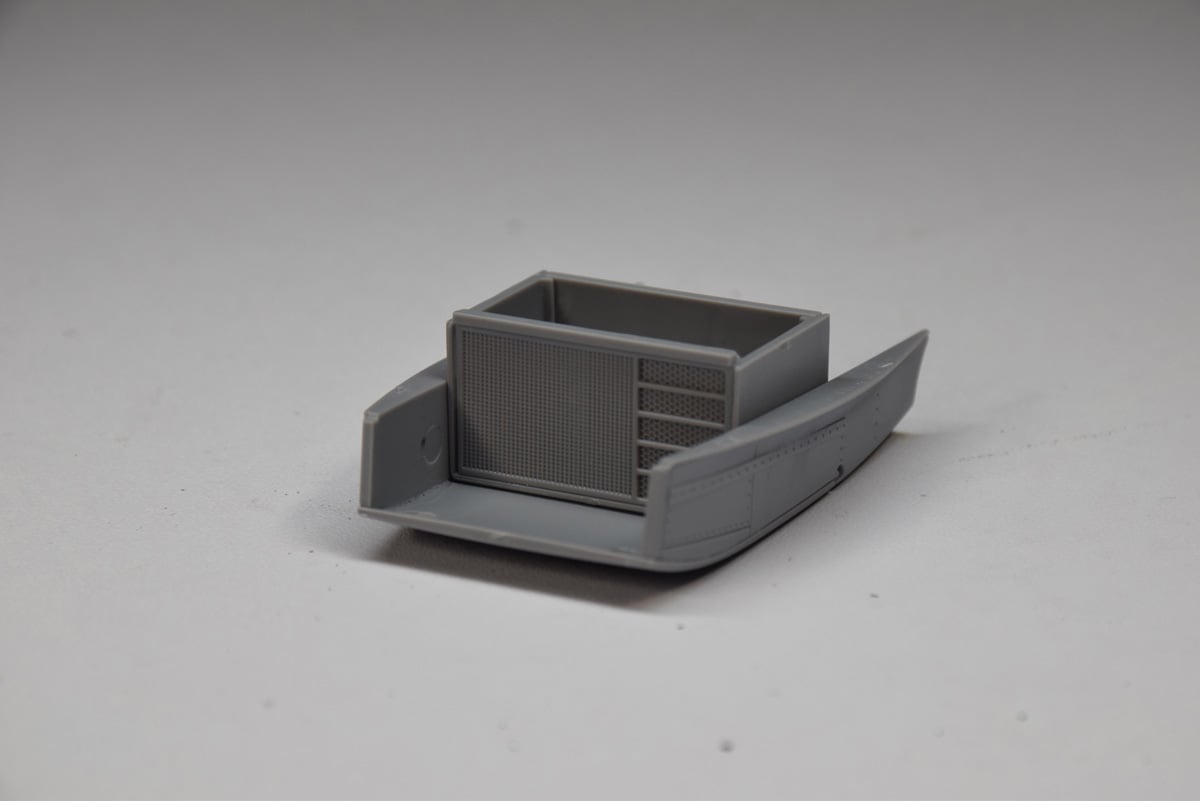
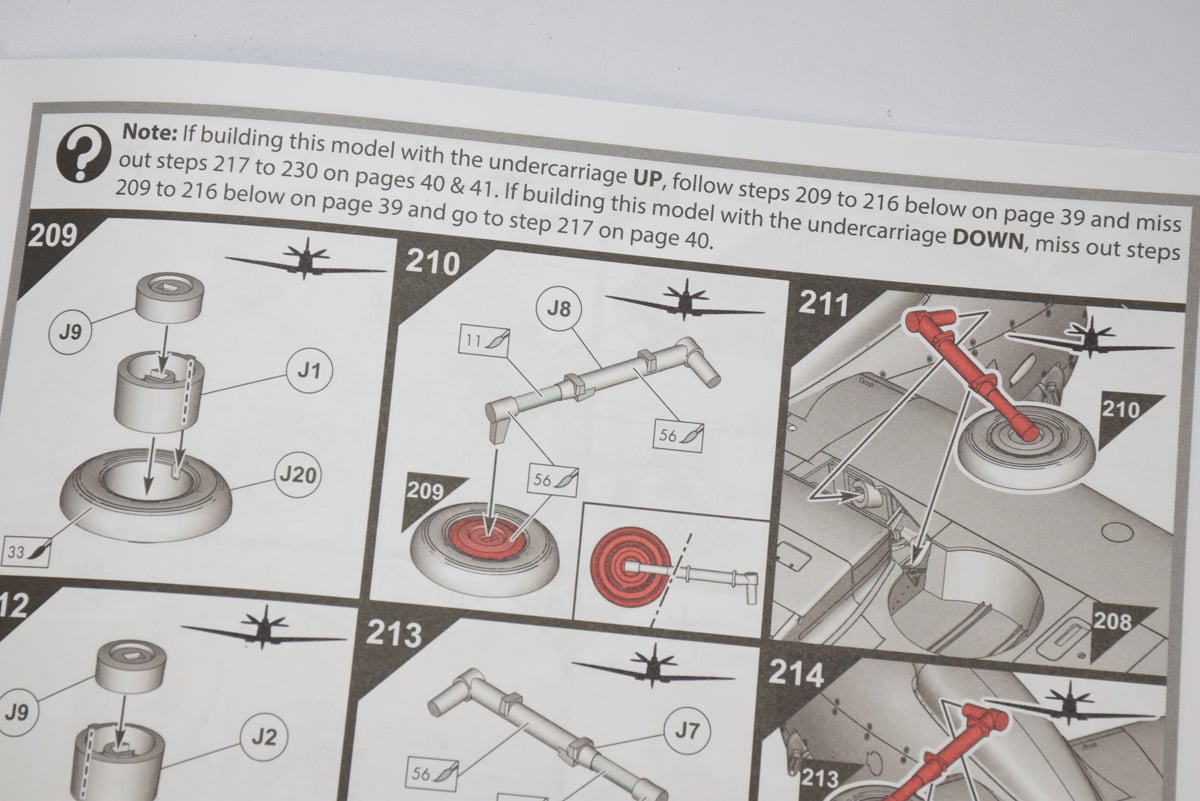
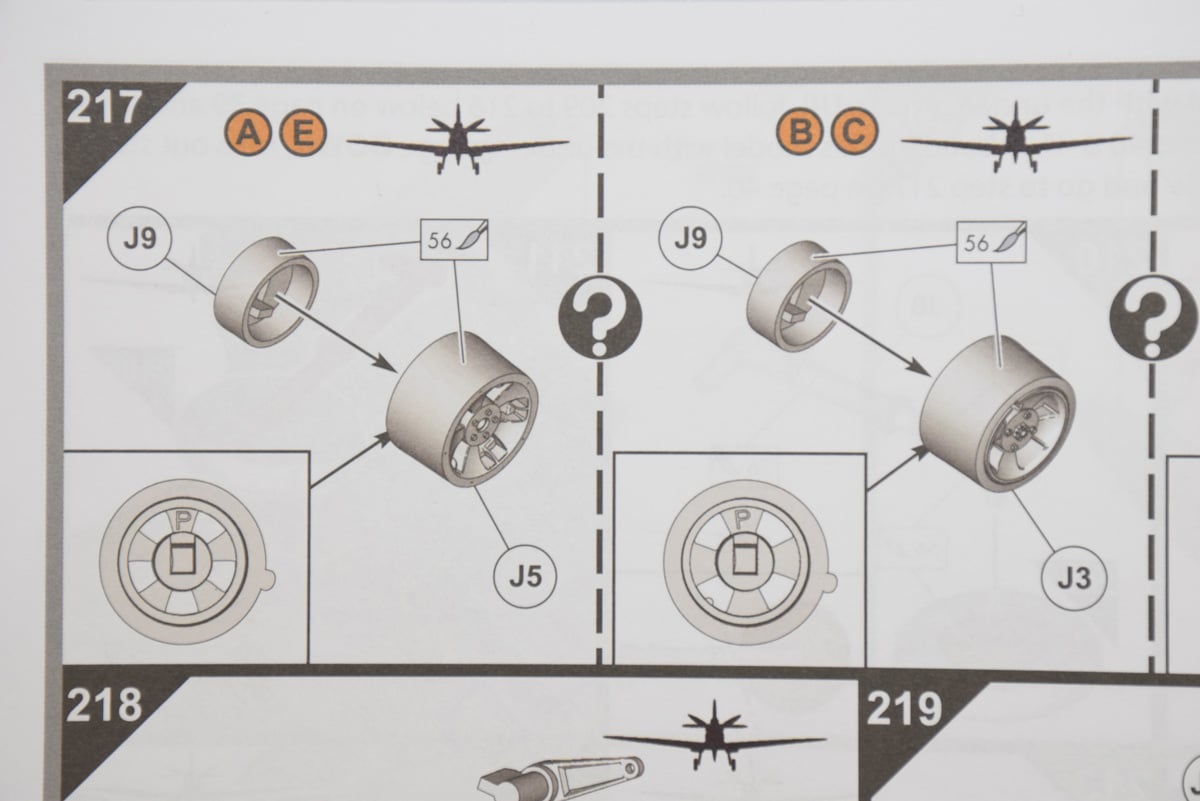
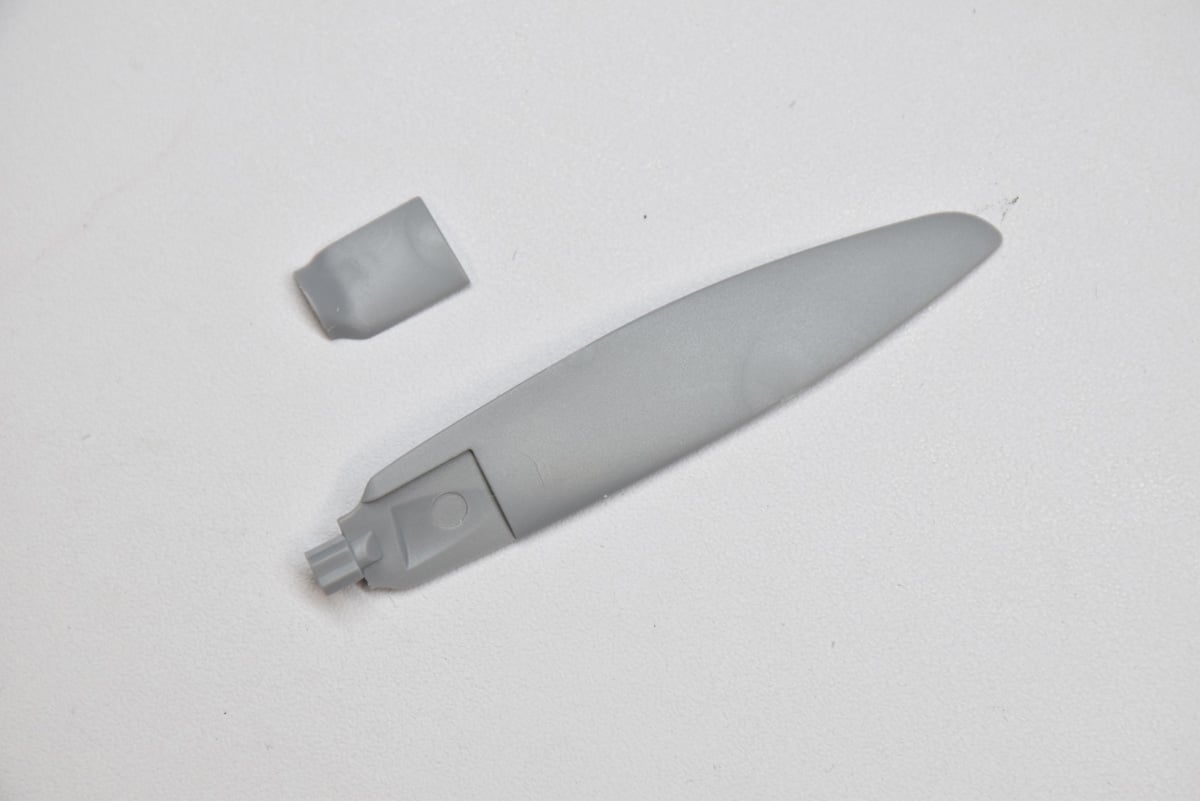
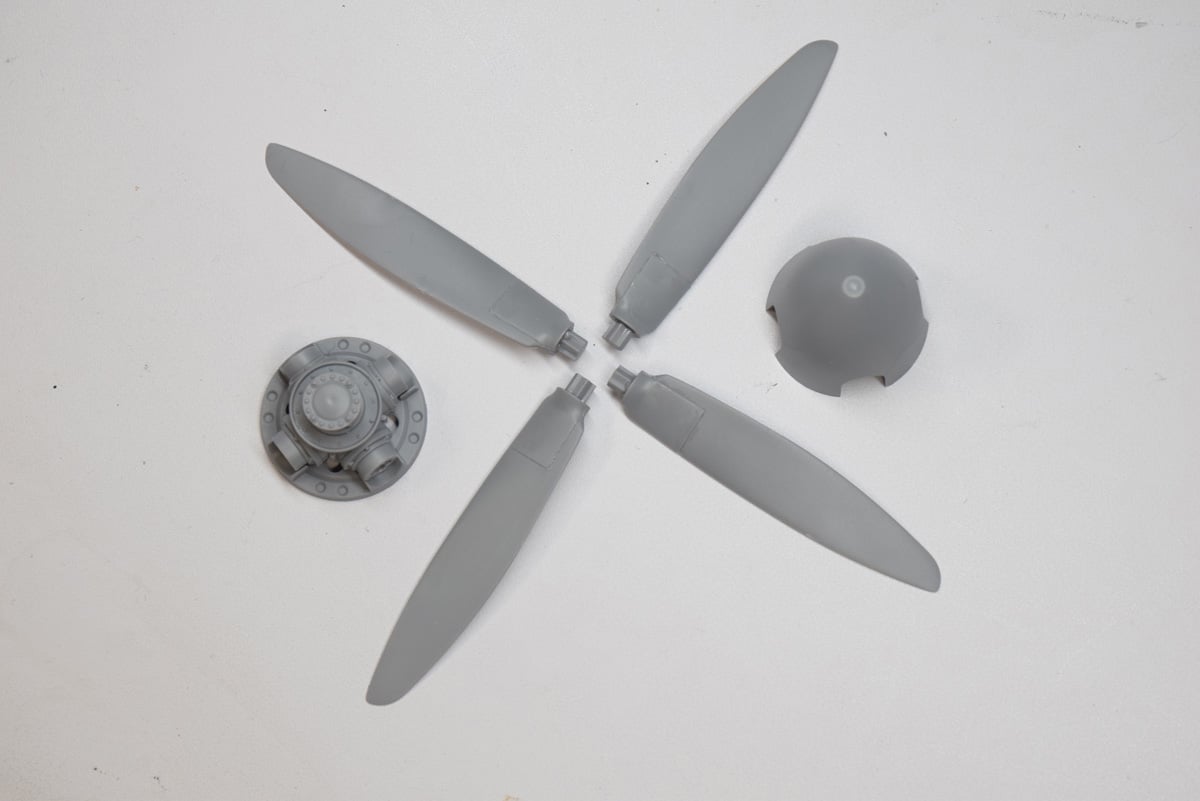
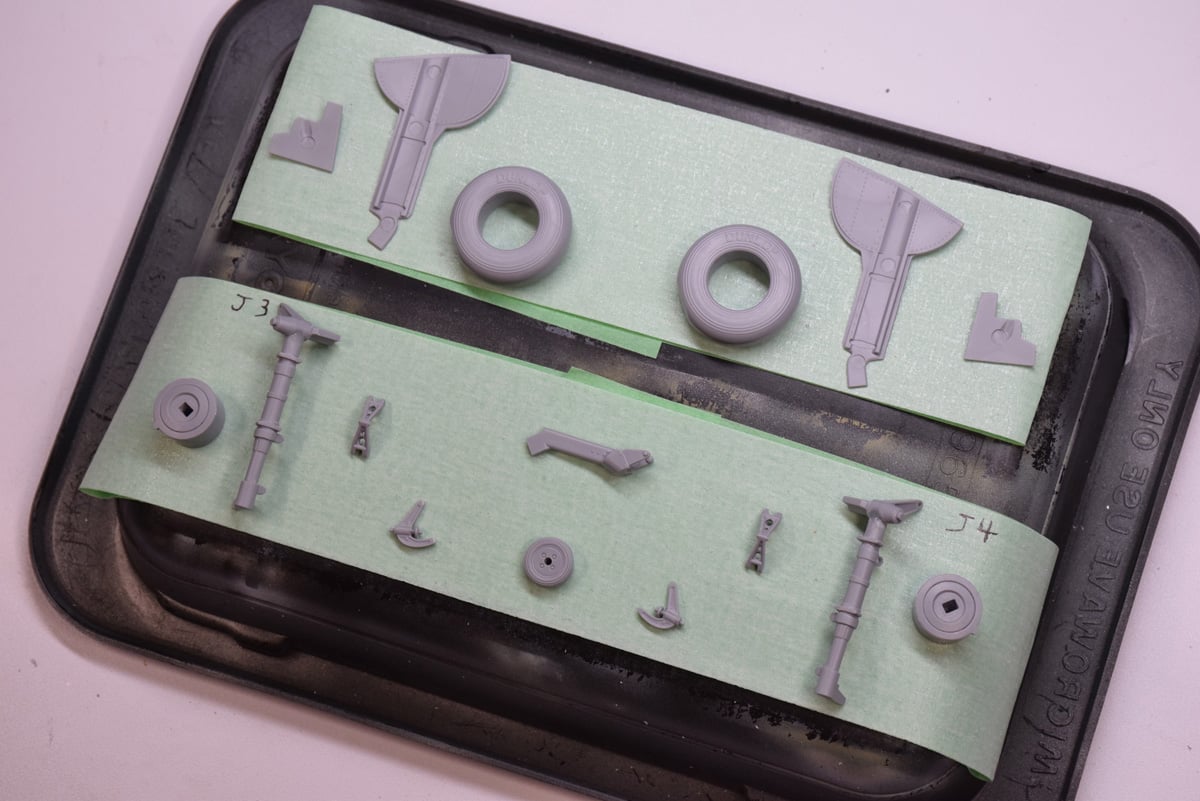
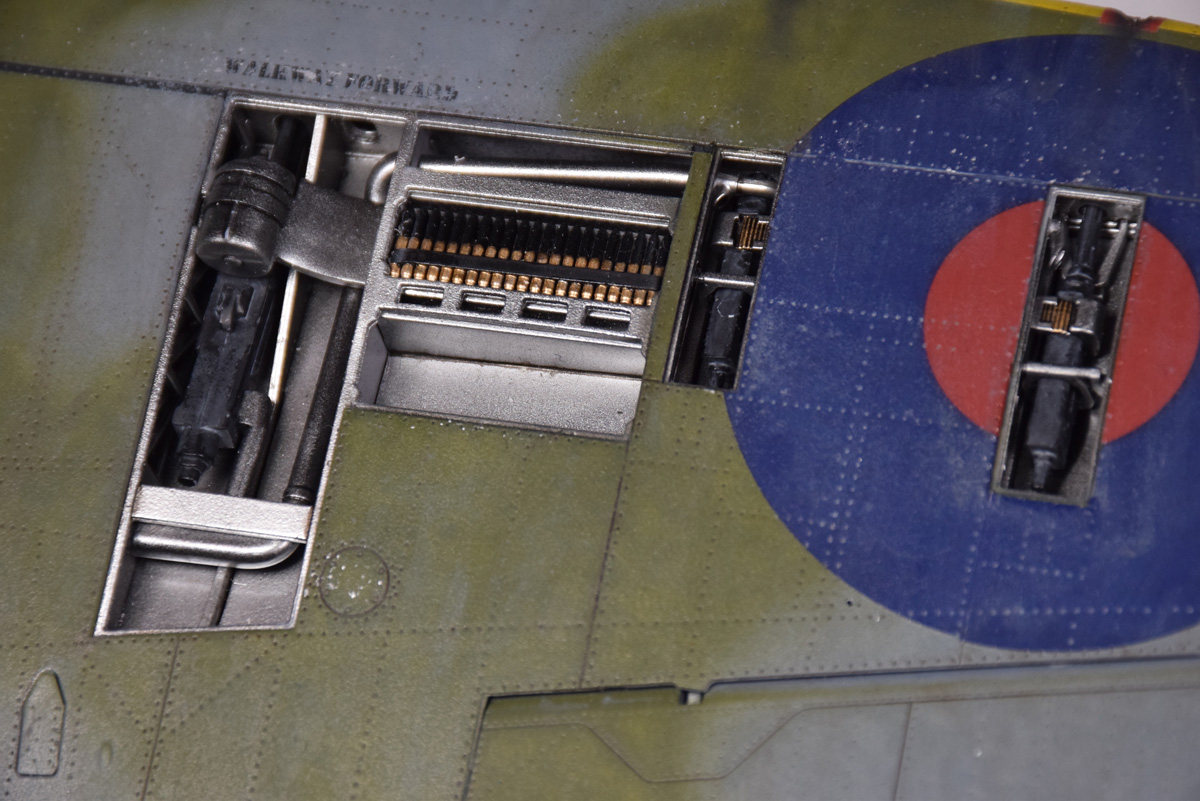
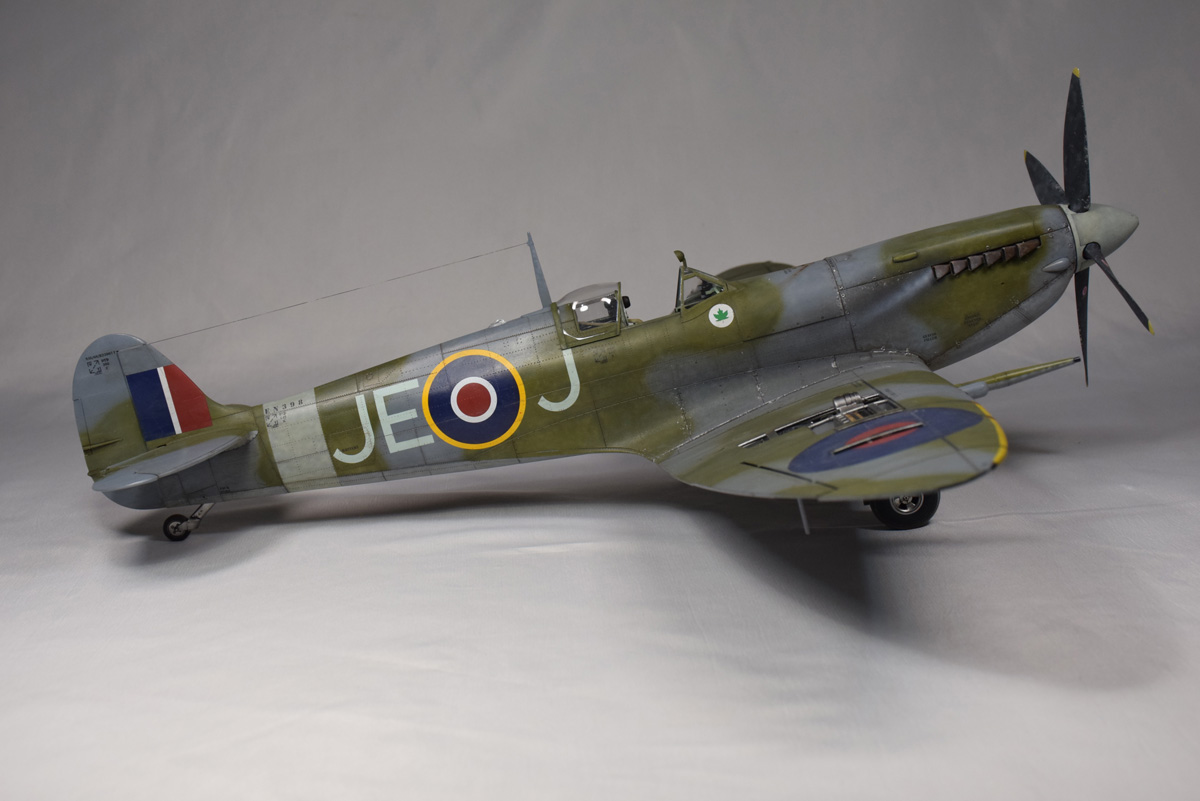
With 90% of the airframe already built, only the underwing radiator/oil coolers, landing gear, and propeller remain unattached. When it came to the radiators thankfully Airfix made it idiot-proof and labelled the two underwing housings by port and starboard so you know exactly which one goes where. When it comes to the landing gear you have the option to glue the wheels up for display on a stand or hanging from the ceiling, or wheels down for ground display; in my case I am positioning them down. The outer side of the tire rims have two options though they are very similar, just follow whichever variant you’ve chosen to build. The propellers were oddly enough molded in two pieces comprising of the blade and one tiny fragment at the base which I assume was made this way to cover up the sink mark on the blade.
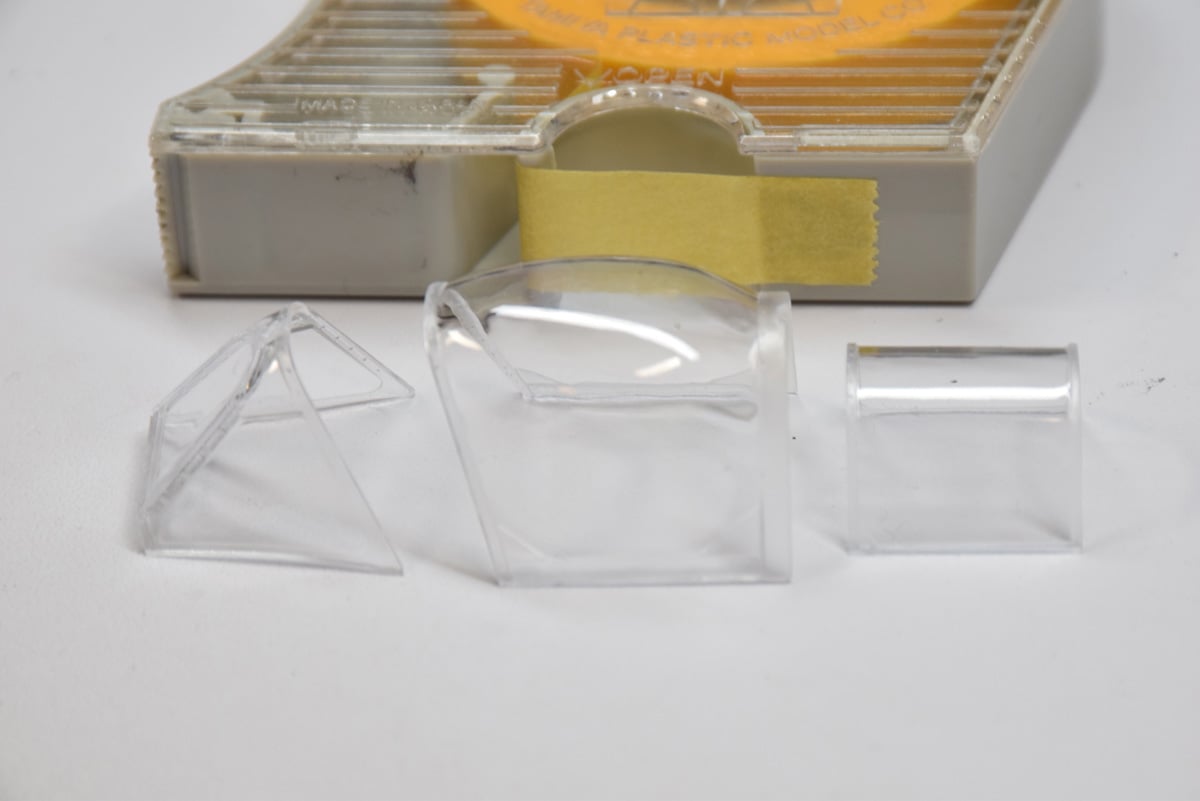
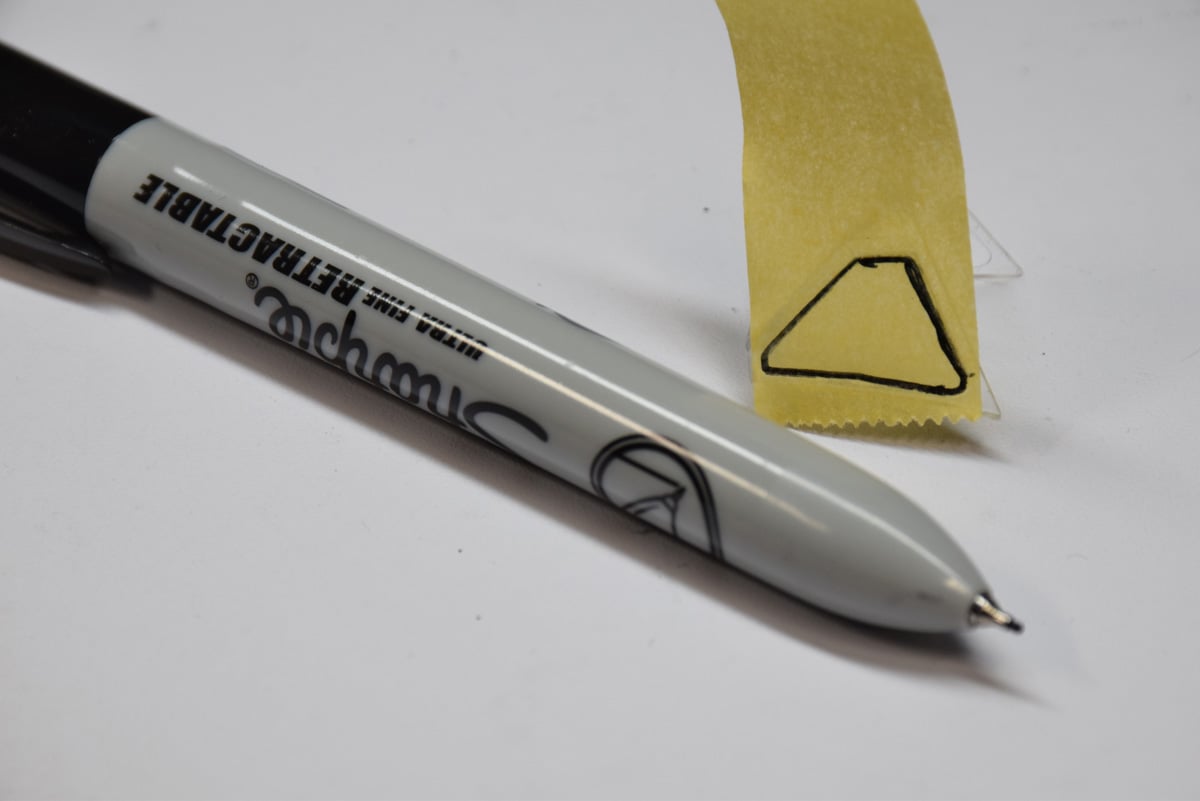
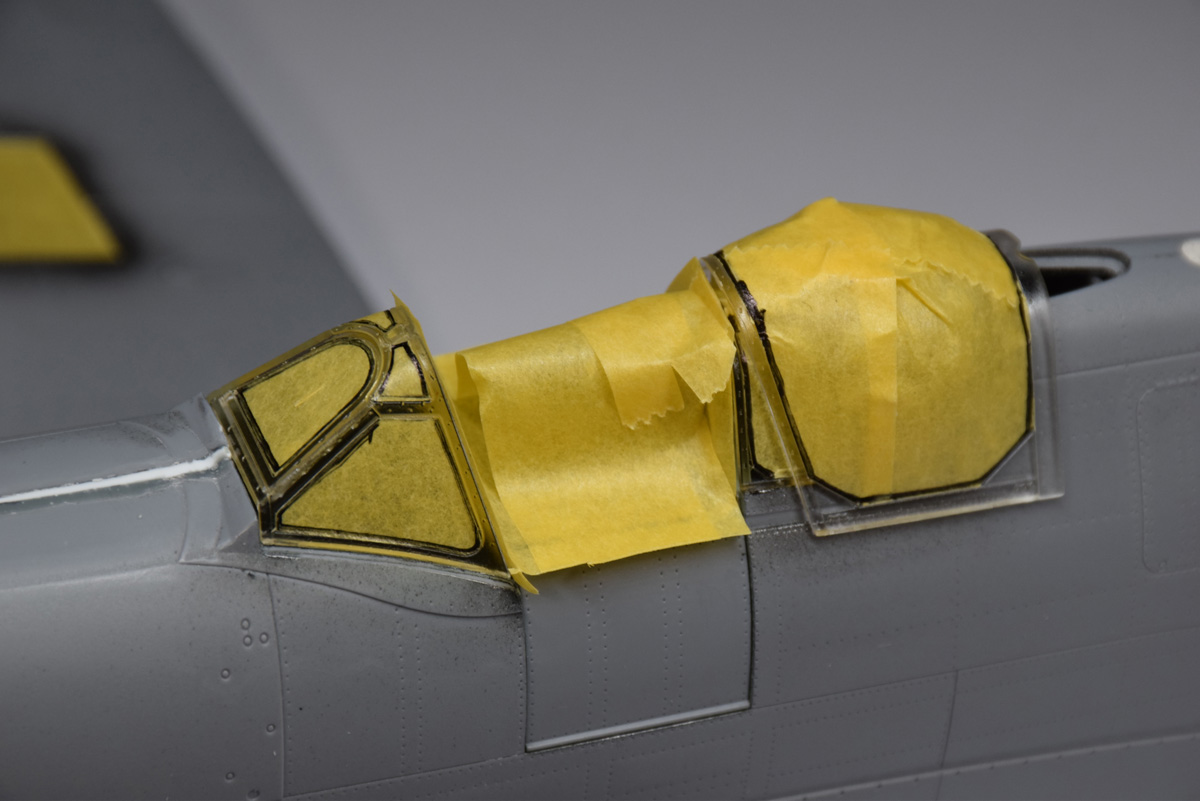
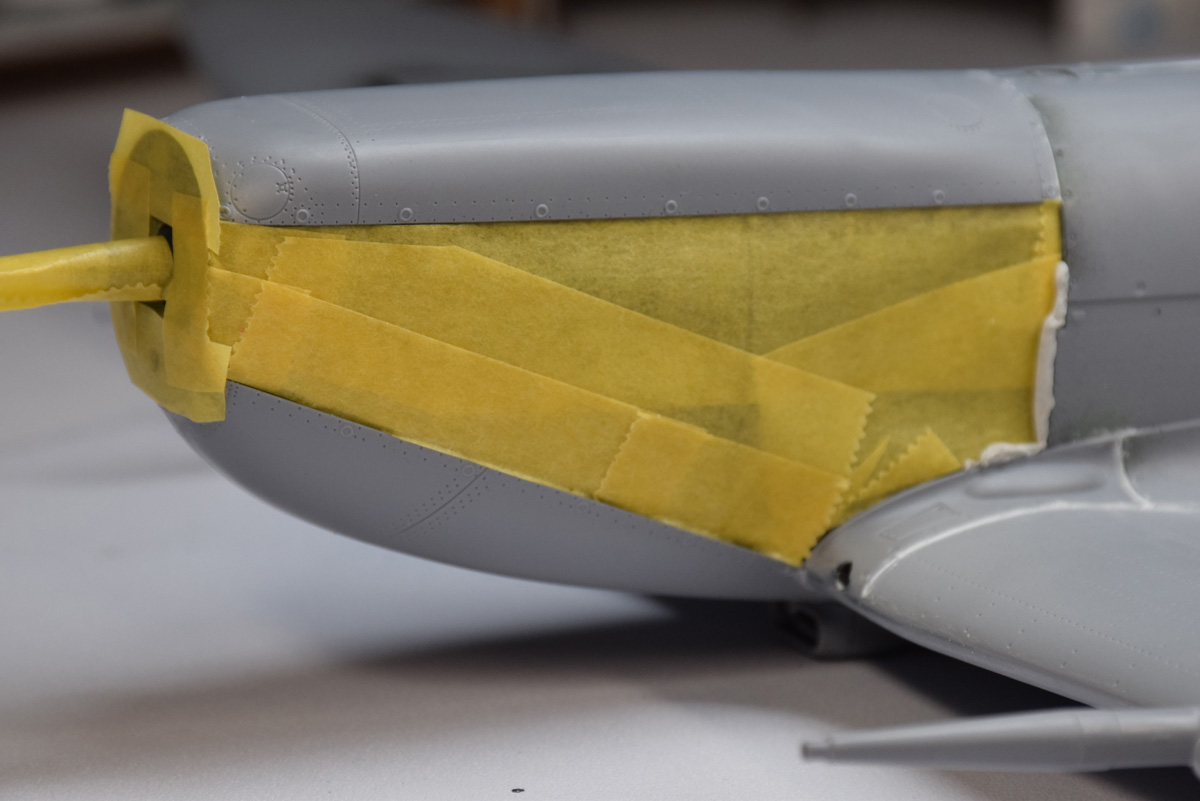
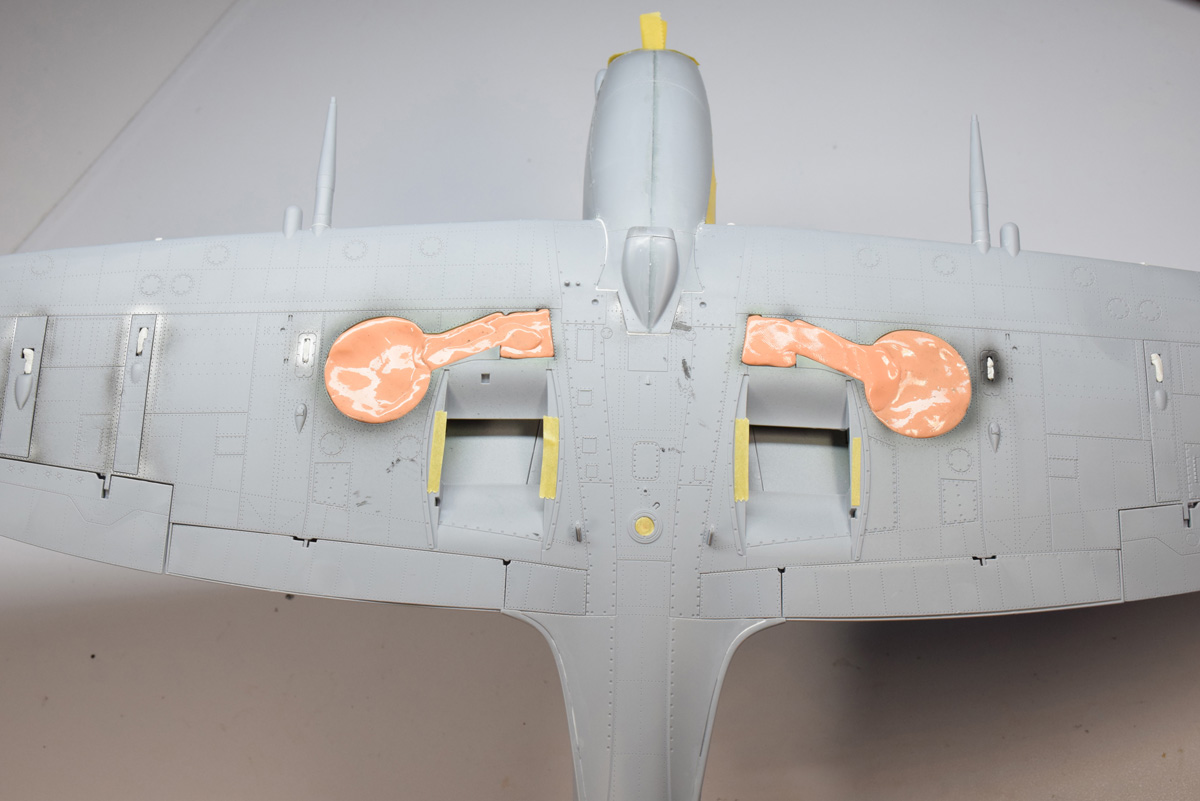
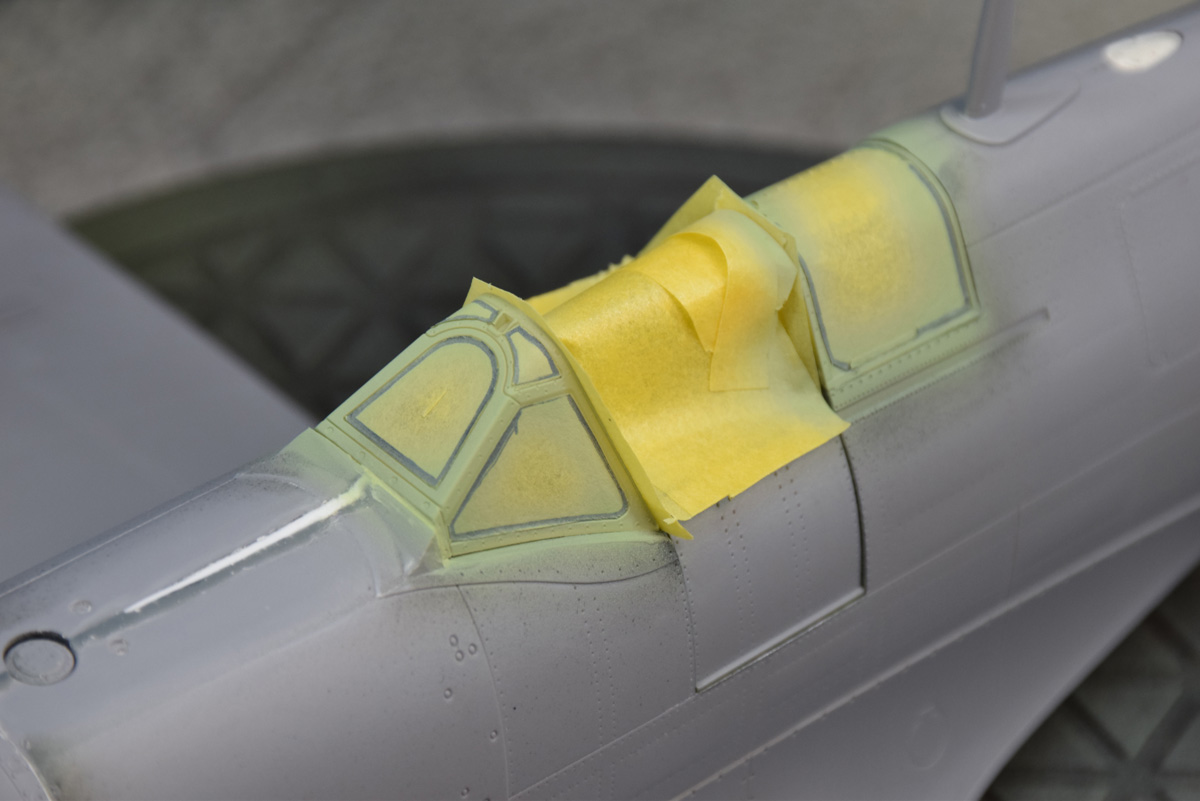
Now before I begin painting, I need to cover up any parts that can’t get paint on them with some Tamiya masking tape as well as some white tac and silly putty. First, the canopy; My process for masking canopies is to place some masking tape over the area I’m working on, find the raised frames with a burnisher, draw the outline and then place the tape on an Excel cutting mat and cut the outline which is to then be placed back on the canopy. Lastly I fill in the cockpit, exposed engine, and wheel bays with tape and putty.
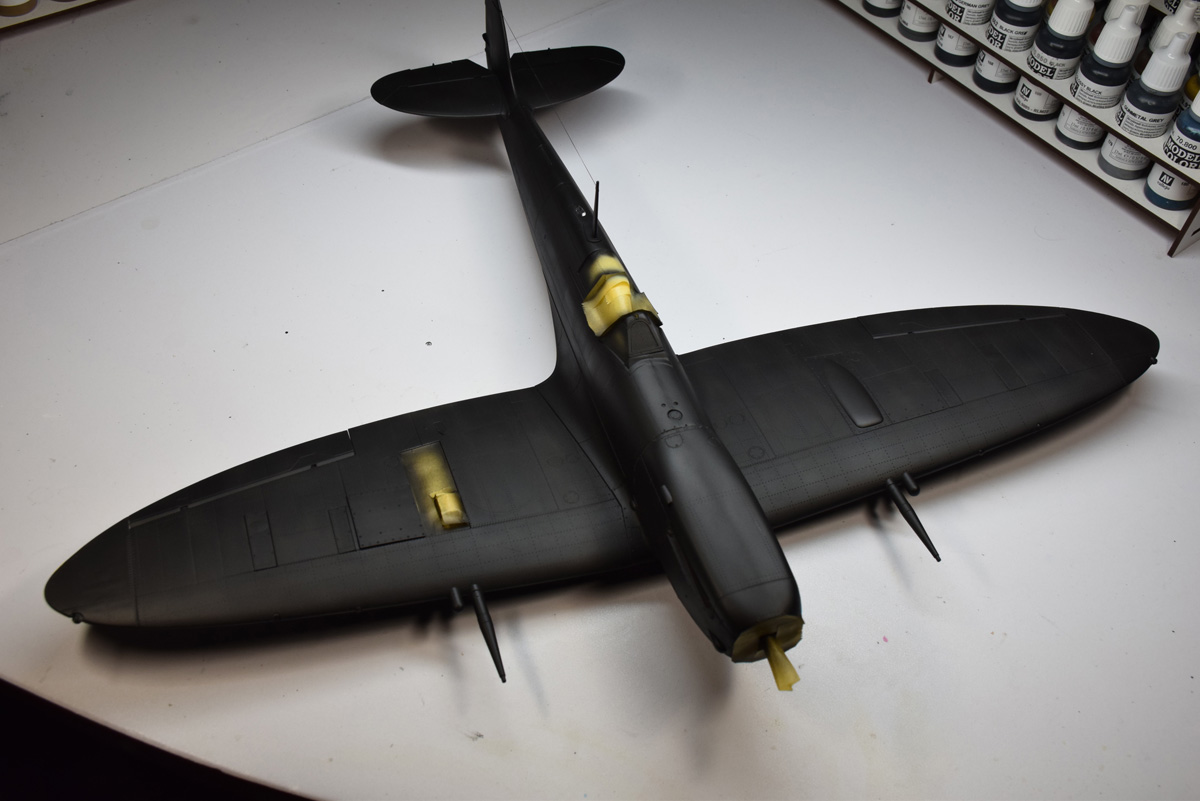
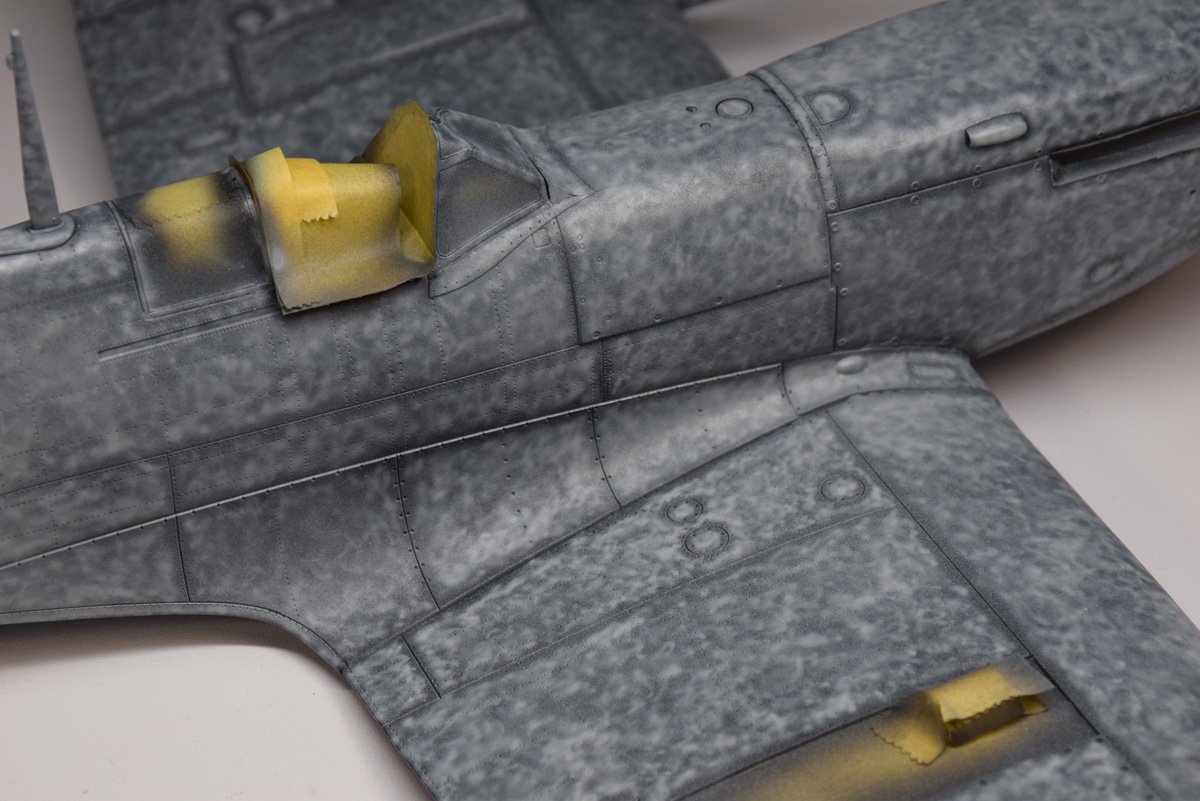
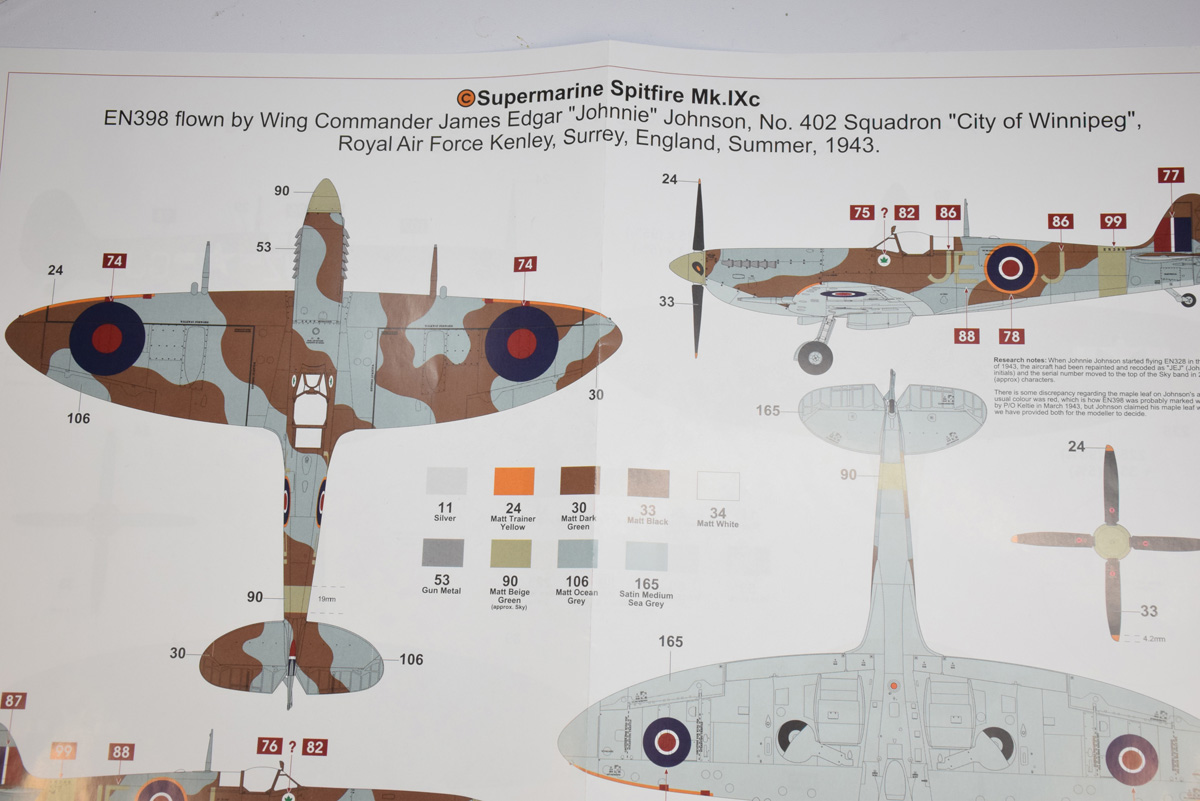
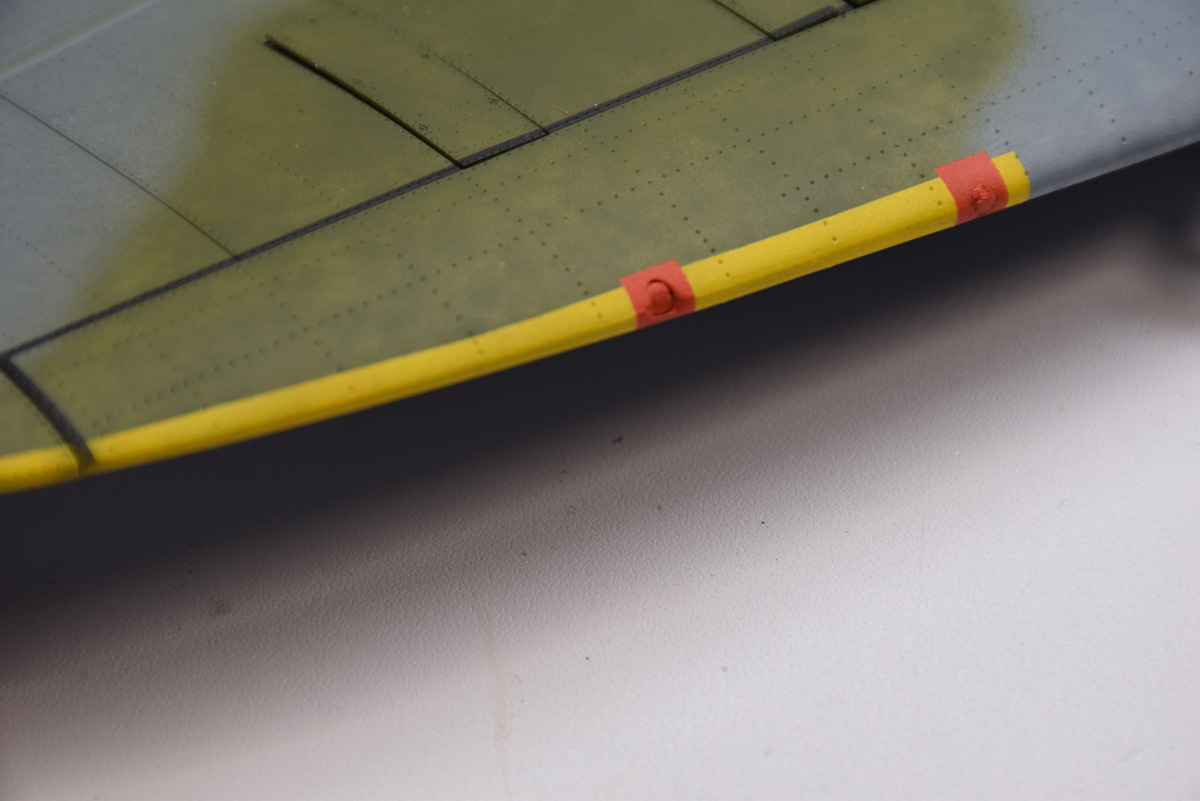
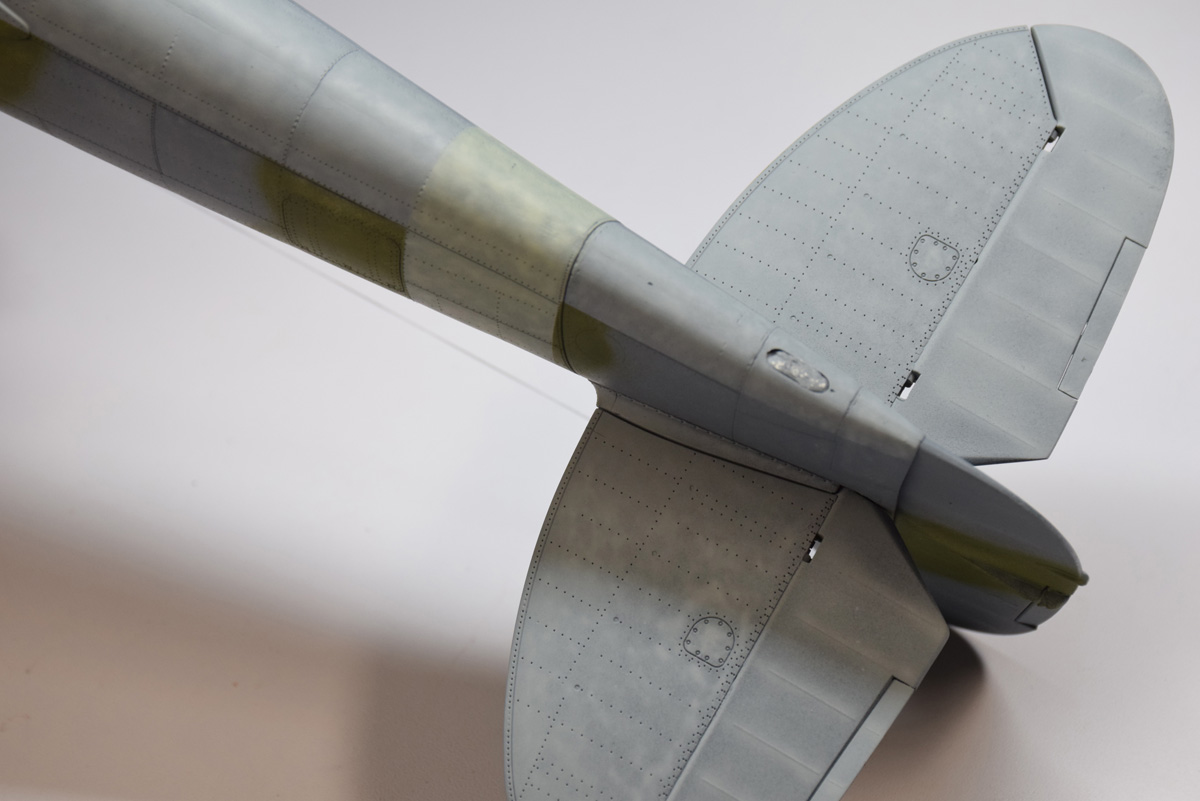
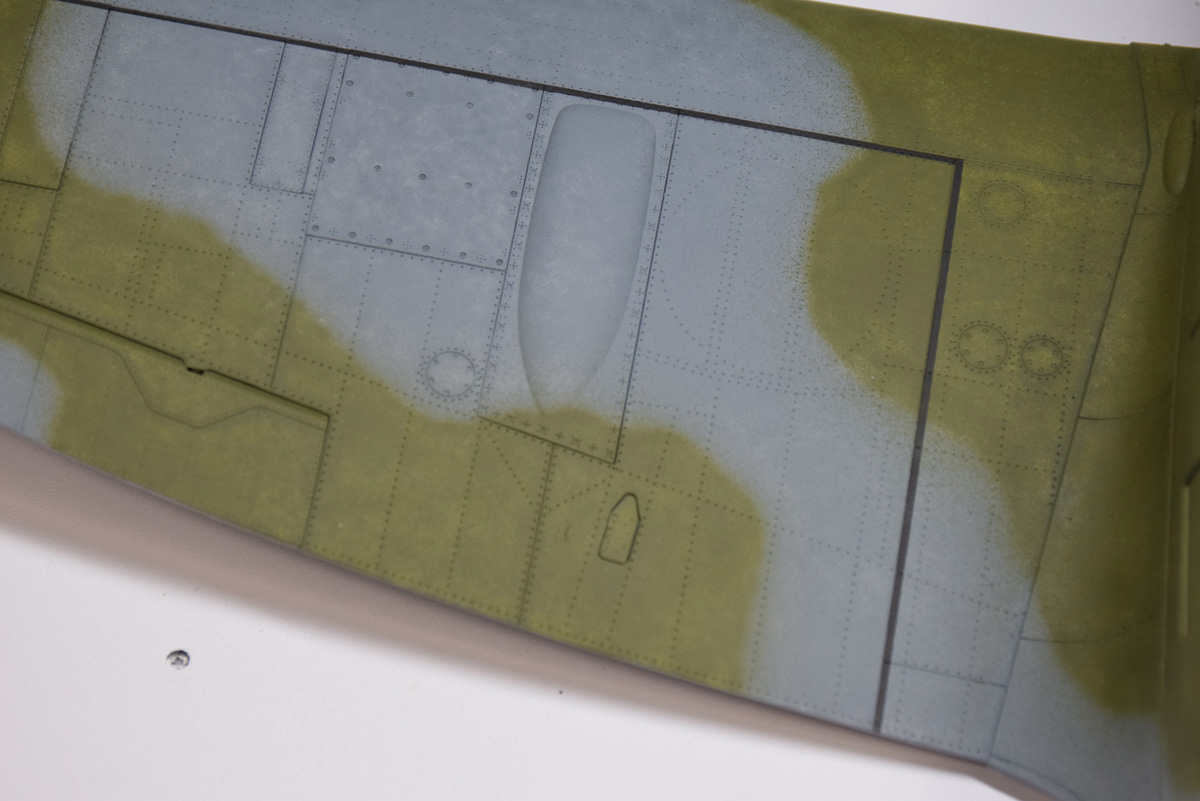
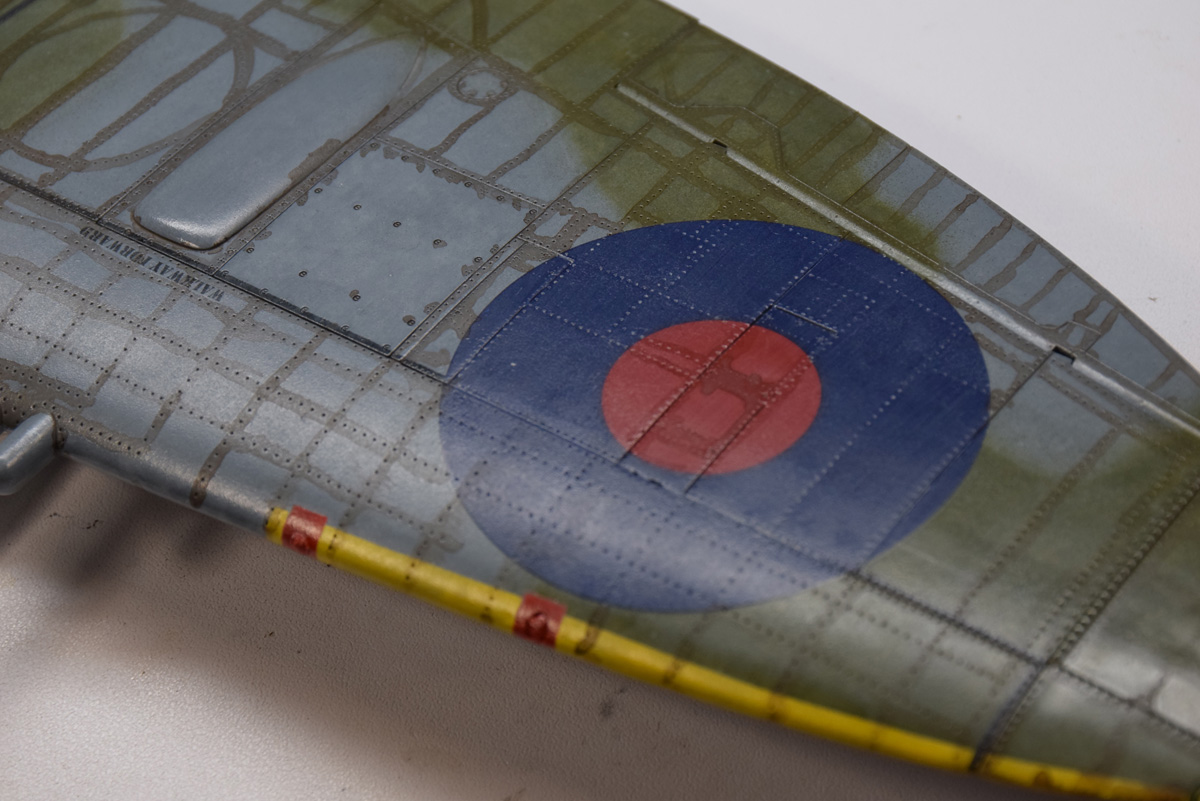
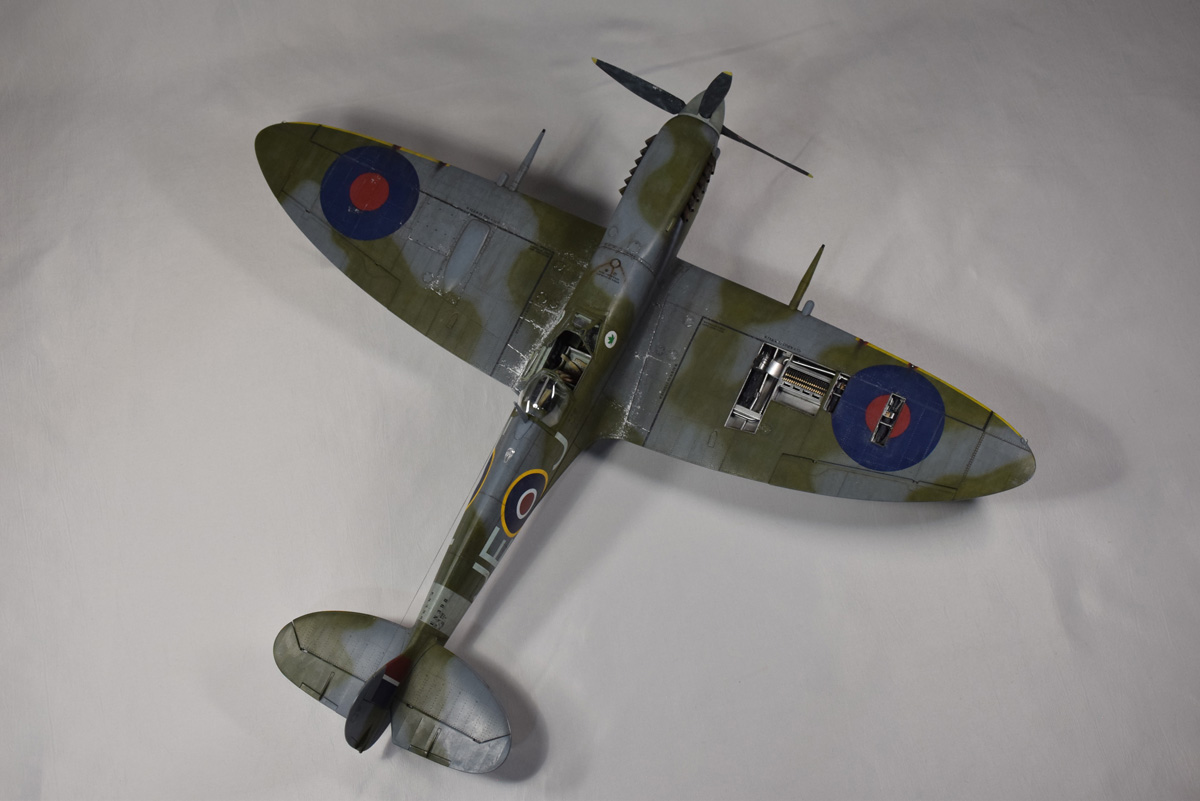
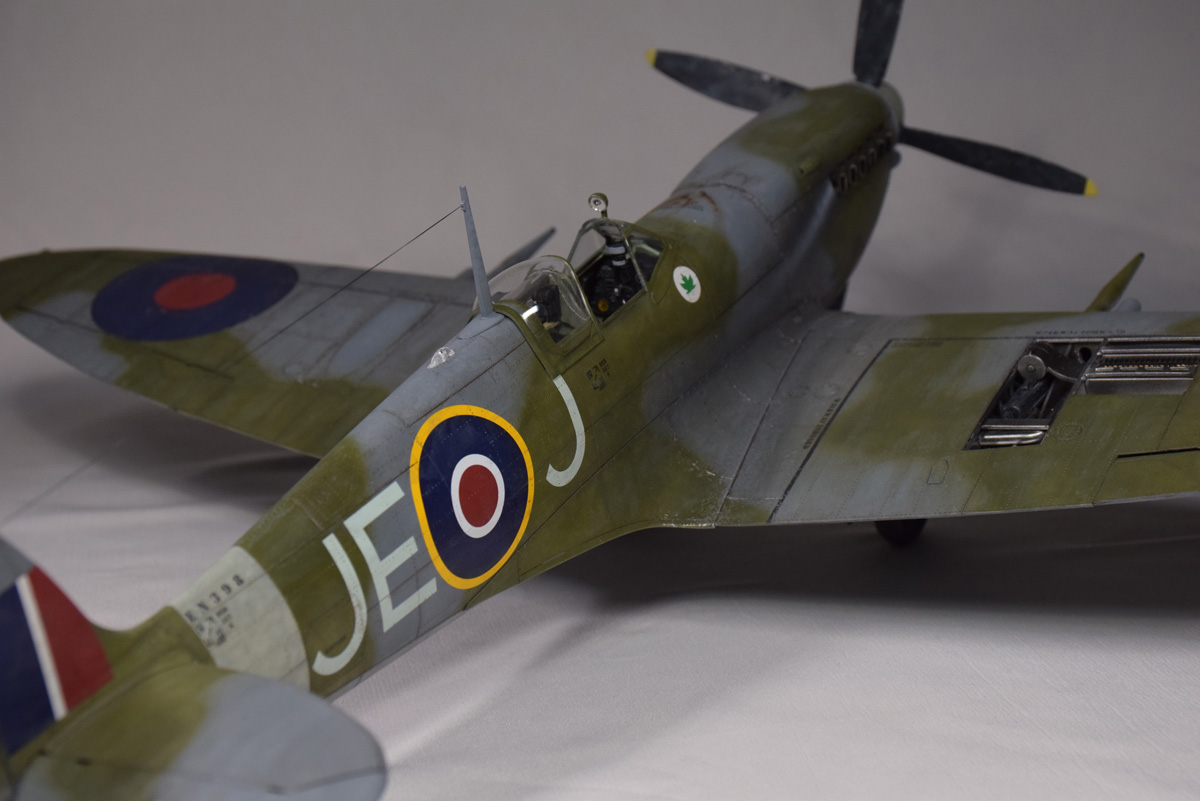
Here’s the fun part, painting. Here’s a neat tip to get the inside of the canopy framing the same color as the cockpit. Before applying primer, simply paint the canopy in Vallejo Model Air Interior Gray Green 71305 and whatever paint you put on top of it, the inner framing will match the cockpit color. Now comes the primer which for me is Mr Finishing Surfacer 1500 Black SF288 thinned with Mr Color Leveling Thinner. My marble coat which I mentioned before is a 3 to 1 mix of Testors Enamel paints Gloss White and Gloss Gray. If you’ve been following my entire build, you’ll know I’m building the C variant listed in the instructions so that will be the paint scheme I will replicate. It is the basic RAF post Battle of Britain day fighter camouflage scheme. To achieve this I worked entirely with Vallejo Model Air and I painted the gray portion with Ocean Gray mixed with a slight hint of a darker gray, the green portion was a even mix of BS Dark Green and US Forest Green and the underside, BS Medium Sea Gray. There are also some bonus touches such as the band around the fuselage which was Sky Type S, the leading edge ID stripes in Vallejo Game Air Gold Yellow, and the doped linen gun covering in Model Air Fire Red. One last touch, the kit comes with decals for the black walkway lines on the wings but I hate applying long, thin decals like those so I just painted those myself in Model Air Black.
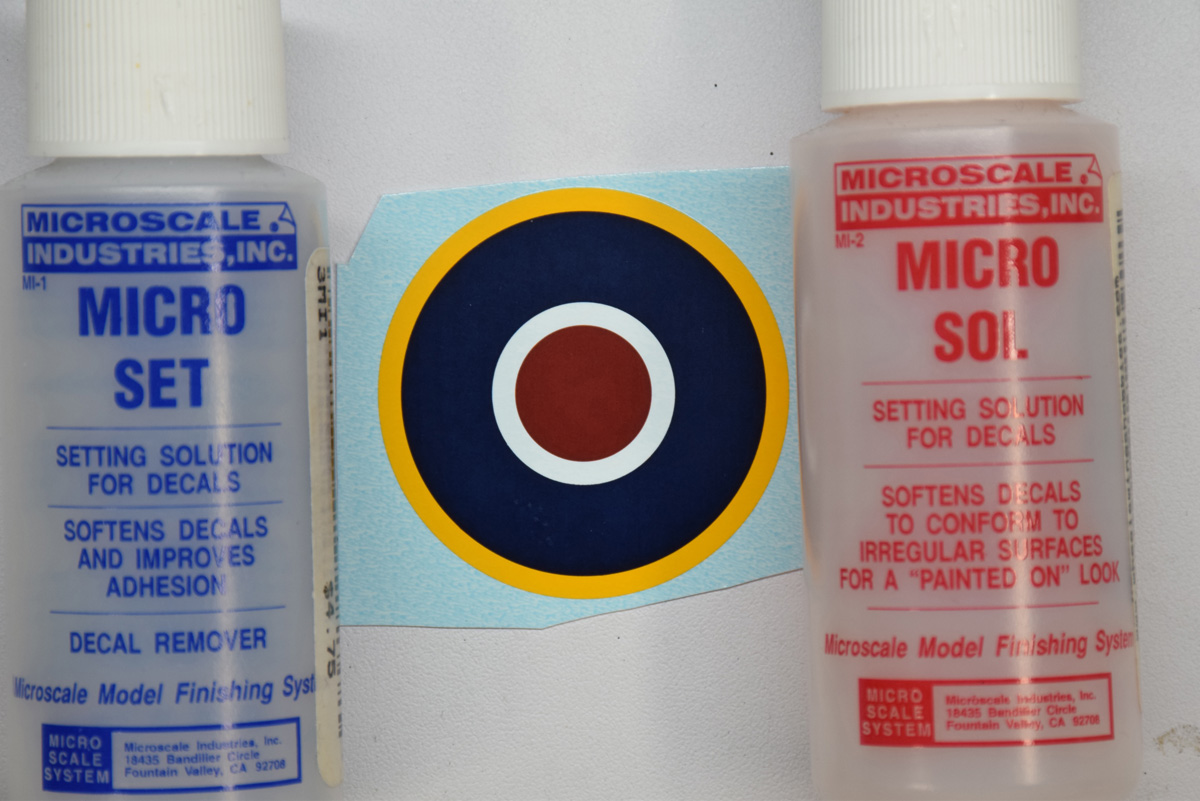
After a clear coat of Tamiya X-22, I move on to the decals. Normally I’ve found myself painting all the roundels and insignias on my aircraft projects myself as they provide a more realistic looking product but for this case I will use the decals. Basically it consists of six RAF post 1941 roundels, two tail flashes, the squadron ID letters, and standard RAF stencils signaling access hatches and walkways. When applying a waterslide decal, you simply cut out each decal and submerge it in warm water for about 30 seconds. While you are waiting, applying decal solutions will help the decal adhere better and sink deep into any recessed detail underneath it. First I apply some Microscale Micro Set to act as a primer, then the decal goes on with a little firm pressure in form of rolling over it with a cotton swab. Once all the decals are applied, I went back with some Microscale Micro Sol to soften the decals and force them to sink deep into the rivets and panel lines achieving that painted on look.
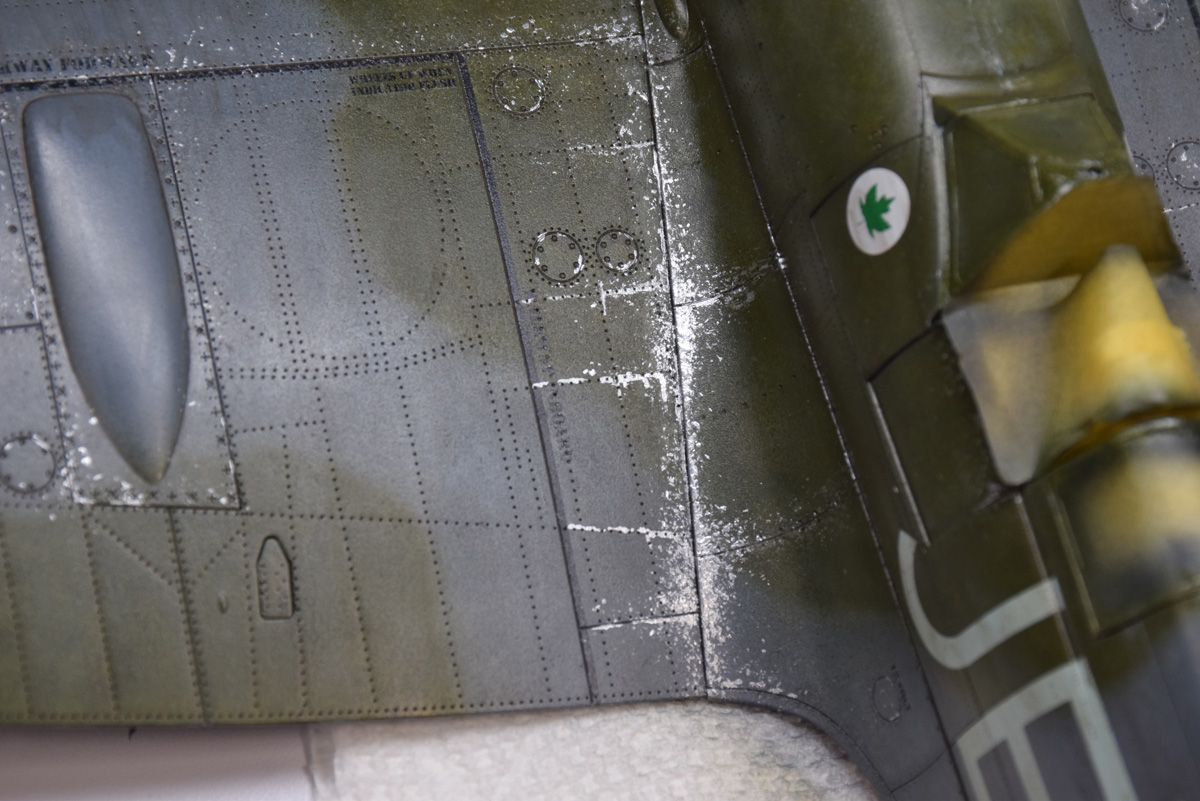
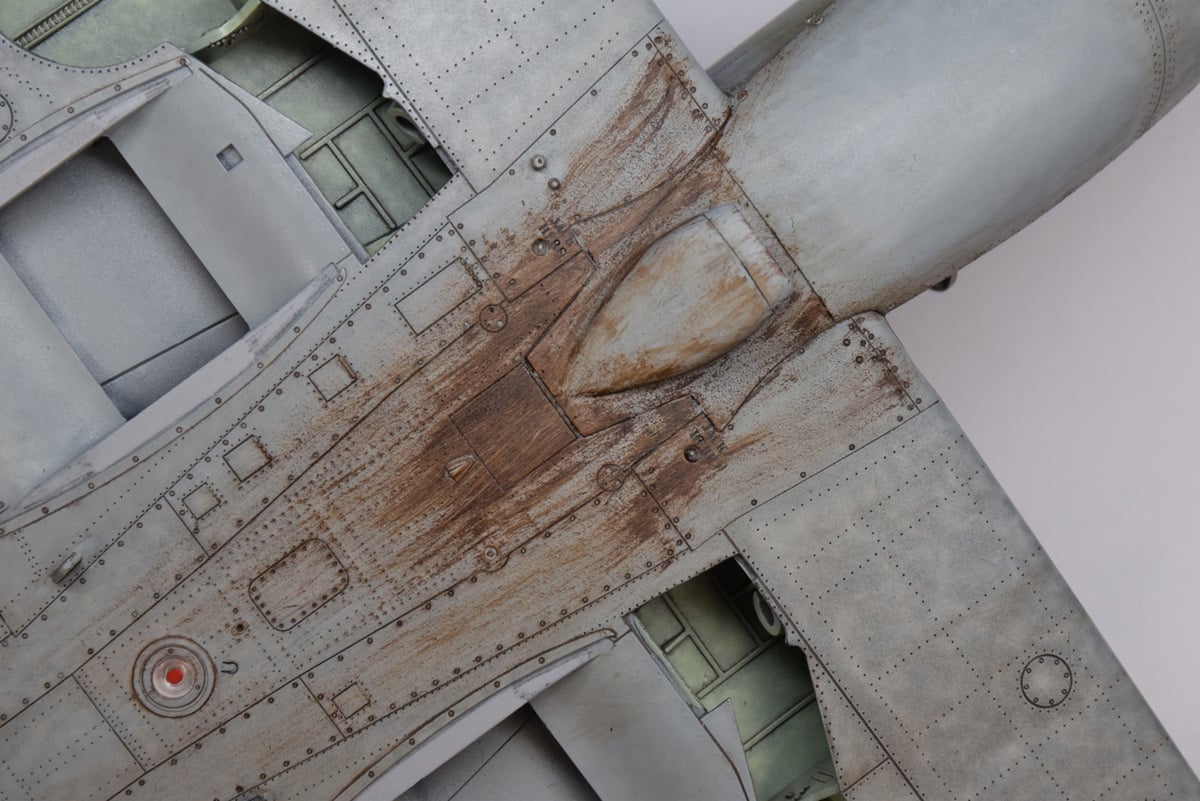
Once that’s over I apply one more X-22 clear coat and apply a panel wash. I smothered the whole plane in Tamiya’s Gray Panel Line Accent Color which helped dull down the paint job slightly and gave it a more weathered look. Once that dried for about half an hour I took a cloth dabbed in enamel thinner and gently wiped away the excess wash and since it is an enamel wash, it stained the surface so that the weathering remained. After that I specifically targeted the panel lines with Tamiya’s Dark Brown wash. With the decals and panel wash done I went in with some chrome silver paint which I can’t call out because it’s discontinued and using a stipple sponge I dab it along the wing root where the pilots got in and out of the plane; this simulates chipped paint from the wear and tear of heavy foot traffic. Then to seal everything up I covered the model in AK Ultra Matte Varnish for a very flat, battle worn finish. All that remained was to apply some oil paints for fuel stains seeping from the tank behind the engine. I used water soluble oil paints which we do not sell (yet) and brushed it down the belly in the direction of airflow.
And that concludes my build of Airfix’s 1/24 scale Mark IXc Spitfire. I enjoyed building this kit. It had it’s enjoyable traits as well as it’s challenges, the detail was quite good, most of the parts fit together effortlessly, and I would recommend this kit if you need a large scale Spitfire in your collection. If you’d like to watch my full build of this kit step by step you can check it out on my Youtube channel @Of Models & Monsters. I hope this build was insightful or it inspired you to give it a go for yourself.


About the Author:
David Peckam has built scale models since he was 12, specializing largely on military aircraft. He is a makeup artist and background actor for films and TV. He enjoys watching hockey and of course, movies. He has an excellent knowledge of hobby products and if you have questions concerning scale model airplanes.