
Revell LA Street Chopper Build Part 1 – Unboxing and Initial Build
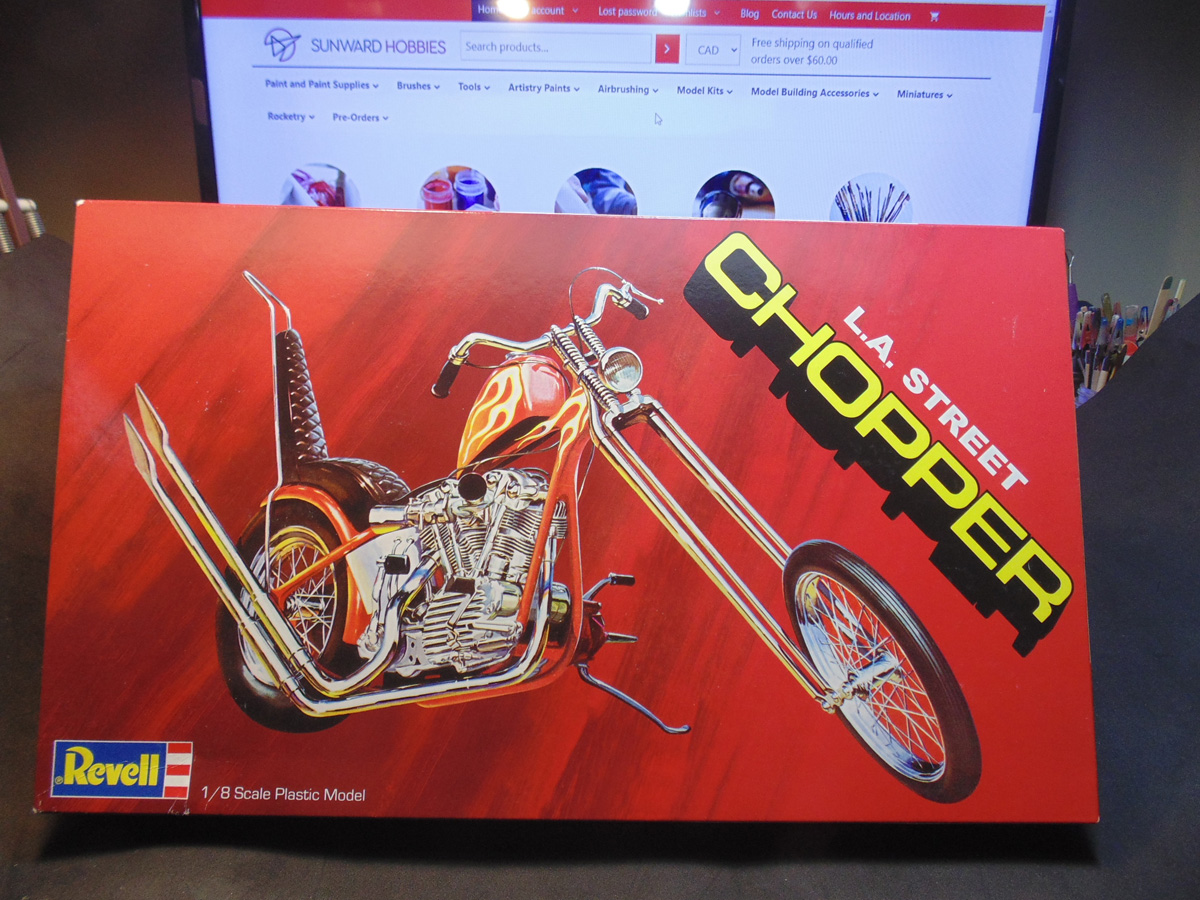
In this Sunward Hobbies Article, I’ll be highlighting the Revell “LA Street Chopper” Model Kit 1/8 Scale RMX. This kit is known as kit No 85-7326 or 17326.
This is a highly detailed model kit and deserves as much time you can invest into it. As the project progresses, you’ll see paint options and decal options along with a super easy diorama base to displace your work.
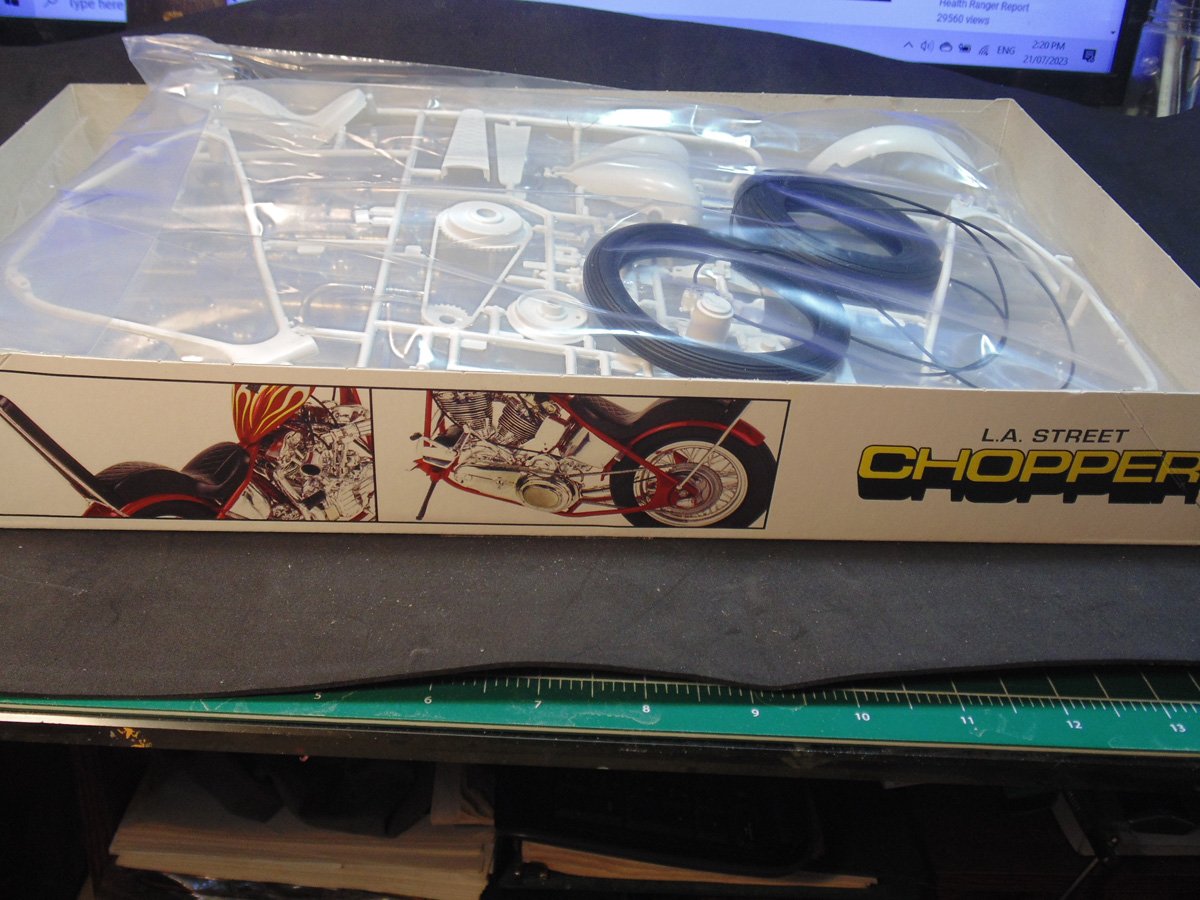
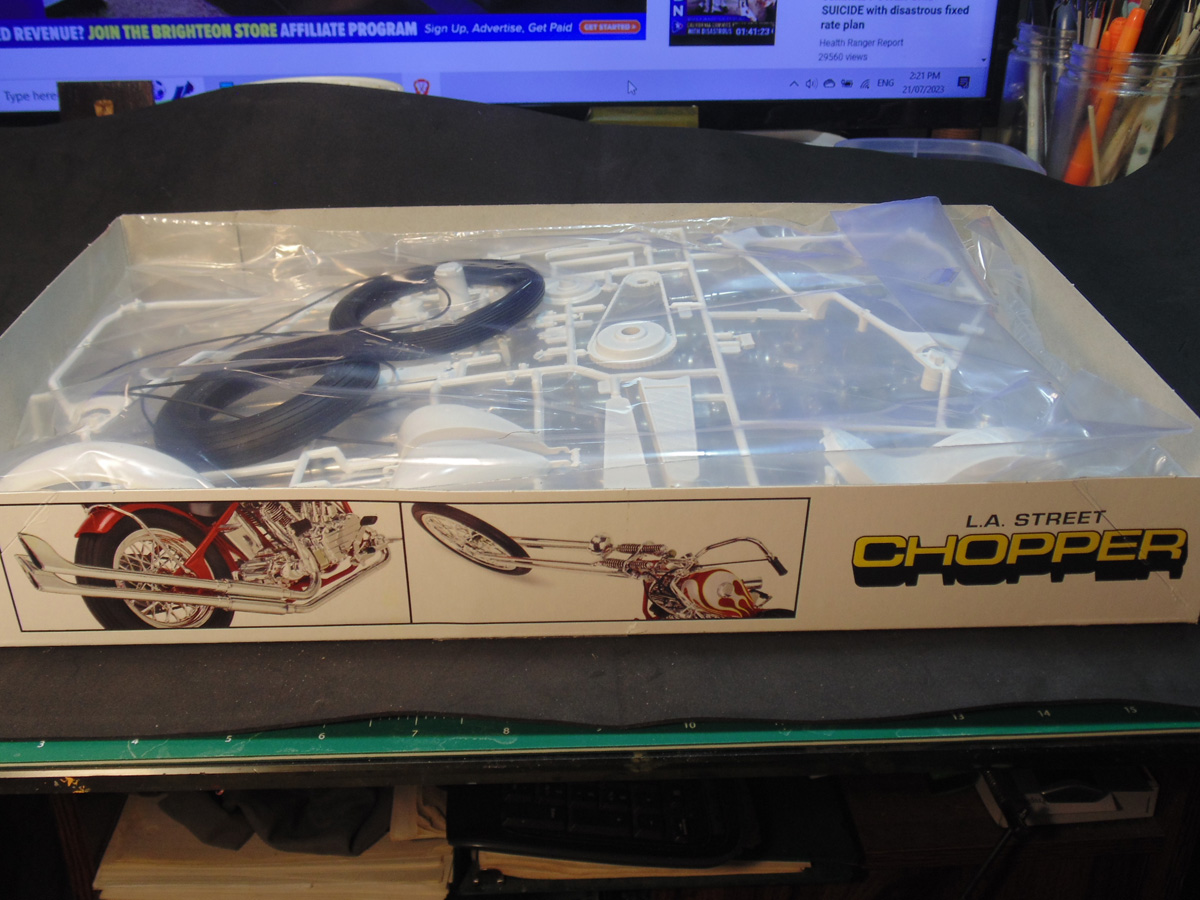
Before I get into the build, I’m going to get you excited about what is on the box. The artwork on the top cover is wonderful and would make a great framed backdrop.
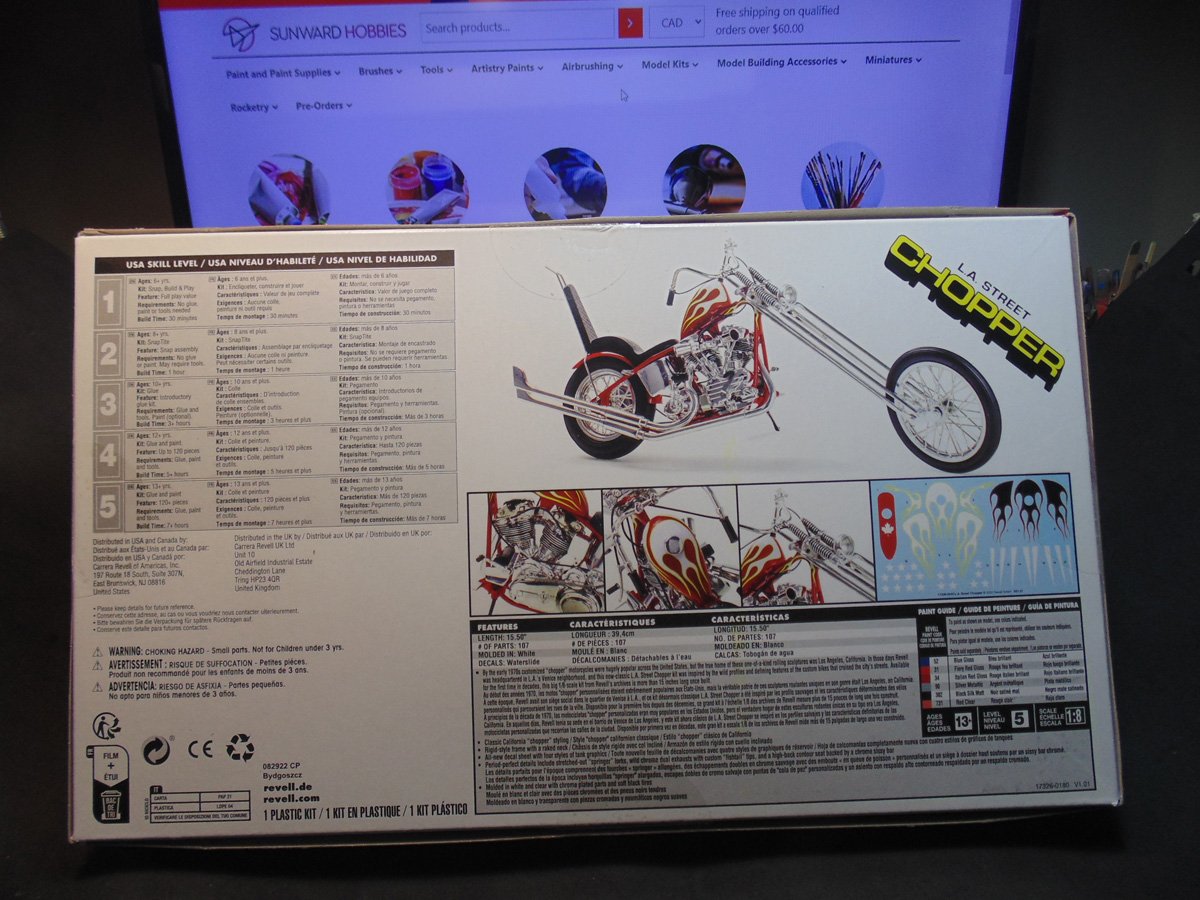
The bottom is a nice guide for how the built-up project will appear, along with the many options for the final look. Keep this handy as a reference to help you along with putting the model together.
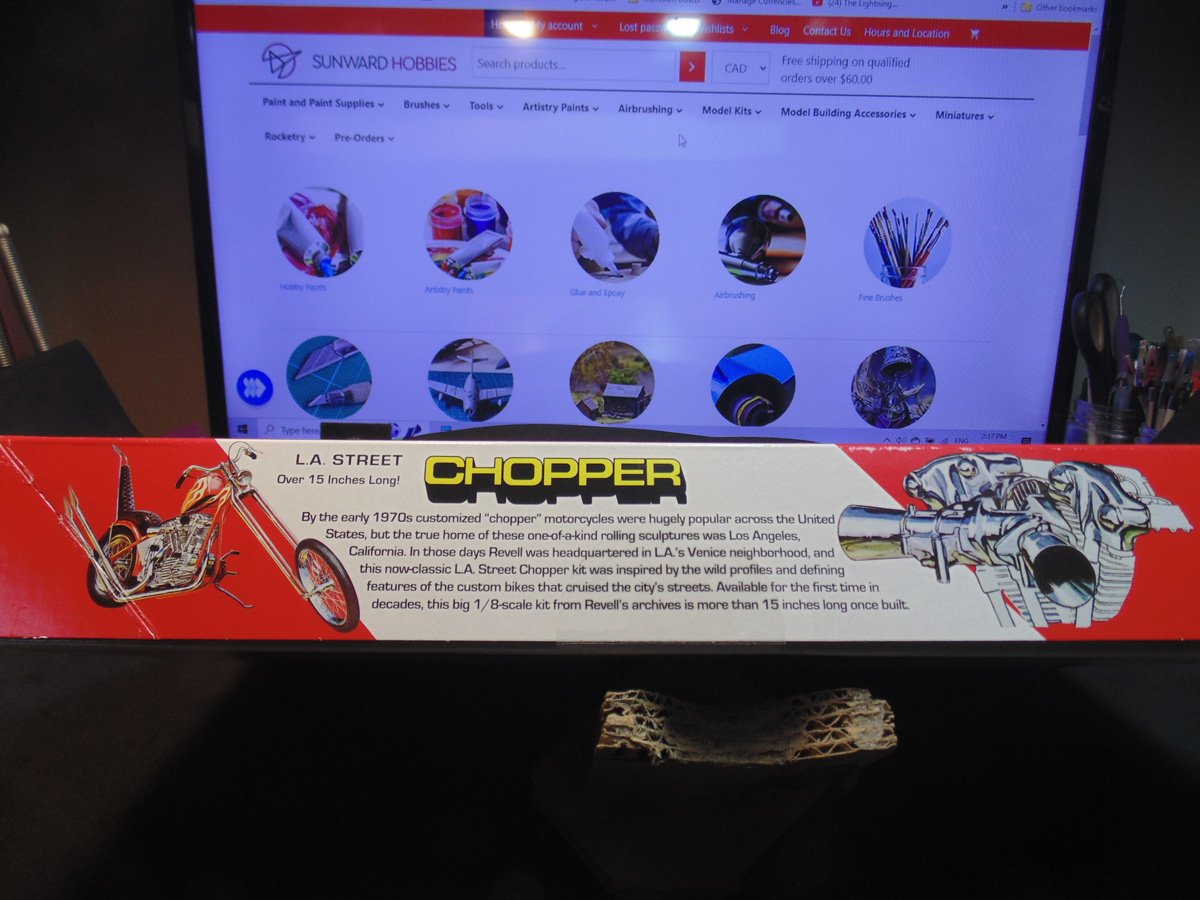
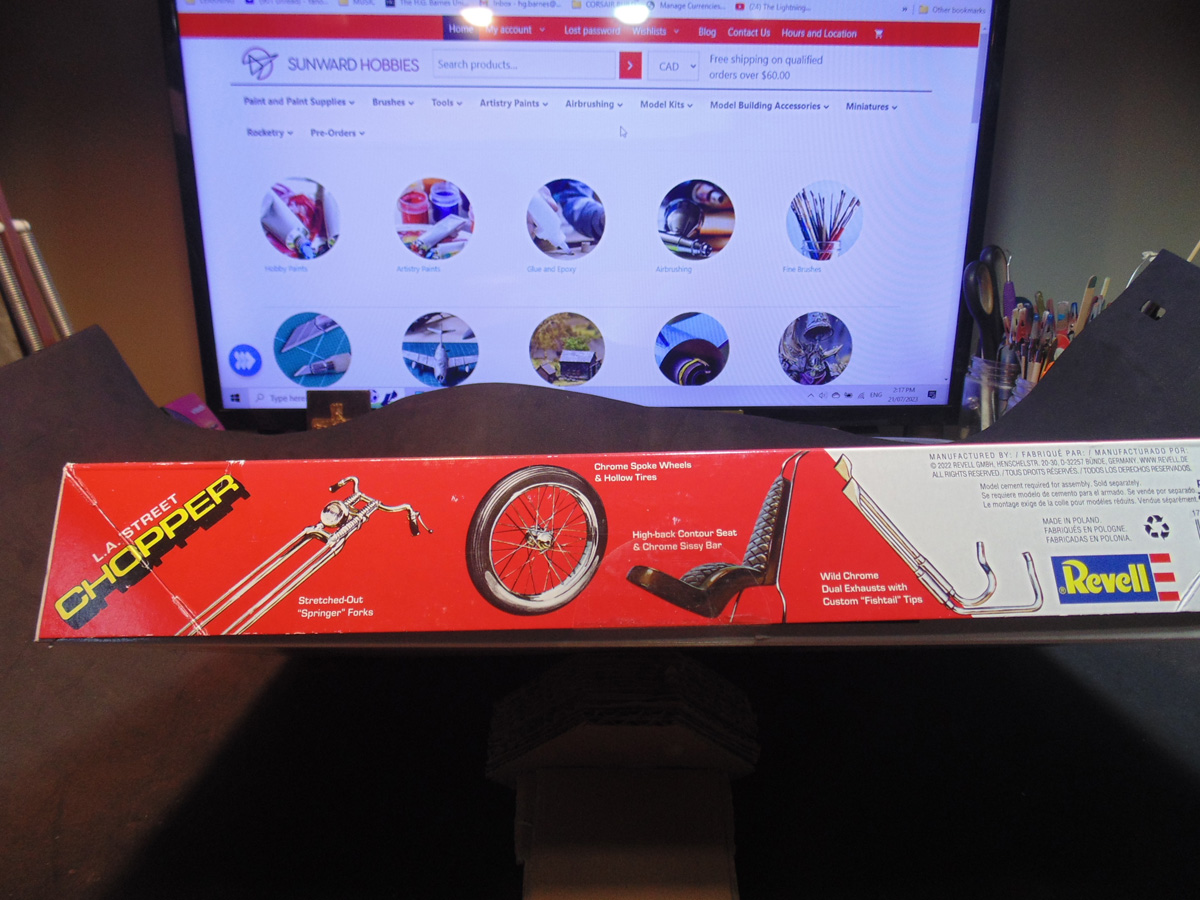
I really love that REVELL put some fun facts on the sidewalls of their boxes. I know it might sound silly, coming from an experienced modeller, but it brings joy to the project and makes you want to elevate it to the next level.
On the other side you’ll get more insight about your kit. Again, use this as a reference to help you along. Remember, there are no coloured instructions in this kit.
Even when you open the top cover of the box there are more pictures of a built-up version to go by. A splendid job by REVELL to assist you in the making of a super cool replica.
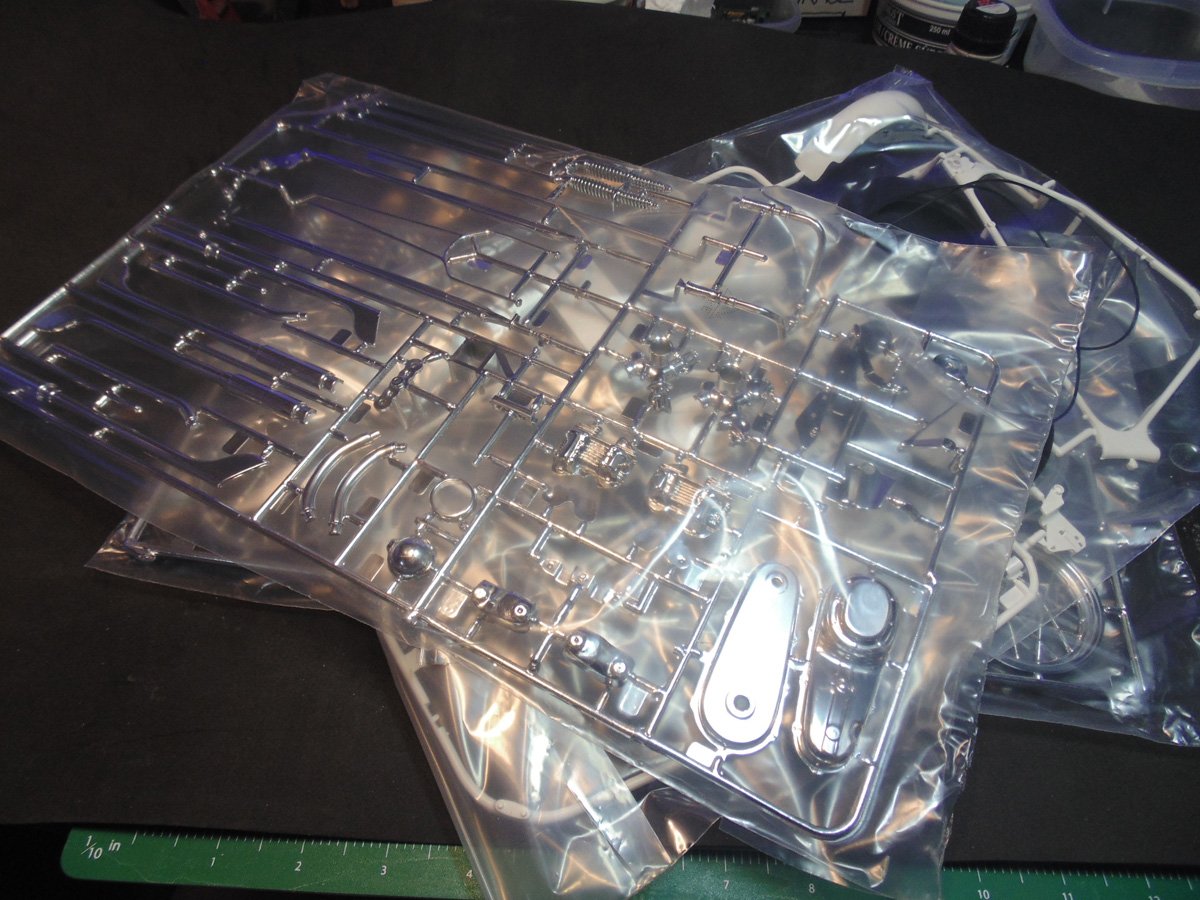
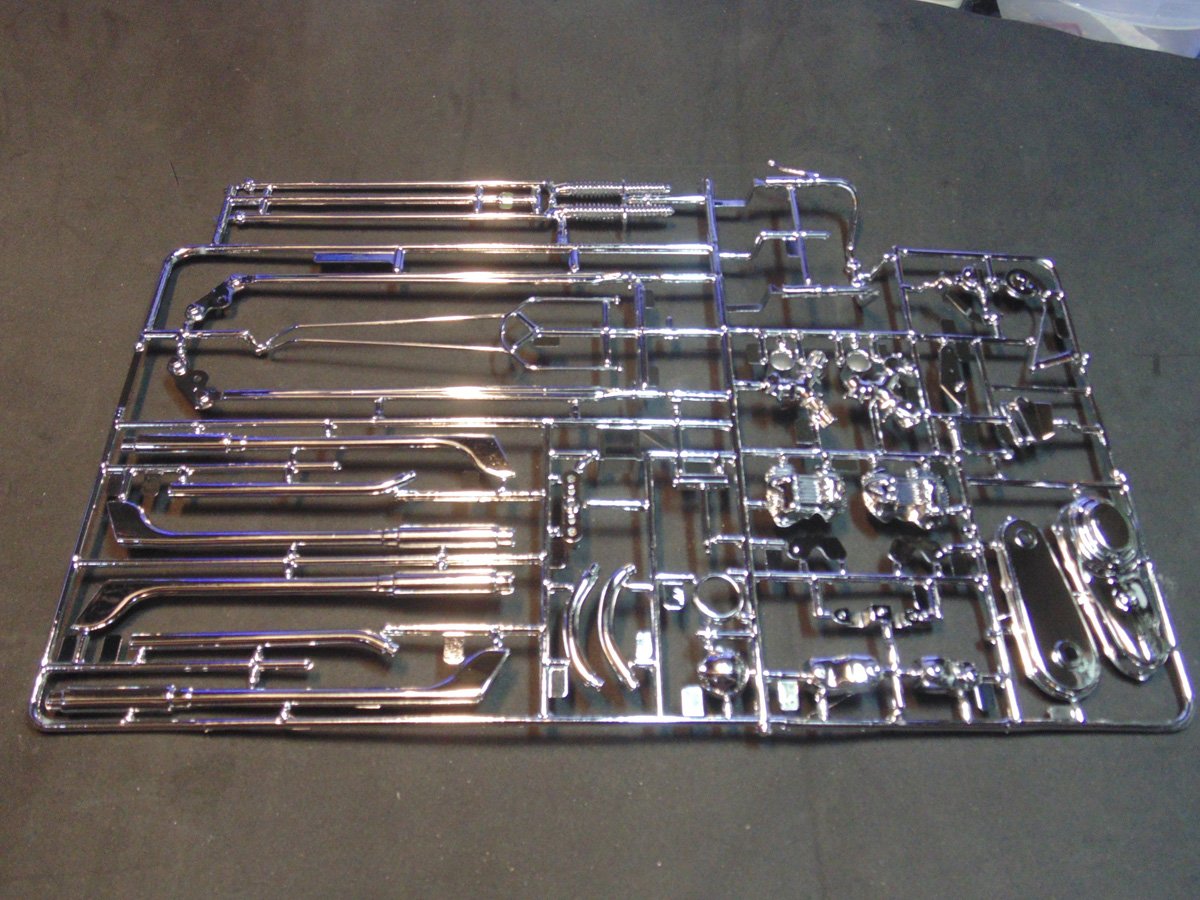
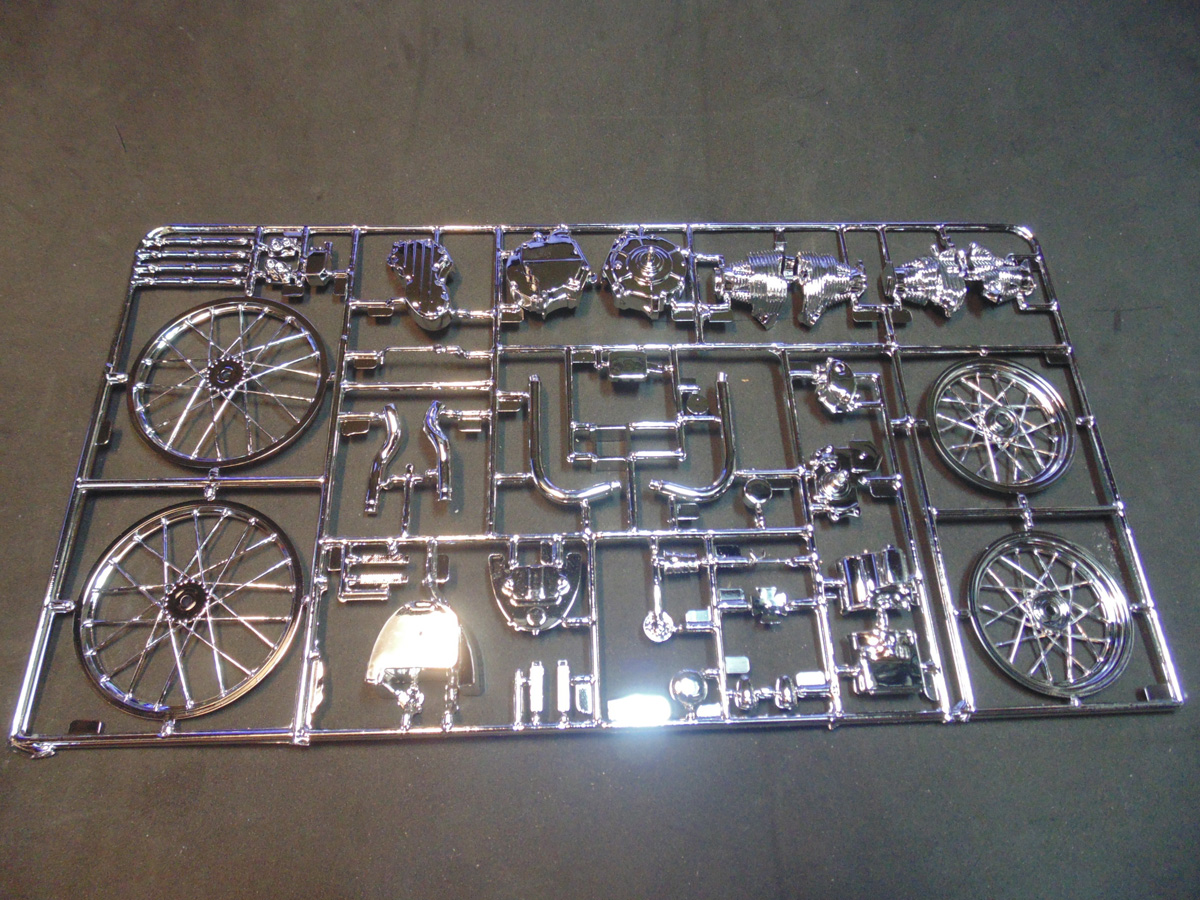
It is lovely to find all the important sprue trees individually housed in their own pouches. Any chrome parts can easily get scuffed while in shipping. As you can see there are plenty of bits to assemble. Don’t be afraid by this, I’ll walk you through it.
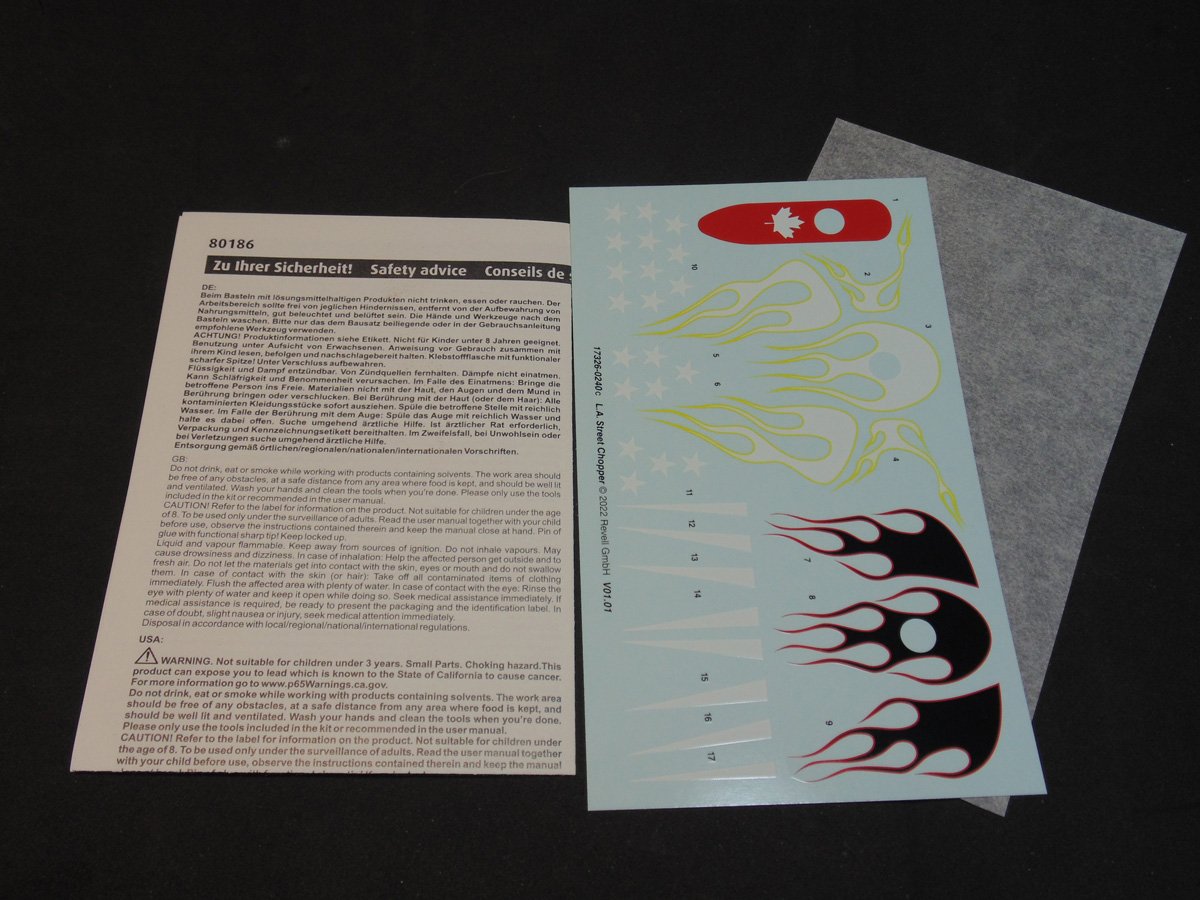
As I mentioned, there are four main options to select for the look of your replica. That said, you mix and match to achieve the appearance which suits you. I’ll be asking Angelo to vote with the Sunward Hobbies staff to pick the one they all would most like. Keep in mind that these are highly detailed, yet delicate stencils and should be well protected until being used.
Nice work on the chrome. The details really POP! Please be mindful though of how thin some of the parts are when removing them. Use a quality set of set side-cutters you can buy from the Sunward Hobbies store.
There are plenty of options to weather your engine. Regardless, the parts fit very well.
Due to the age of this kit, you will need to file smooth some chrome parts. I’ll be walking you through this in the build steps. It isn’t horrible and can be easily addressed.
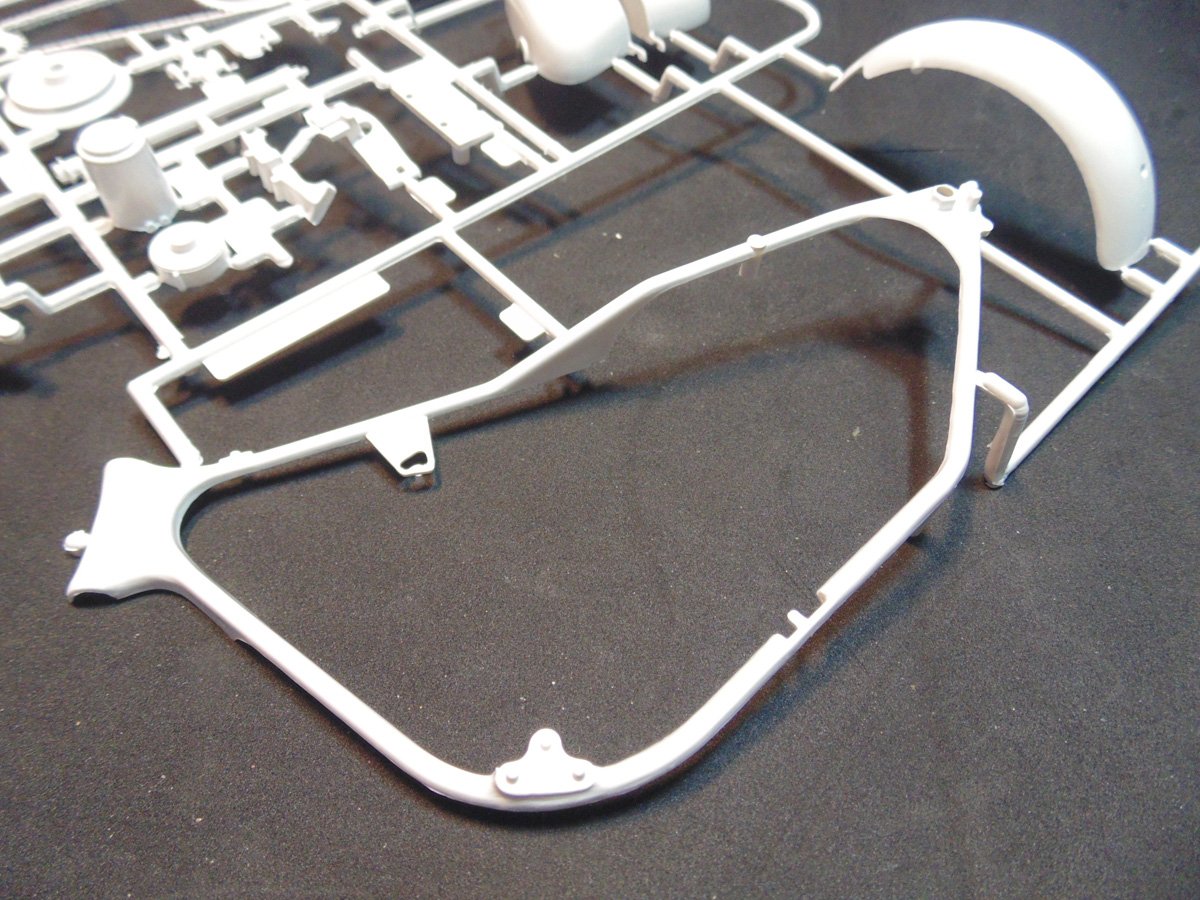
The main frame sprue tree also has awesome detail.
The chain and tank parts have super detail with minimal cleanup.

The tubular frame has to be sanded. The neat thing is, you can leave a little of the flash to look like weld marks in certain spots. Again, there are so many options with this kit.
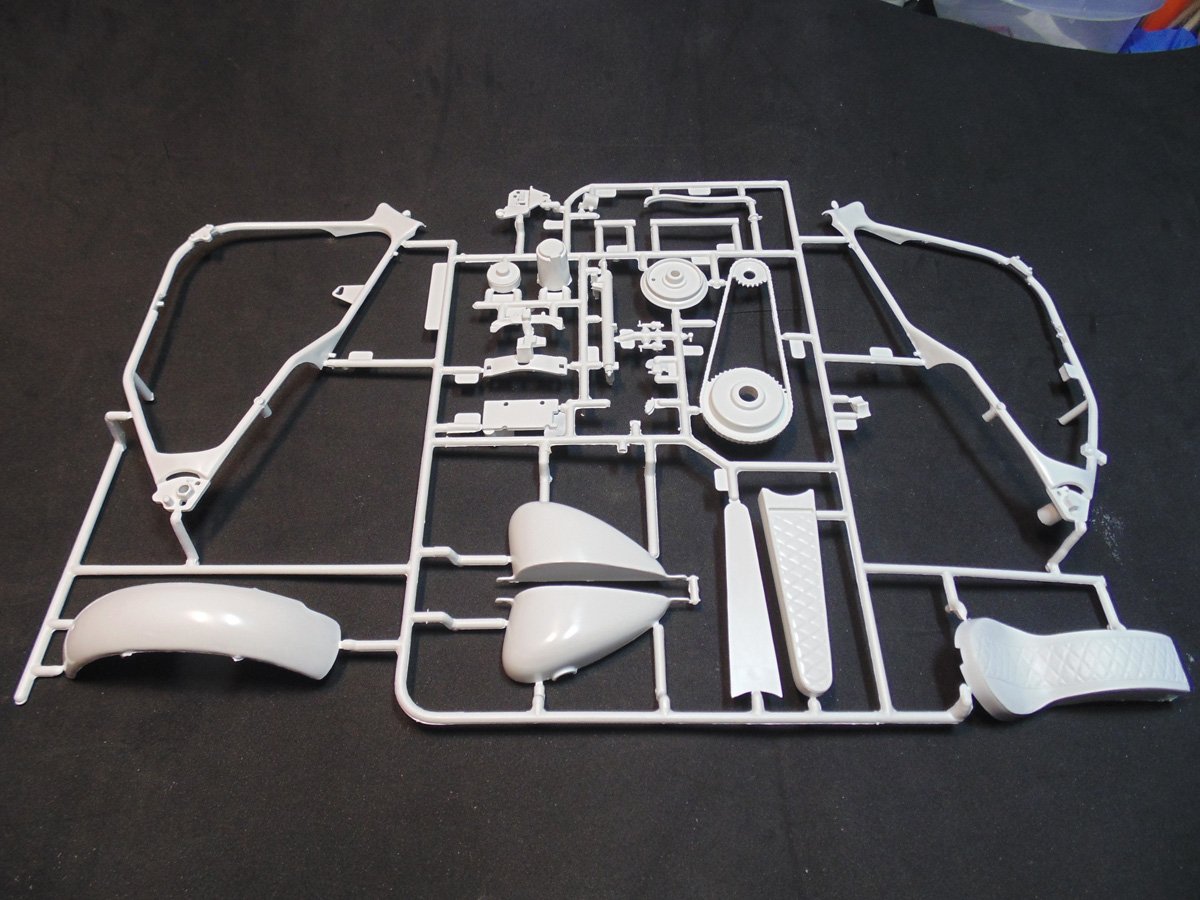
The stitching on the seat parts is excellent. You can be sure that I will be adding a weathering product purchased from the Sunward Hobbies store to enhance the look even further.
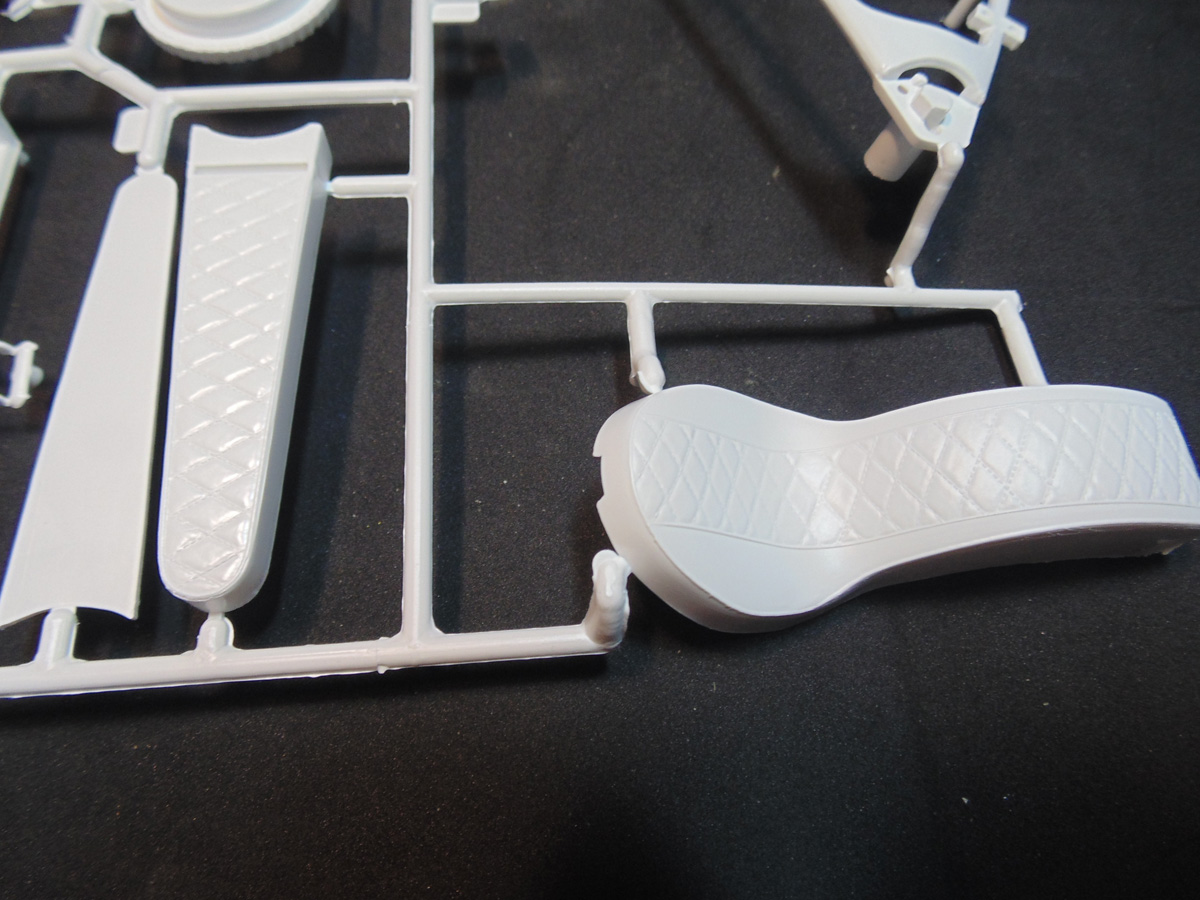
Being able to see the cushion stitching is brilliant. This detail will dry-brush easily and add a ton character to the look. I will get into masking this space off during the build. The flash does have to be removed though for a proper fit.

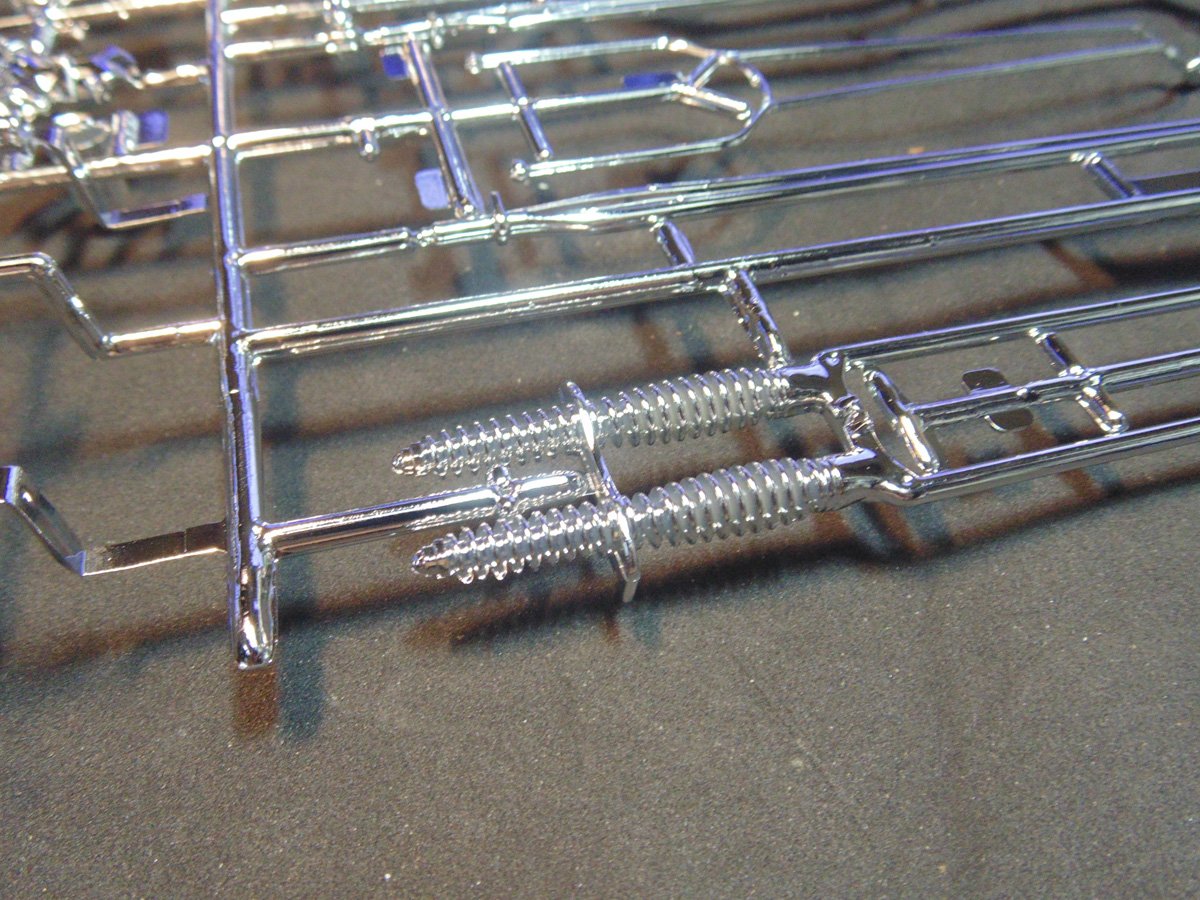
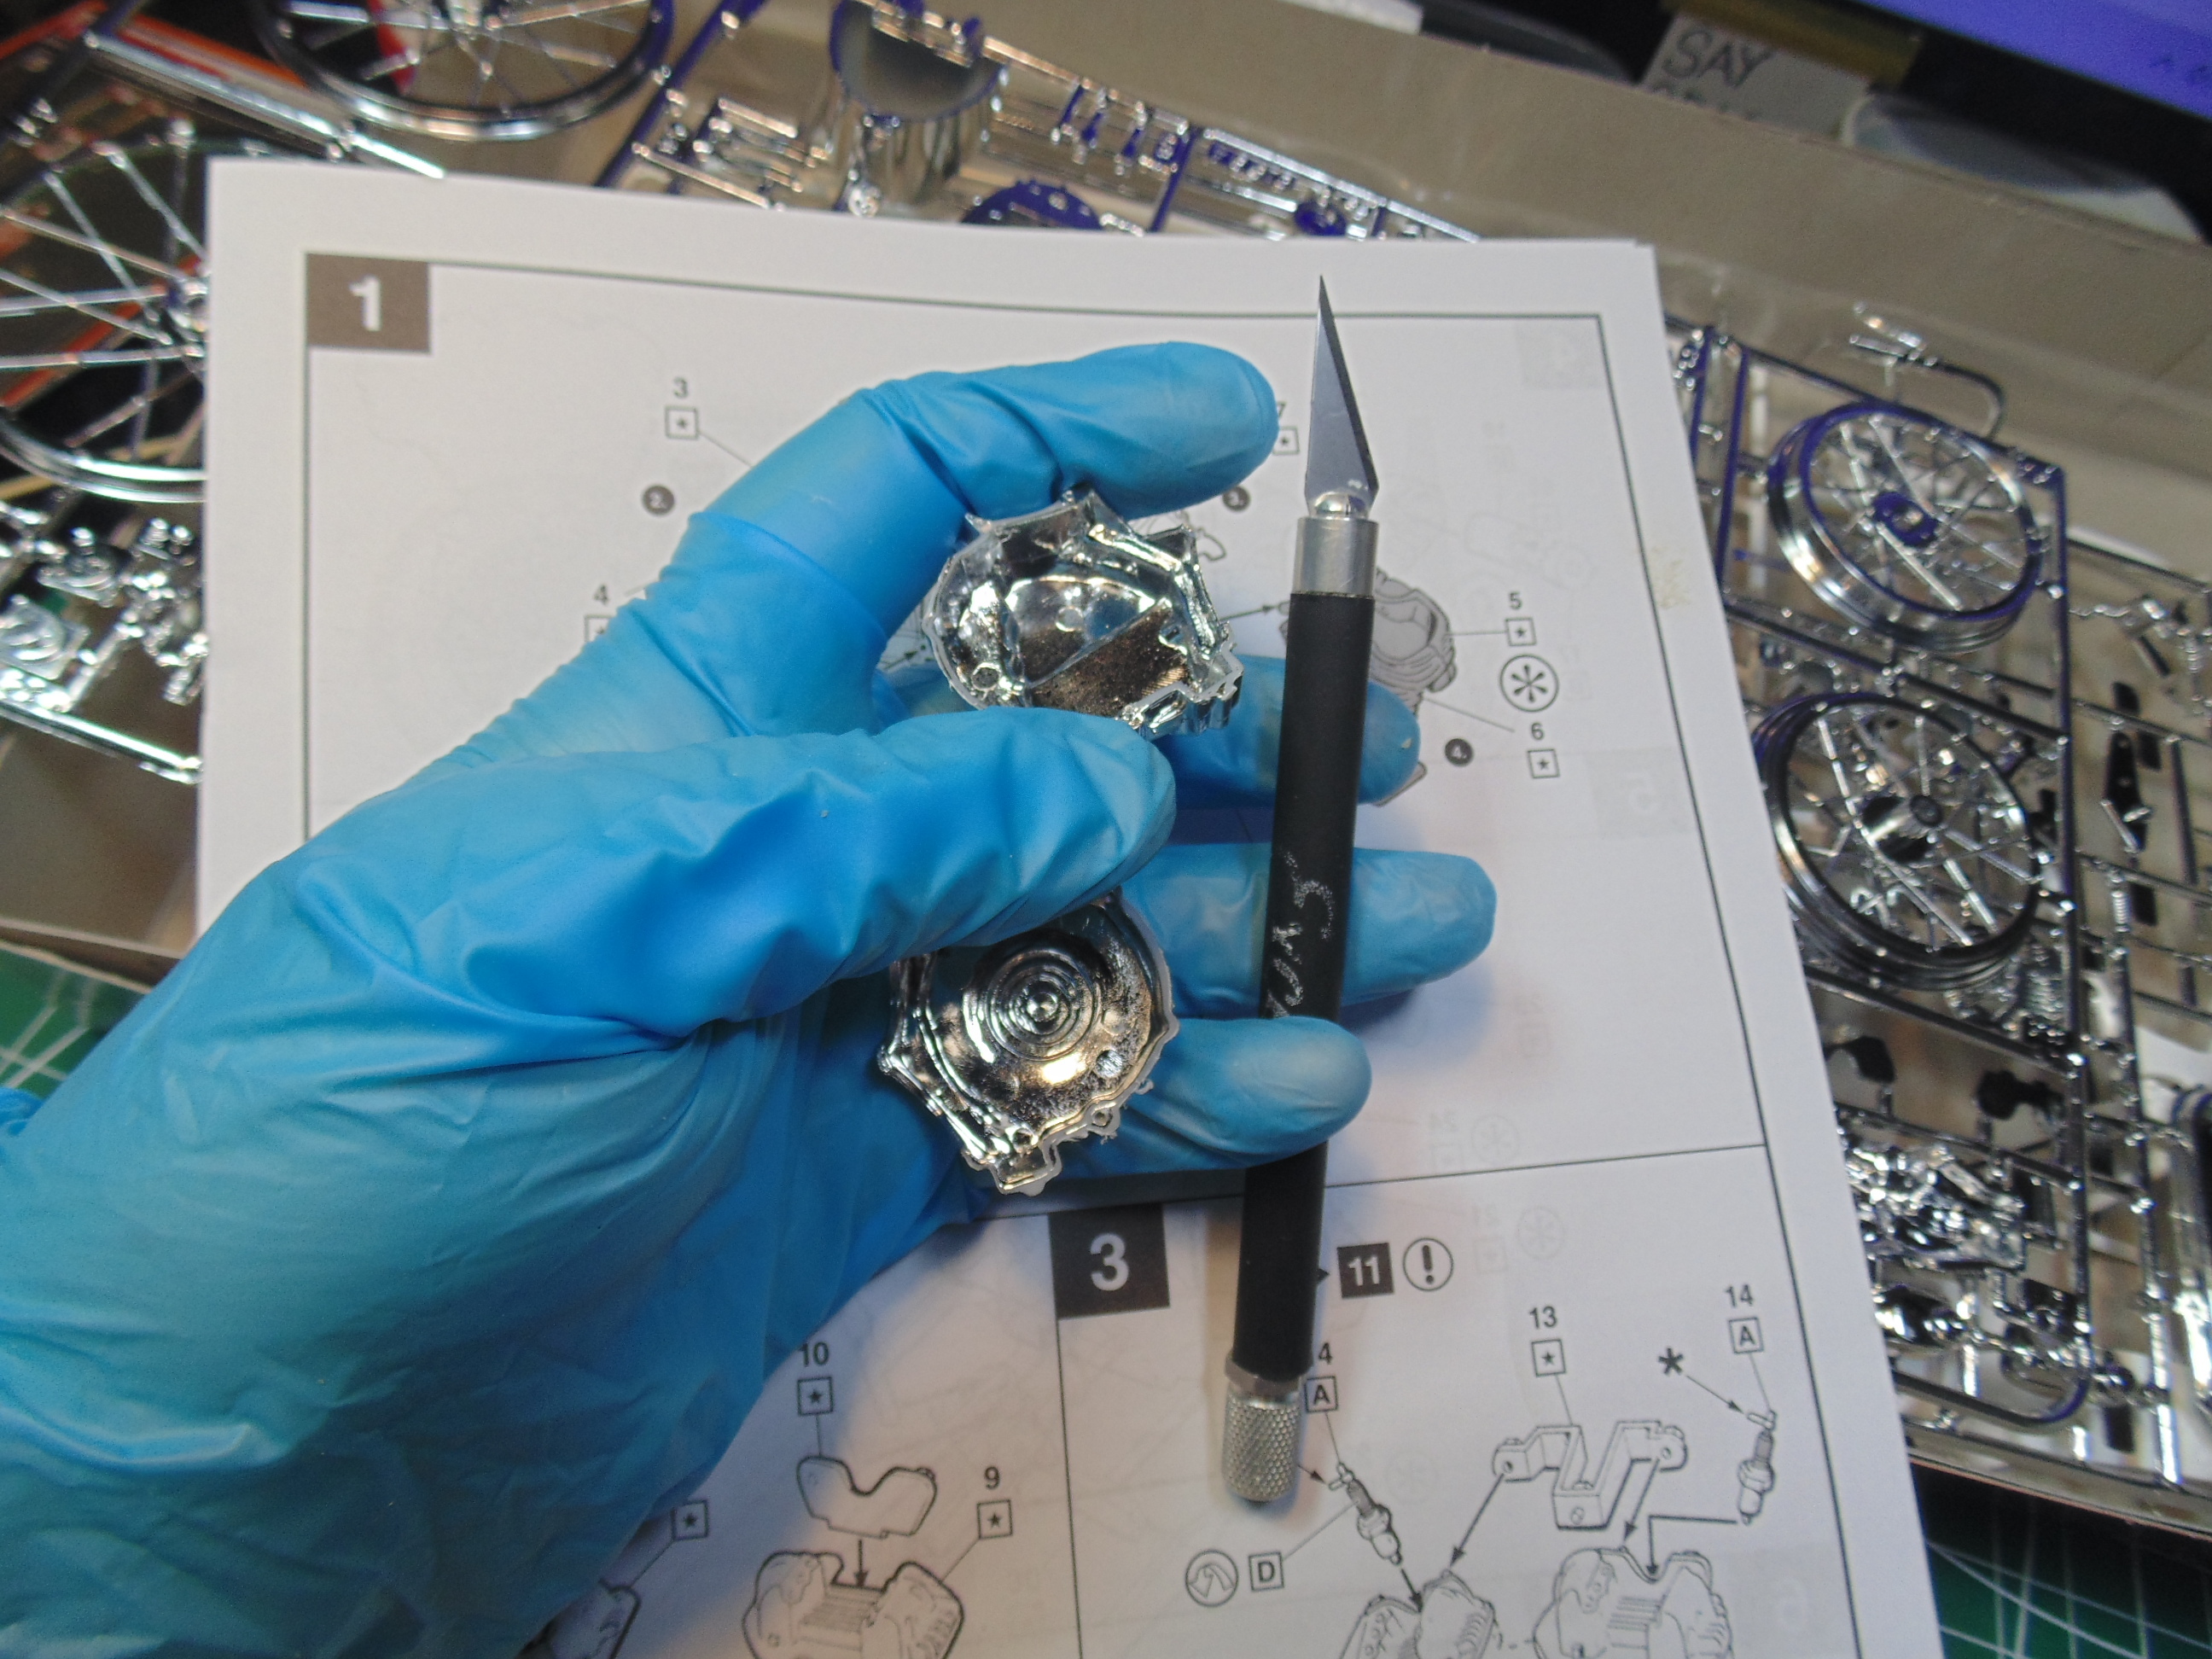
There is no absence of bling in this model kit. Thankfully, the flash plastic is minor and will just have the odd touch-up with chrome paint. Here is a tip, wear Nitrene gloves when handling these parts because your fingerprints will be seen and needing to be cleaned up.
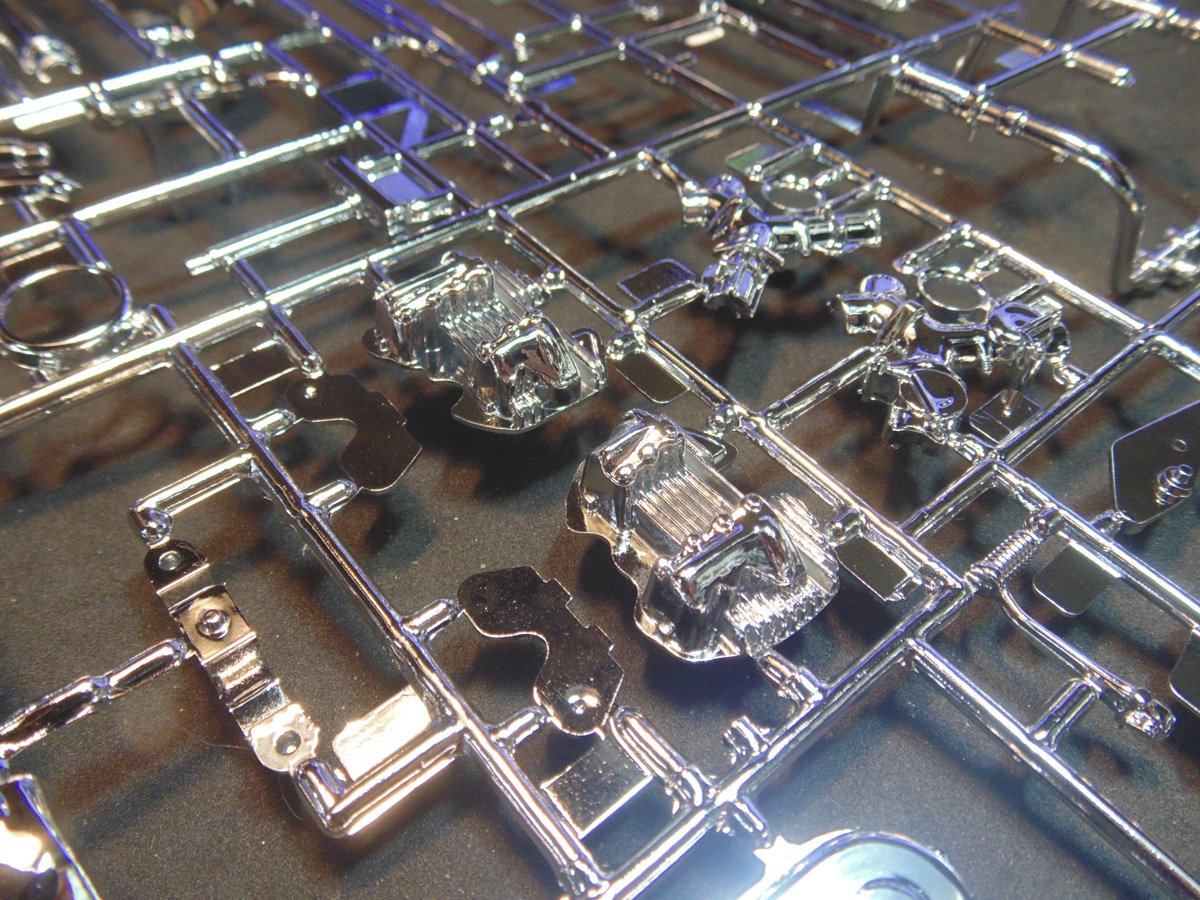
The engine parts have some incredible detail in both the raised and lowered areas. This is another splendid example of how much life can be added by using oil washes to enhance the look.
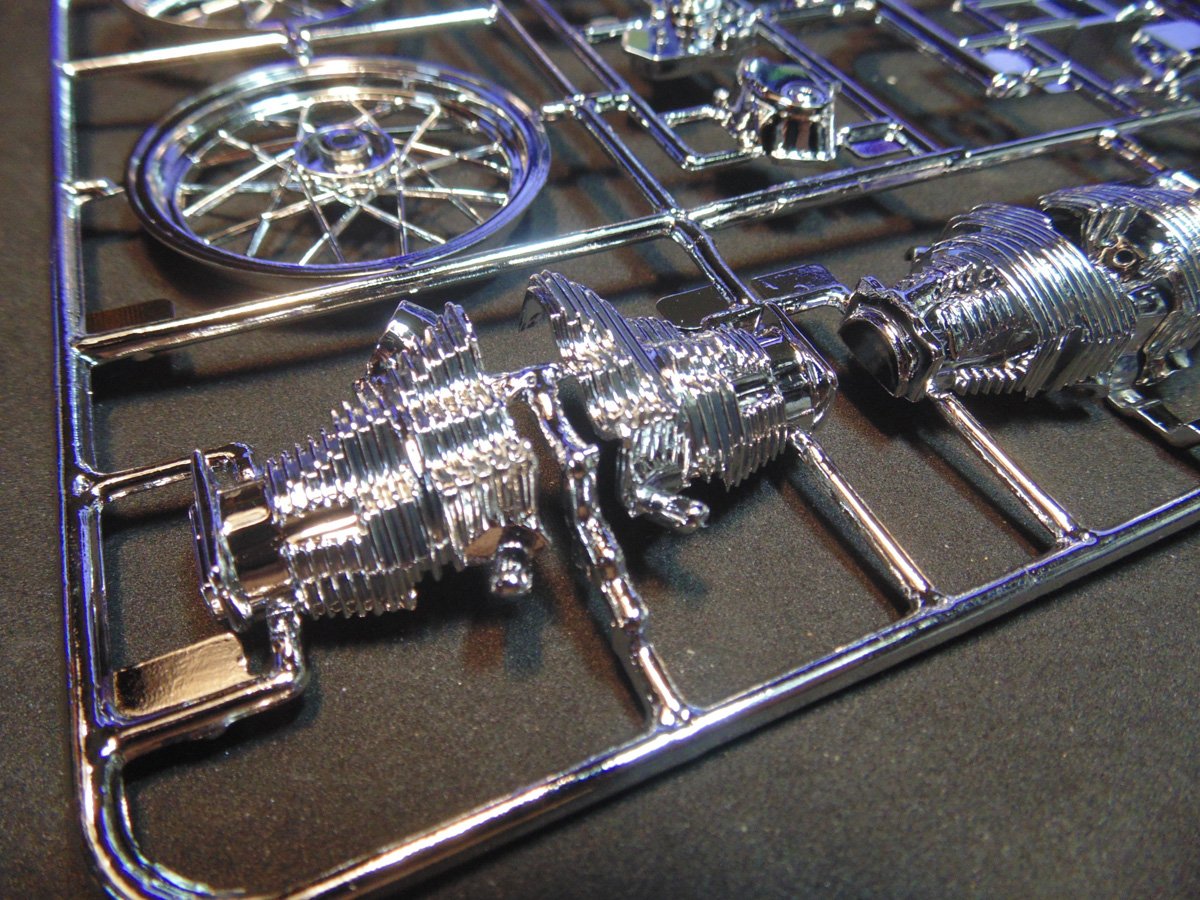
The chrome plating on these plastic parts is some of the thickest I’ve ever seen in four plus decades making replicas. Handle them with care when removing them from the sprue tree. You can pick up from the Sunward store some high-quality sanders to gently remove and the connection nubs.
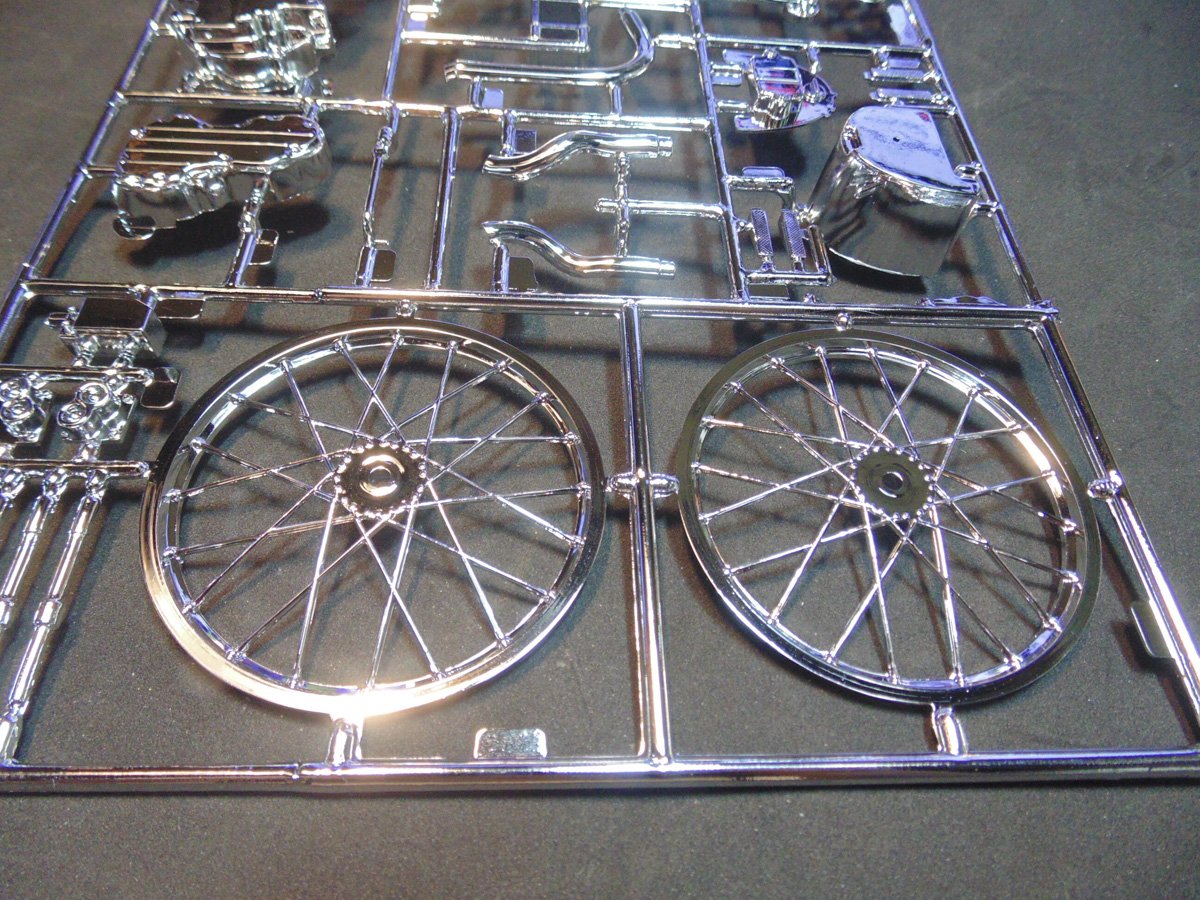
You will love making models in this scale because the added components are often not included in the smaller sizes. Here, you can see the Lense for the light and even the lettering on the tires. The tubing for the control cables is another fun thing REVELL added.
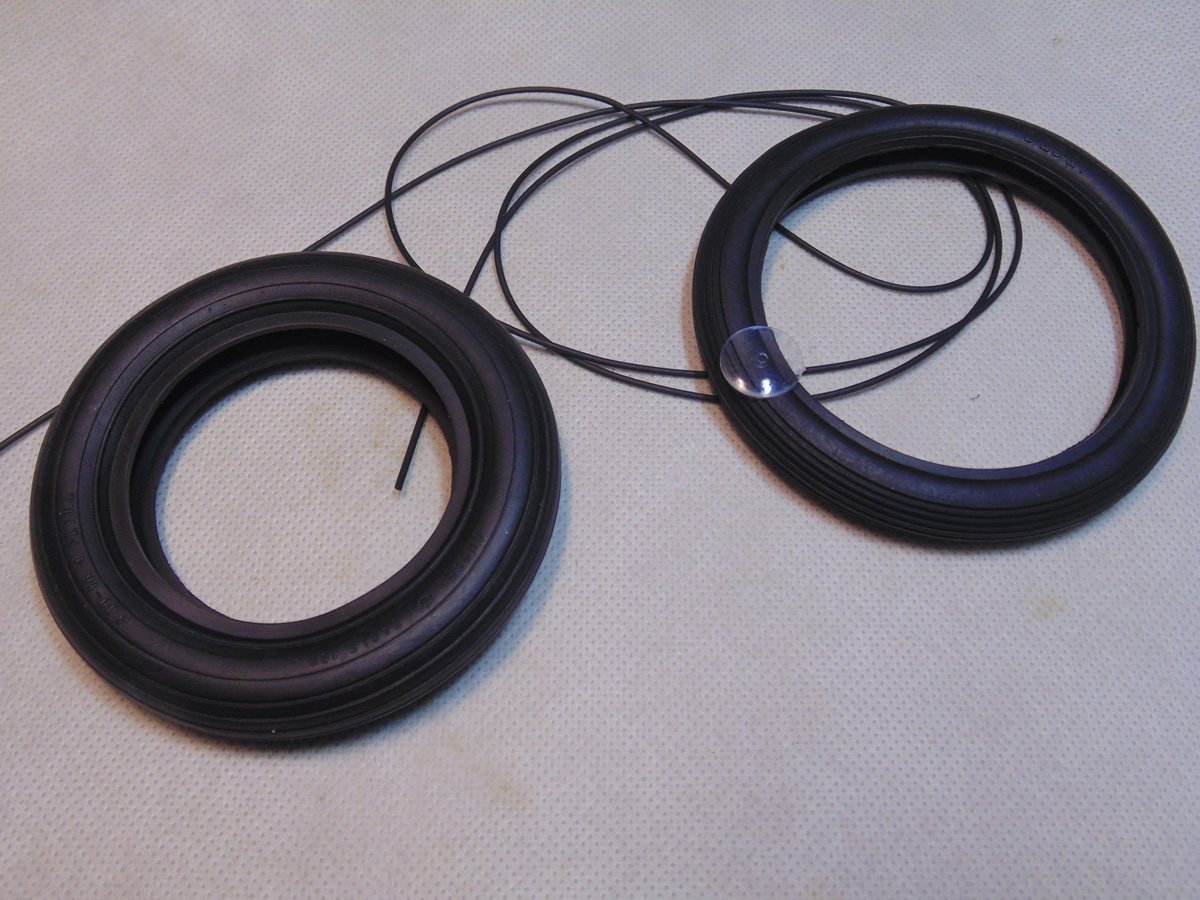
The treads have great definition and, if you are bold enough, the lettering can be highlighted in white. It all boils down to how creative you wish to get. The great part about the tires is that there is no clean-up required.

Now on to the instructions. Naturally they are printed in multiple languages, but it’s nice to have some back story behind the model’s creation.
Instructions in pdf format: Revell LA Chopper Instruction
Review and summary of instructions:
- Page two and three show the usual colours and parts identification information. Just remember, you can opt to go with anything else.
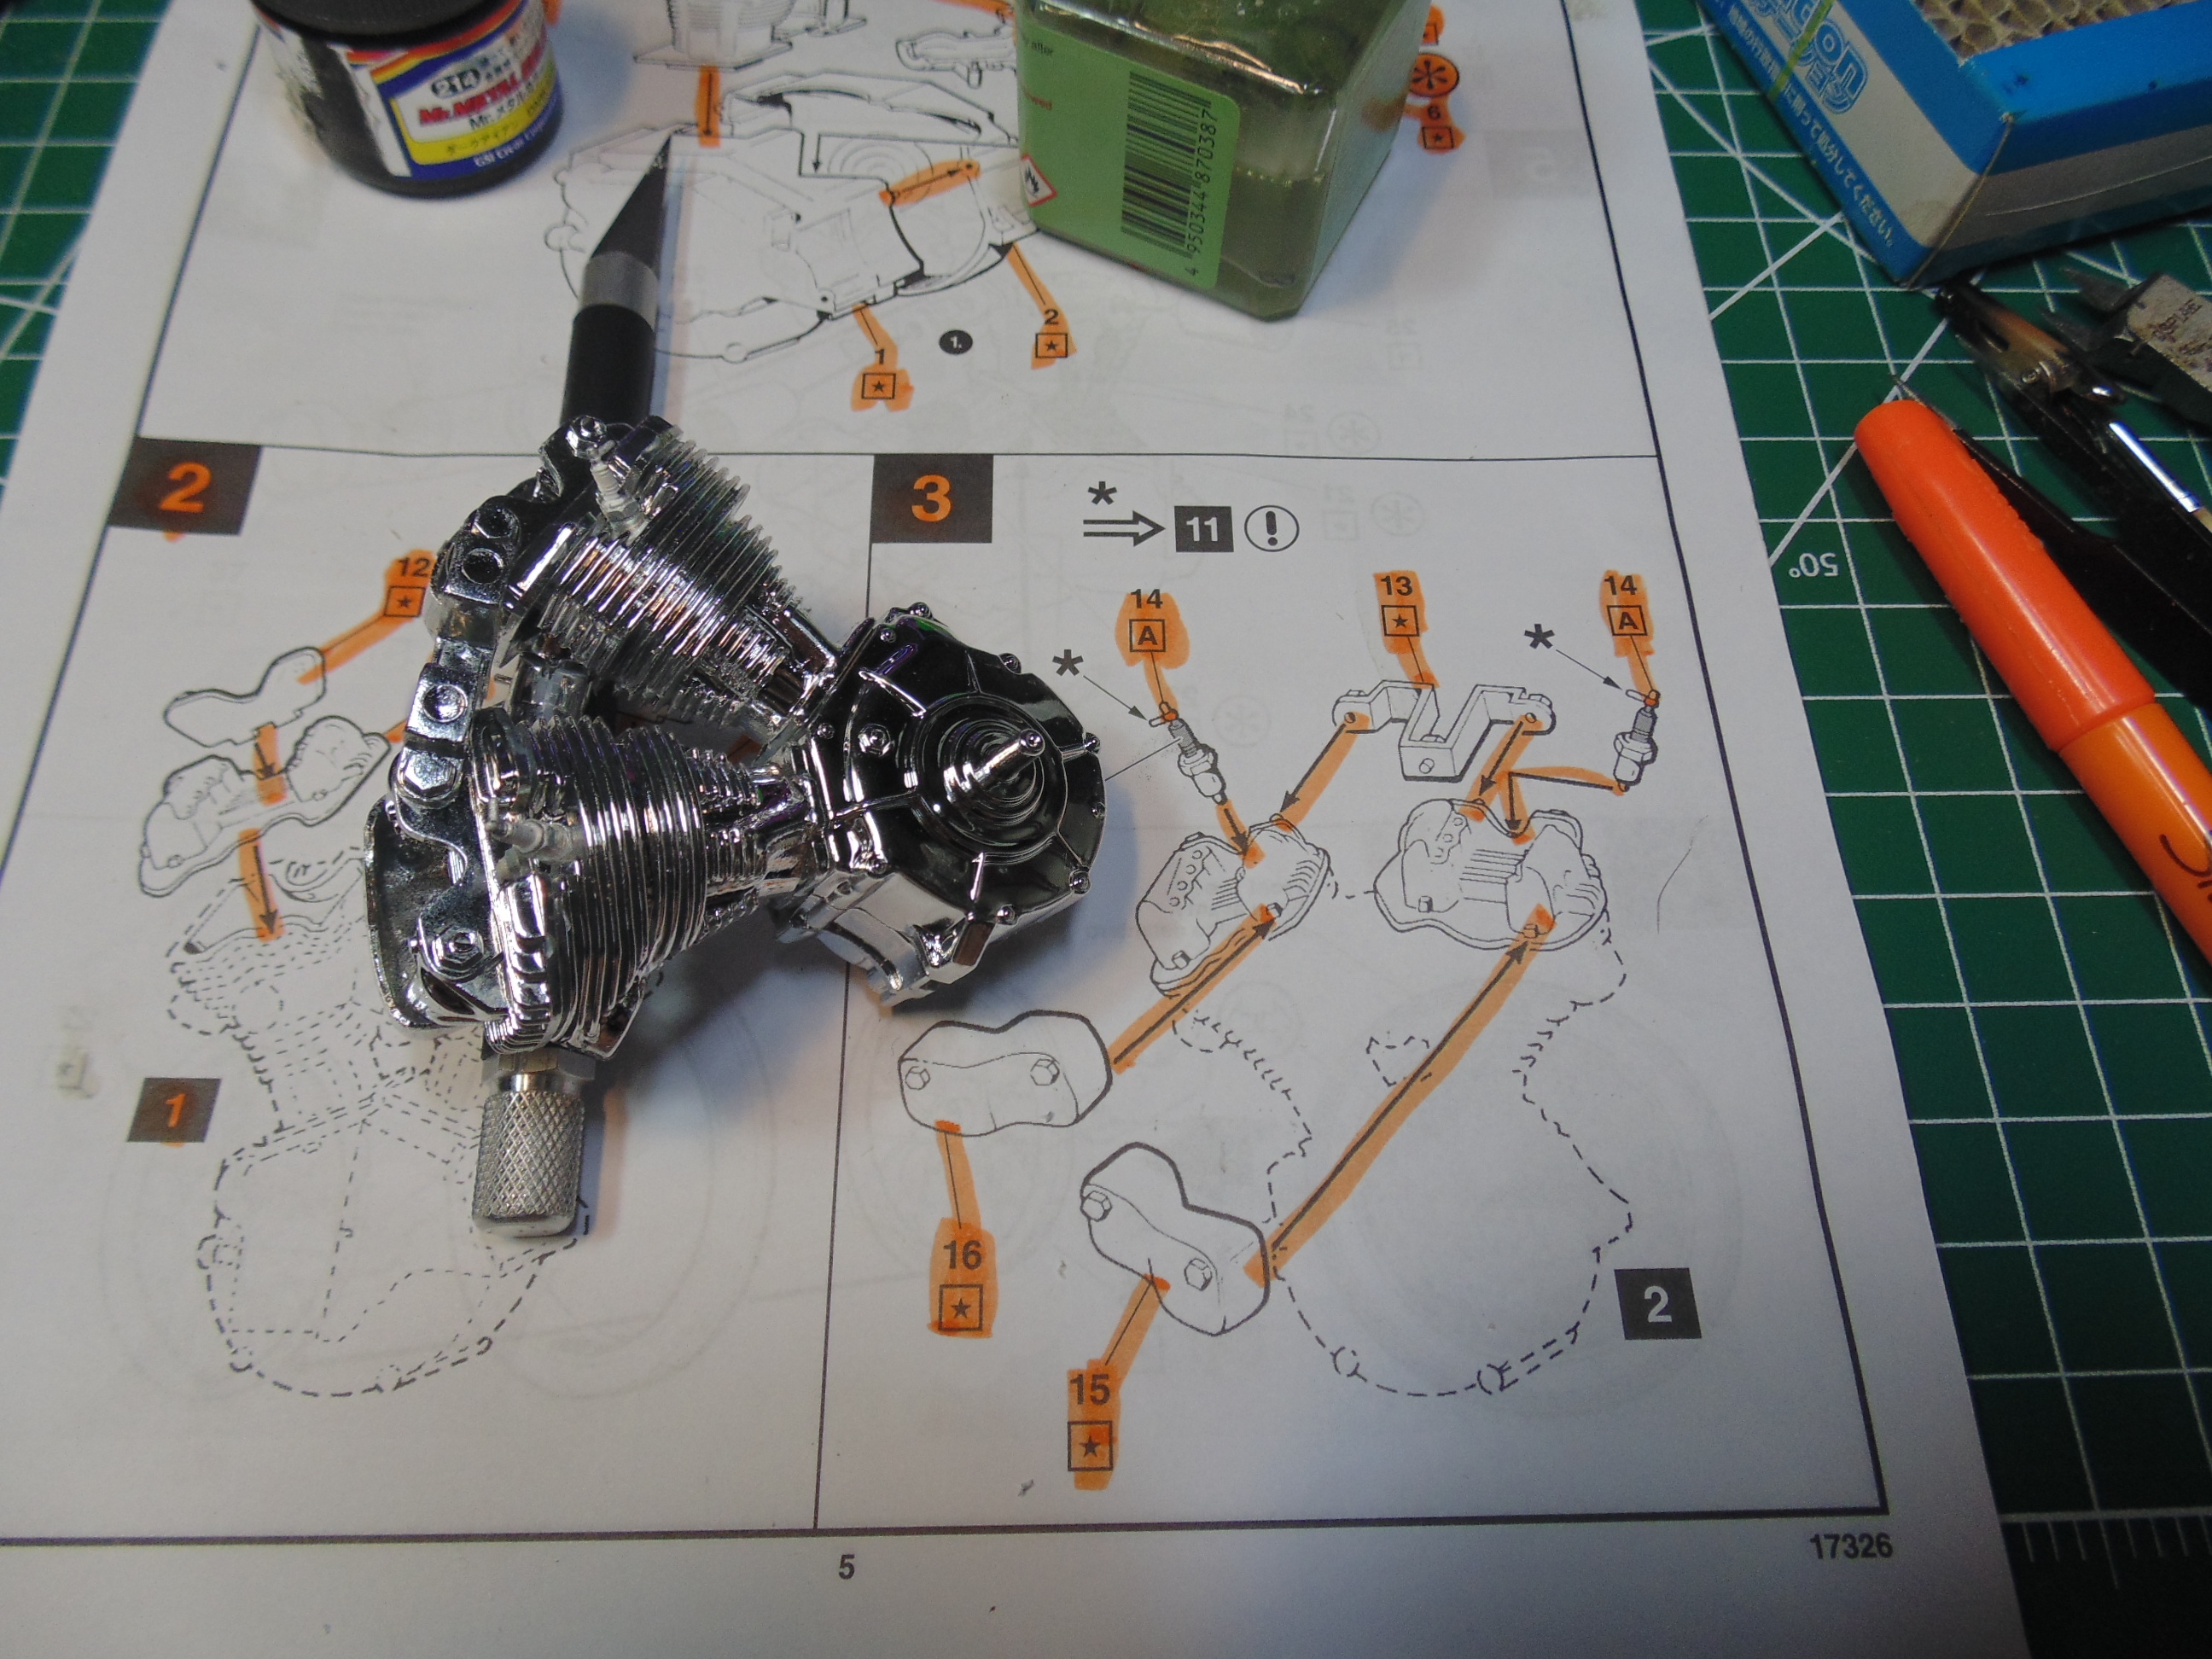
- On page four it finishes the parts guide and on page five you dive into the build with steps 1, 2, and 3. I have already completed these steps and can assure you that the plastic flash must be removed to get a good fit.
- On pages six and seven there is plenty to keep you happy. Don’t be bothered by the misprint within the directions for the tires of something to remove. REVELL simply didn’t update these pages from the earlier version, and there wasn’t any reason to.
- As you move through the build try to mark off each completed point, just in case you have to rest the model aside to look after other things. Follow the guidelines closely for the length of the rubber hoses. They need to match up in order to look right and in scale.
- Page ten finishes off some more engine and exhaust work. There are plenty of fine parts to go on, thus make sure the paint has fully hardened prior to installing them. Page eleven shows some of the options for the decals. Examine these closely to come up with a game-plan as to how your model will appear.
- Once you have painted all the parts you can complete the final steps. Make sure these parts have fully dried for six to eight hours. There will be a slight amount of twisting and bending involved, so you don’t want to harm the paint. Note the cable hoses in step twenty-two. I would recommend picking up some CA glue from the Sunward Hobbies store to make a solid bond.
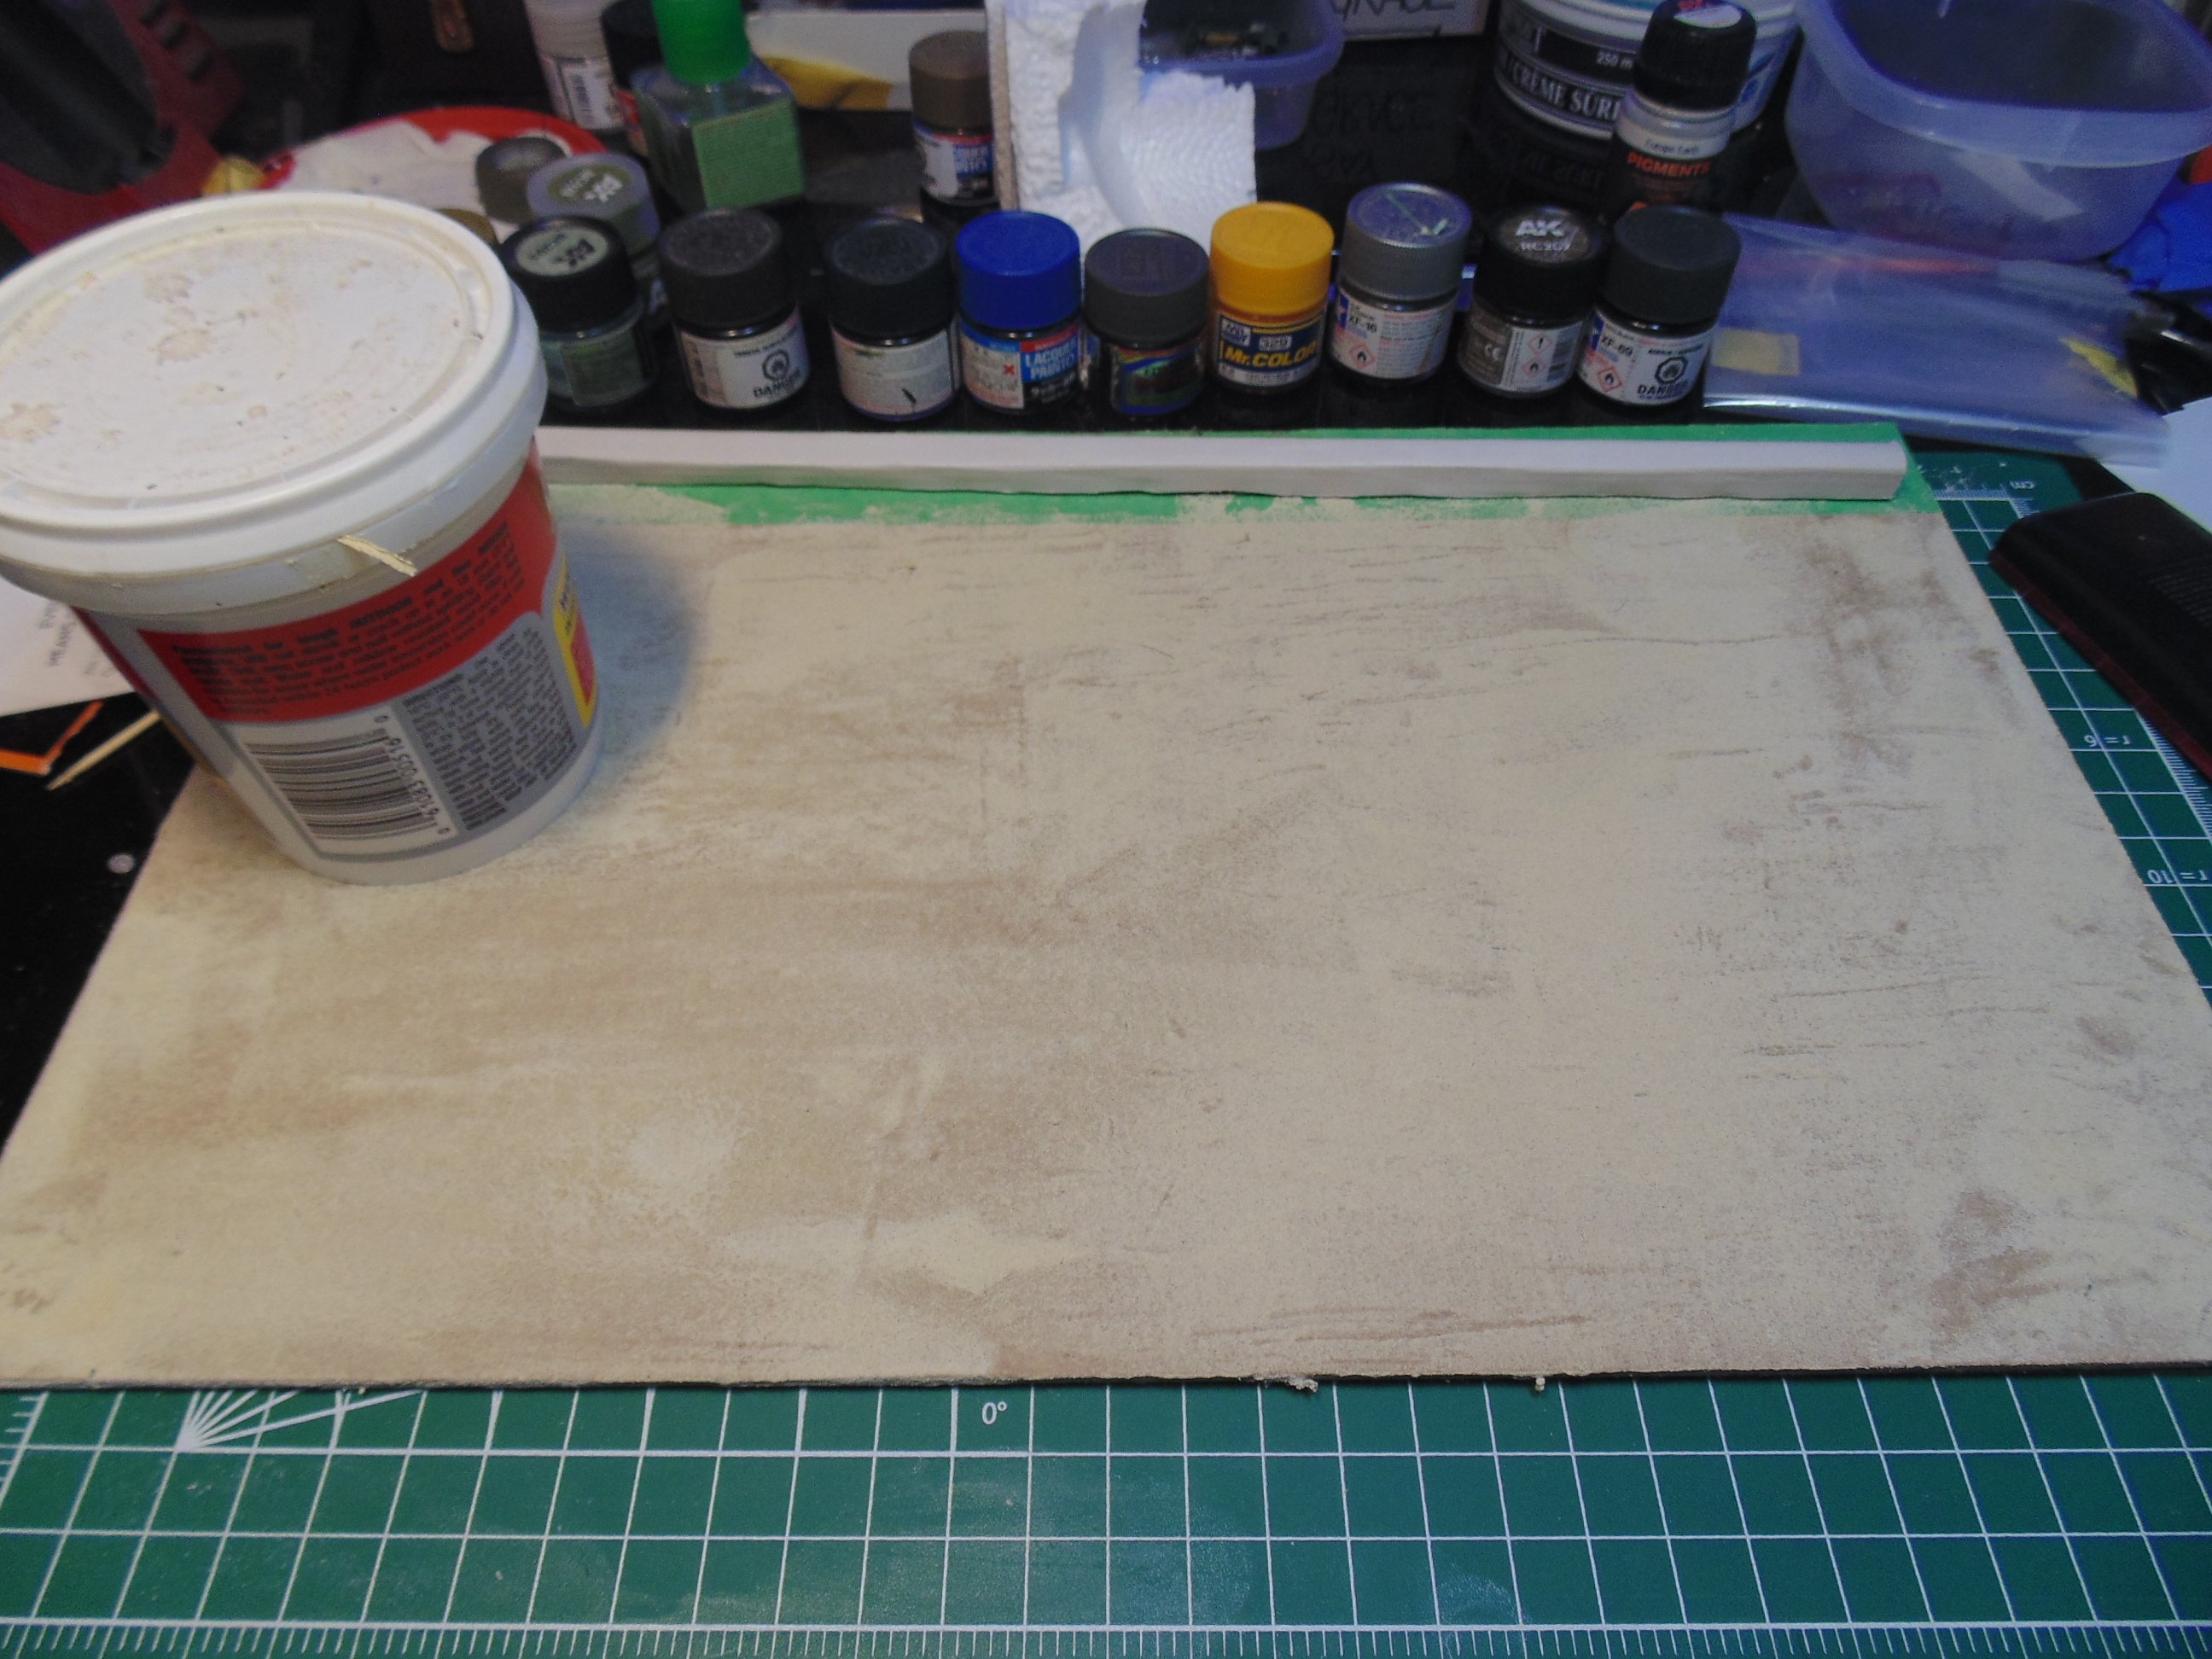
- Now for some street effects. A simple flat board can be masked off and then coated with a wood filler to give the appearance of asphalt after being lightly sanded. Choose whichever brand you like so long as there is a bit of grit in the formula.
While that base is curing you can proceed with the build. The chrome must be removed from the meeting edges and the excess plastic removed for the best fit. An Excel number eleven blade will make short work of this.
Clean off as much of the chrome plating where the parts connect. Trust me, they will disconnect easily if you don’t. Adding some clamps will help.
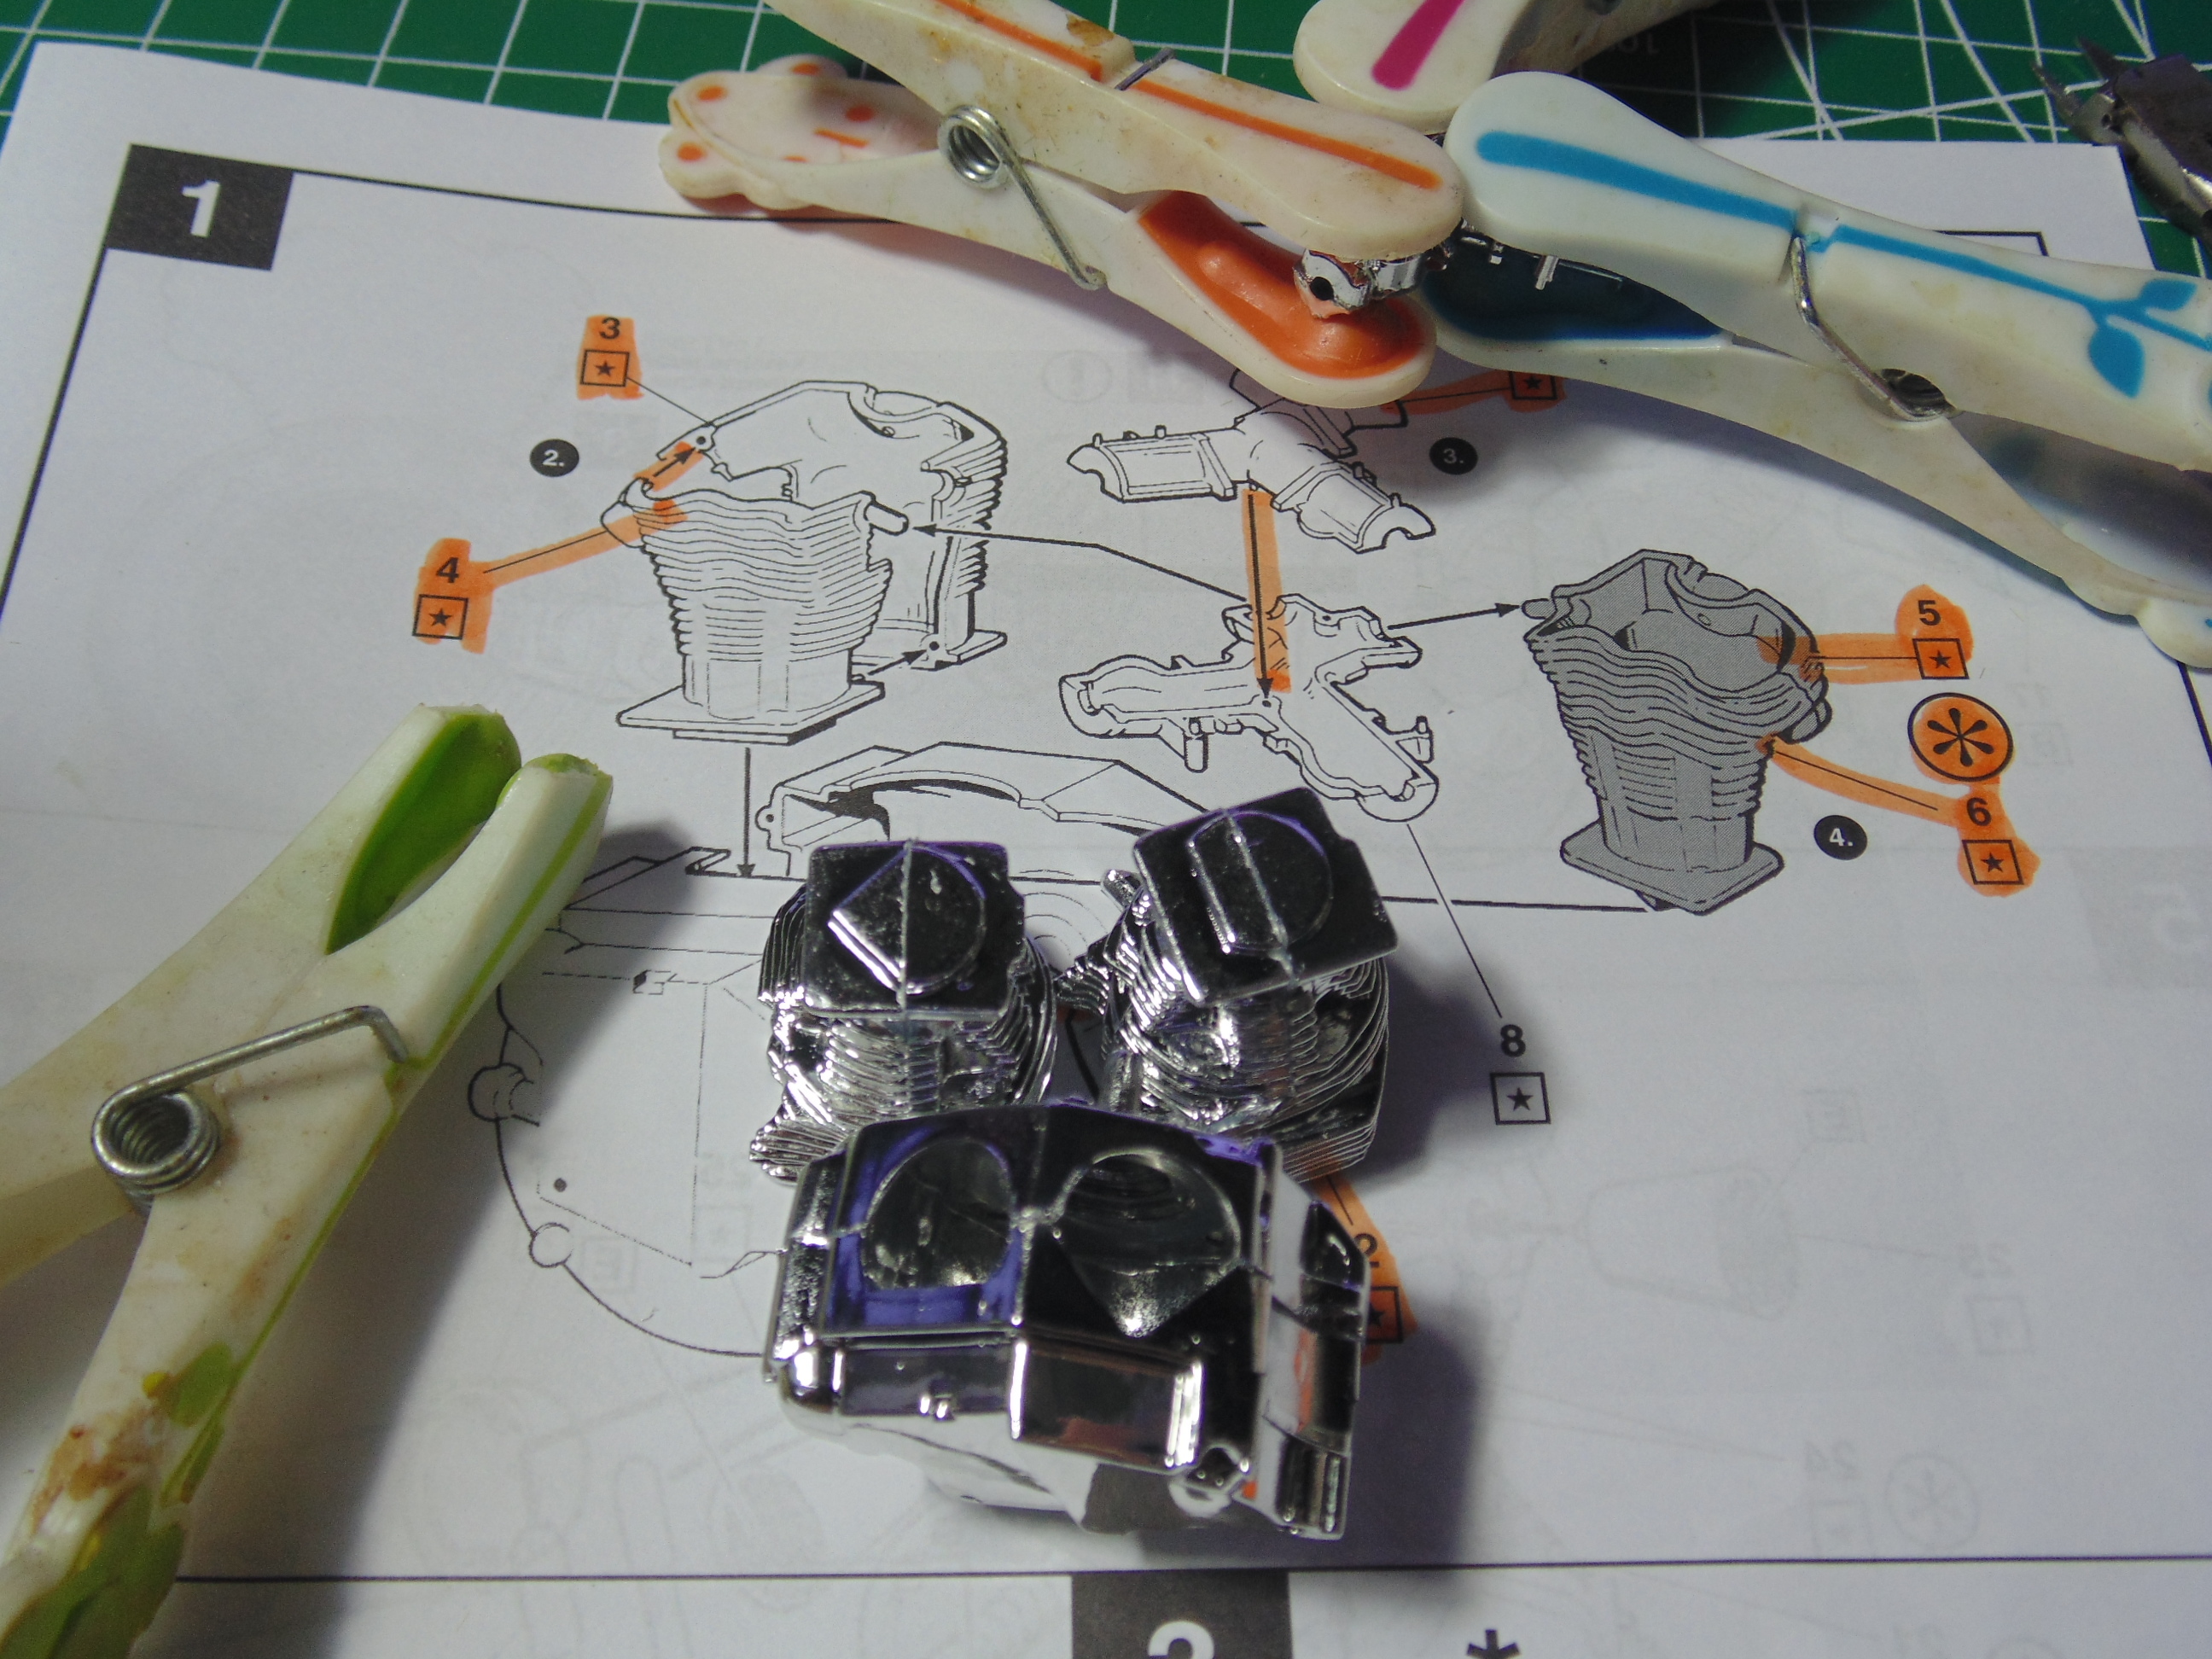
You will probably have to core out the connection point inserts to get the cylinder parts to seat correctly. Sunward Hobbies offer many sanding file kits to complete these small, yet necessary tasks. Consult with one of the staff as to which will work best for you.
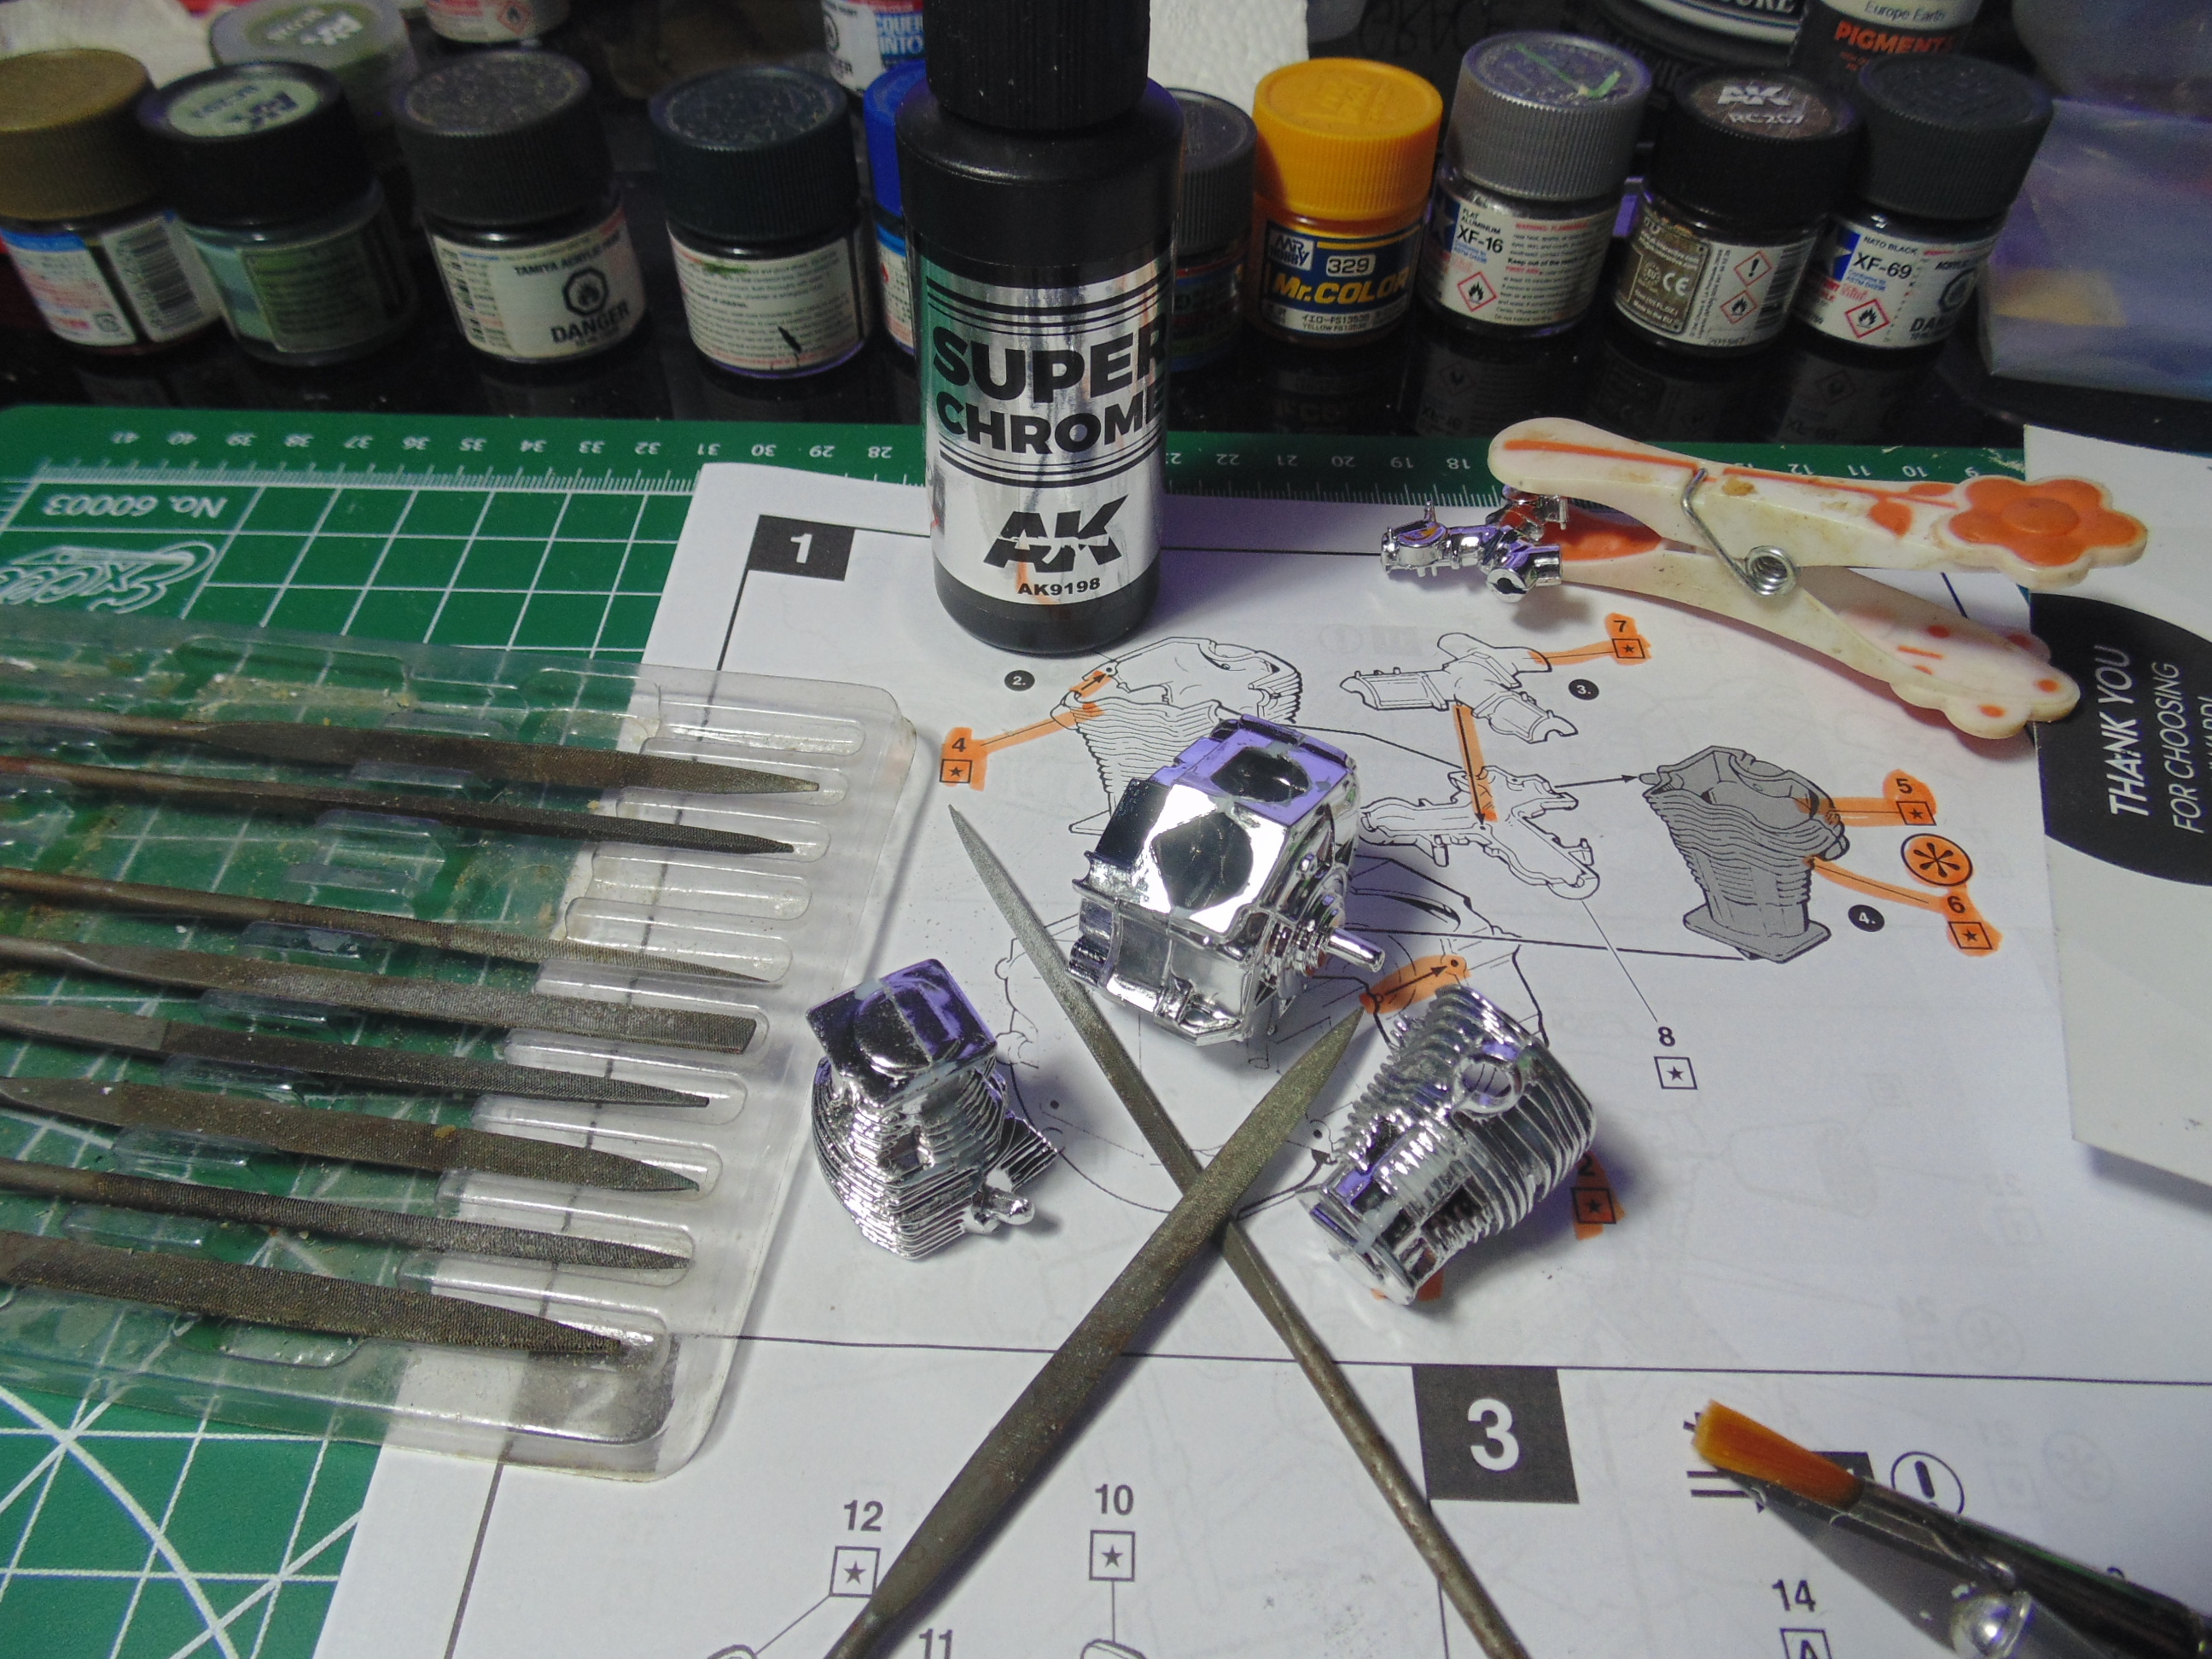
The motor parts need a little persuasion to join up, due the age of the kit. Use some Excel wide clamps to get them to conform after flooding the edges with Tamiya cement. Again, remember to remove the chrome plating from the connecting points and test fit these parts for the best result.
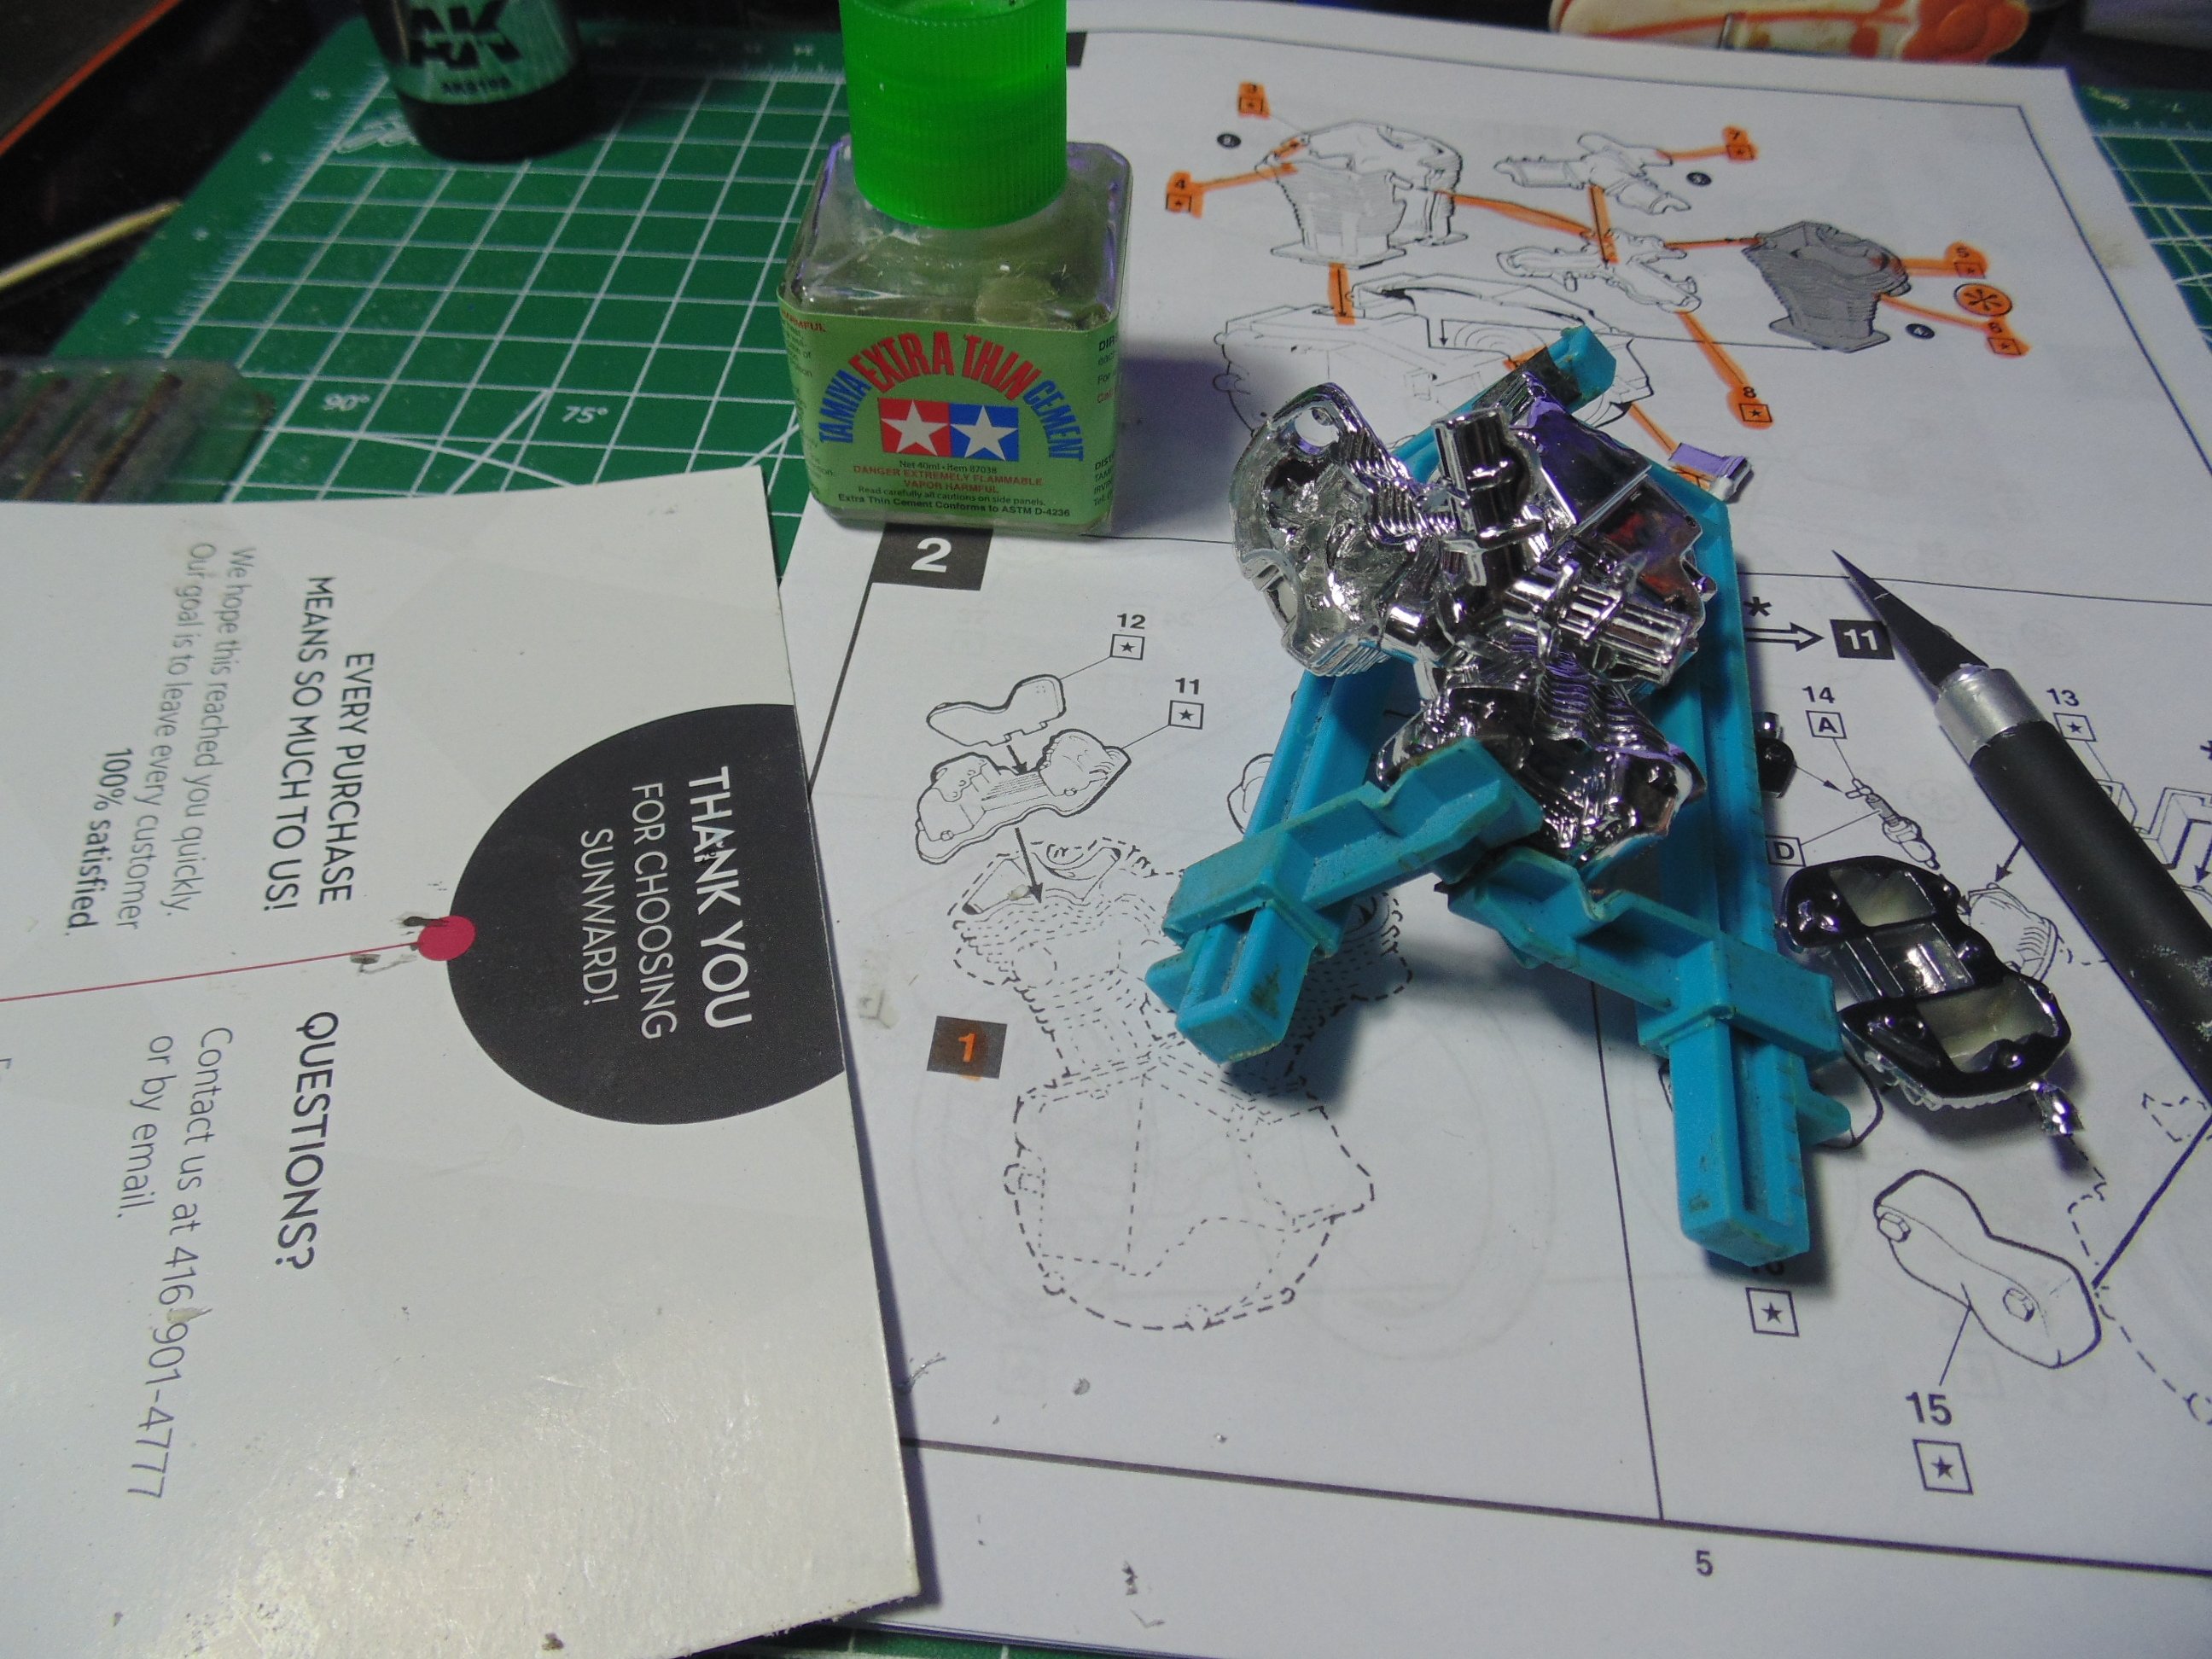
If your replica is the same as this one you have to remove a goodly amount of plastic in order for the engine covers to fit. Take it slow and continue to test fit until they join properly.
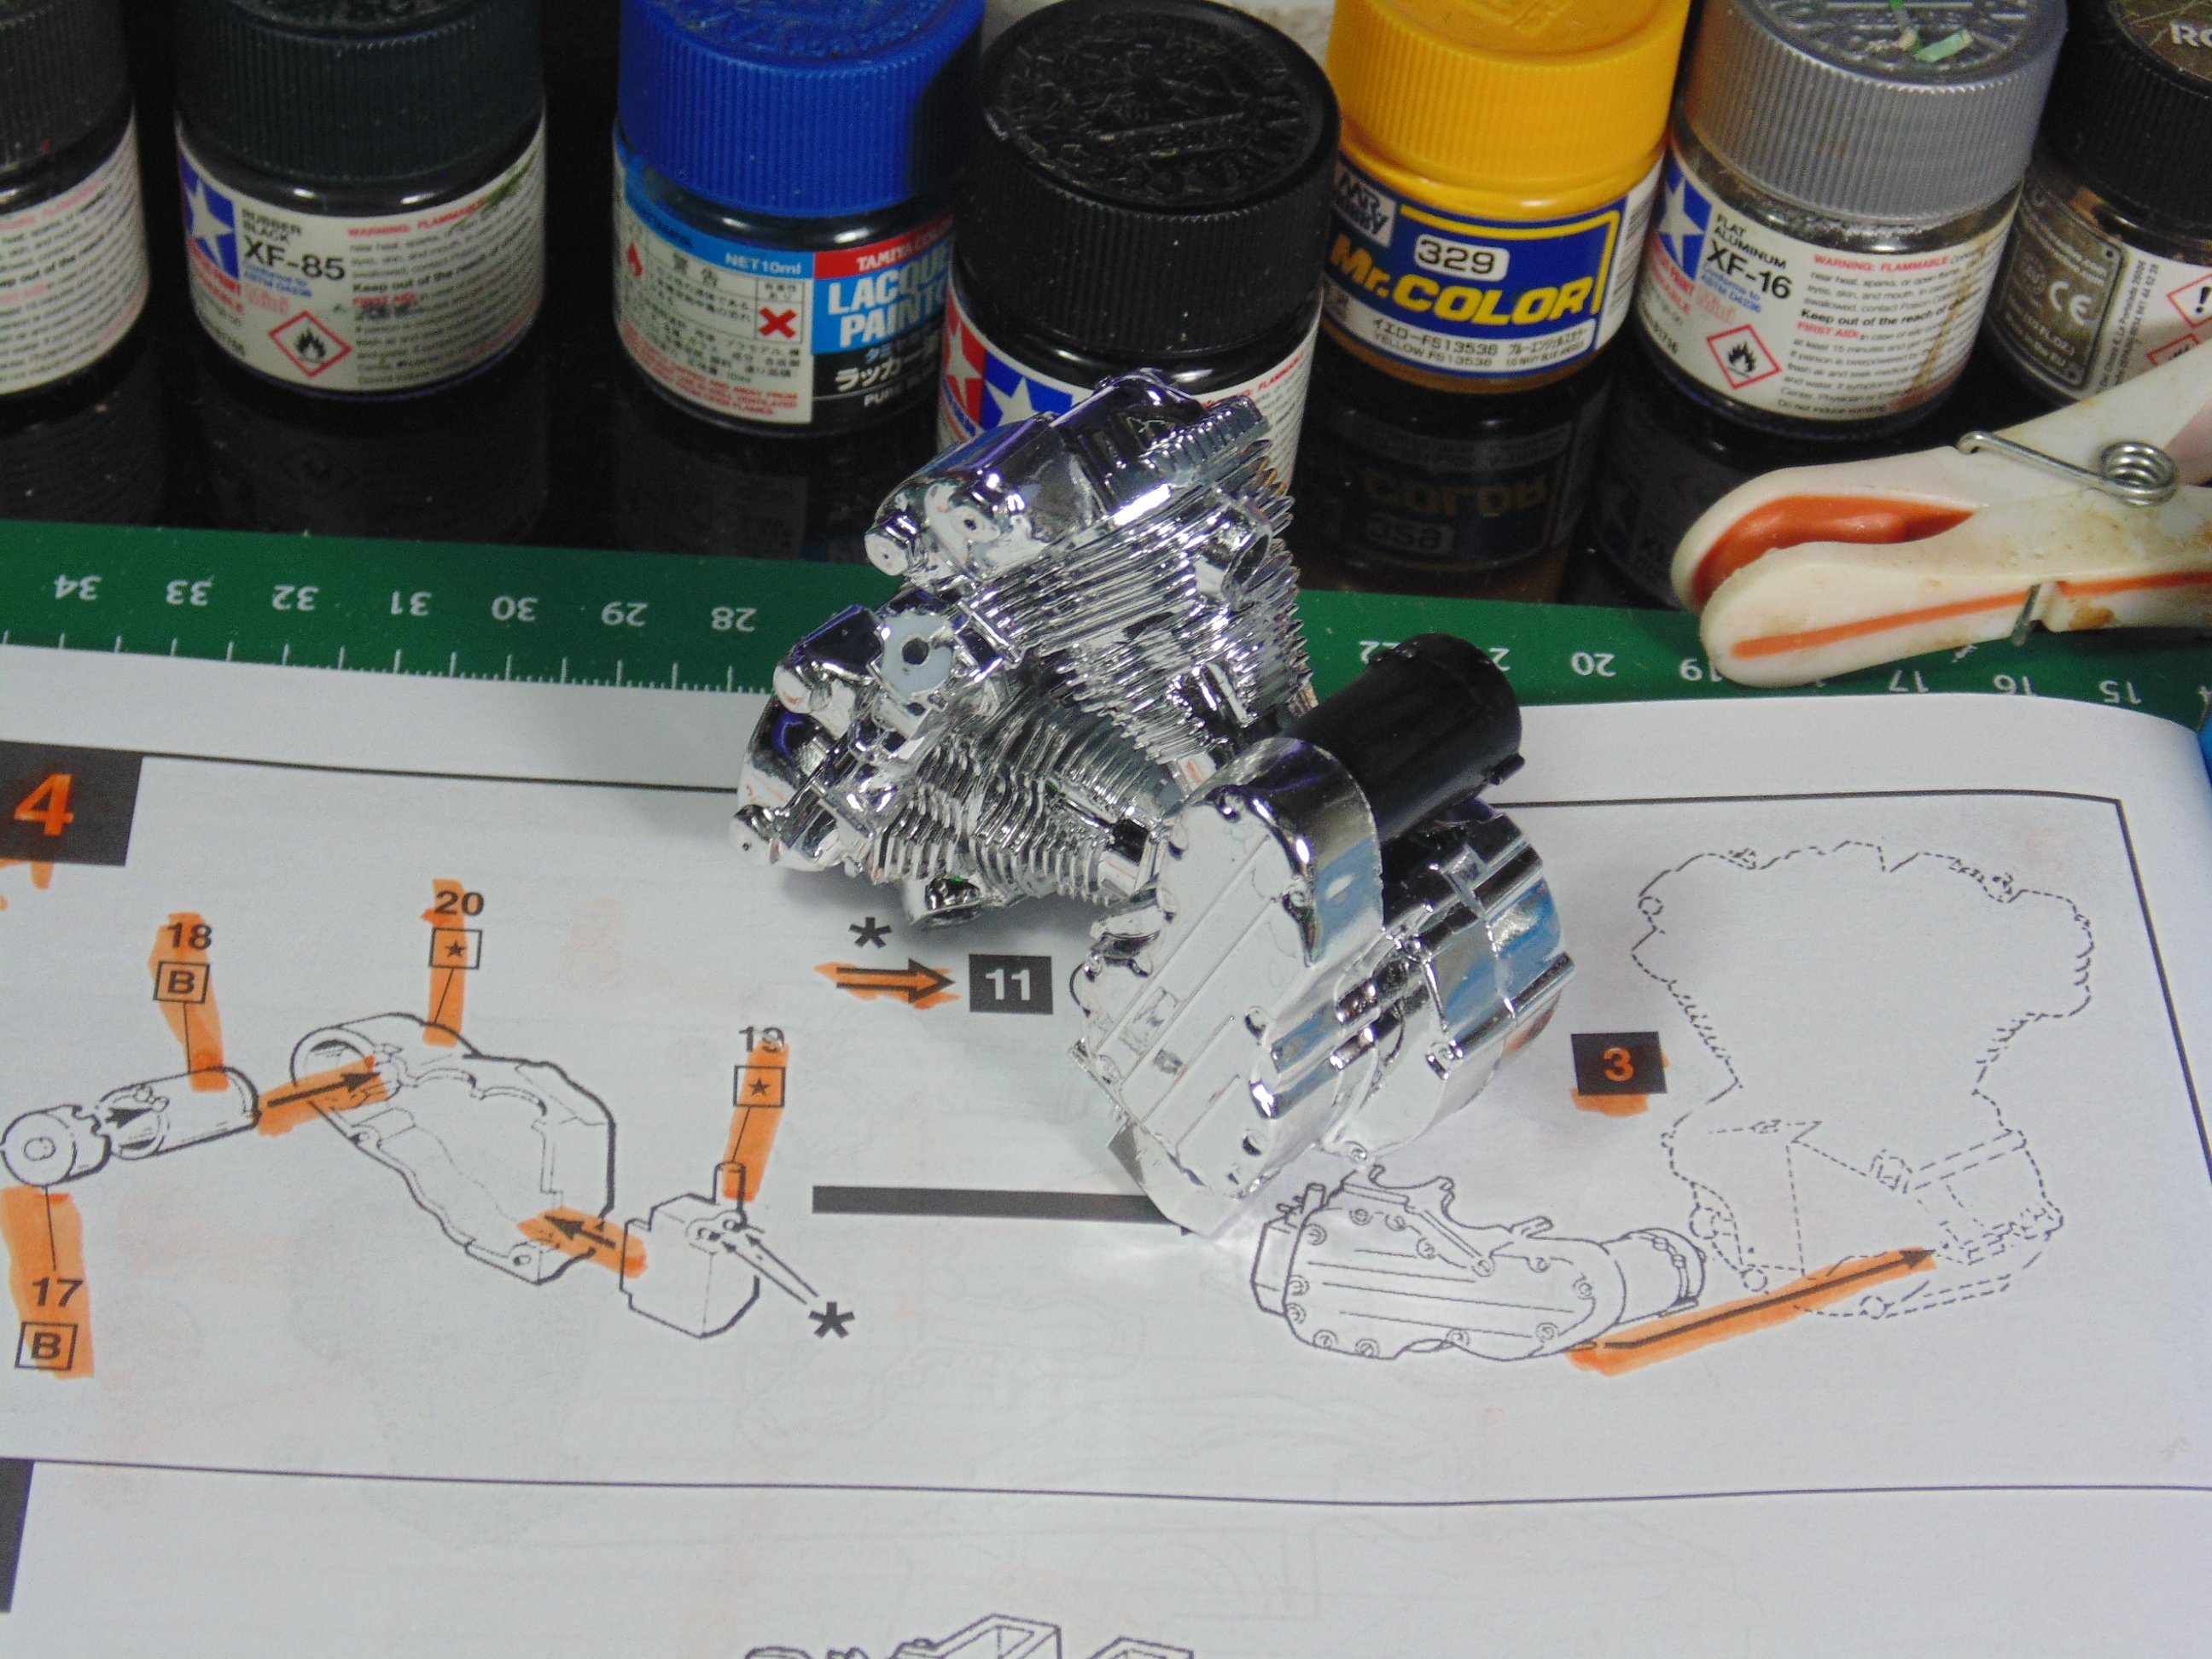
Once you have assembled most of the engine components consider propping it up at an angle. This will help prevent the added parts from falling off during the drying stage. As you can see I have marked off each part that has been installed on the instructions.
The alternator part comes in white styrene and needs to be painted. You can choose blue, yellow, black or red for this. Just make sure the connecting surfaces have the chrome removed to get a firm grip.
The engine pushrods must have the block end points cleaned of flash and chrome or they will never fit right. Glide them up into the camshaft holes and then seat into the block area.
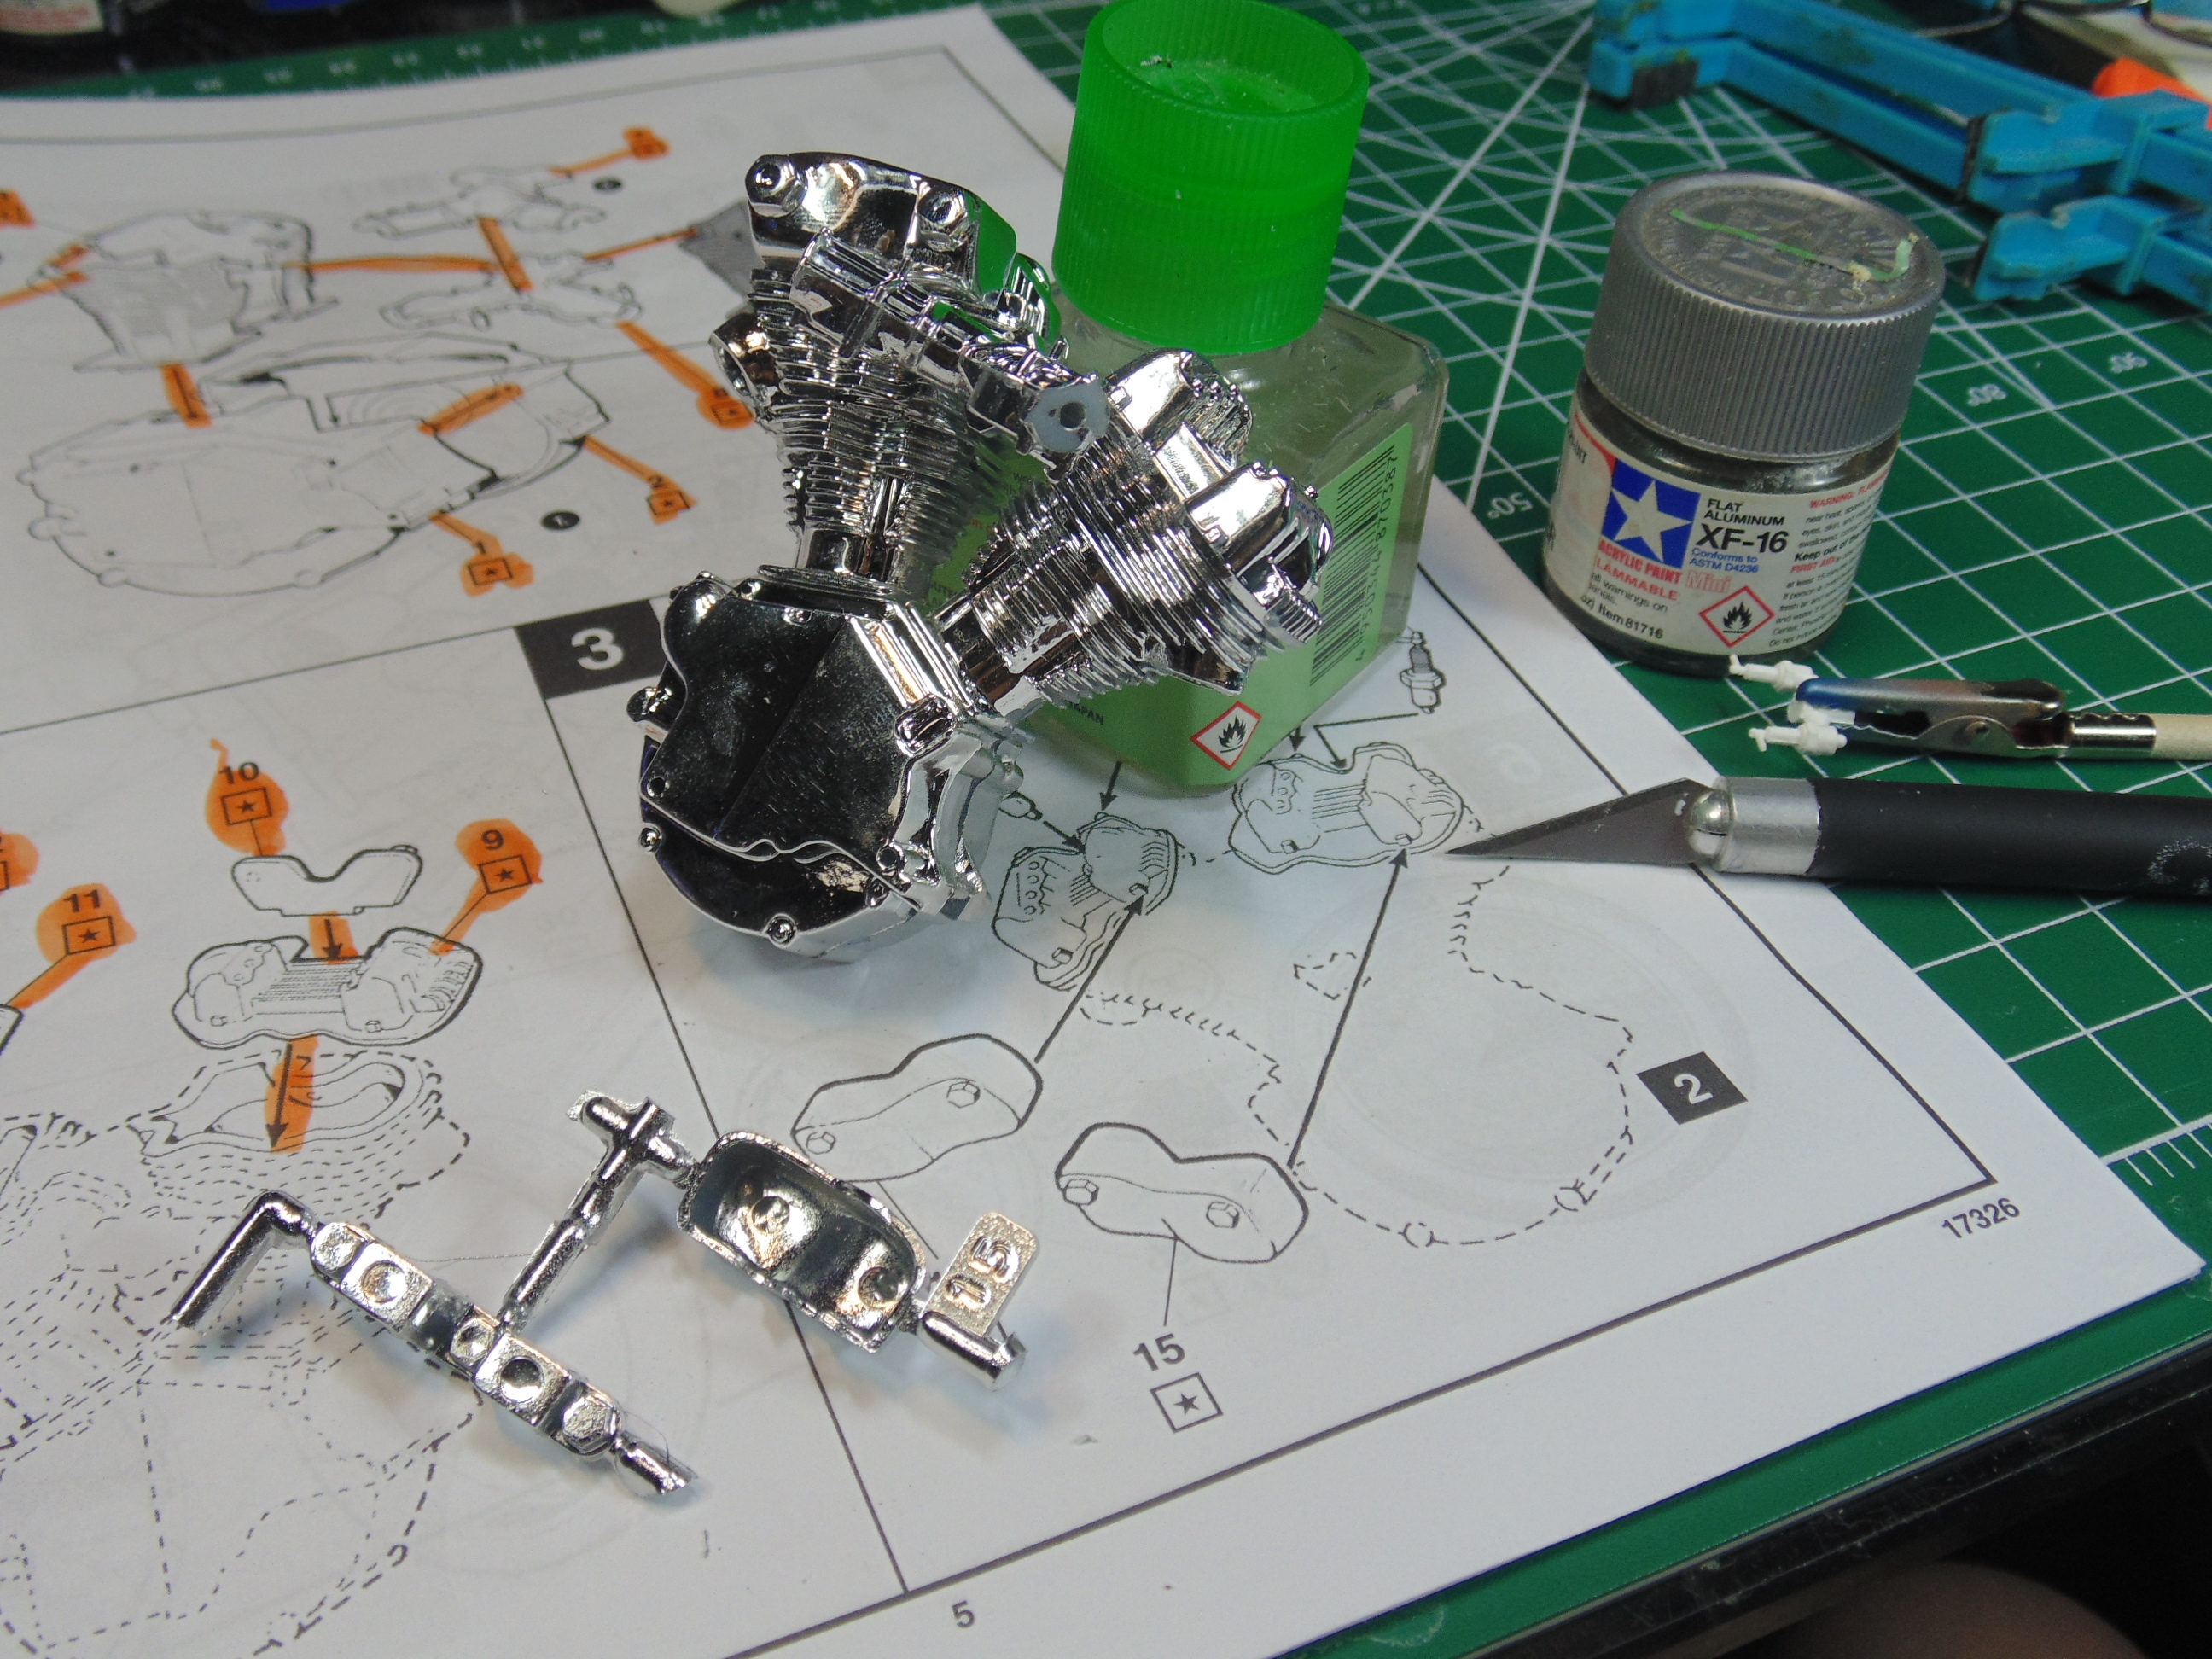
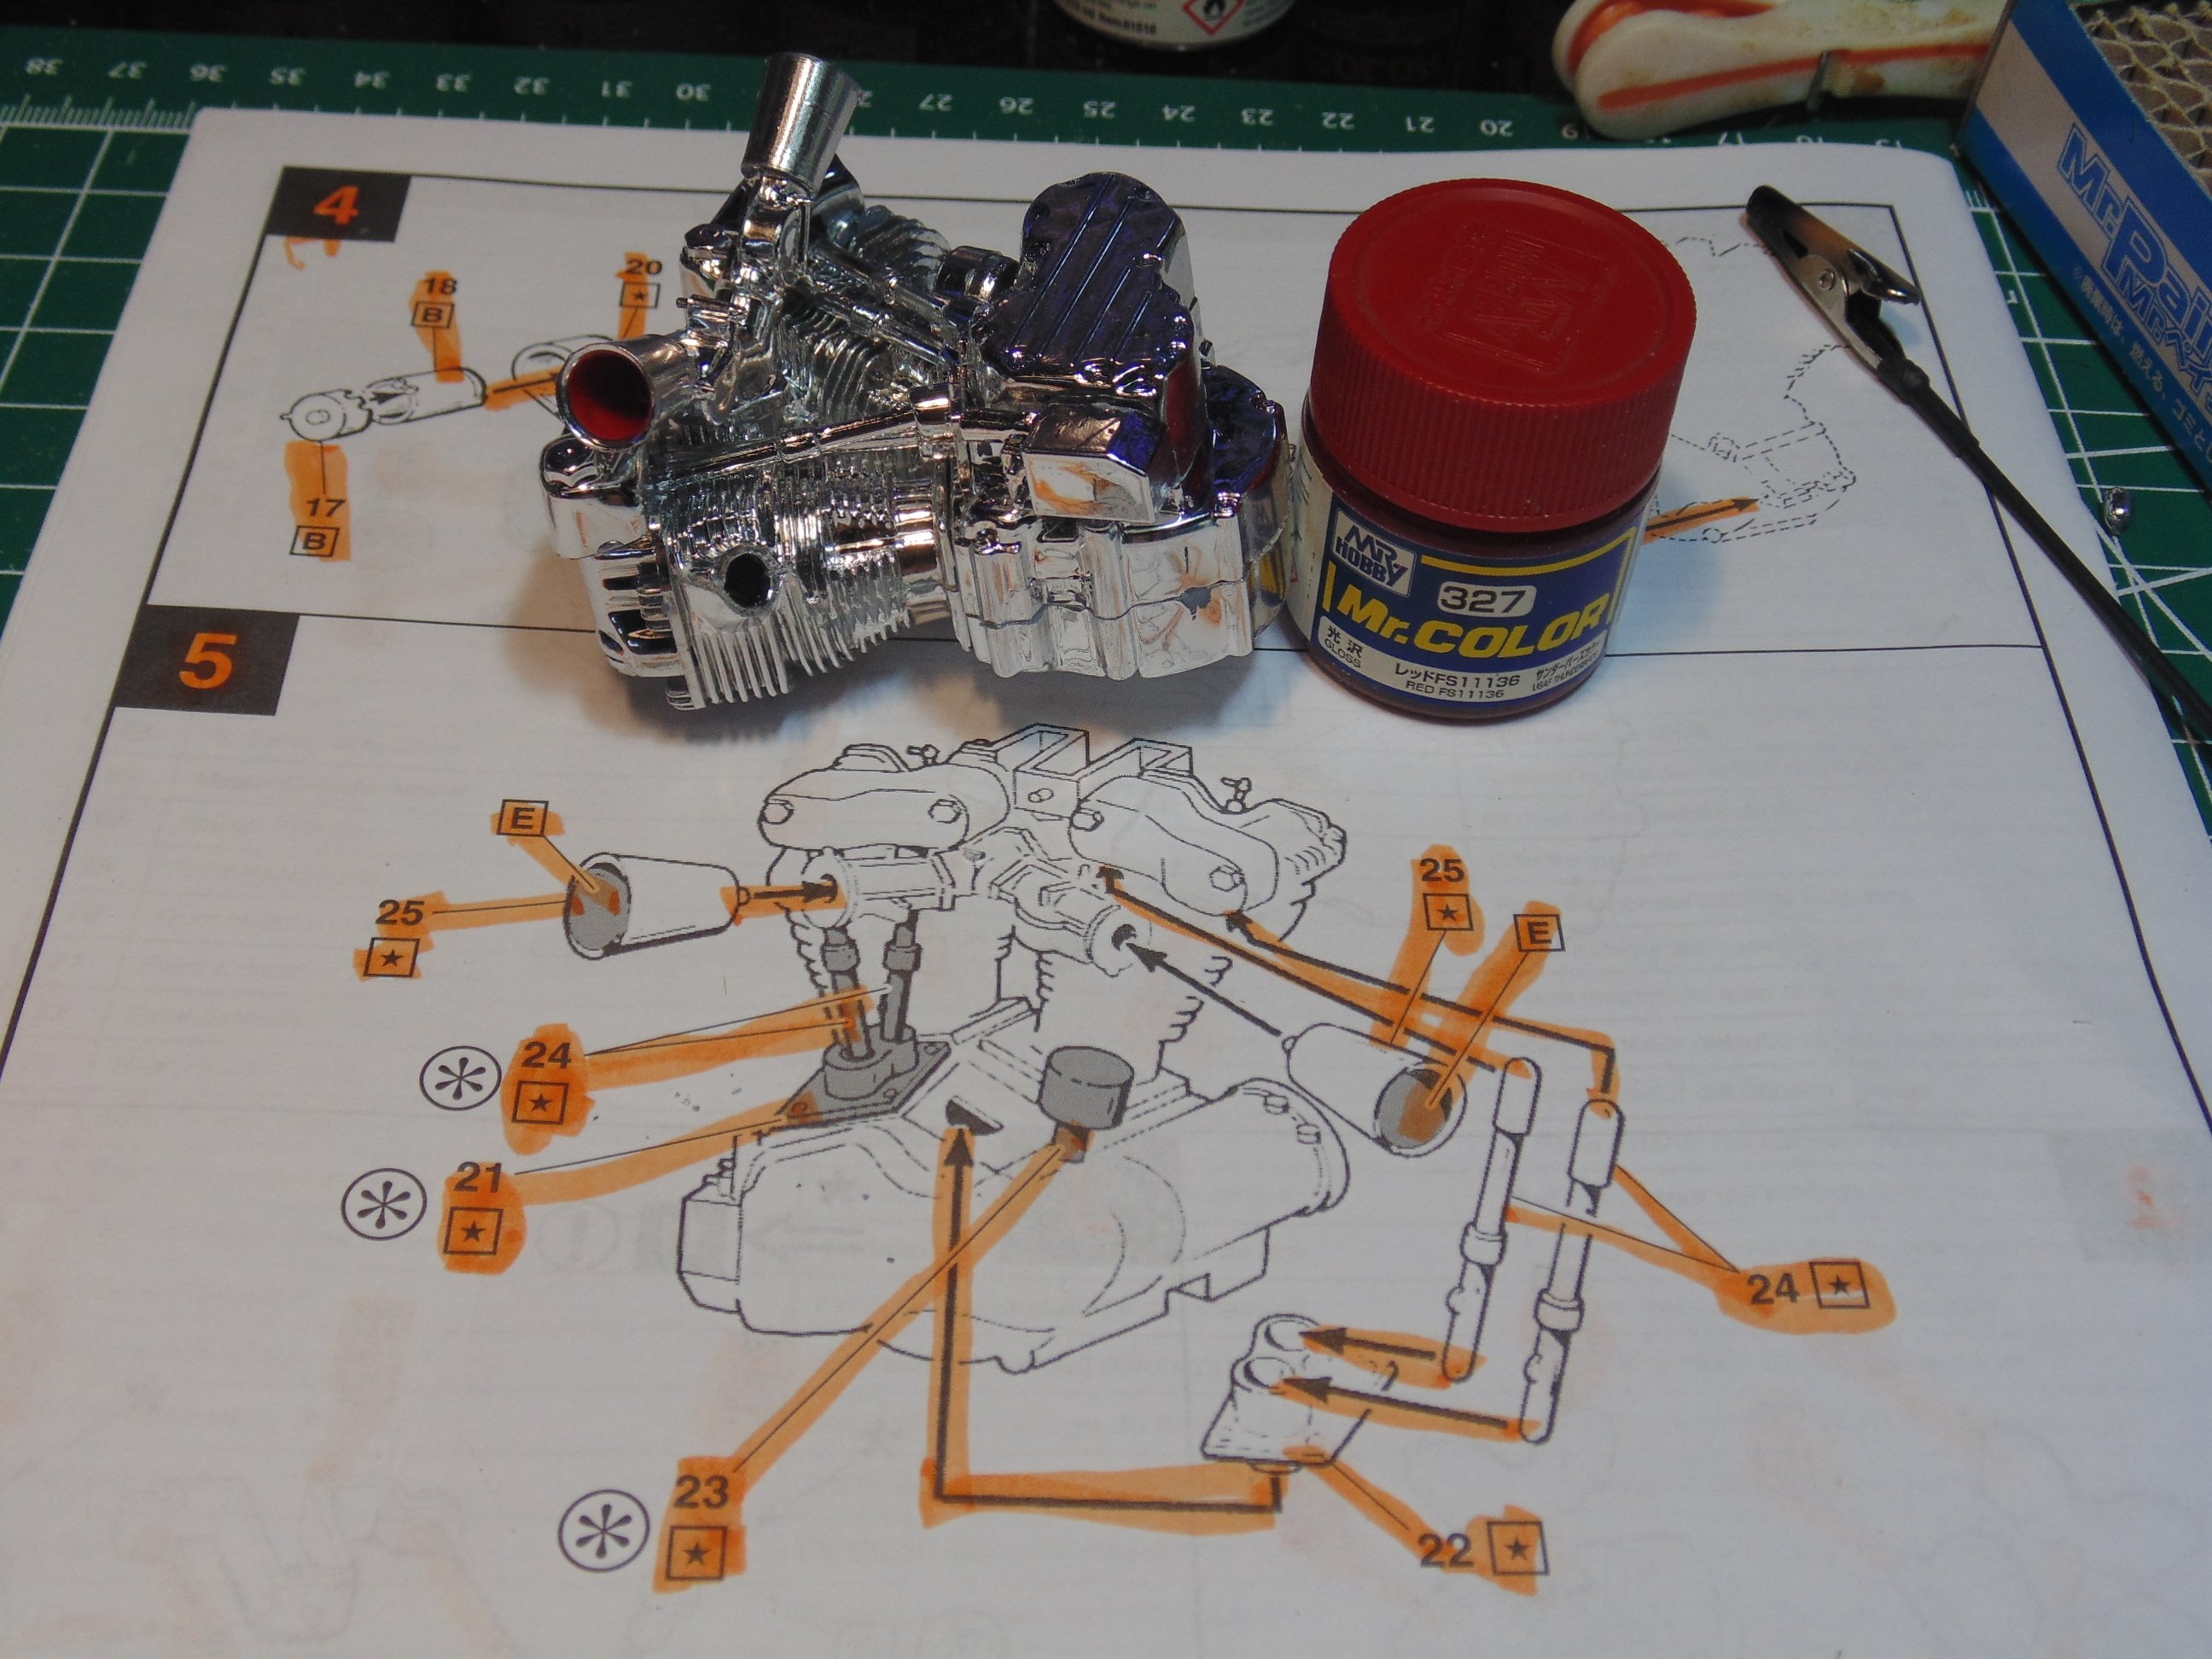
Some Mr Hobby bright red paint will add a huge amount of life to your project, regardless of which decal scheme you opt to go with. If you have any mishaps at the edges simply use some Mr. Thinner on a cotton swab to clean it up.

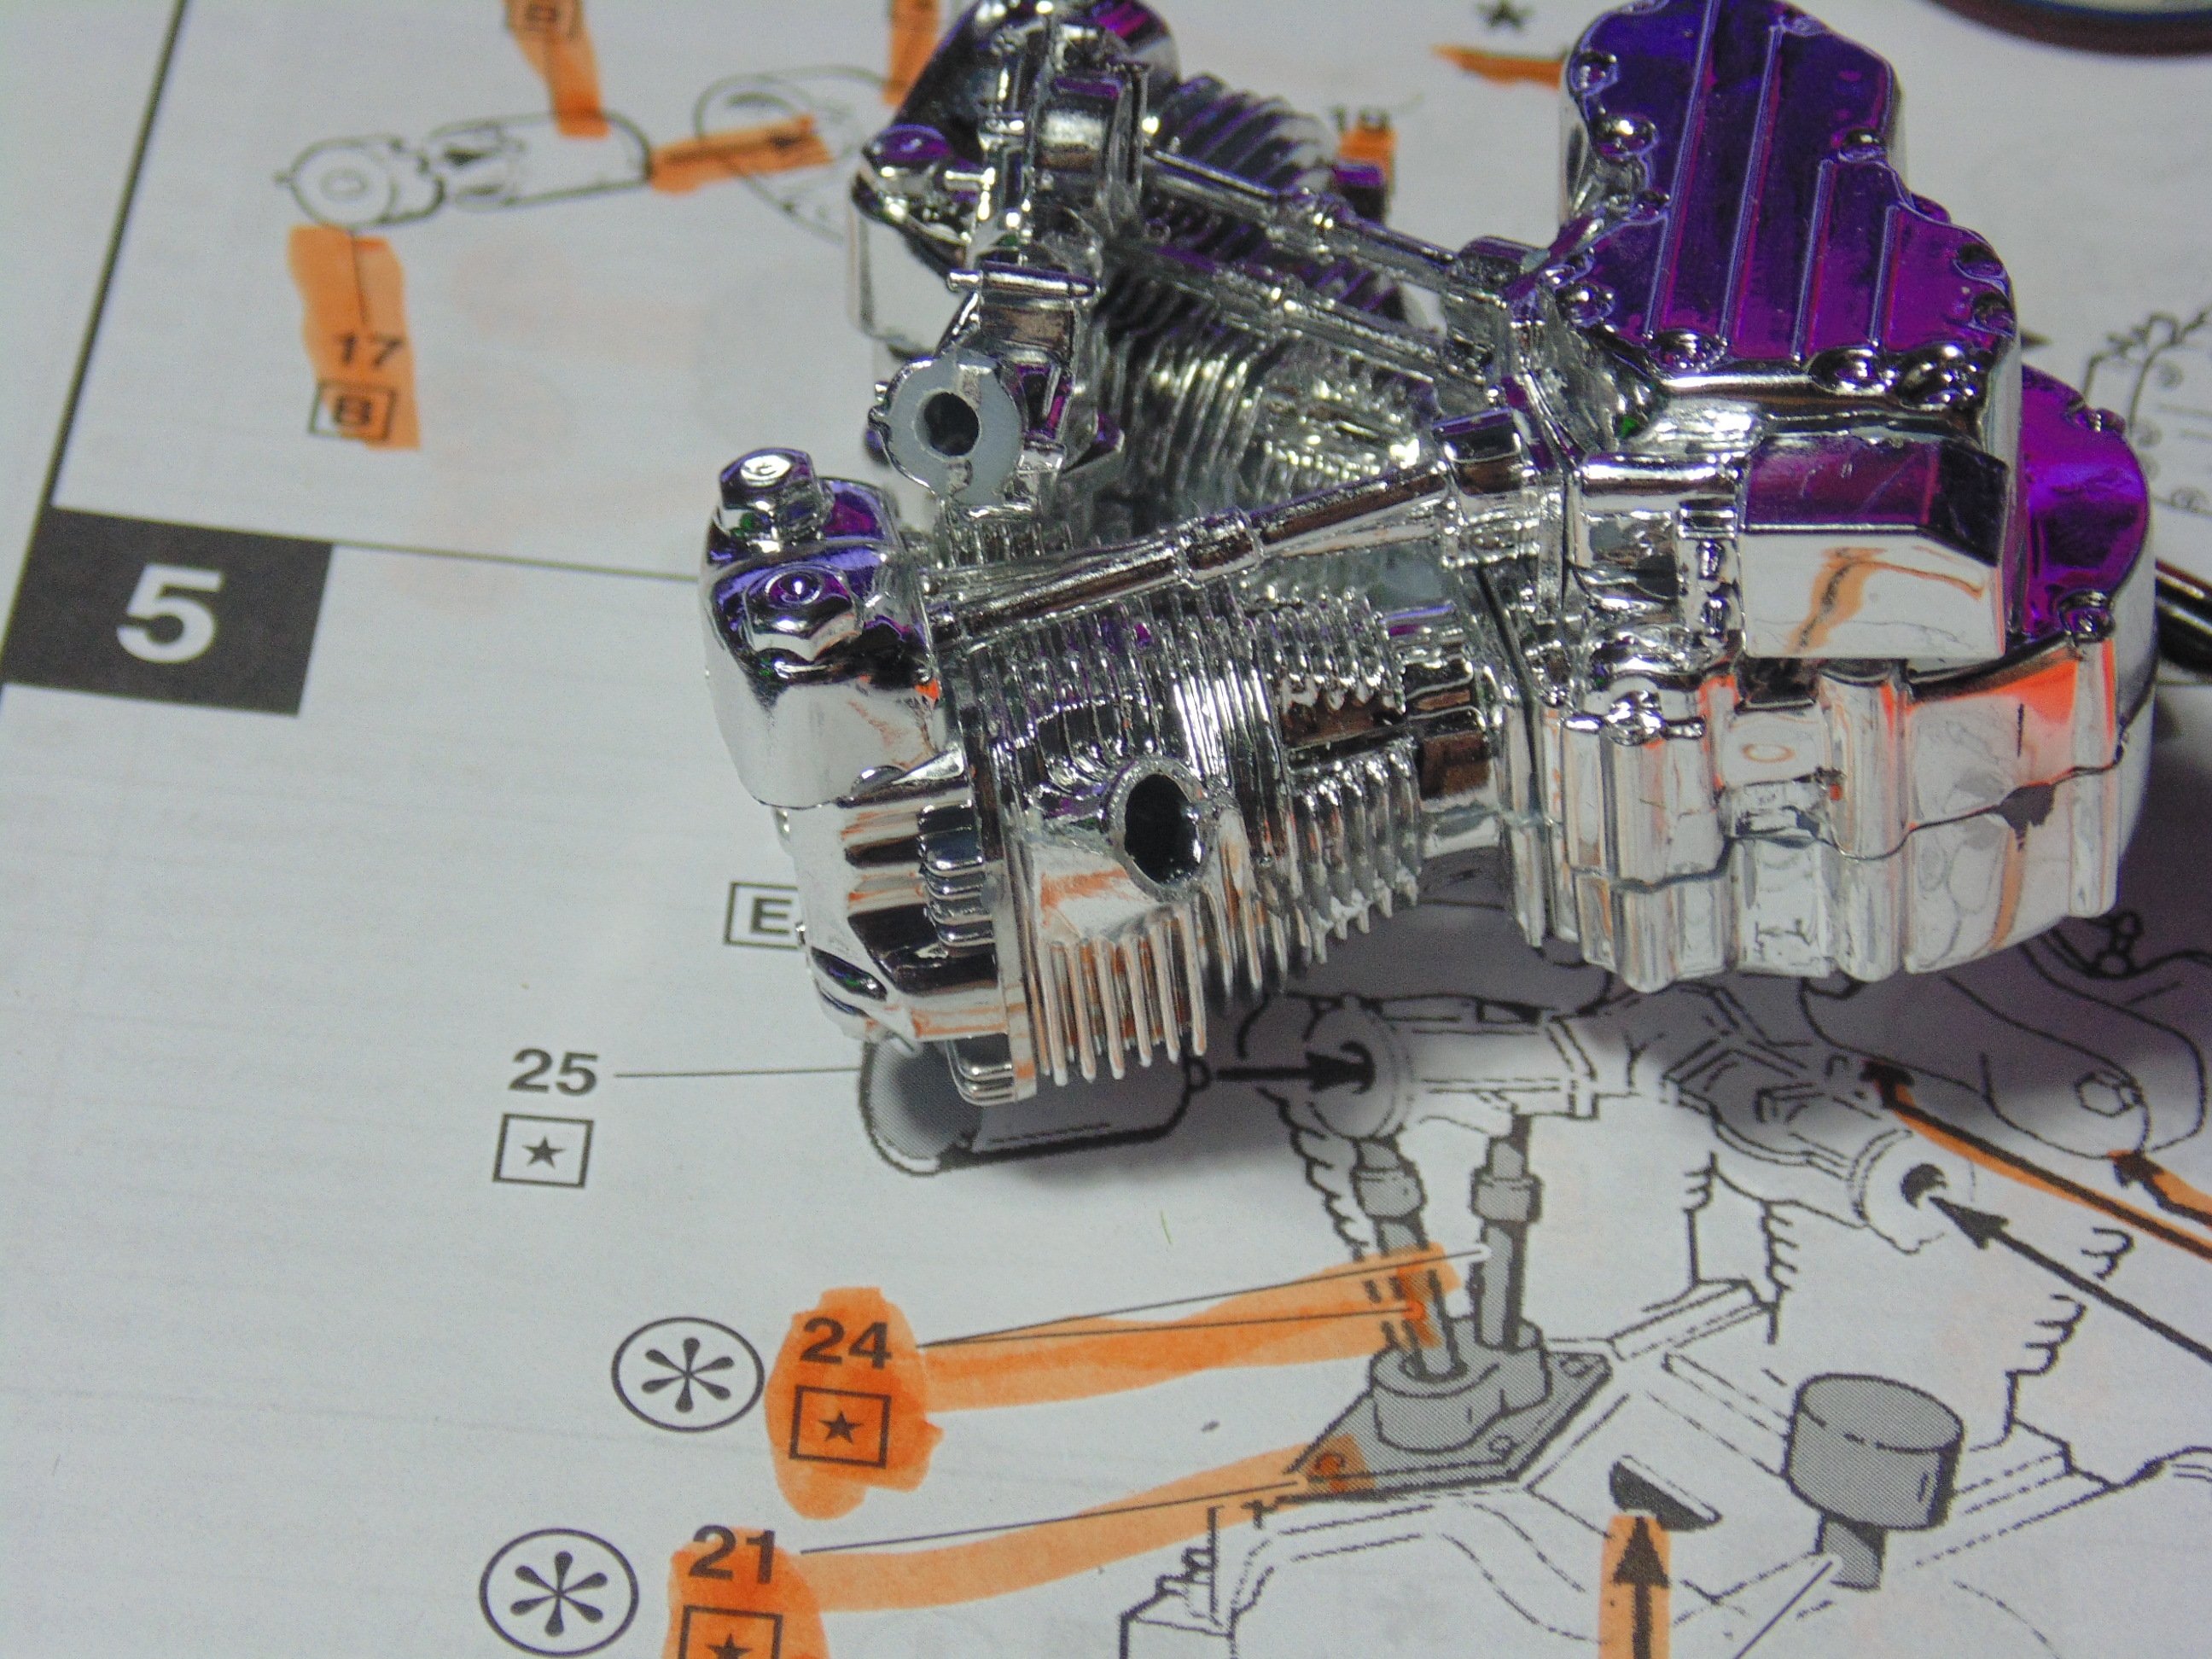
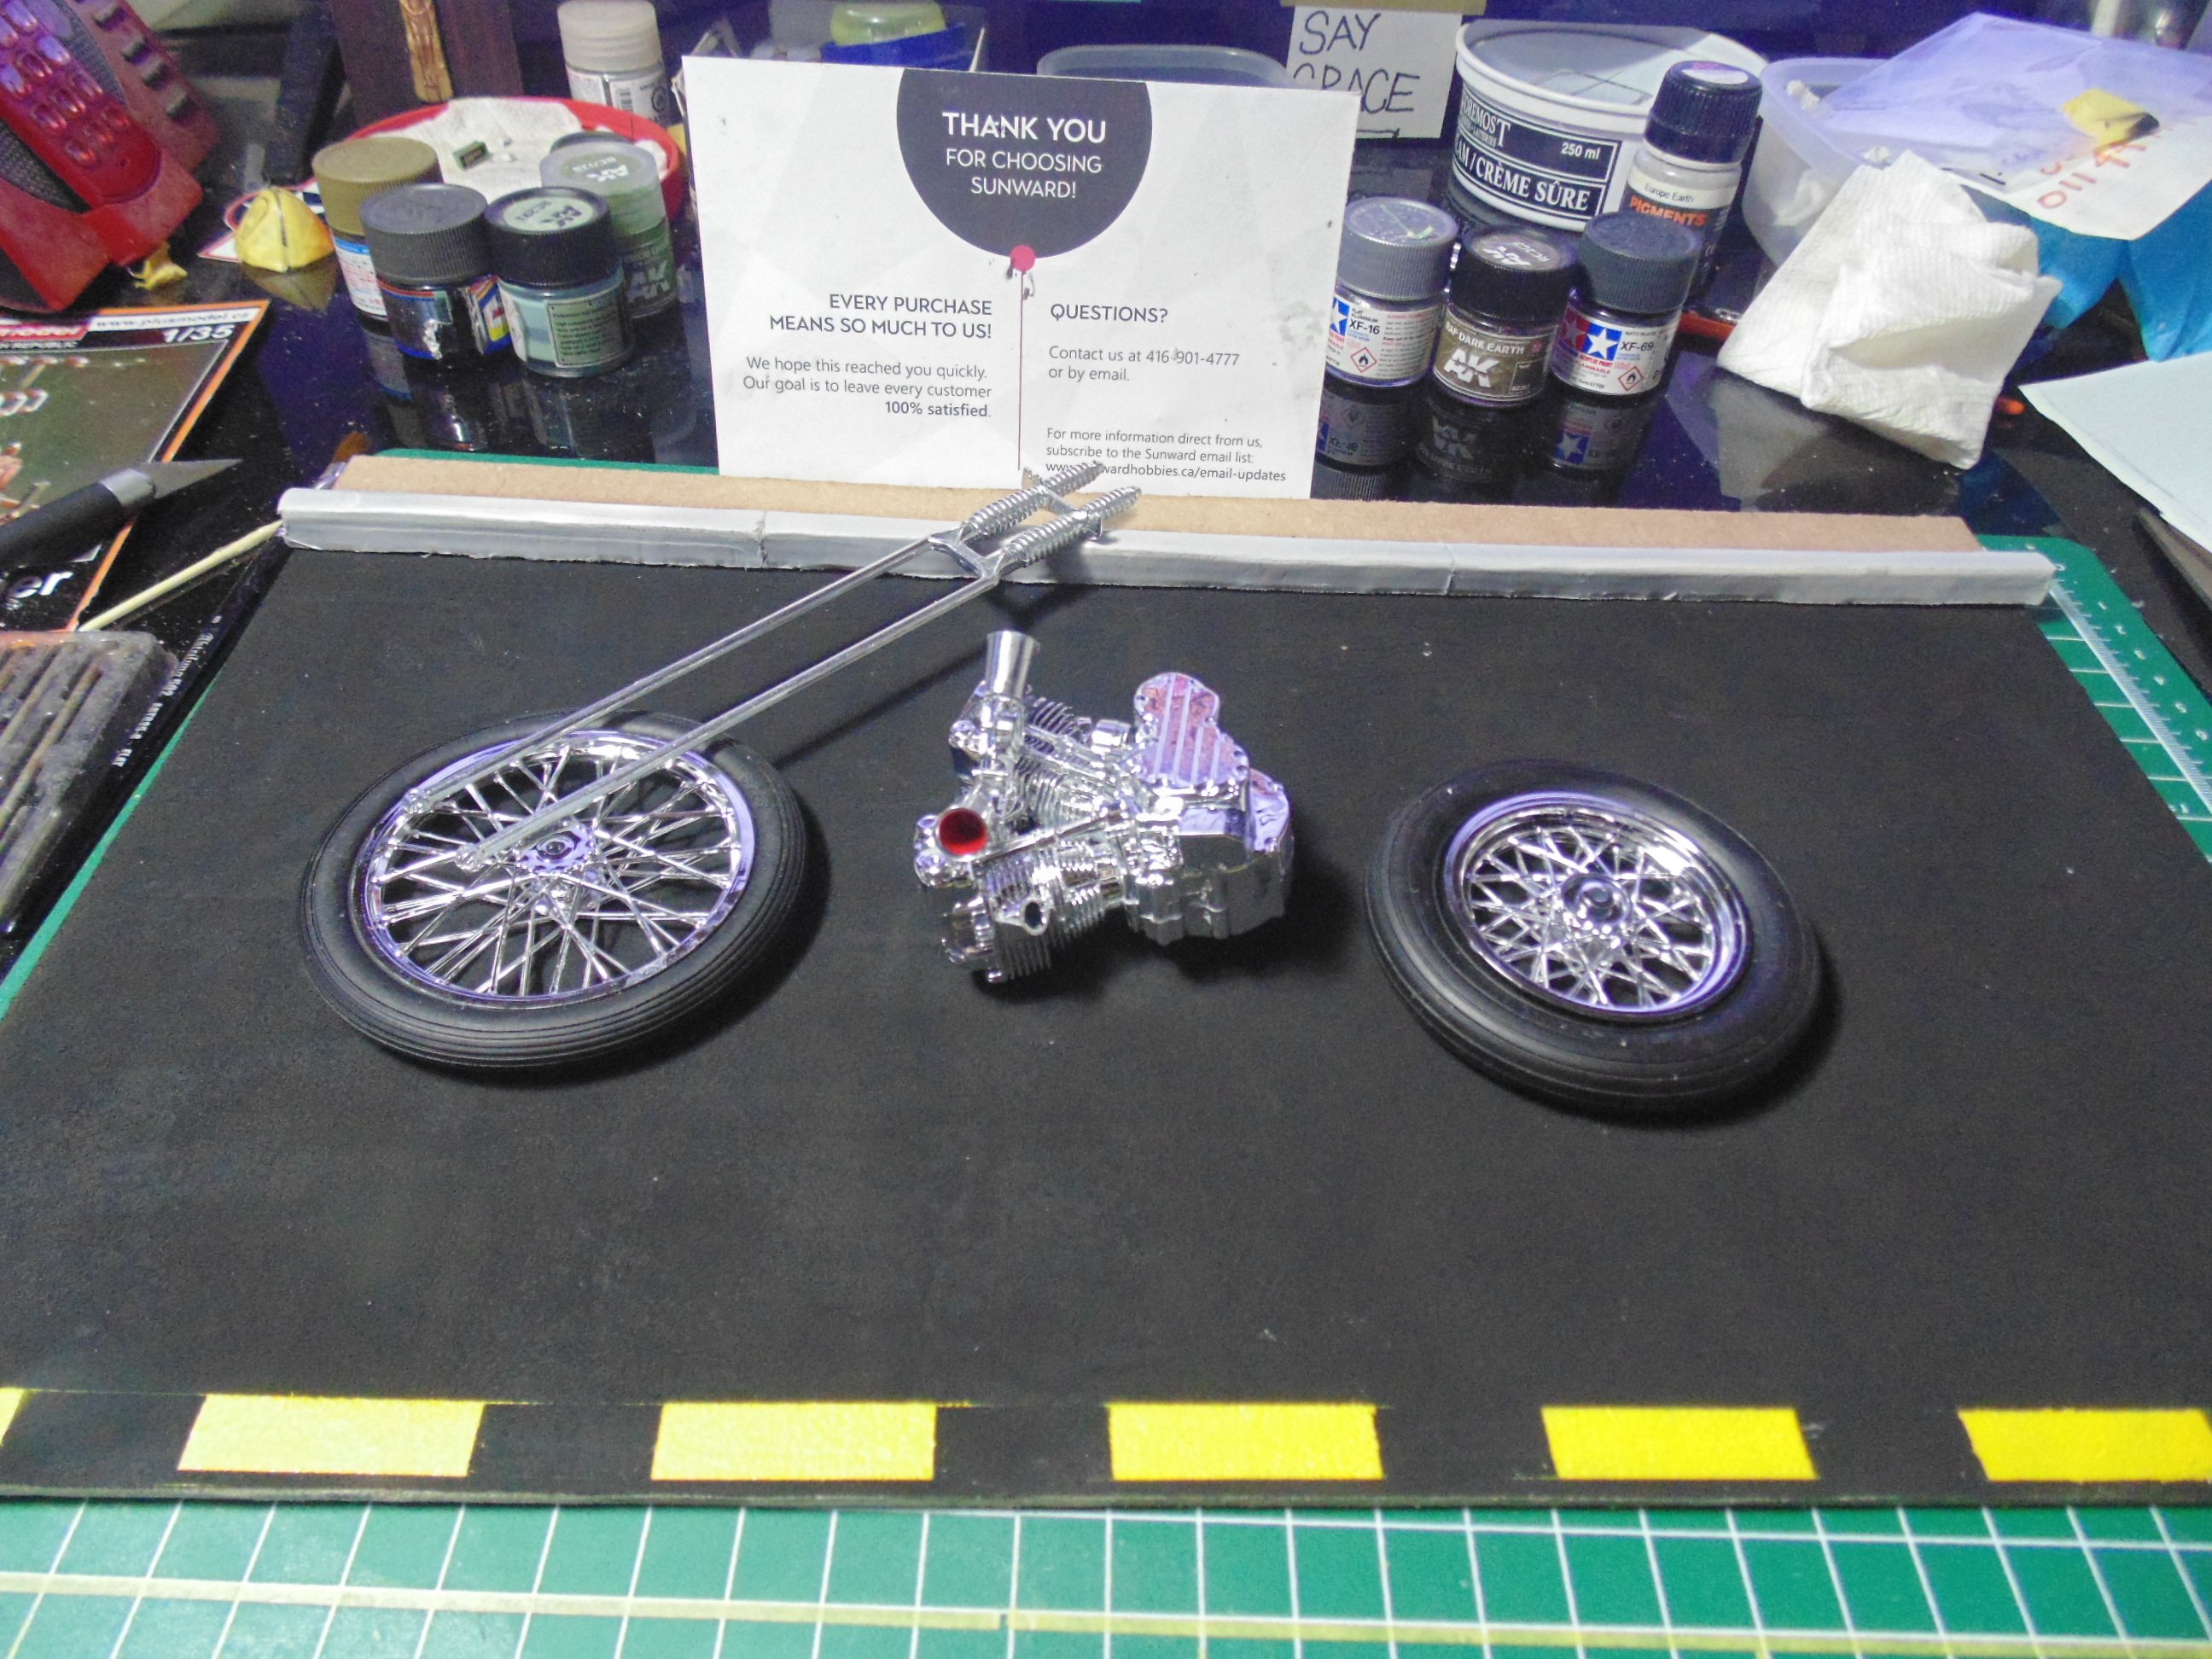
Here you can see this awesome engine coming together. Yes, there are some touch-ups to be done, but you get the picture.
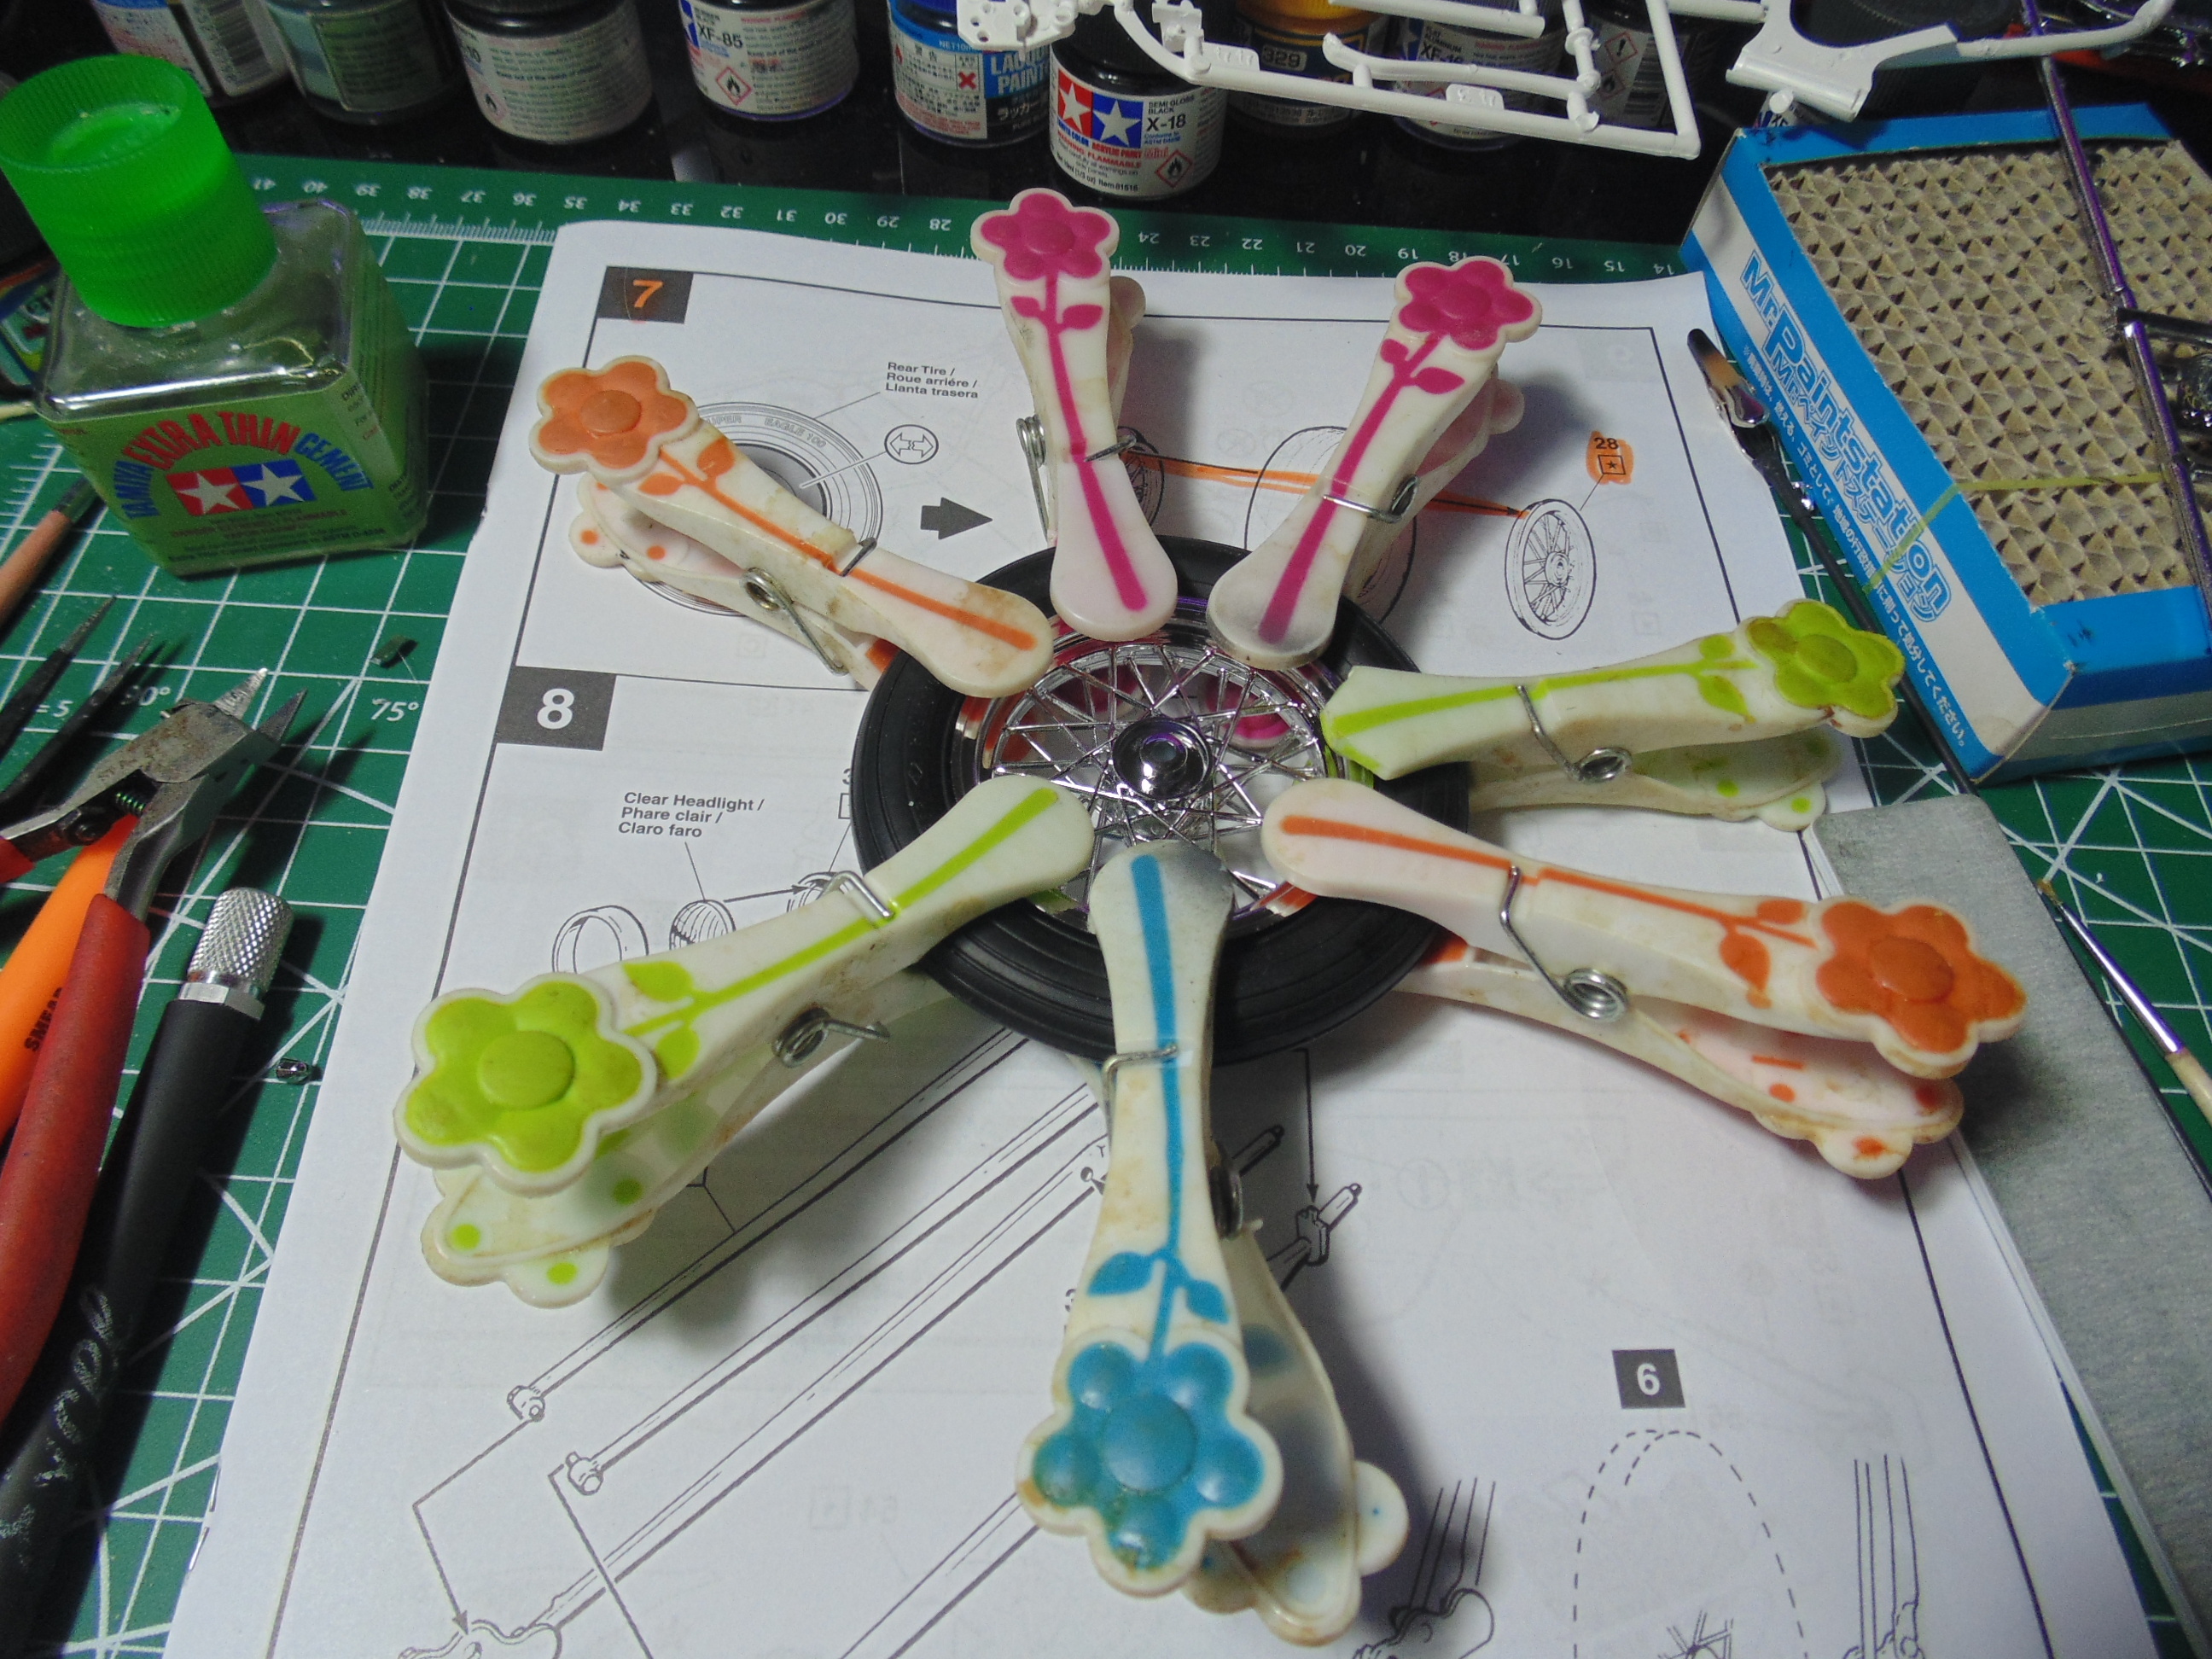
You may or may not have to remove some of the rubber from the inside of the tires to get the rims to fit properly. Either way, you will have to clamp the two rim parts because the tire will force them apart.
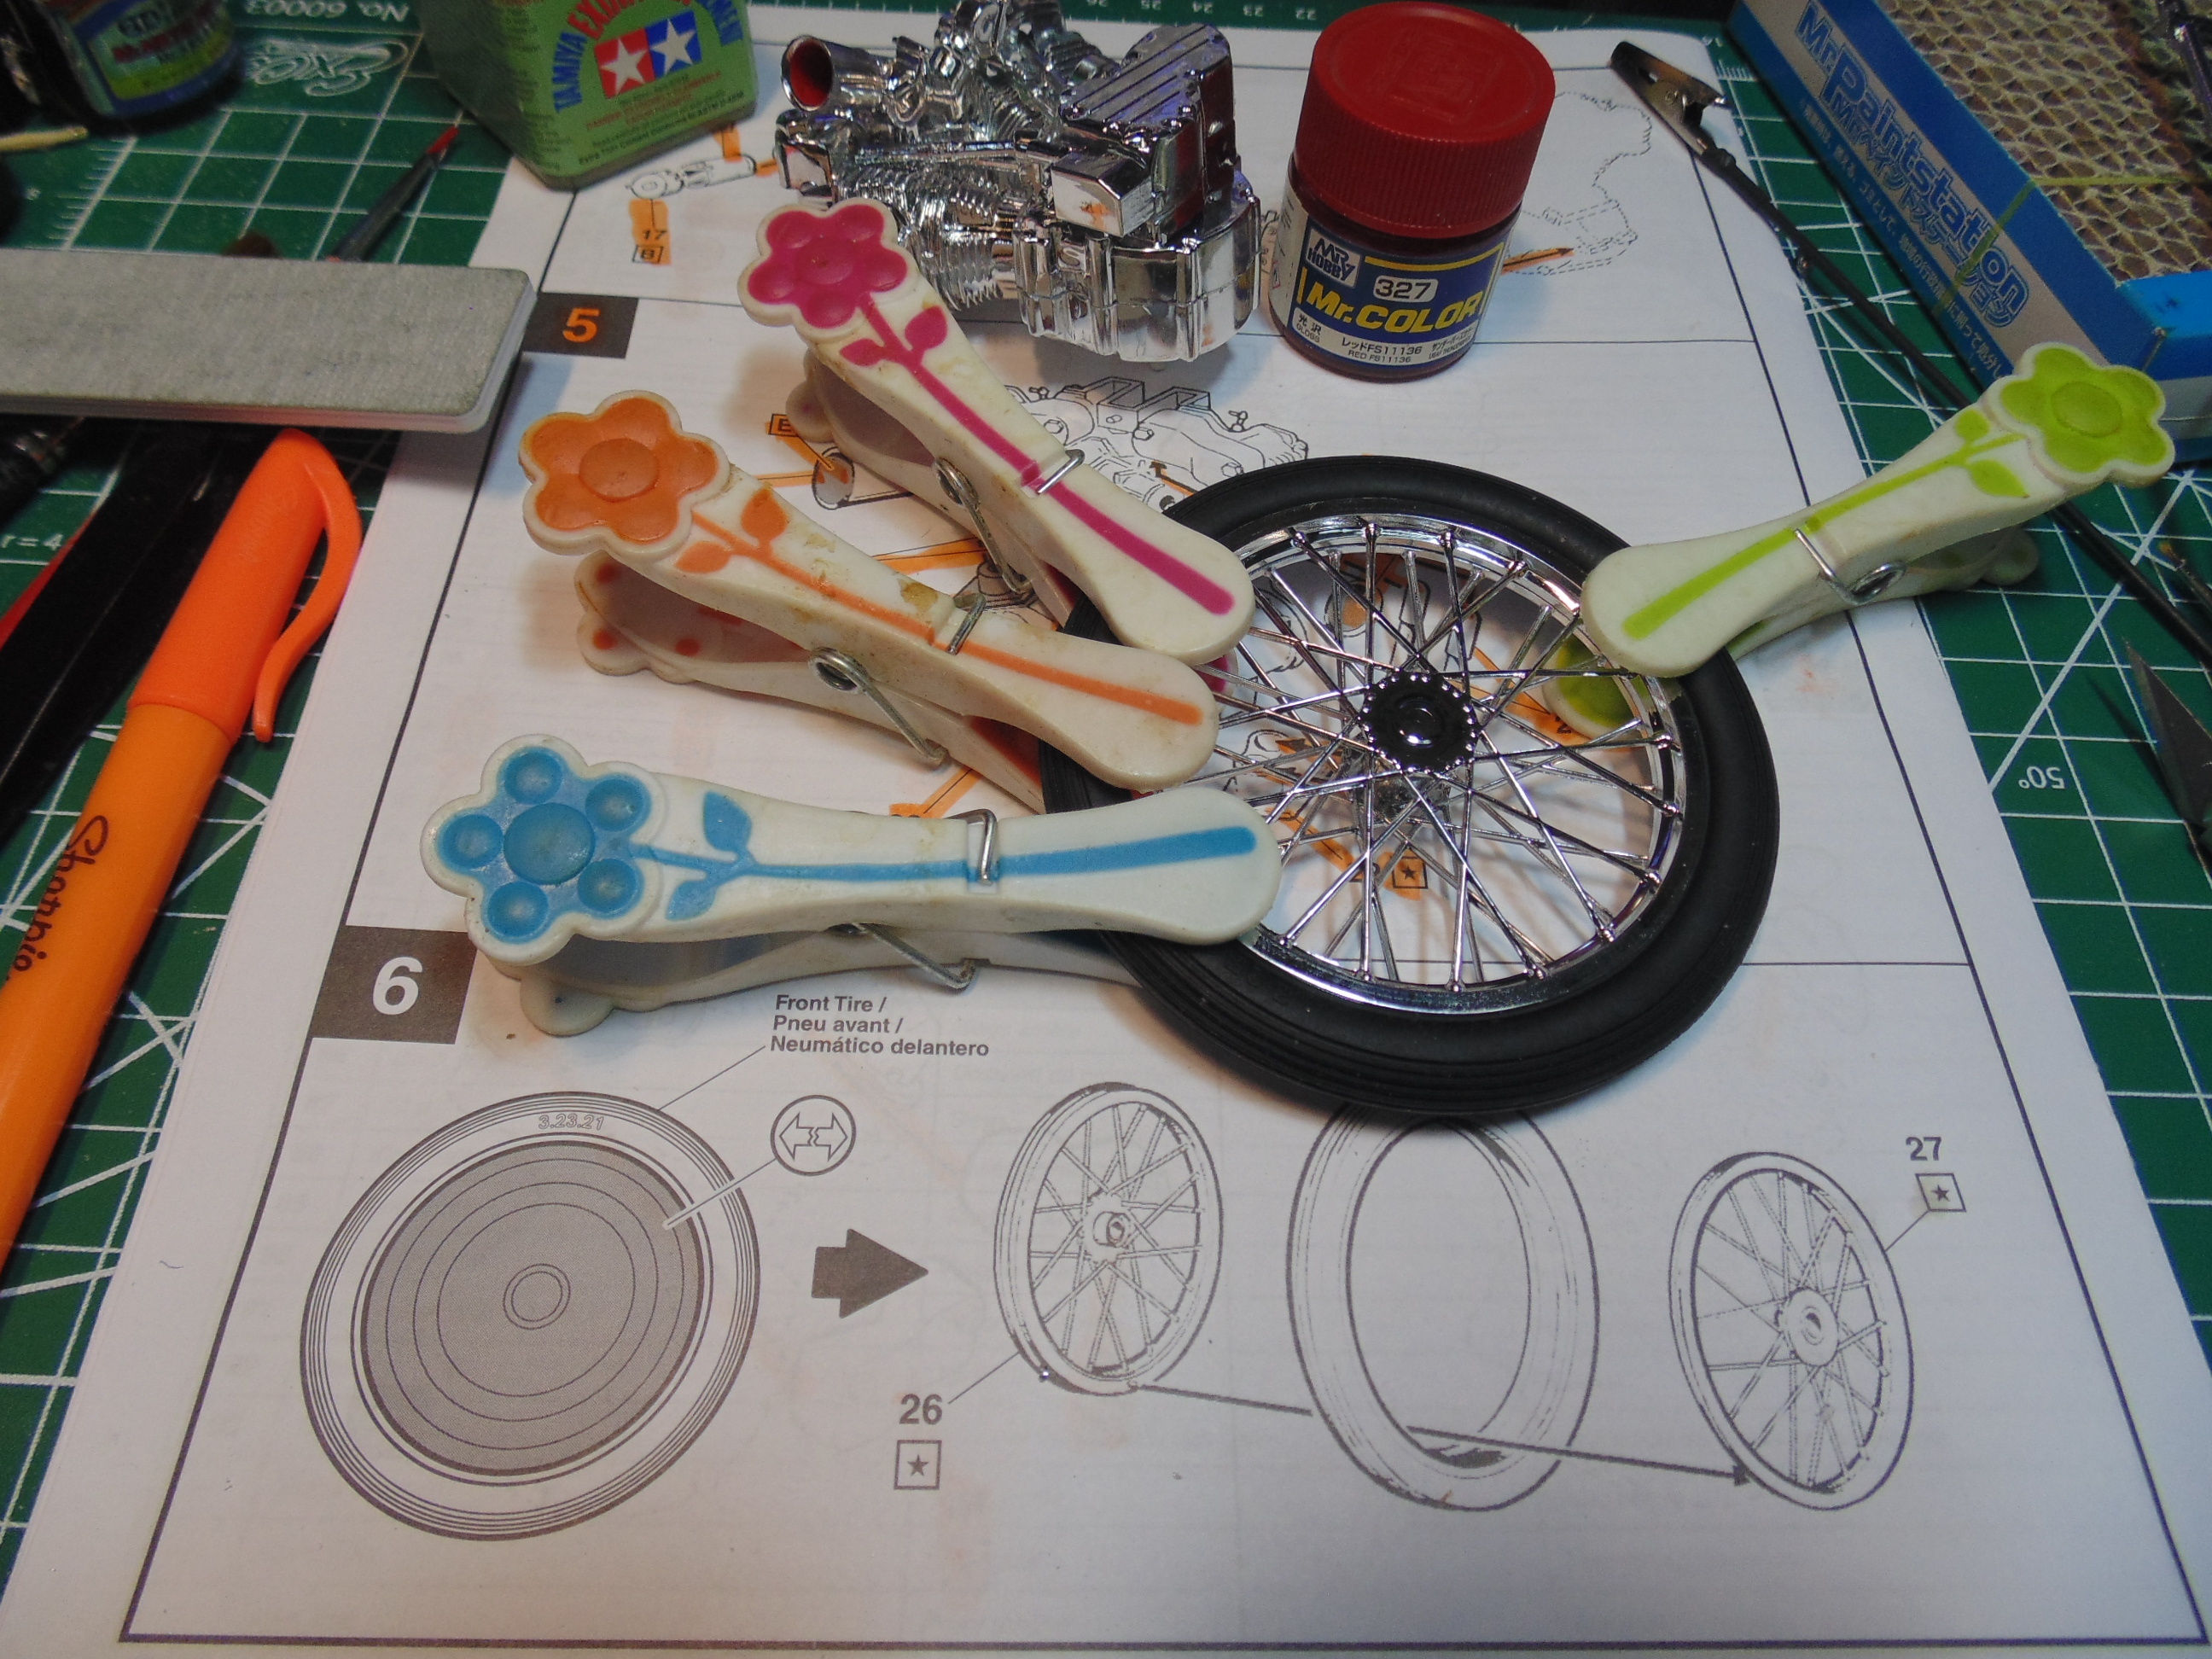
Add some cement to the connection points after they have been fully clamped down. This must rest for at least six hours before you handle it again. Otherwise, the soft plastic will warp and crack the chrome finish.
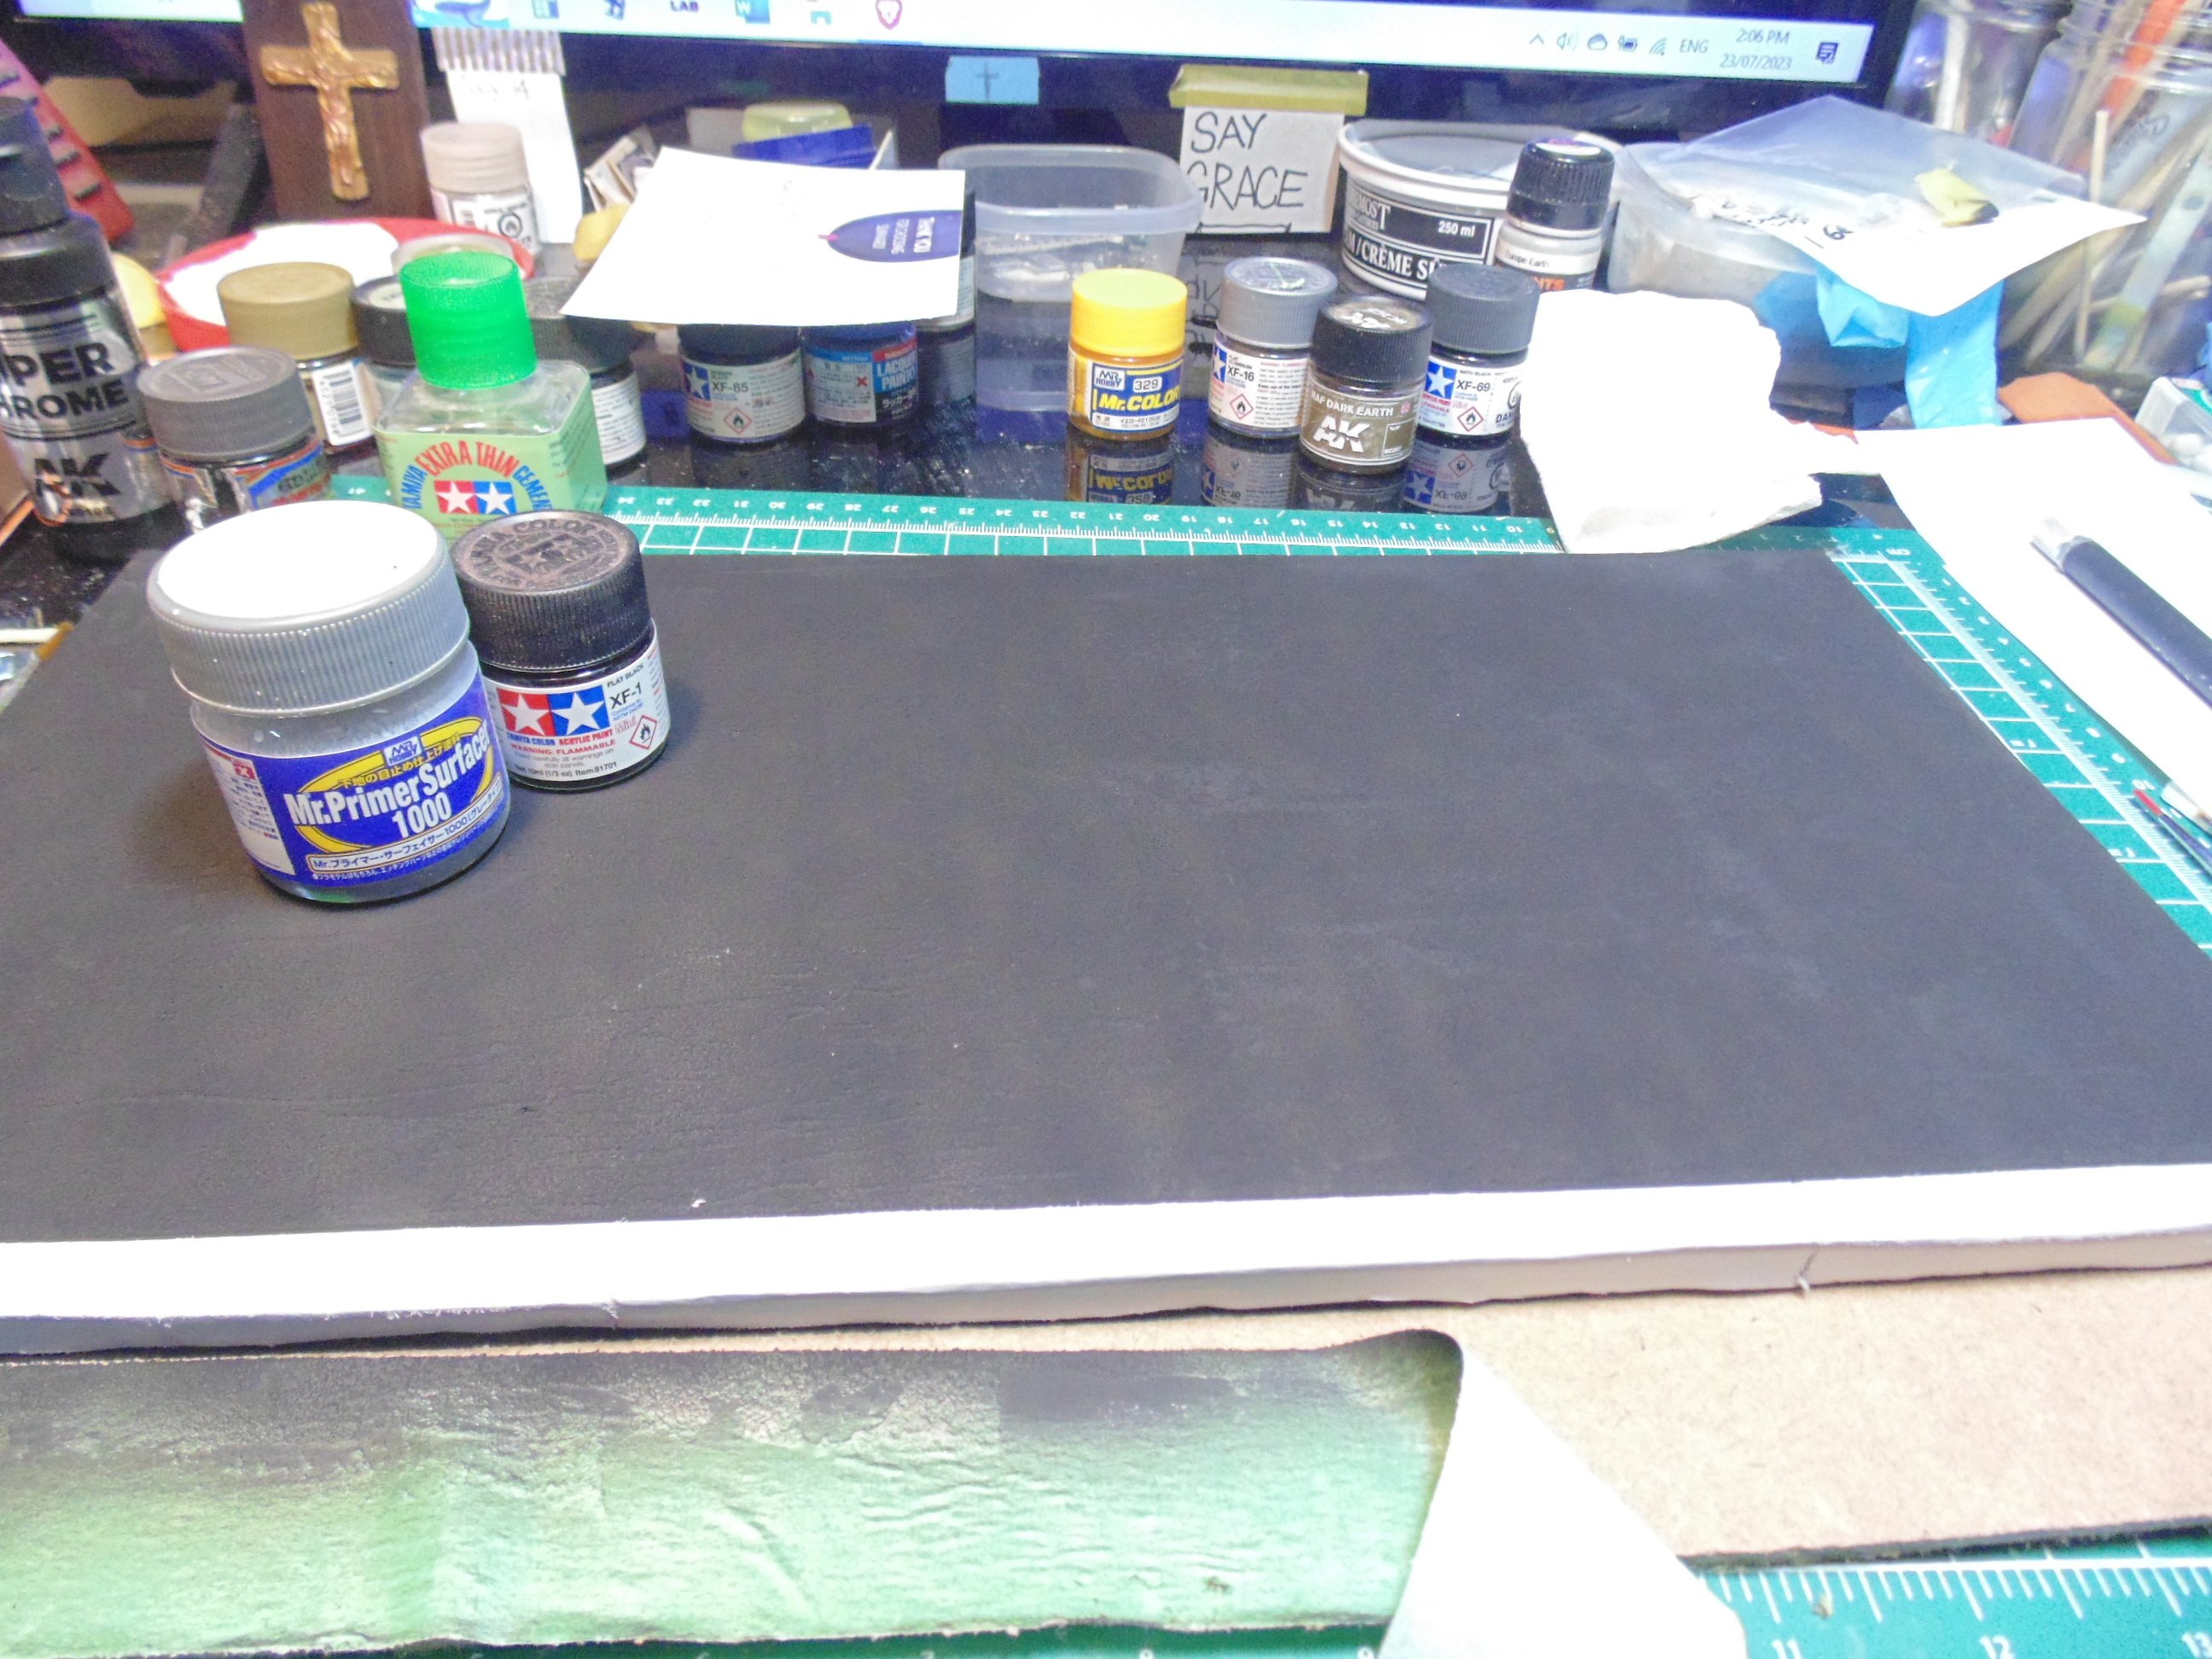
While the rims are setting-up I’ll turn my attention back to the little street diorama. There is nothing complicated about this, in fact the rougher looking the better. Mr. Primer 1000 has just the right tone for the sidewalk curb. Tamiya flat black does a super nice job as a base for the road.
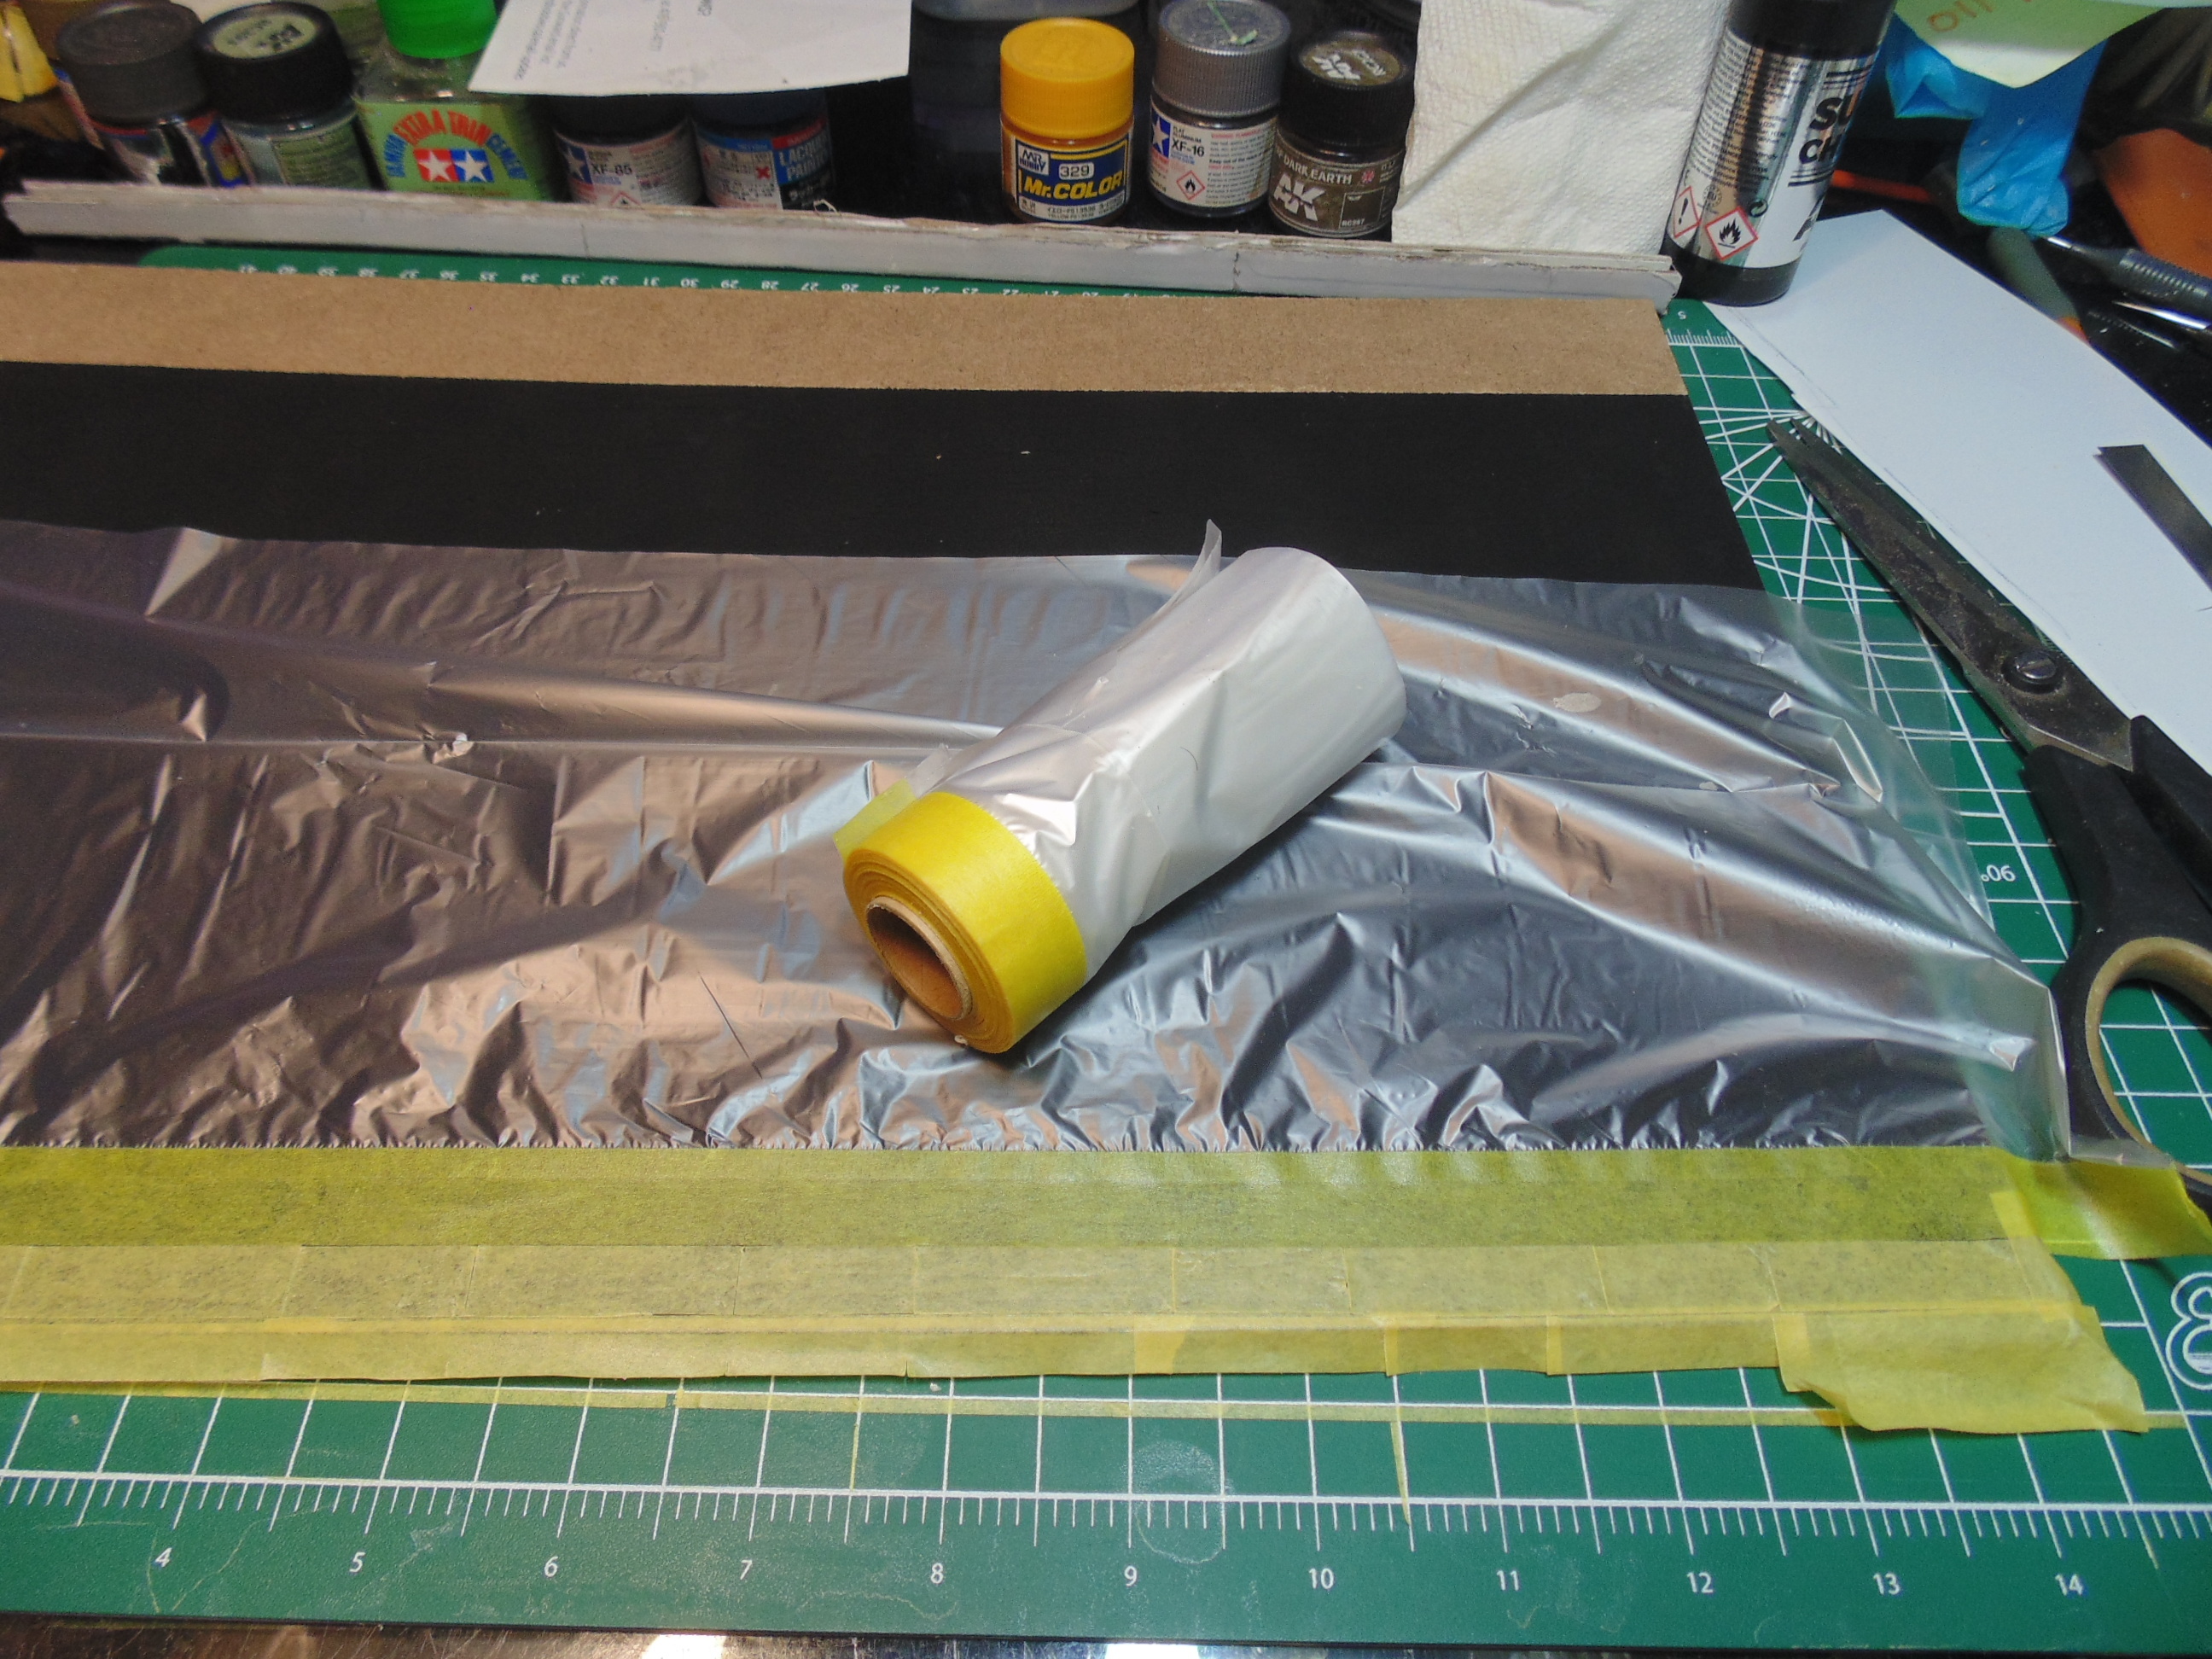
Here, I’m masking off the center line for the yellow lane divider.
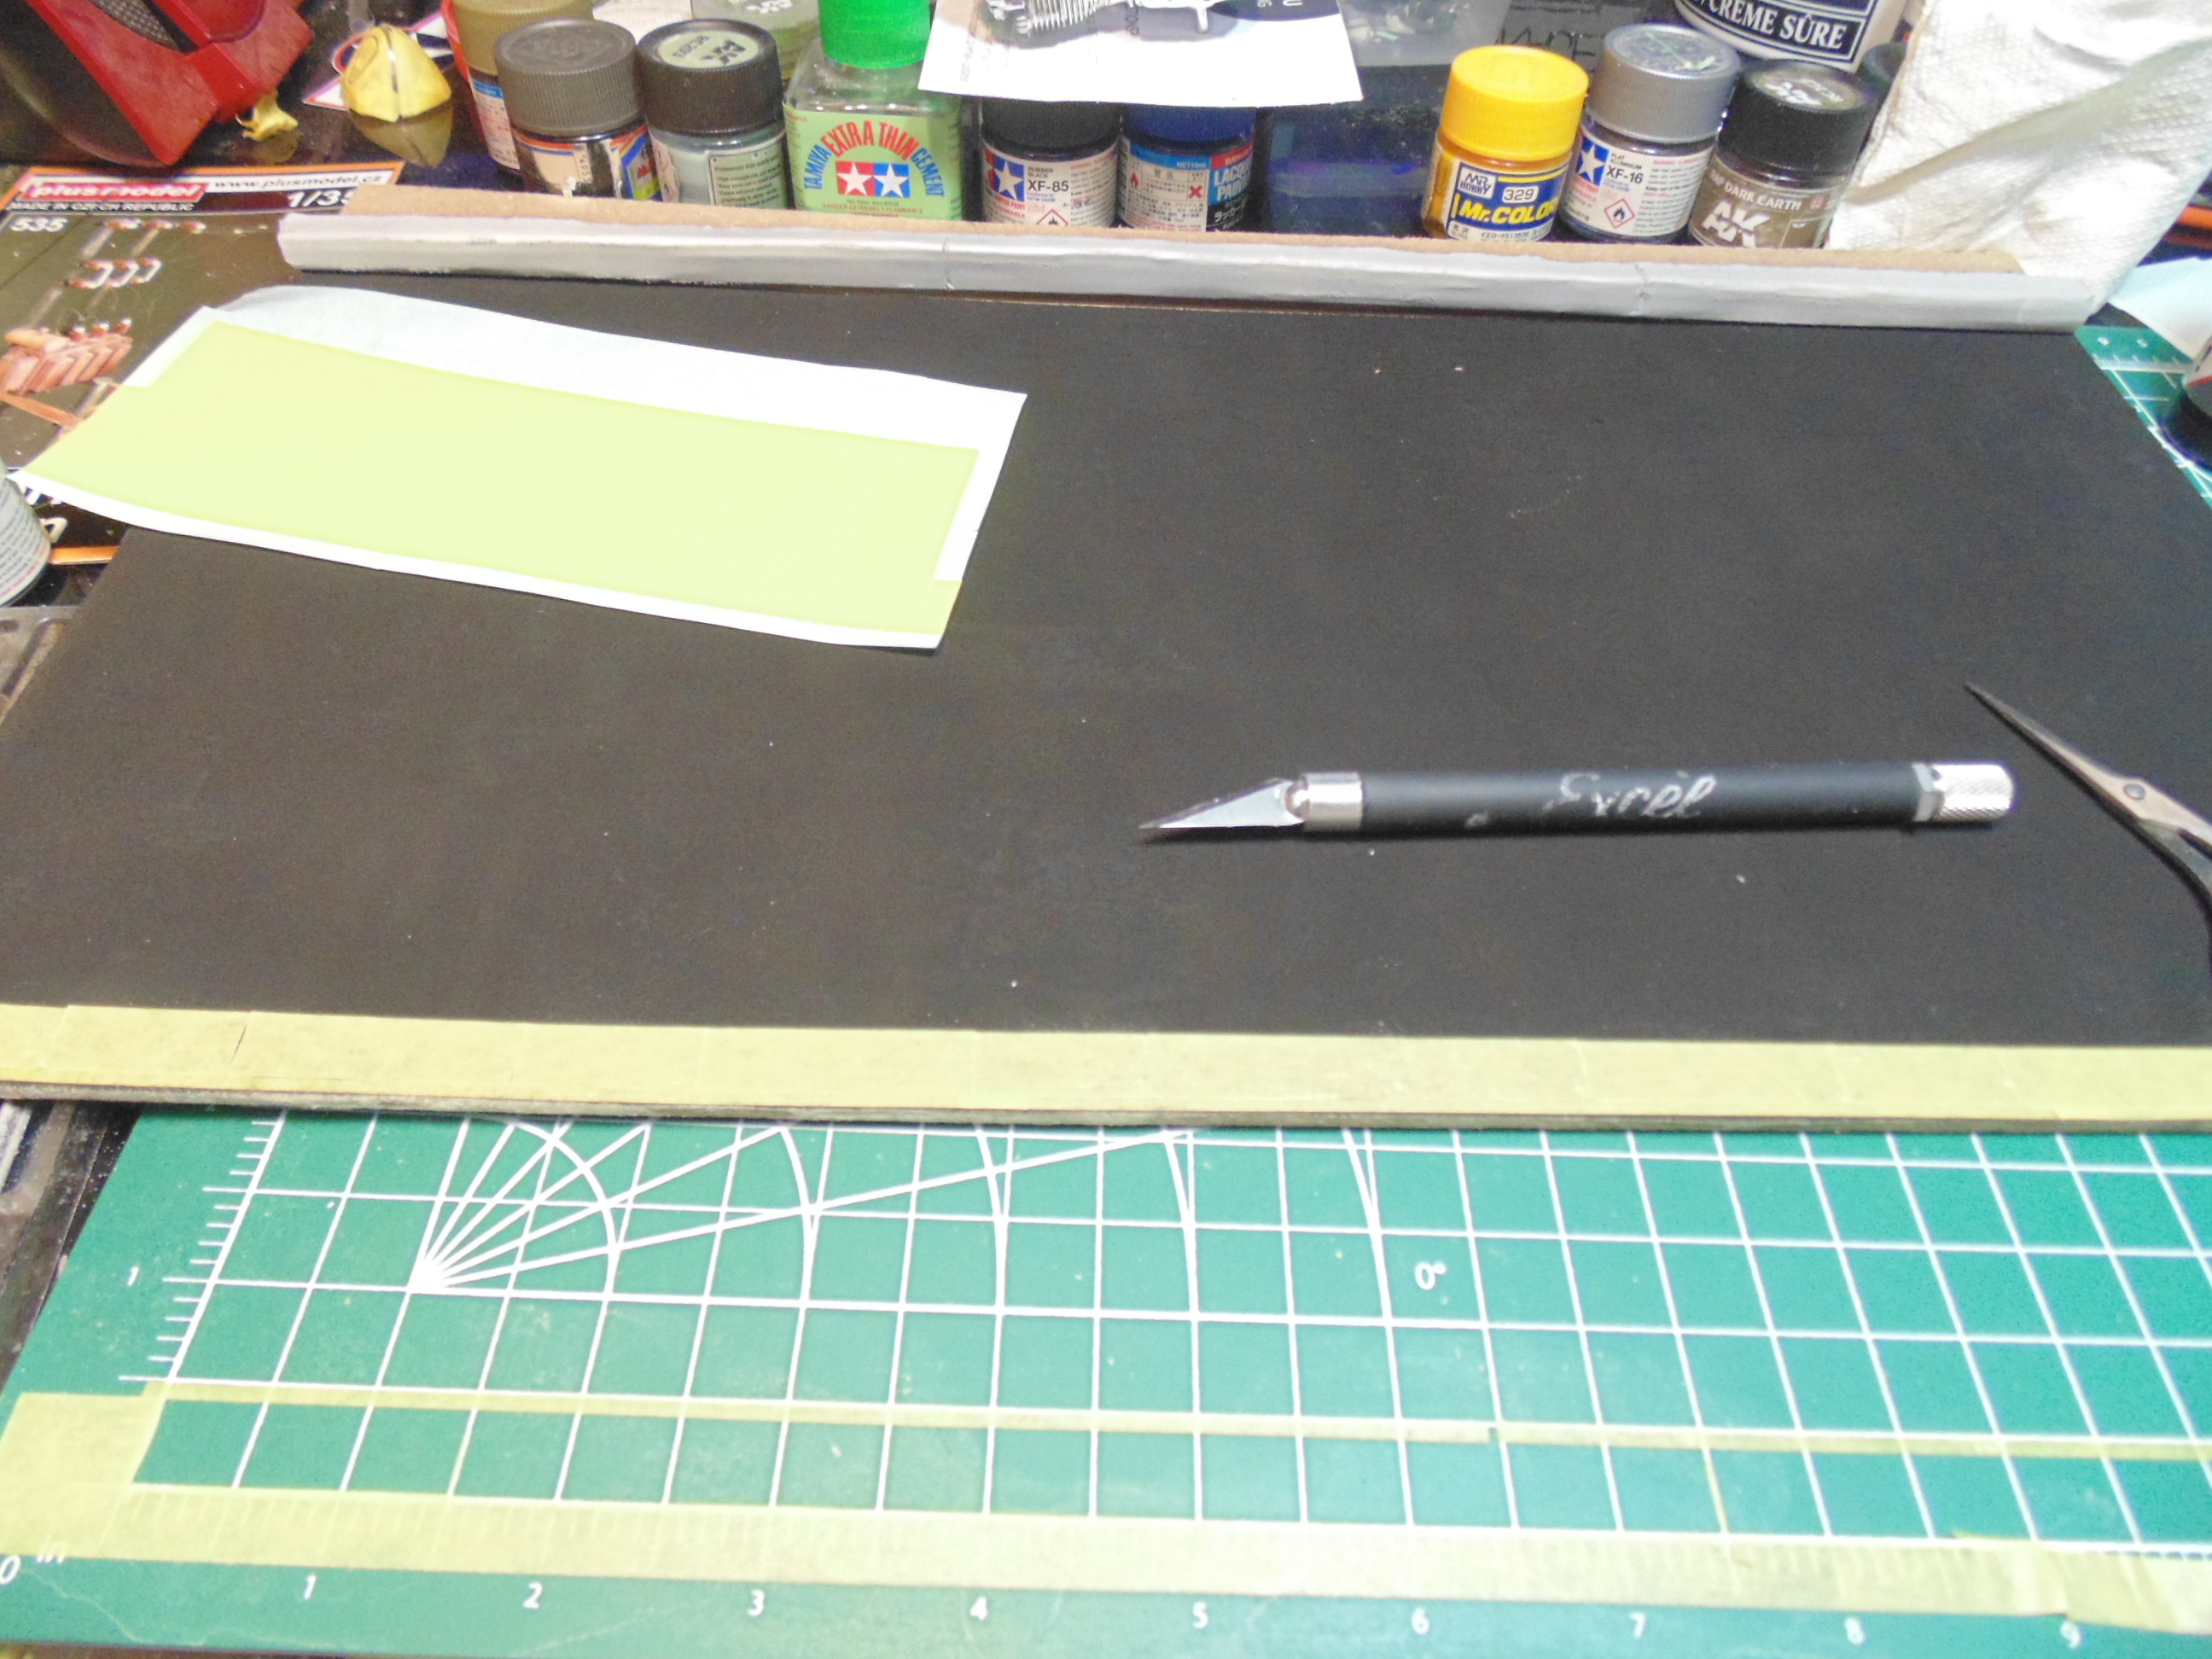
There are a variety of widths you can pick up at the Sunwards Hobbies store. I keep many of them on hand. Slice your divider markers and use the tape as spacers for a more uniformed look, as in real life.
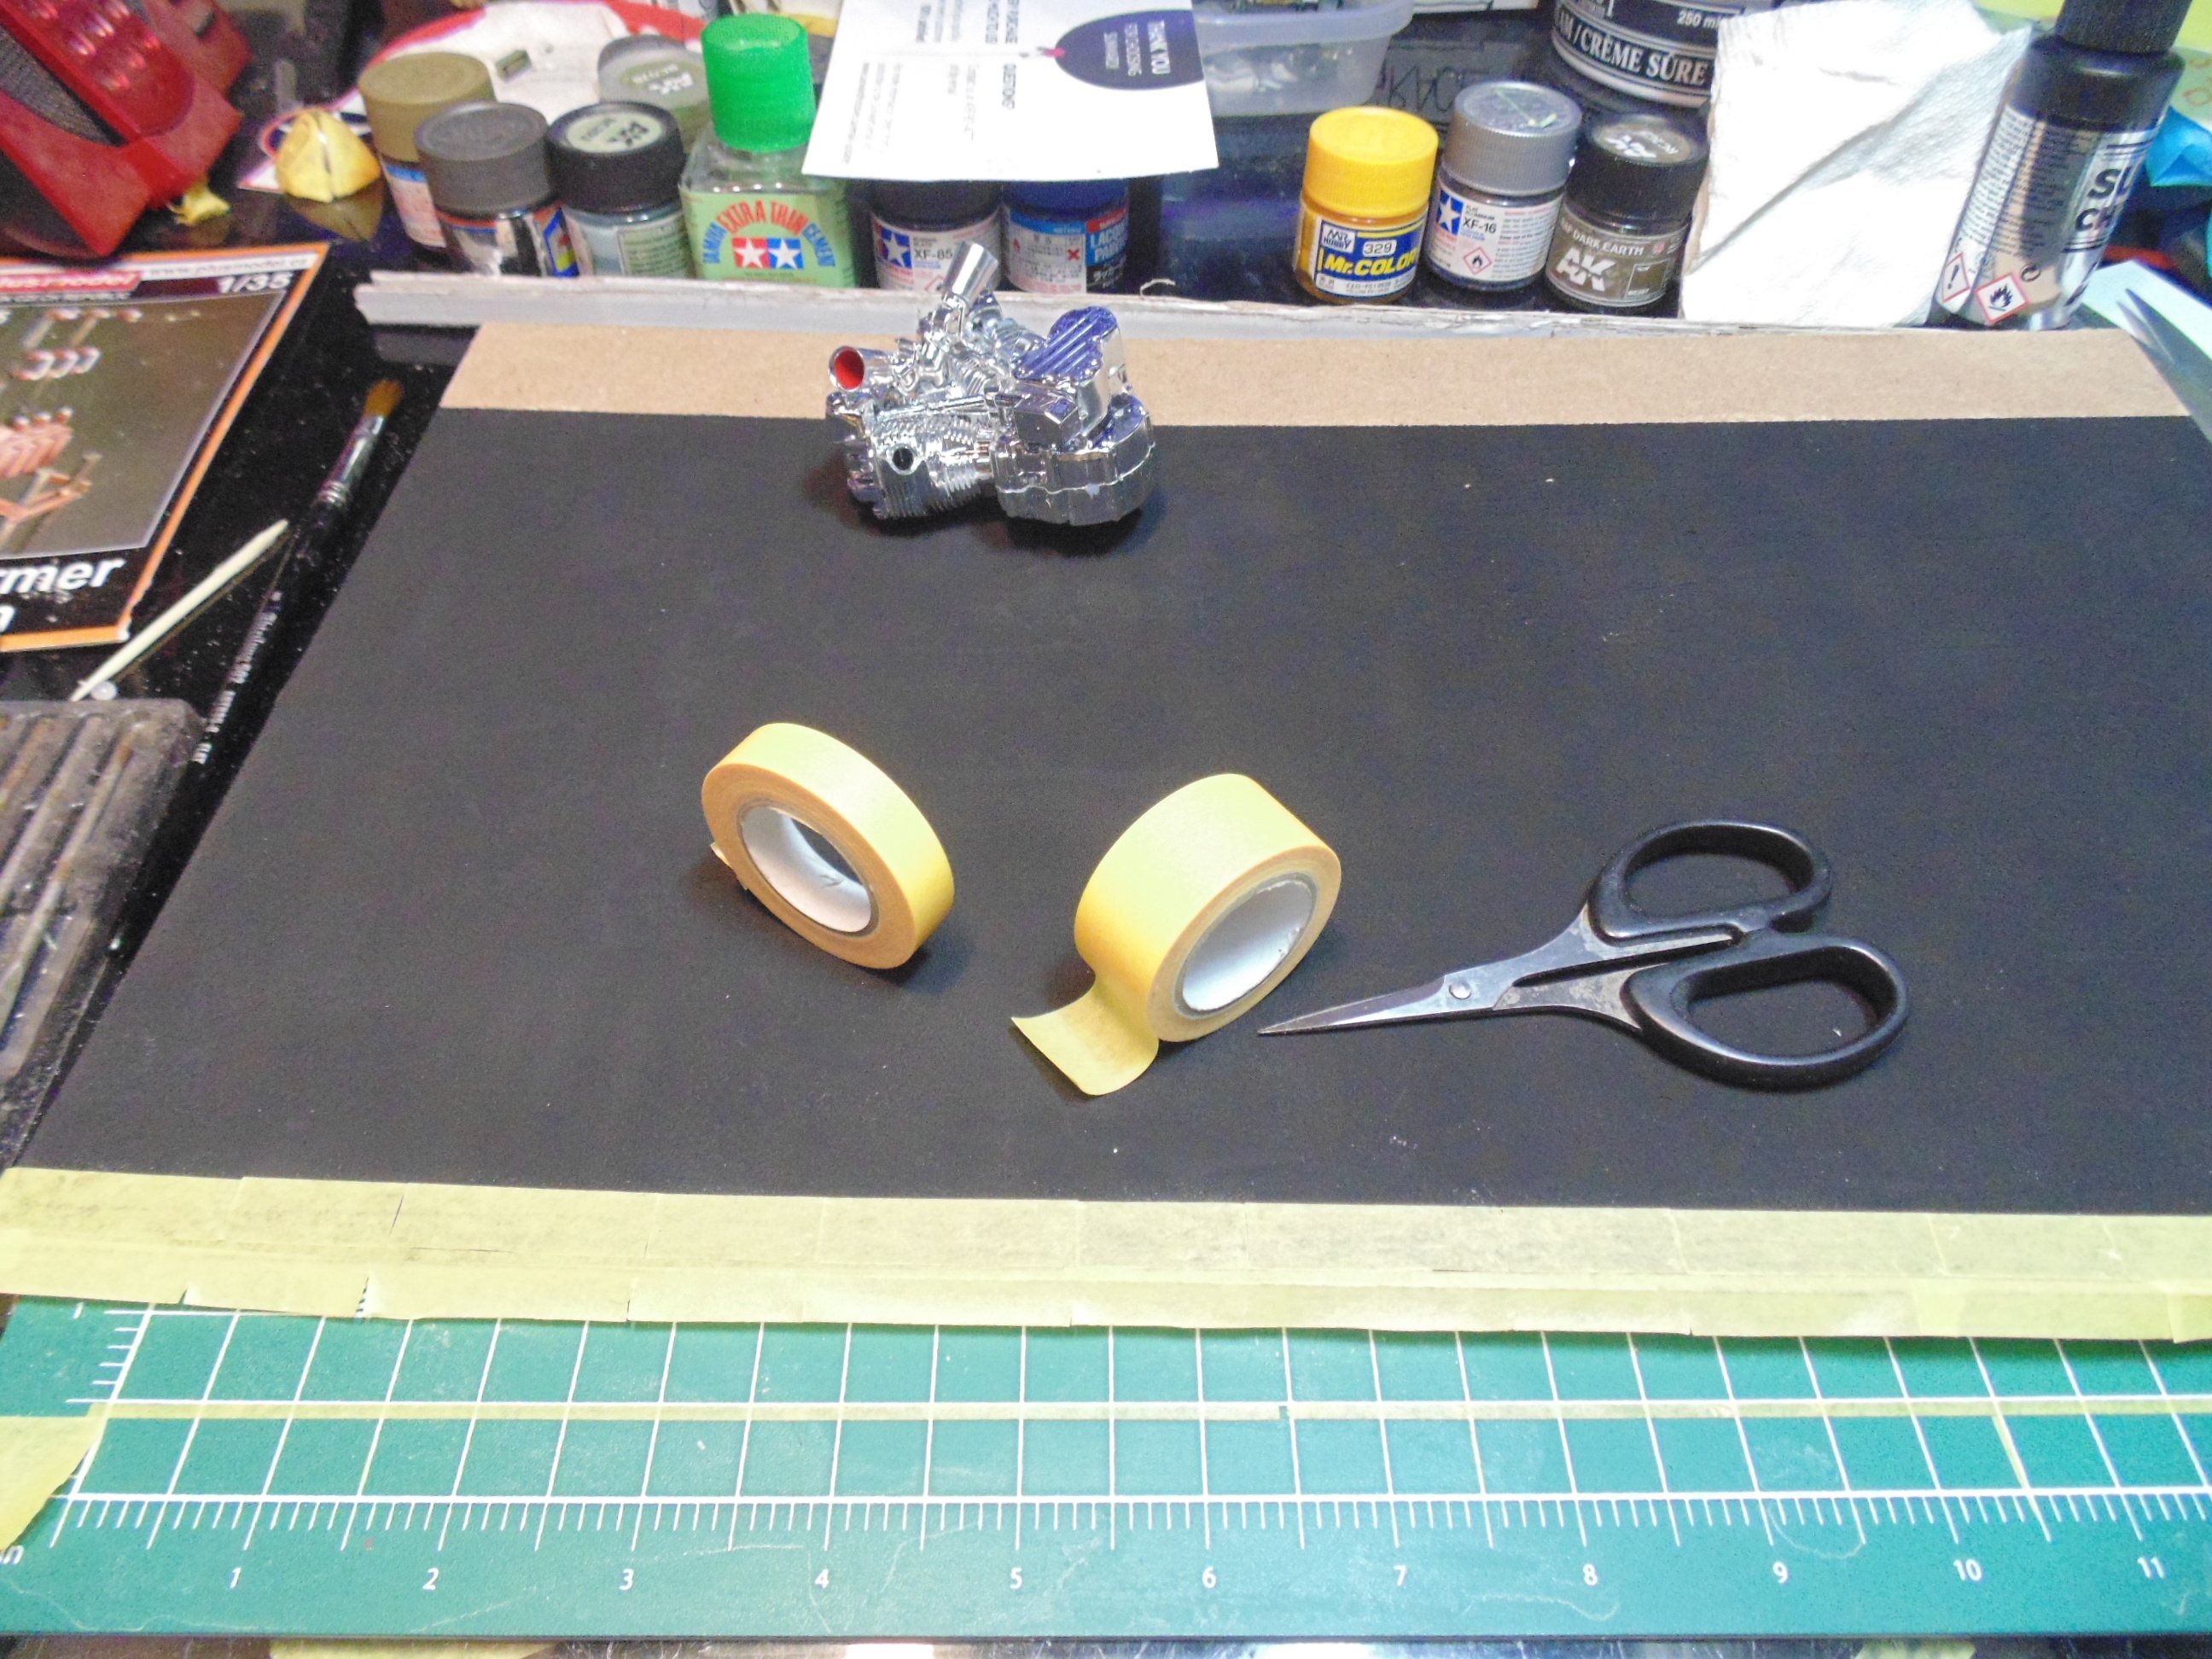
Masking is essential to prevent the yellow from bleeding into the black. A bane of any modeller is over and under spray, so pick up some high-quality products from the store. It will make your project much more rewarding when completed.
Even with my careful masking there was a tiny bit of bleed through. Nothing a little hand painting can’t fix though. Here is the general layout of where the model will appear. There is plenty more to come on this build, yet I hope to have inspired you to lift any project to the next level.
If you have any questions about the products used in this article, please feel free to ask the staff when you pick up or place your next order from Sunward Hobbies.
H.G. Barnes is a former voice-over artist and retired sales and marketing professional. He’s the author of two large volume science fiction adventure romance novels with many more in the works. For well over 40 years he’s been building scale model replicas and now does commission work for clients in Canada and the USA, plus completes projects for companies in Asia and Europe.
Currently H.G. is involved as an Associate Editor with KitMaker Network’s Online Magazine Channels.
Next Post: