
Ford Bronco Bass Boat & Trailer Build Final Part 6
In this Sunward Hobbies build tutorial article I’ll be finishing the “Gone Fishing”. An amazing model with plenty of options which you can build so many different options. You will see decal adjustments and the added fine detail parts. The Revell 1980 Ford Bronco with Bass Boat and Trailer Set Gone Fishin 1/24 Scale 17242 85-7242
We left off with a rough up of the boat trailer and truck. Now let us dive into the accents which bring this replica to life.
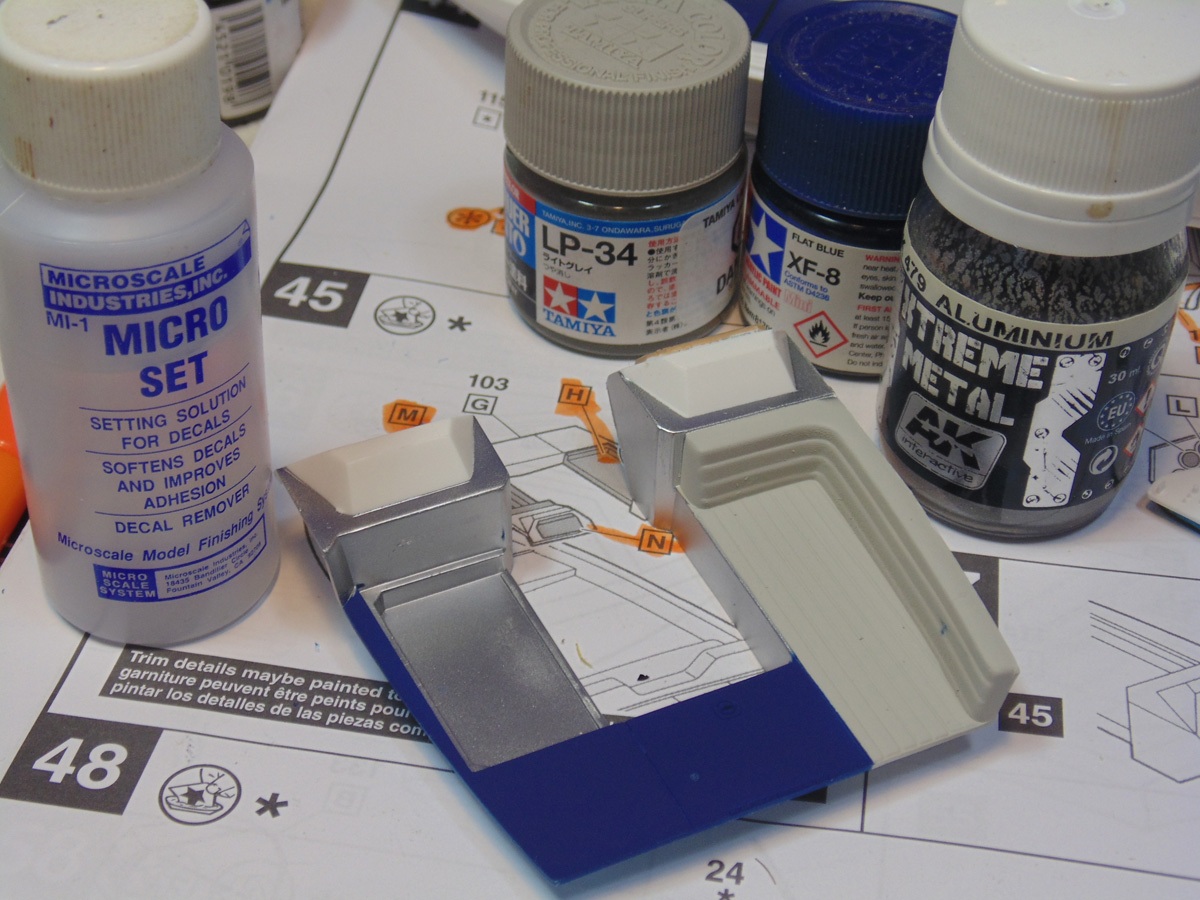
Be cautious when snipping these chrome parts from the sprue tree. They are very fragile, thus hold the part as you use your side cutters. Any minor slip-ups in masking and painting can be dealt with with some panel line accent.
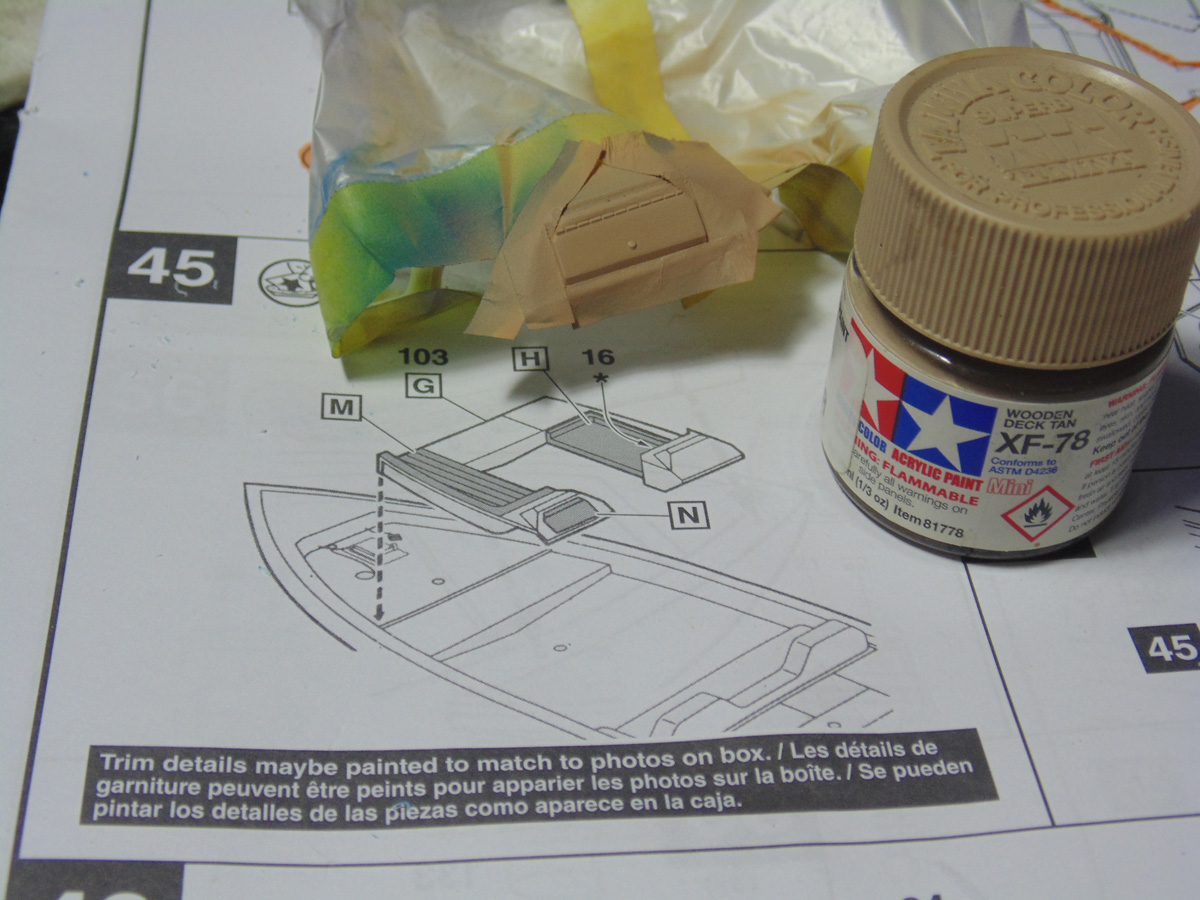
I find that any wood looking areas are best airbrushed. Here, you can see this small lid being masked off with Tamiya tape products. Hand painting may serve you well in some instances, yet airbrushing pulls out the detail which the manufacturers have molded into the plastic.
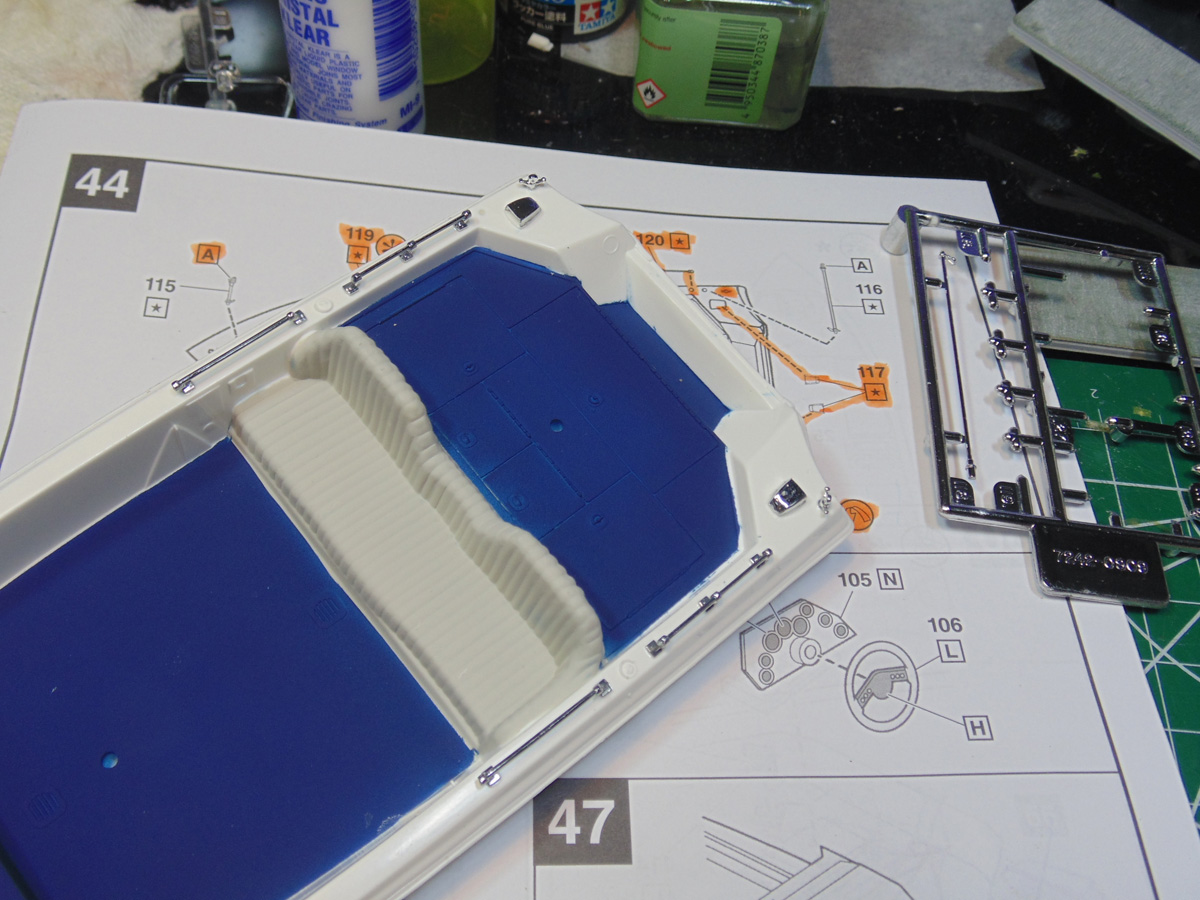
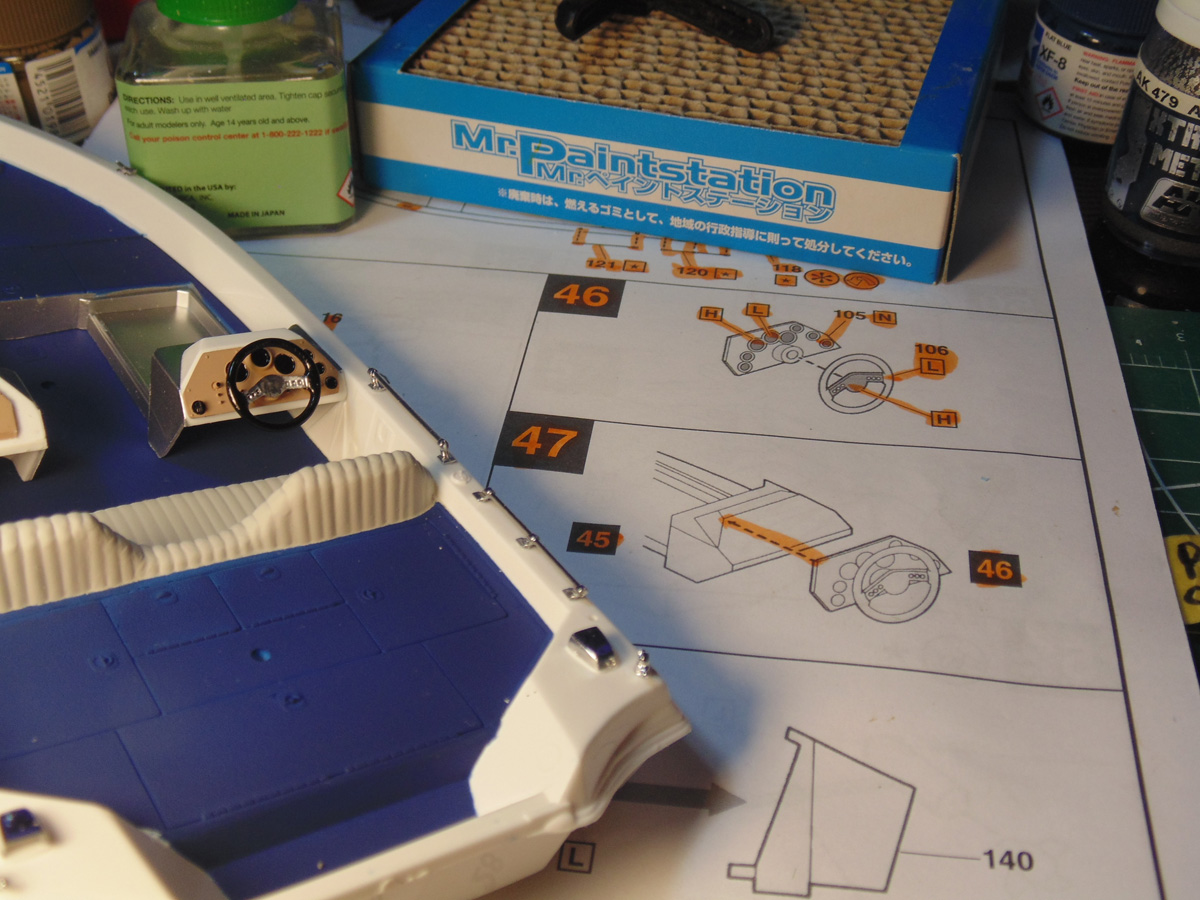
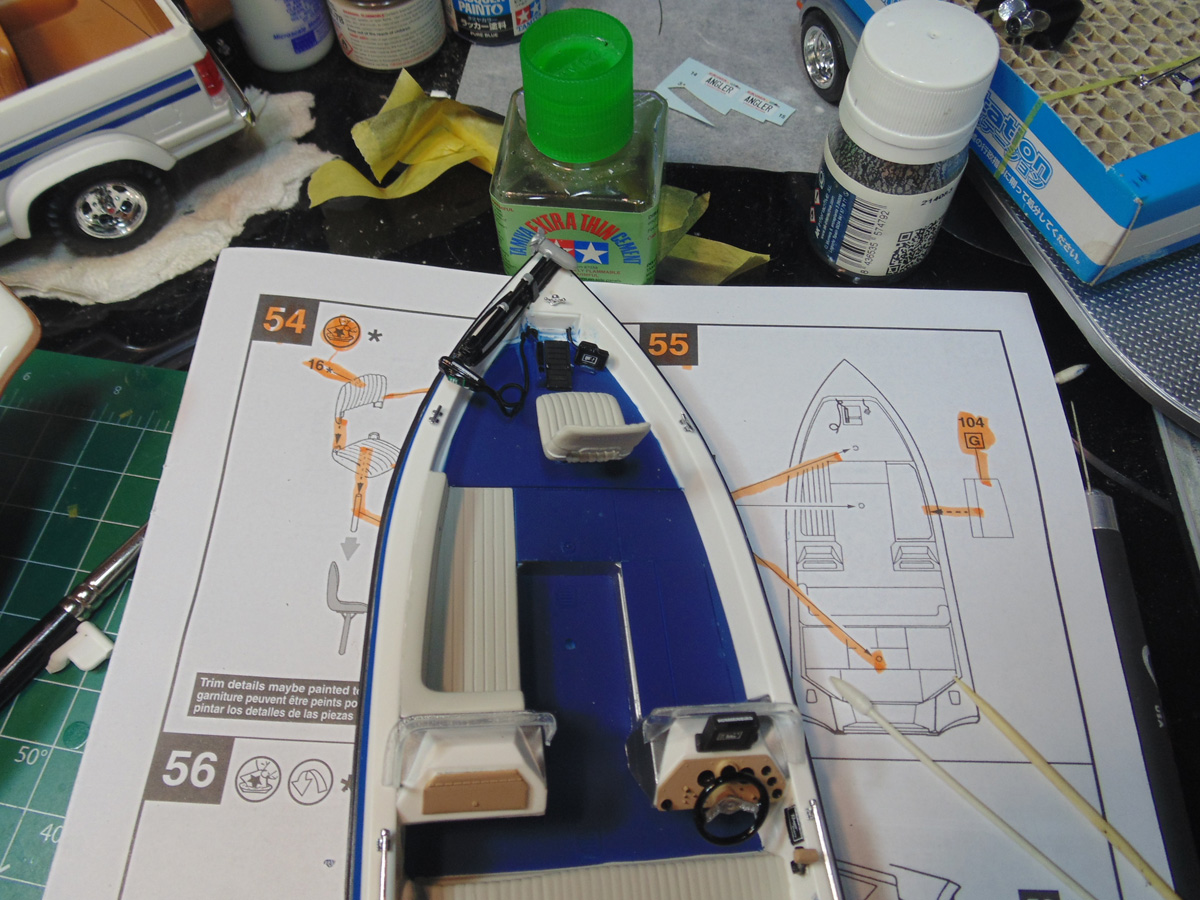
Step forty-five does have a lot going on with it. After you add the light grey tone to the seat area, mask it off. Remember, it is always best to put down lighter colours first.
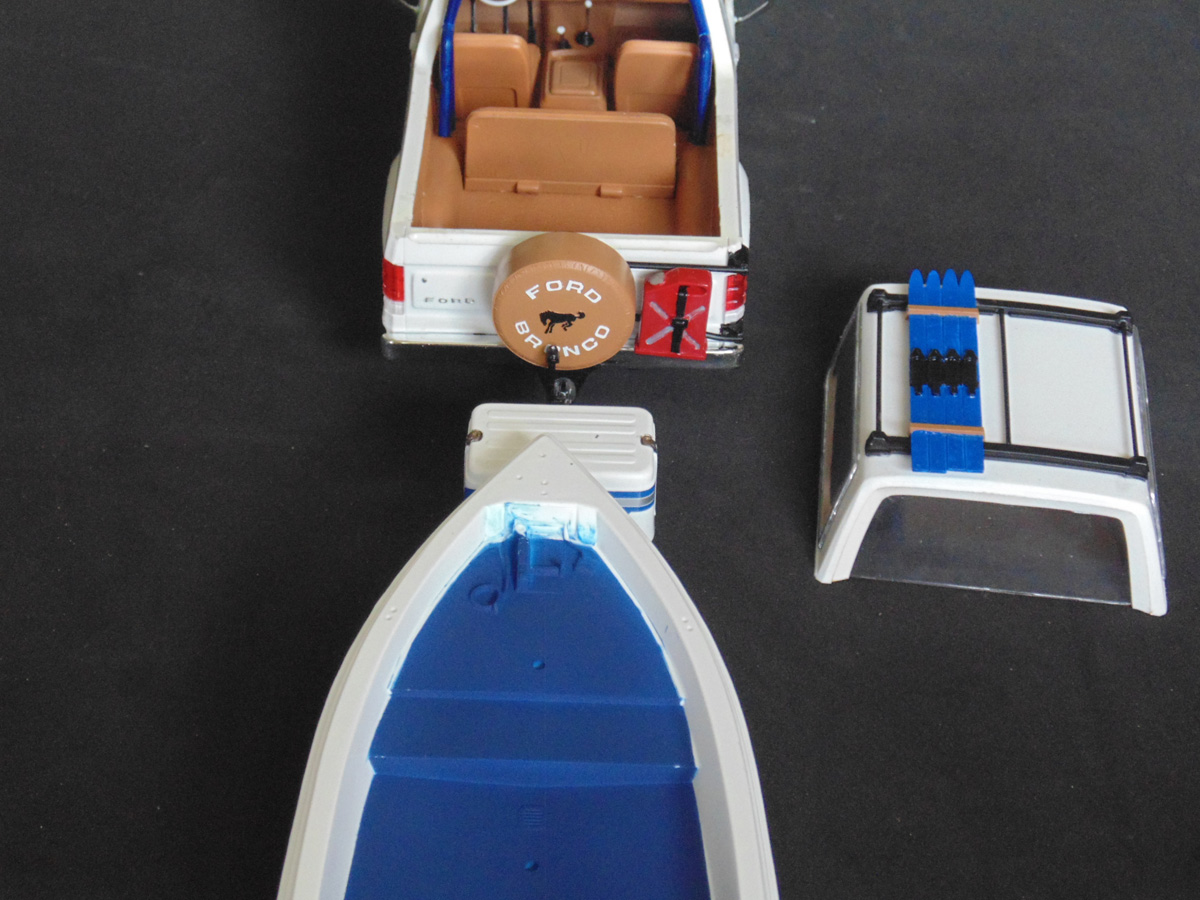
With the blue, white and aluminium added you can see the wonderful differences your model will turn out to become. There are a few decals to add which will further enhance the look.
To get the part snug to the side and deck I would recommend a slower reacting cement for the base. Follow this up with some extra thin cement for the side wall and clamp it secure.

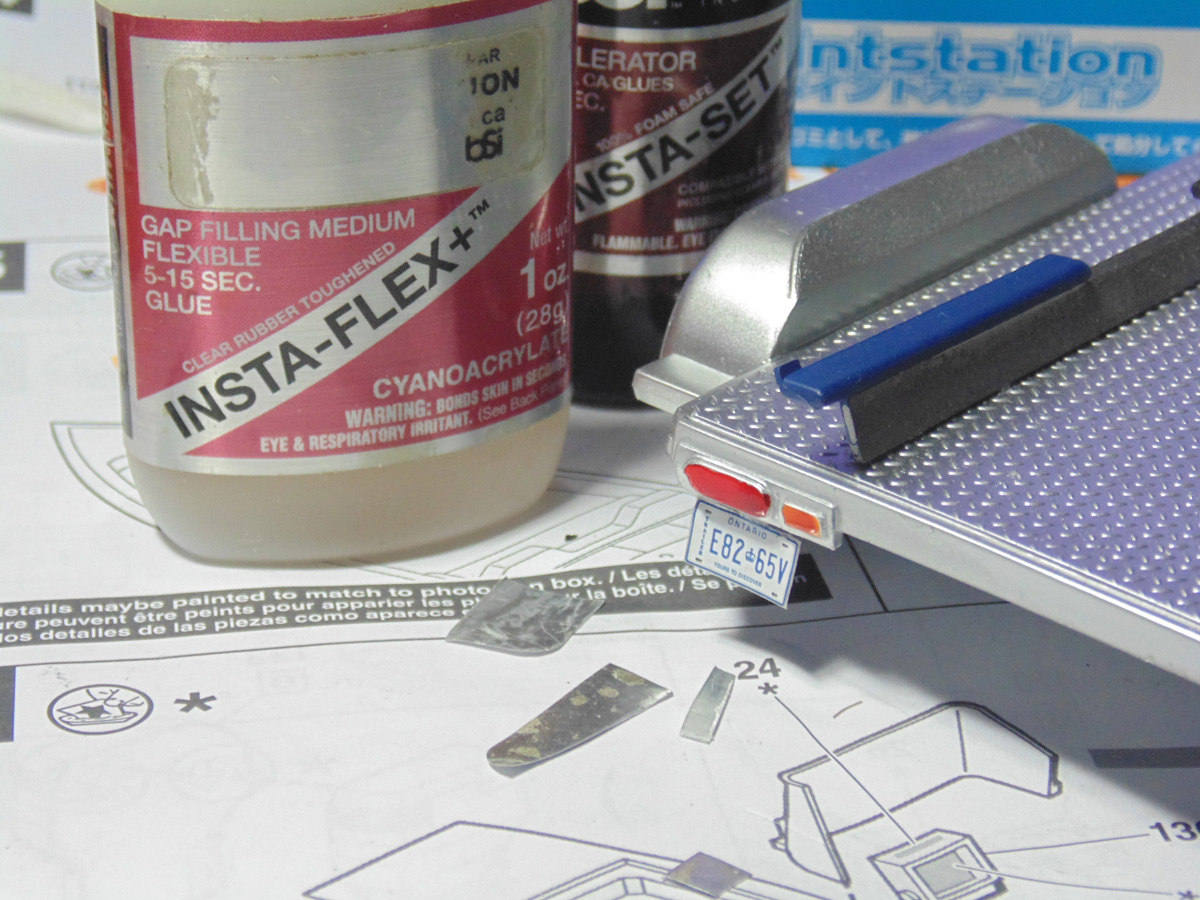
Naturally there is a licence plate for the trailer. Revisit the previous article to show this can easily be done. It is your call if the plate goes under the left lights or the fenders.
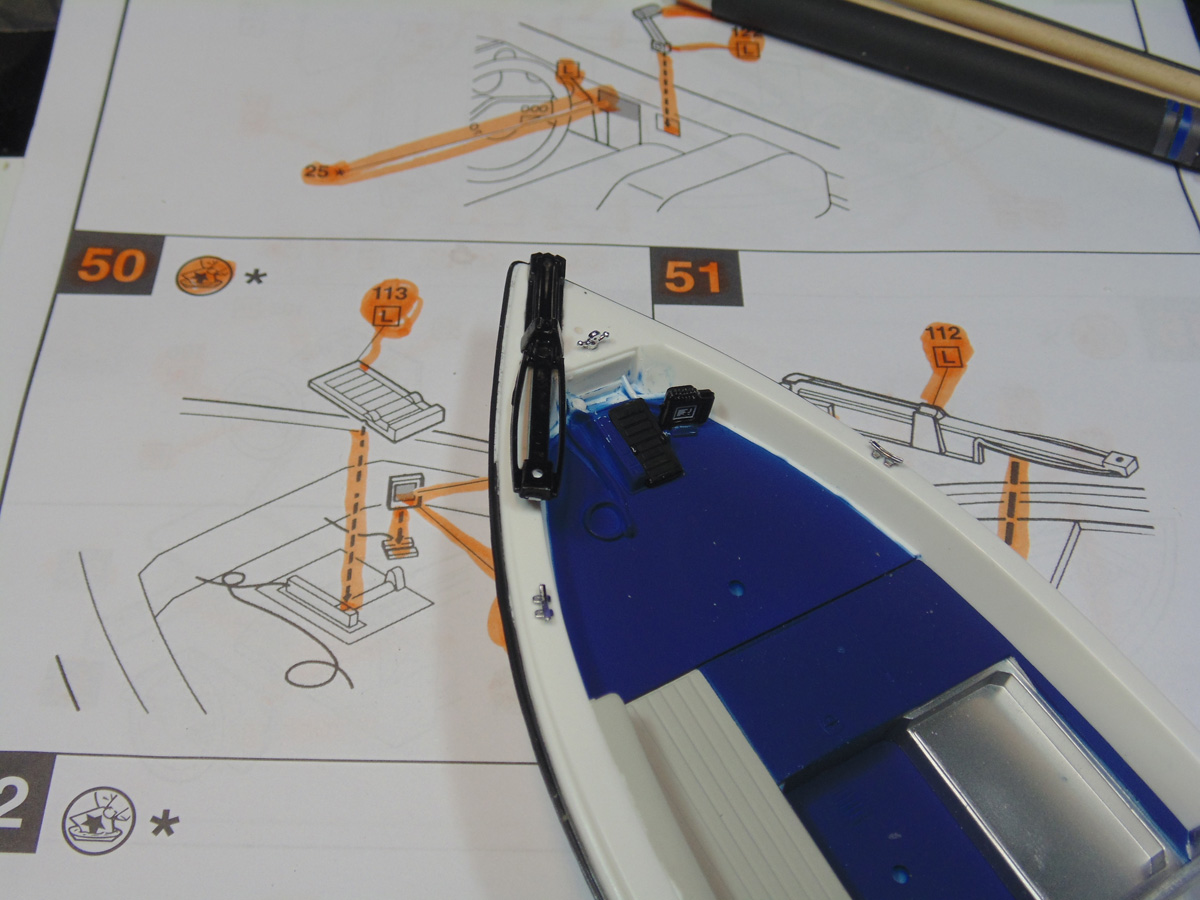
Use the tip of a toothpick to add the black on to the gauges and buttons. Later, you can add some clear coat that will give the appearance of lenses. Make sure to let this spot dry for several hours prior to installing because there are no connection points and you will have to wiggle this around.
The edges of clear parts must be cleaned up or they never fit snuggly. Attach the fish finder part first super close to the control
Panel. The two small decals add great life.
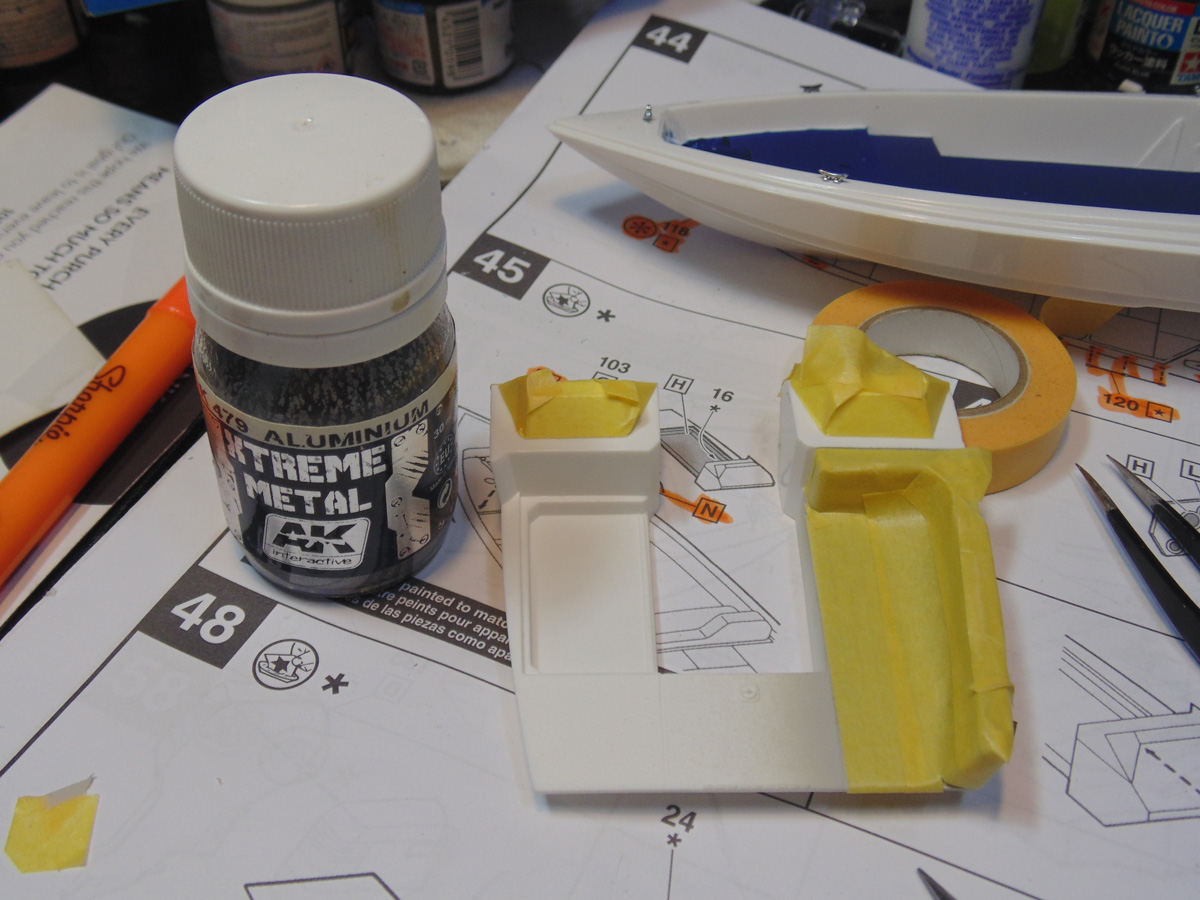
Before adding any of the parts that can be snapped off, I would jump ahead and do the bumpers. Yes, there is a bit of masking to be done, but the result is very sharp. Consider using an off black colour.
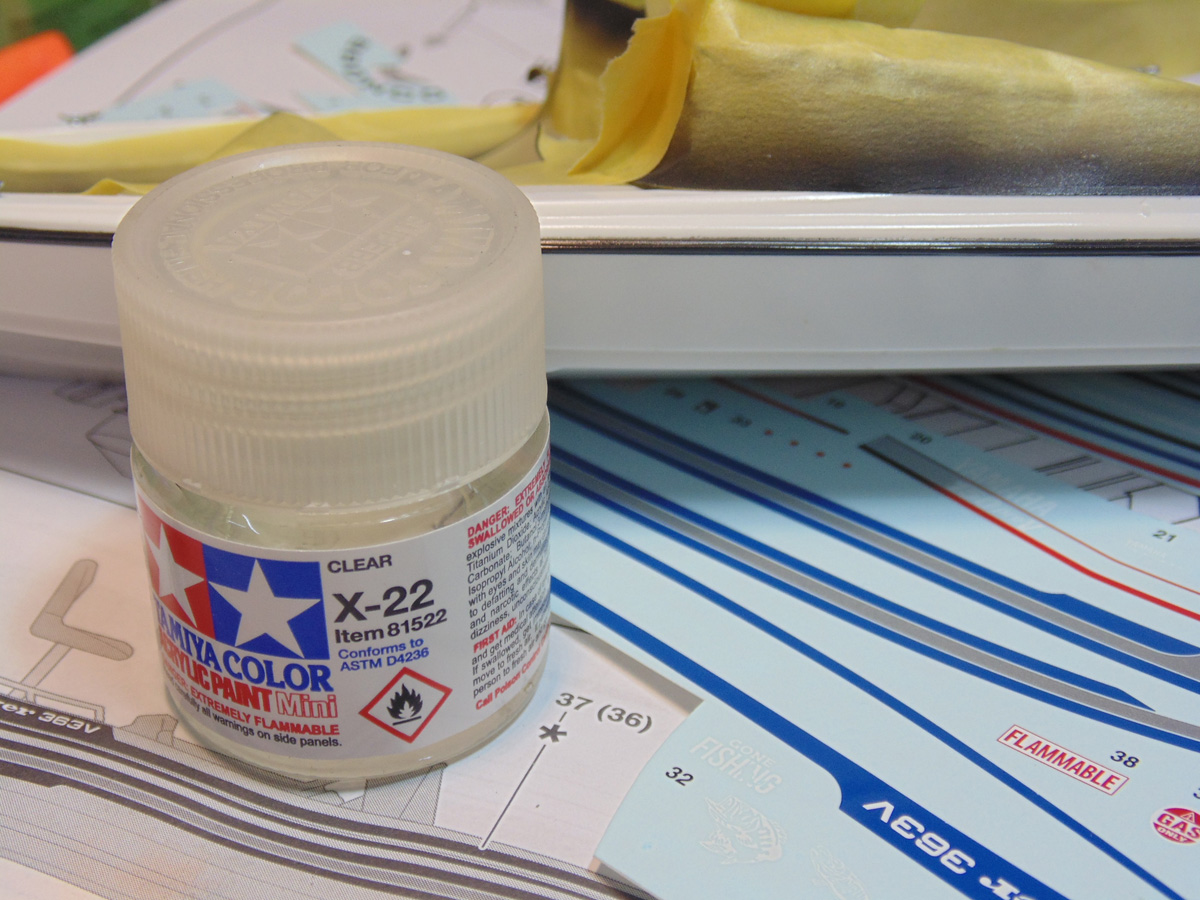
Hand paint or airbrush the area with a clear coat. You will not just protect the recently added paint but allow the decals to glide more smoothly into position.
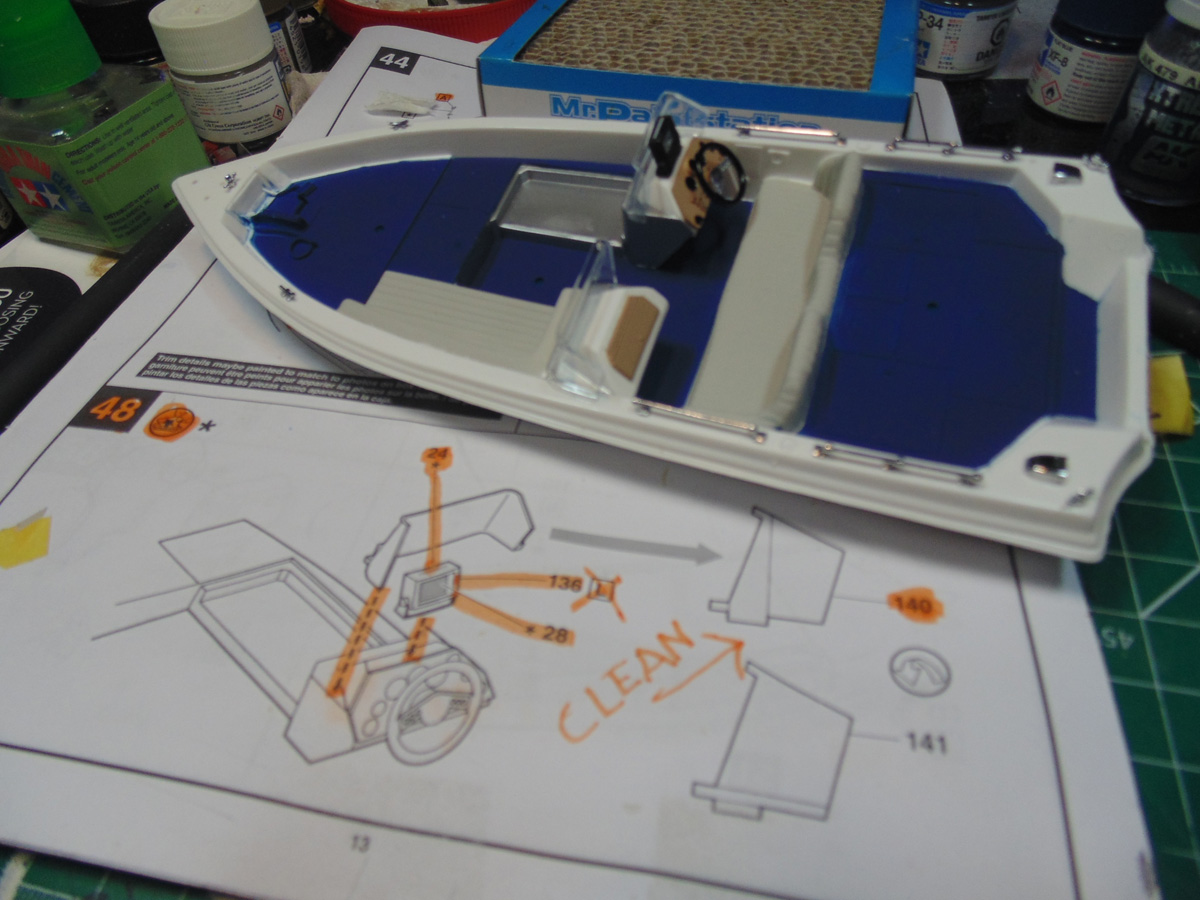
Now that the tummy belt area has dried you can add a few details. Add the bigger parts first to avoid knocking off the smaller ones.
I will leap ahead to step fifty-two because the decals need to be applied first. While one part is curing you can finish another way in advance, depending on your build schedule. There was some plastic flash to remove from this part, but when it was cleaned up and painted the decals pop!
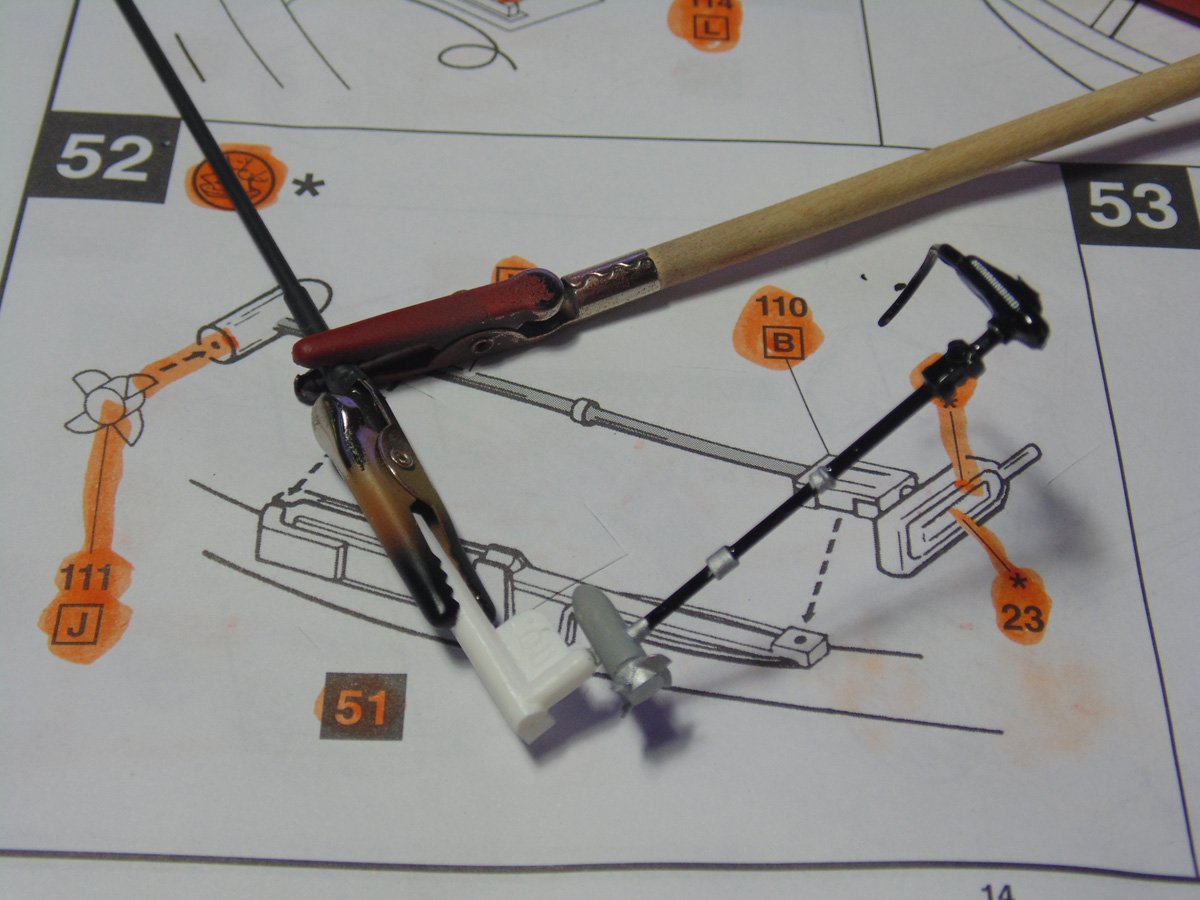
The main motor has some work to be done to fill areas at the back and front. The decals will hide some of this, yet I would recommend picking up a set of thin abrasives from the Sunward Hobbies store to get into those tight spots.

Just as with the truck, the boat decals are one part. Flood the area first with a setting solution then work them into place. Once the aft end is aligned, dry it off and then move along to the tip. I strongly recommend a part holding device that you can get from the store.

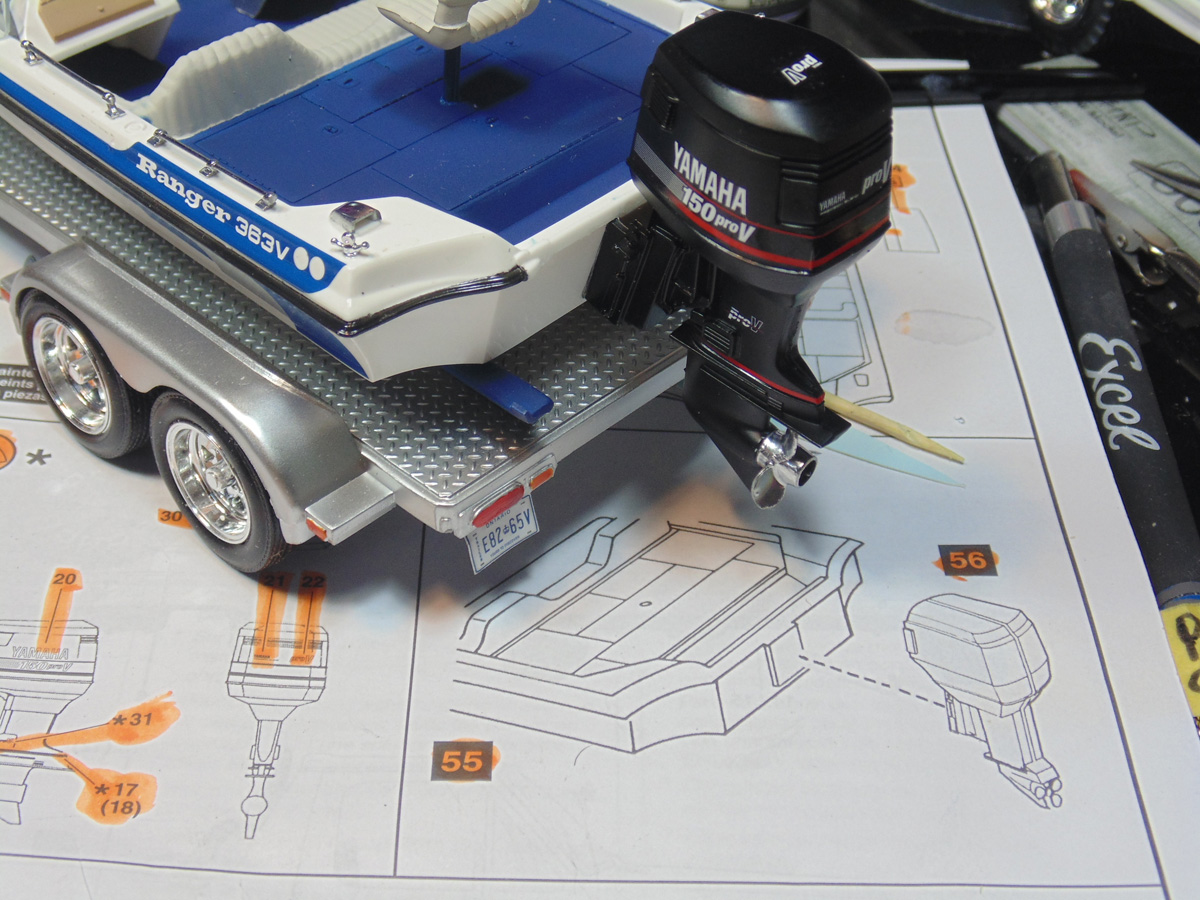
With the side decals now dry you add some fun details. The outboard looks splendid with all the minor paint added to the cables.

The seat parts need special attention. Do not add them at the same time. Core out the holes with a blade so the post will go down all the way, then align it as true as you want before moving the next one.
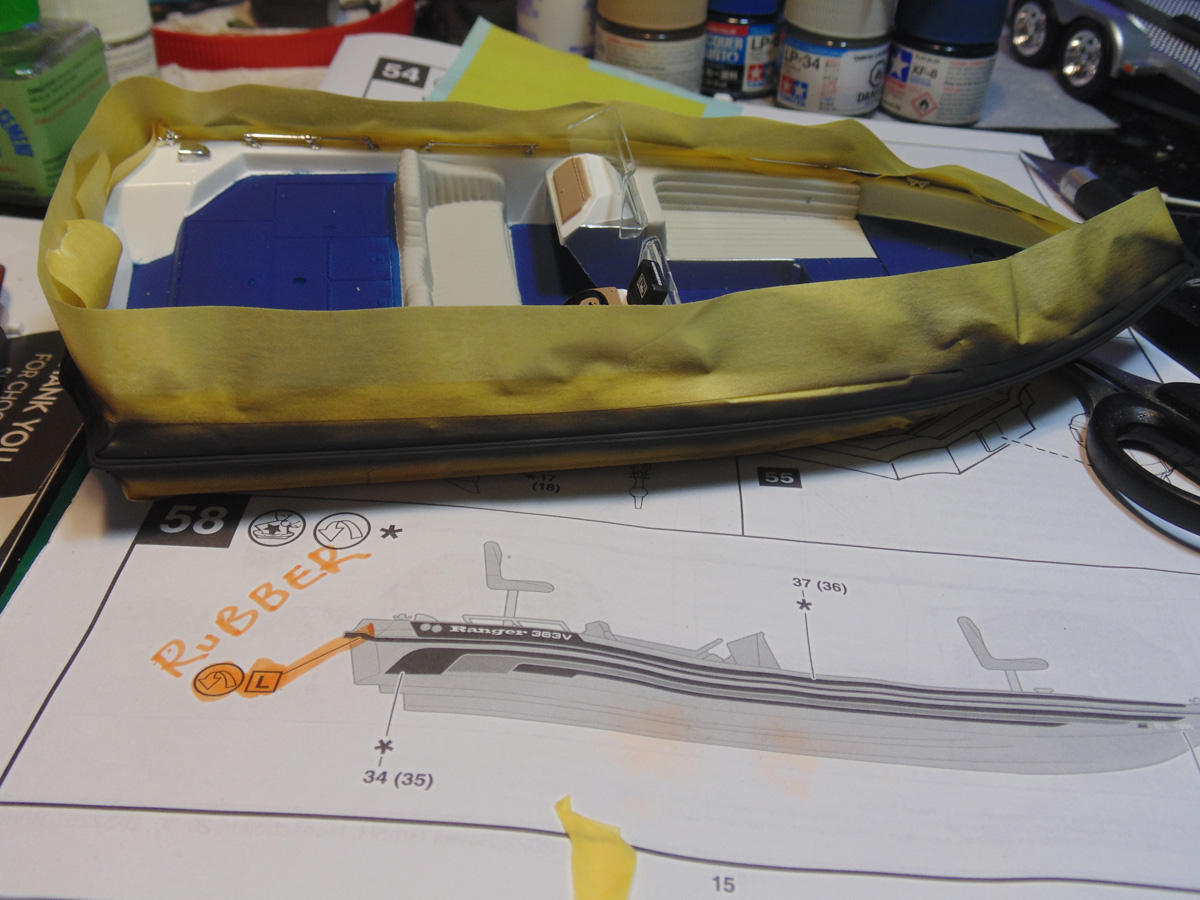
In step 56 you will definitely have to flood the area with water and a setting solution. The wrap around decals will be a pain otherwise. Also, the instructions have some in the wrong place, so use your better judgement.
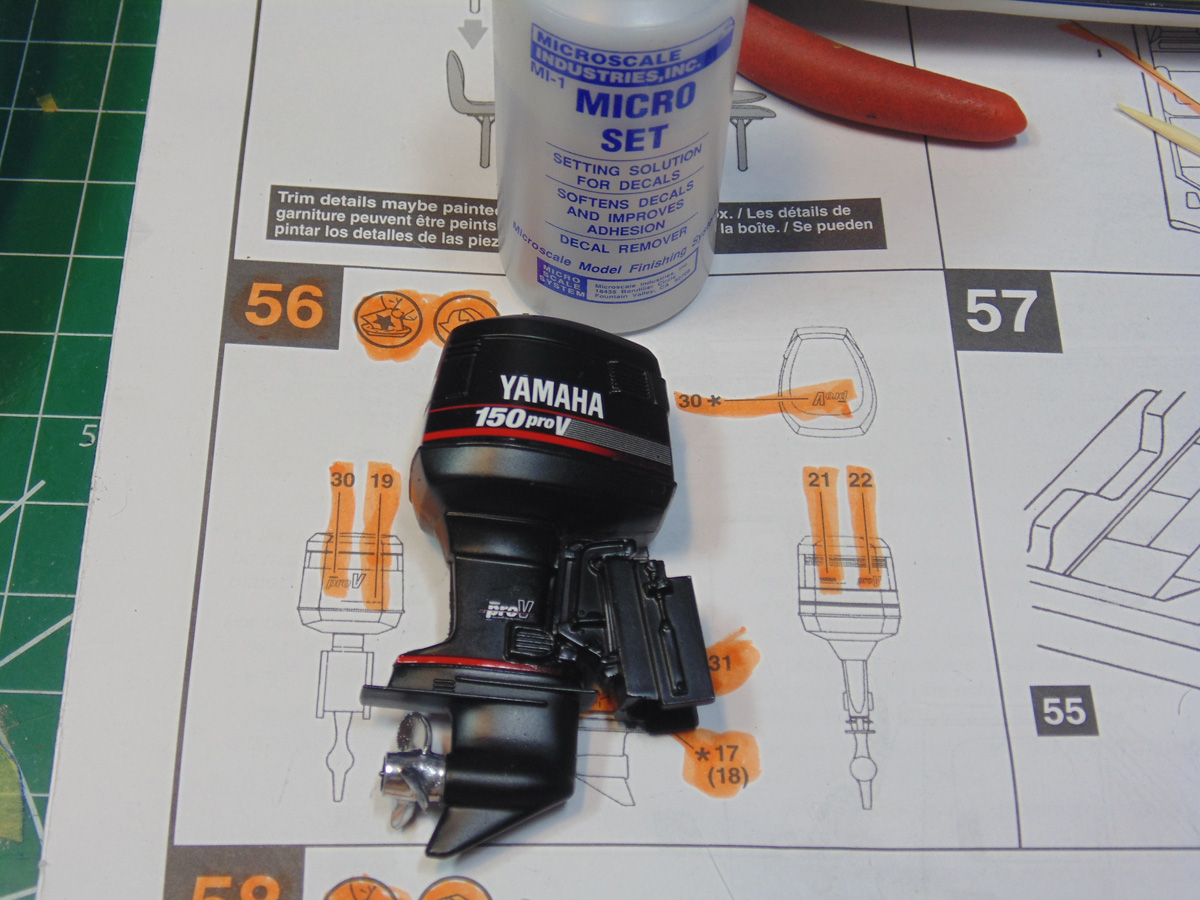
Be sure to remove the paint from the connection areas where the motor fits with the boat. You may also have to stretch the parts a little to get them to conform.
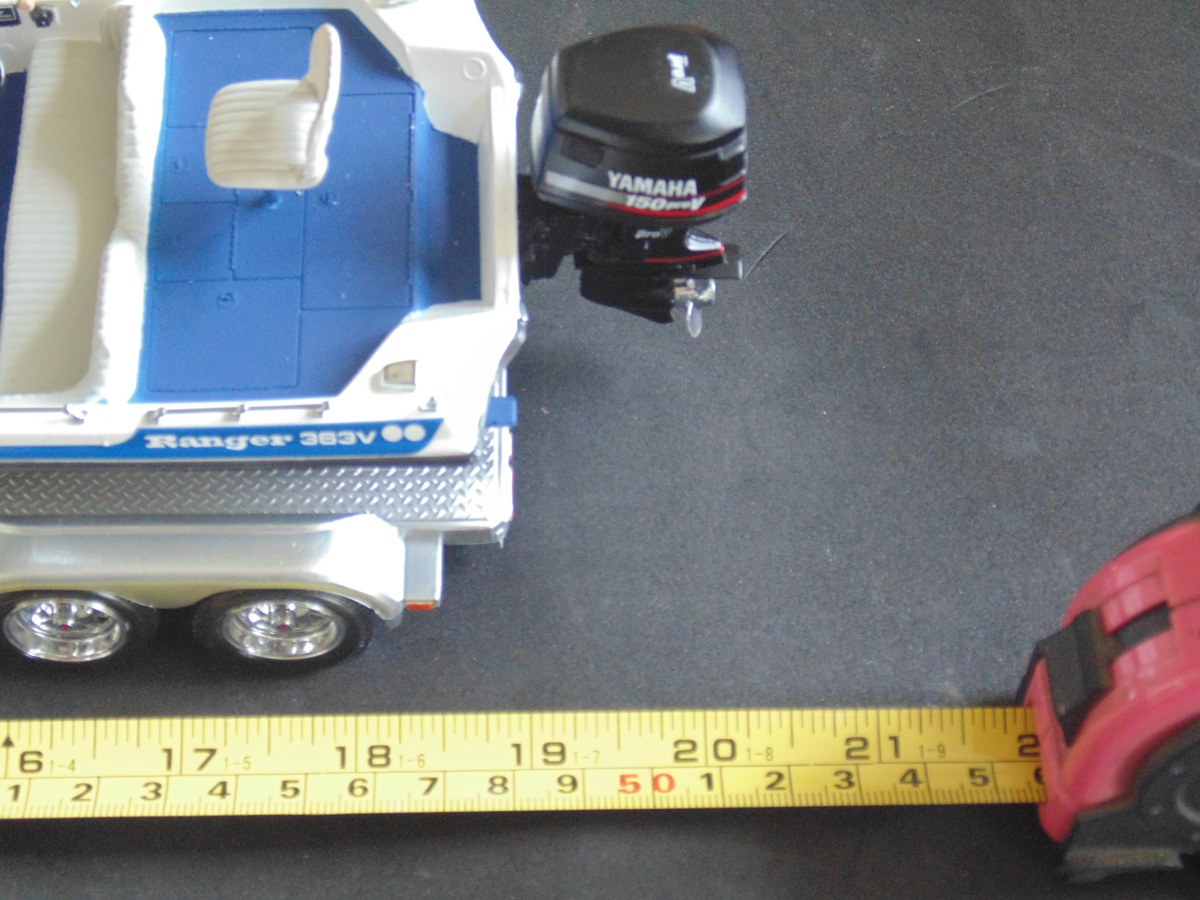
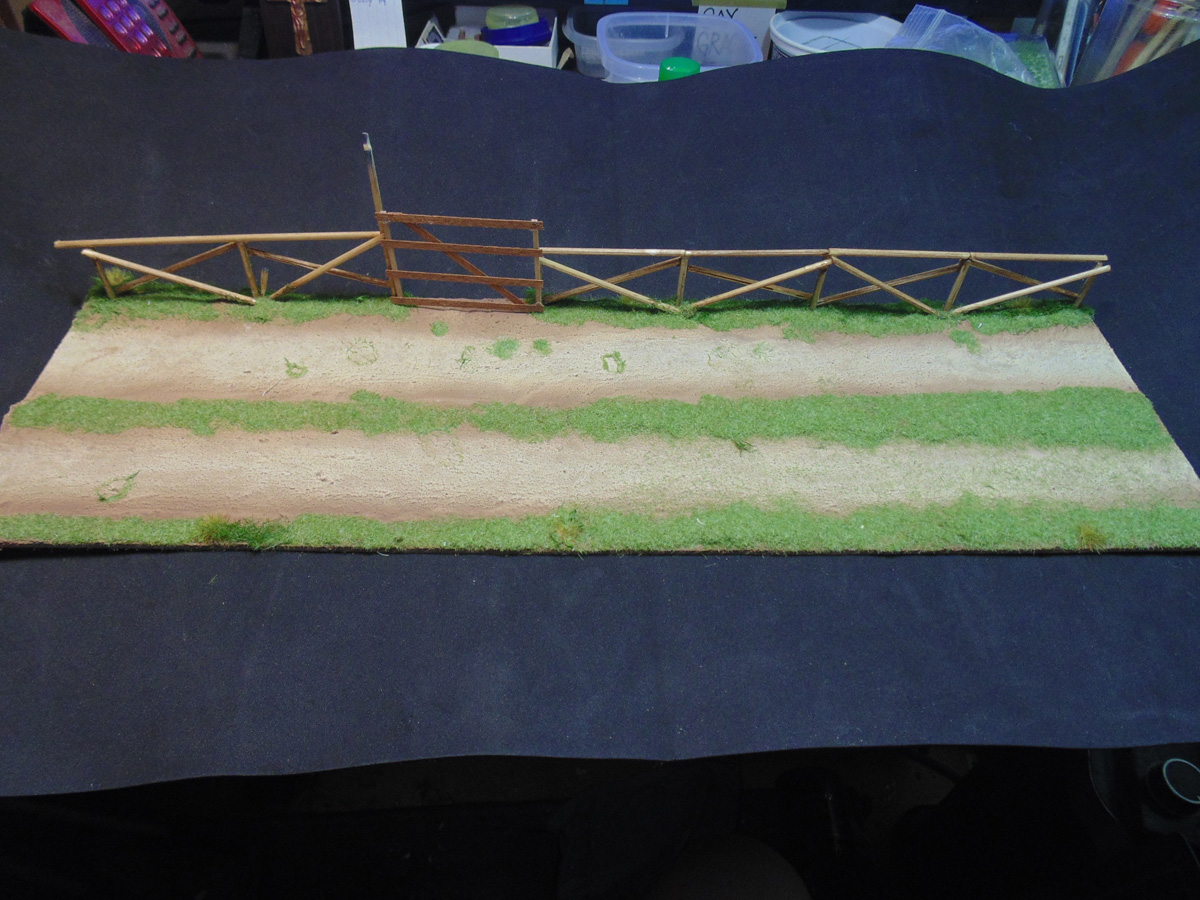
That sums up the build. Now for an added look. Here I am measuring for a base.
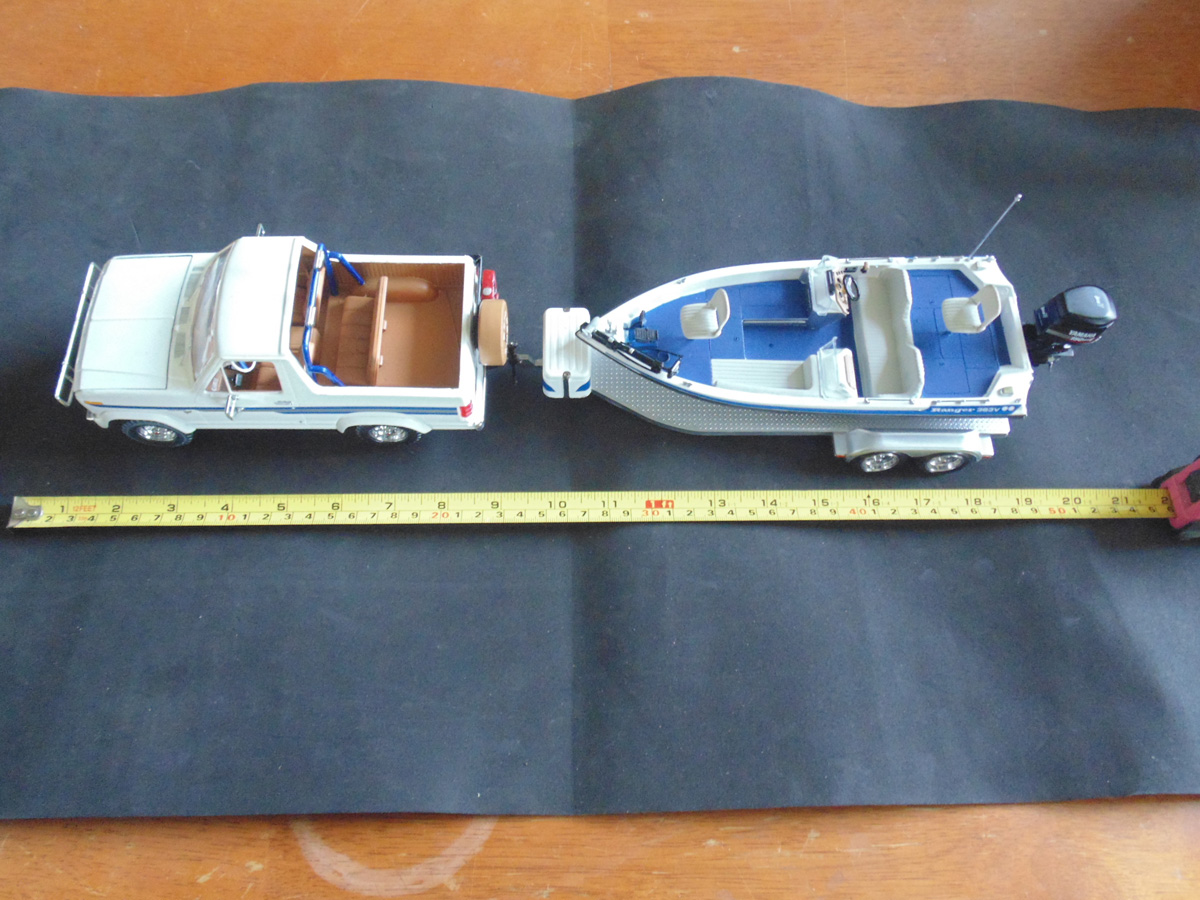
It is critical to have enough space on the base to clear the motor.
Some simple skewers and flocking you can buy from the store. A day spent on this will add a tremendous look to your project.
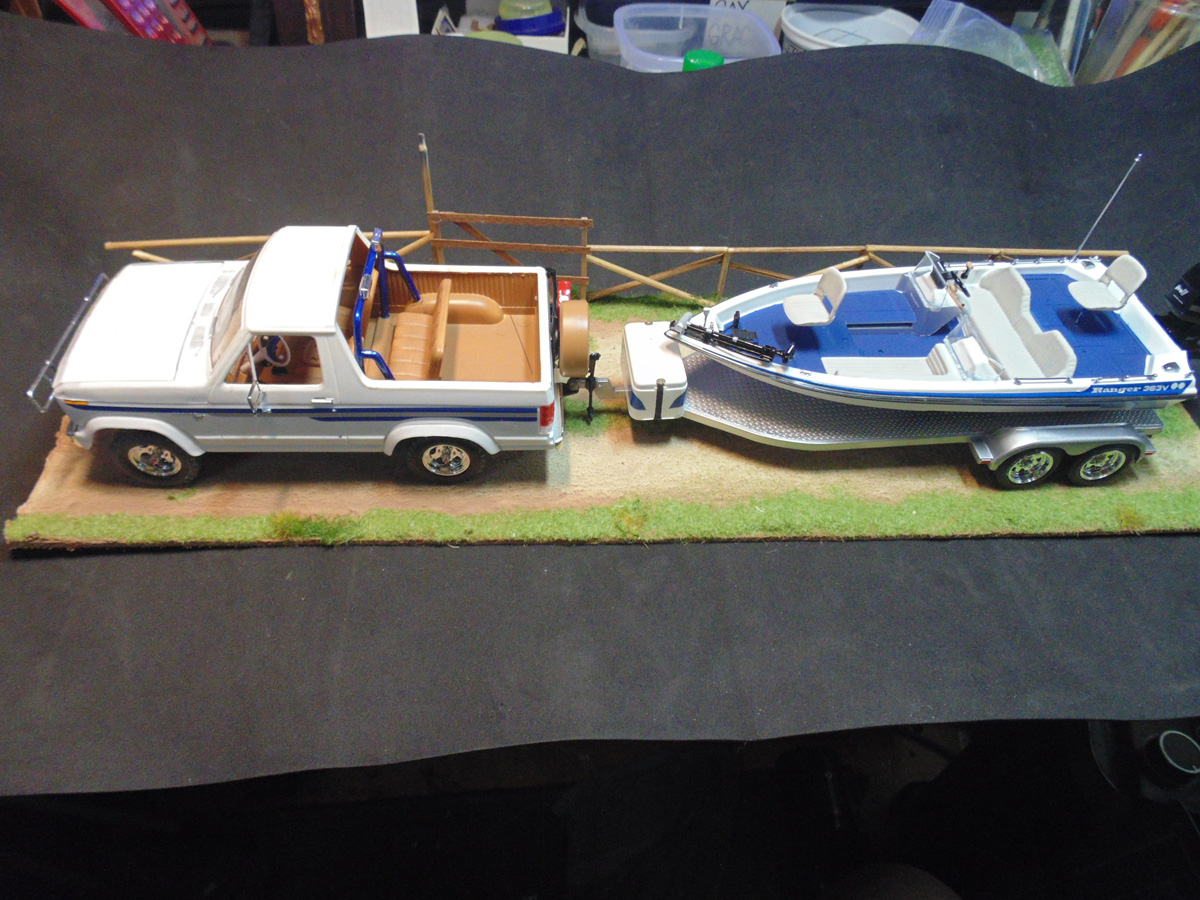
And we are ready to go fishing.
If you have any questions about the products used in this article, please feel free to ask the staff when you pick up or place your next order from Sunward Hobbies.
G. Barnes is a former voice-over artist and retired sales and marketing professional. He’s the author of two large volume science fiction adventure romance novels with many more in the works. For well over 40 years he’s been building scale model replicas and now does commission work for clients in Canada and the USA, plus completes projects for companies in Asia and Europe.
Currently H.G. is involved as an Associate Editor with KitMaker Network’s Online Magazine Channels.
Final Post for this build.
Previous Post: Part 5
First Post: Part 1