
Using Plastic Cement and Cyanoacrylate as a Tool
Skill Level: Experienced to Advanced
In Part 2 the use of Hot and xHot plastic cement types are covered. Improper use of these solvent weld products may irreparably damage an expensive model, subassemblies or component parts. Exercise caution when used.
Hot and xHot solvents have a high capillary action along with limited softening creeping penetration on adjacent styrene parts. As such, are not recommended for application near parts intended to remain movable.
It’s essential to understand the plastic cement solvent welding characteristics you are planning to use. Apply sparingly, do not flood parts.
Using one type of plastic cement limits a modeller’s perspective and ability to take advantage of advanced skill sets to tackle any modelling situation. Various plastic cement types and classifications, Cool, Warm, Hot and xHot liberates the model builder’s option from only sticking parts together.
Experiment on scrap styrene, plastic board or empty sprue runners to understand how each plastic cement works. Learn how to play to the strengths of the product. Sound product knowledge eliminates fear and apprehension and makes one a better builder.
⚠️ The plastic cement types covered are classified as Hot and xHot due to their aggressive dissolving attributes on plastic styrene (HIPS). These products, if applied heavily or allowed to pool will continue to soften styrene long after application. In some cases, depending on the kit manufacturers’ styrene formulation, stressed press-fit parts may split when xHot solvent plastic cement is applied to friction-fit parts forcefully pressed together.
🟩 For general-purpose assembly and press-fit parts use the following plastic cement types. For advanced use, read on.
Working With Fragile Model High Impact Polystyrene
Broken parts on a sprue are a modeller’s major source of exasperation, along with a small part flinging away from the sprue gate when cut, most likely never to be found.
As moulding technology and 3D Printing improve, both part detail and piece count increase. Fragile parts are often broken in transit or when removed from a sprue or support.
In Part 2 of Advanced Plastic Cement and Cyanoacrylate Use for Styrene, how to use plastic cement and cyanoacrylate on an avant-garde level will be discussed. Real practical solutions for modelling challenges.
Working with Broken, Splintered or Fragile Plastic Sprue Parts
№.1 Cause of Broken Fine Parts: Using the Wrong Nipper
Ever used a hammer to swat that pesky fly on the wall? 🪰 🔨 It’s a great analogy for the wrong tool for the job. The same holds true for the nippers.
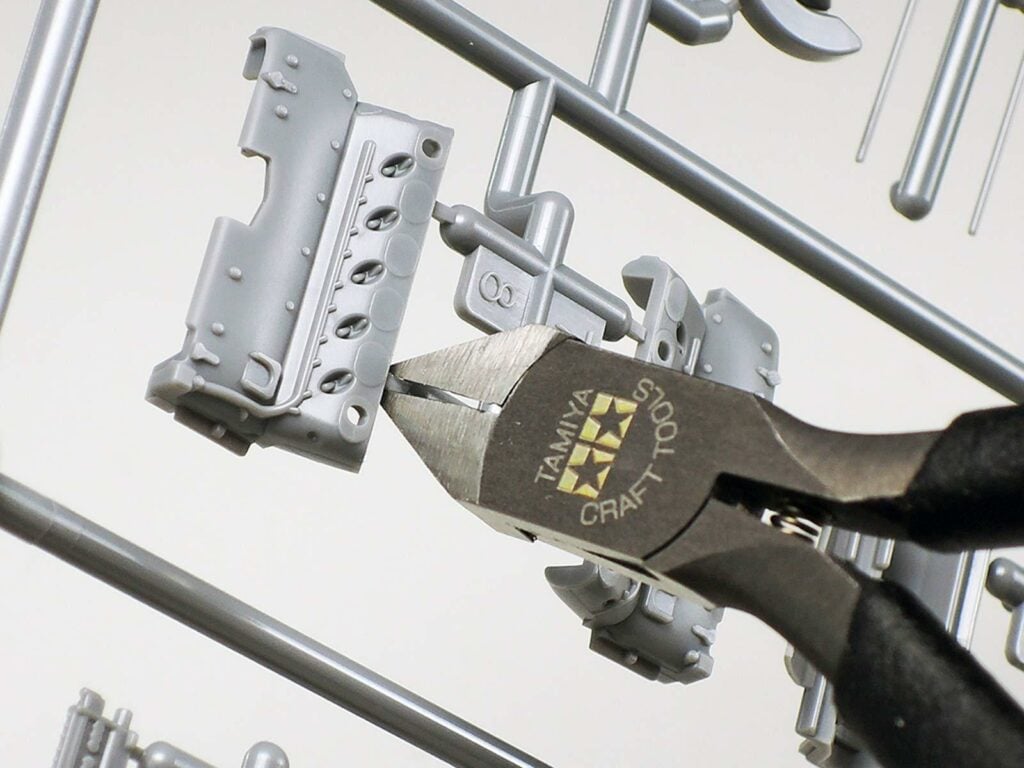
Sprue cutters come in two forms, those that create a snap sound when a sprue gate is cut compared to those nipper blades passing soundlessly through the plastic. Those that pass through sprue gates silently create less tensile stress on the part as plastic is separated with the cutting action of the blade. Thus, small parts are less likely to ping off into never-never land.
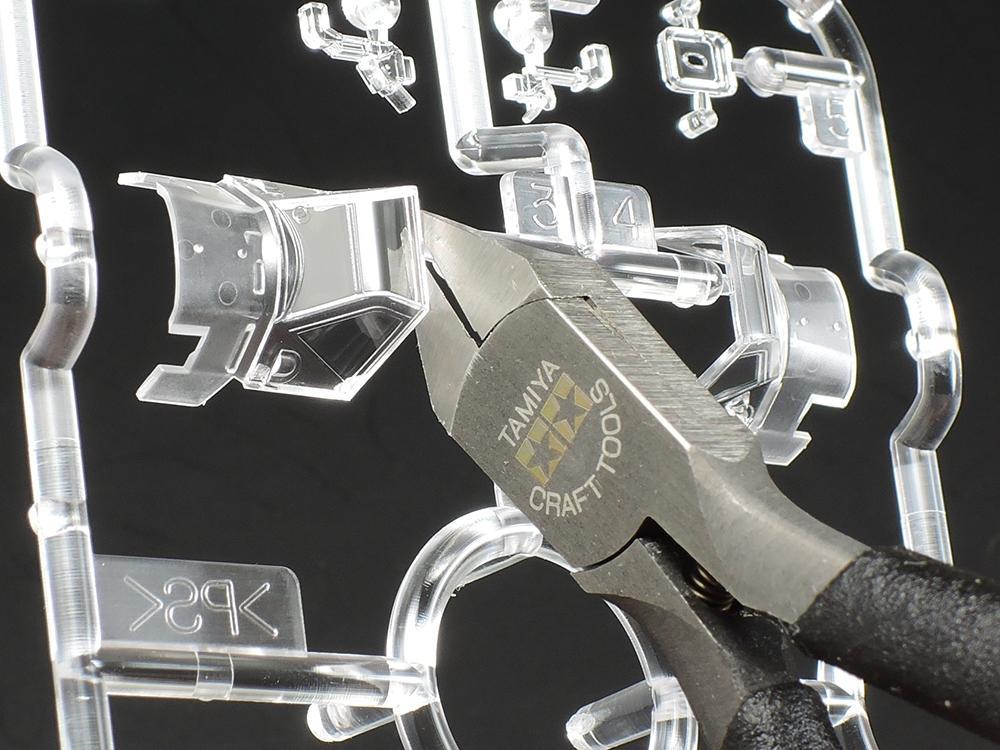
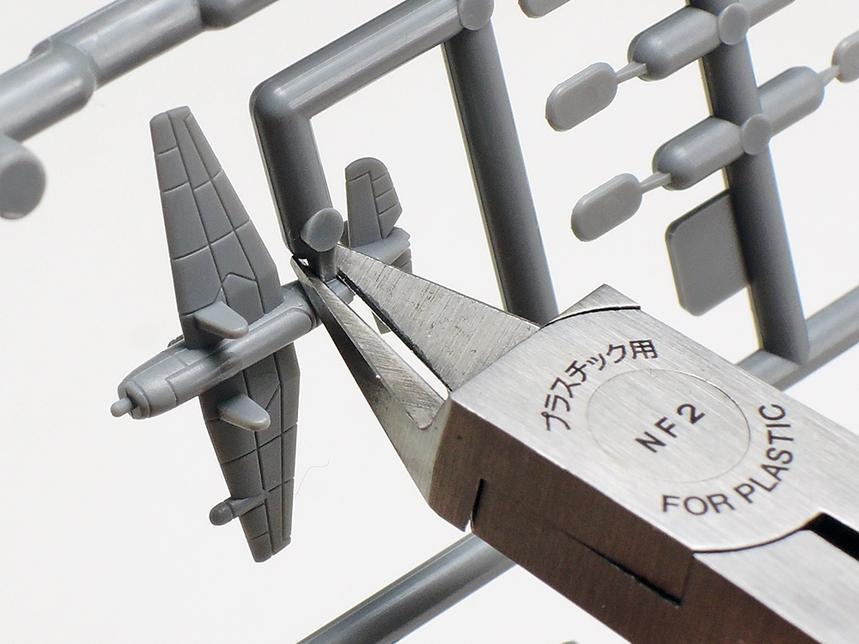
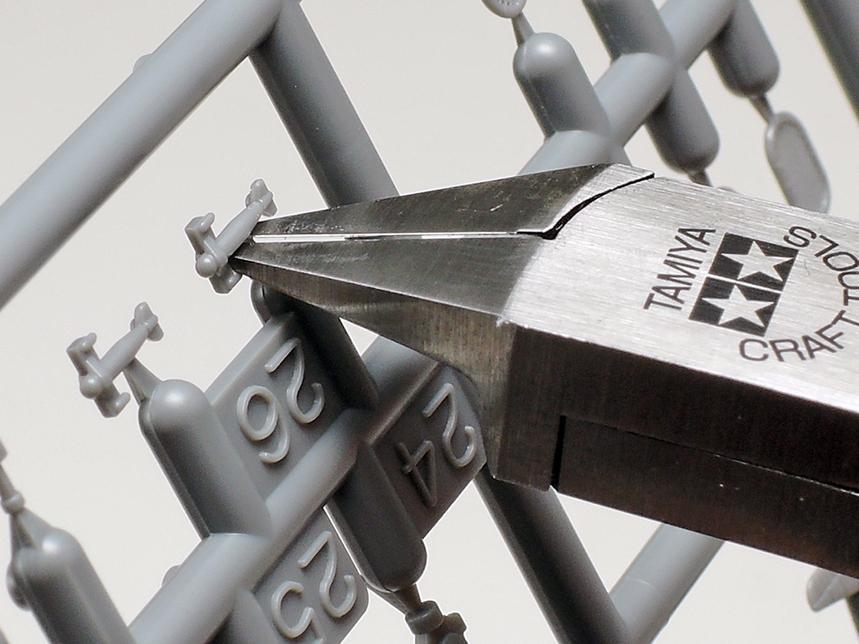
Fine nipper blades work best to separate the part from the gate using gentle, gradual pressure.
When removing an intact fragile piece, the most common reason for it to break apart is caused by using an incorrect sprue nipper. The second reason is not removing the tension forces created by the sprue sub runner producing spring-loading strain on the gate of the part to be removed. Where three or more gates are attached to a part, the greater the risk of the part flinging away upon release. The pent-up elastic tension, like a string on an archer’s crossbow, contributes to a part flinging away from the sprue when the final sprue gate is cut. Sprue gates have elastic memory and want to return to their original position, thus releasing catapulting energy to fling the freed part.
Gates will also generate undesired pressure on delicate thin parts. The cutting action of a nipper may deform the part or create a twisting shearing motion sufficient enough to break the part.
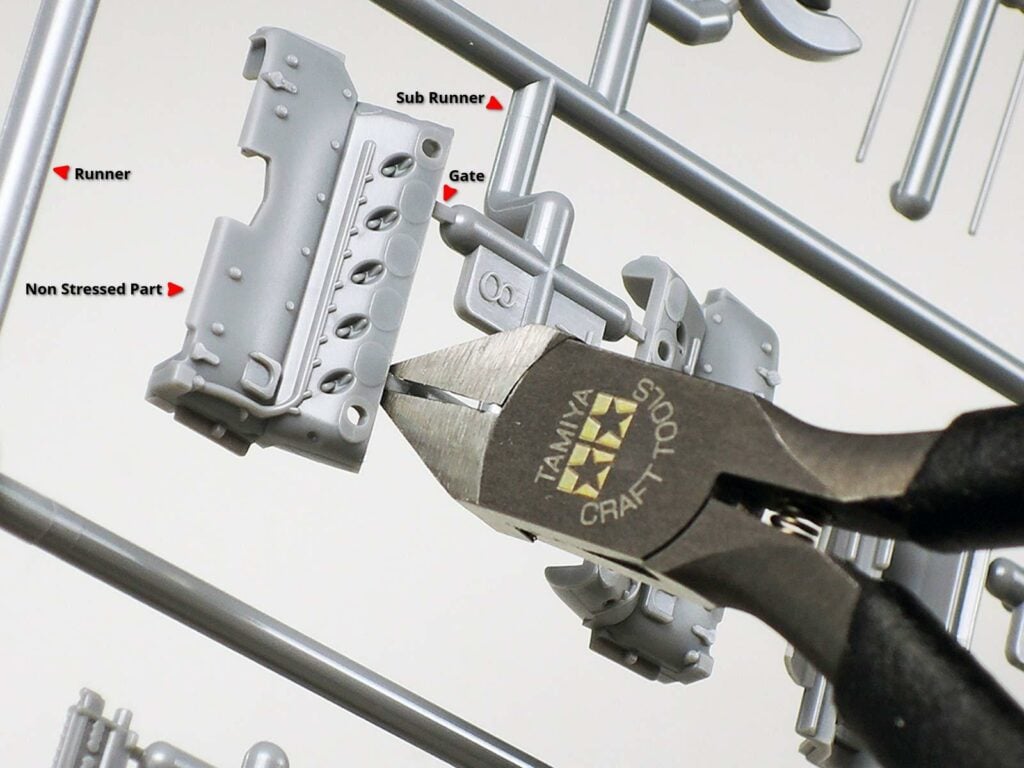
It’s prudent to have more than one type of nipper for your modelling projects. Heavy blades for sprues and sprue sub-runners and fine, delicate blades for sprue gates at the point of attachment to the part. Modelling nippers are not to meant to cut copper wire or brass photo-etched parts.
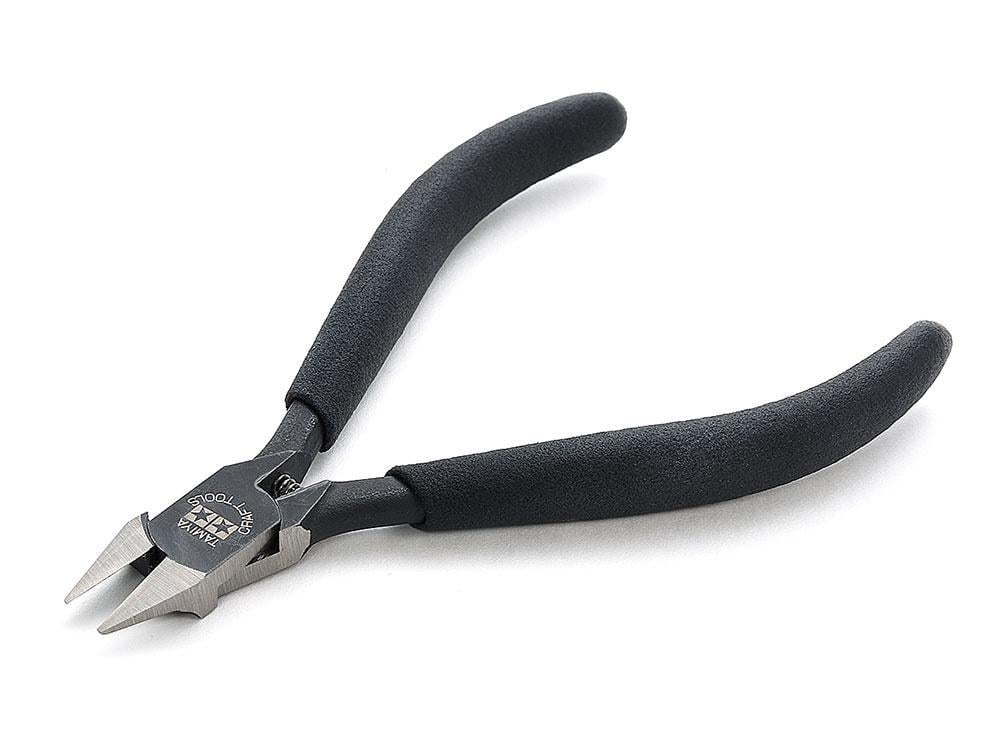
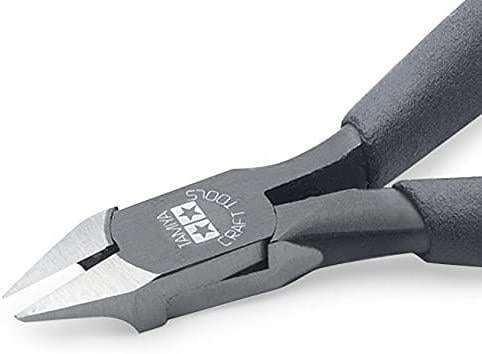
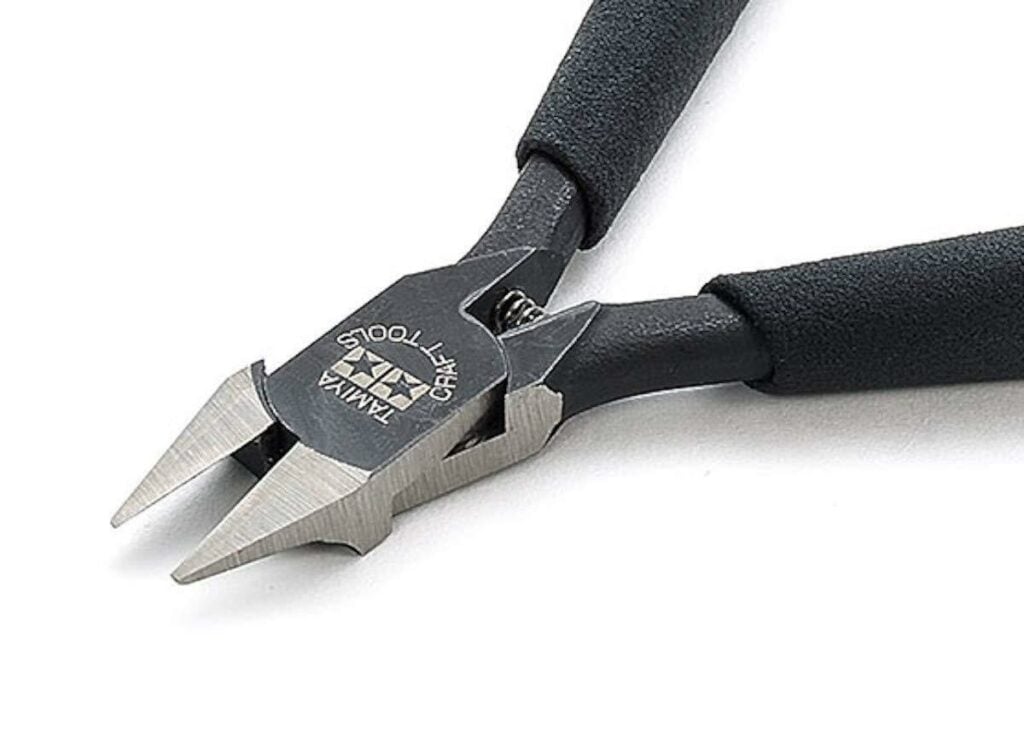
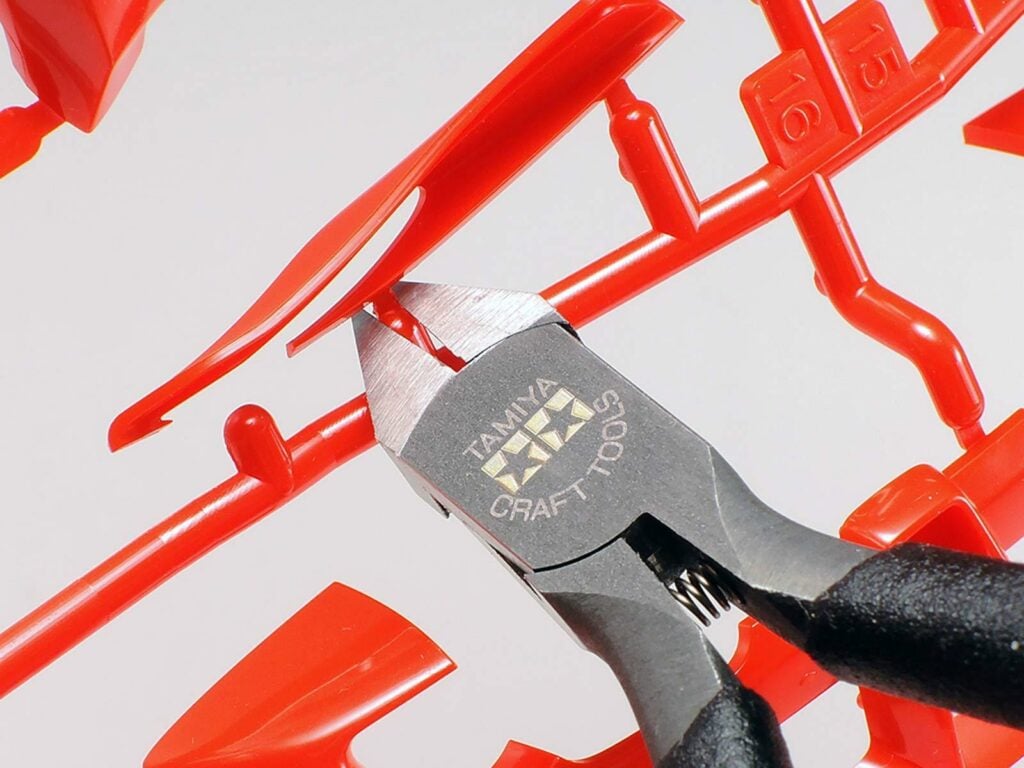
The difference between the Tamiya Sharp Pointed Side Cutter 74123 and 74125 is the 74123 has fine blades for delicate parts, whereas the 74125 has heavier blades for sprues and thicker styrene parts.
Fragile Part Strengthener
Delicate parts may have deformed during transit by crushing forces etc. Sometimes fragile parts are inadvertently bent during handling and may break when forced back to their original shape. In some cases, the part may display discolouration when the part was impacted or stressed.
Thin parts with a diameter of 0.7 mm (0.027 in) or less, are fragile and prone to breakage when attempting to remove them from gate attachment points. This is when a high-quality nipper is worth its weight in gold. Injection moulded plastic hardness varies from one manufacturer to another. Some kit plastic is more elastic and thus has increased flexibility to resist breakage.

Highly engineered models with a significant part count typically have the greatest concentration of ultra-thin, easily broken parts.
Where parts are suspect and prone to breakage with handling, resin-reinforced plastic cement will add tensile strength to the part without adding noticeable girth. The types of cement below are classified as cool plastic cement, meaning they will not dissolve thin plastic parts.
🚧 ProTip: Apply thin coats, allowing each to dry before reapplication. The plastic cement will off-gas leaving behind an acrylic resin membrane, strengthening the part.
🛑 Do not flood the part with plastic cement or allow drips to form. The use of a hotter type of plastic cement may cause the piece to soften and sag, deforming or disintegrating the part.
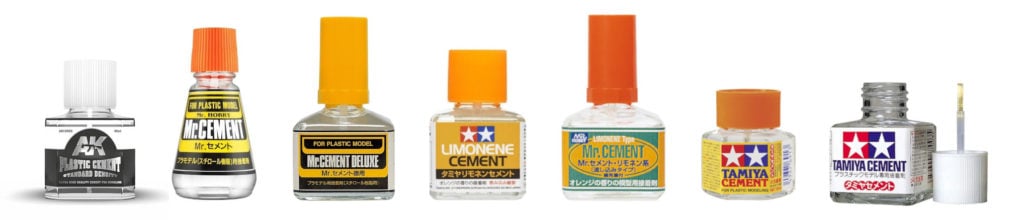
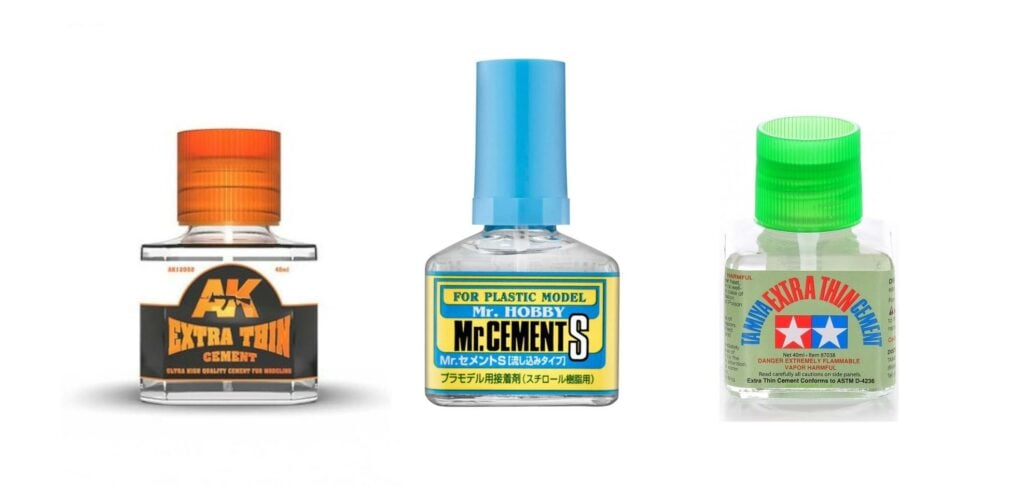
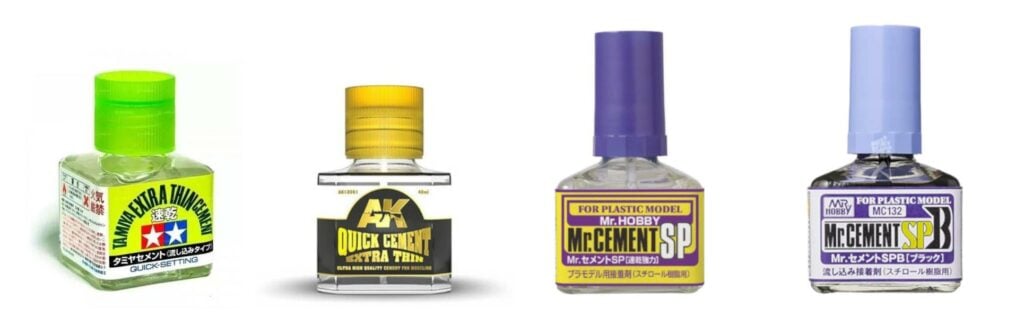
🟦 Cool Plastic Cement
- AK Interactive Plastic Cement Standard Density 12003 40 ml
- Mr Cement Bottle MC124 20 ml.
- Mr Cement Deluxe Bottle MC127 40 ml.
- Tamiya Limonene Cement 87113 40ml
- Mr.Cement Limonene Cement MC130 40 ml
- Tamiya Plastic Cement 87003 40 ml and 87012 20 ml
🟥 Repairing Broken Parts Using Hot Cement
Joining tube, rod or flat bar parts is straightforward when using Extra Thin, Extra Thin Quick Setting or Super Power Plastic Cement. The hot plastic cement immediately creates a solvent bond at the break location fusing the parts together. Gently compressing the parts together creates a slight bulge at the joint creating stronger solvent welding. Once the parts are cured, the break is now as strong as the part.
Part Attached to the Gate(s)
Carefully align broken parts to create a friction fit. Apply sufficient hot plastic cement to the joint to permit the joint to soften and gently press together laterally.
Detached Part
Place the part on a flat surface not affected by plastic cement. Join broken sections together and apply sufficient plastic solvent to wet the seam. Press the two parts together gently with lateral force. Liquidification should take place causing some styrene to ooze out of the break. If not, apply sufficient plastic cement to the joint for fusion to take place. Allow to completely harden before moving.
Mr. Cement SP Super Power was used to dissolve general-purpose plastic cement and then applied for the final fit. The paint is easy to touch up.
Broken Part Placement Point
Reposition the part and apply hot cement directly to the junction detachment point. The plastic solvent will seep into the root fusing the parts together. Unlike cool or warm plastic cement, hot cement will not mar the surrounding styrene, providing it’s not touched, or leave a solvent accumulation scar due to its instant flash-off characteristics. It evaporates immediately off the surface so fast that it does not react or soften to the surface. Other plastic types of cement, depending on the kit manufacturers’ styrene composition, may leave tidal or pool marks.
Painted kits with broken parts are easily repaired and touched up using an airbrush or paintbrush.

🗜️ ProTip: Hot and xHot plastic cement solvent flashes off immediately, evaporating instantly from the surface. It works best in the joint where two adjoining surfaces meet. The hot solvent instantly dissolves styrene, making it sticky, and liquidizing both surfaces to fuse as one during the curing process. Premature handling before the parts harden will cause the joint to deform or separate.
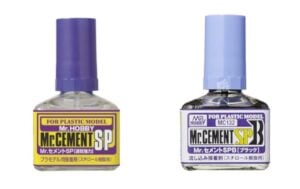
🟥 Hot Plastic Cement Types – Instant Flash-off
- Tamiya Extra Thin Cement Quick Setting 40 ml
- AK Interactive Quick Cement Extra Thin 40 ml
- Mr Cement SP (Super Power Clear) 40 ml – xHot
- Mr Cement SP B (Super Power Black) 40 ml – xHot
🟥 Parting Line Removal
xHot cement will dissolve fine parting lines on fragile parts where sanding or scraping is not practical. Gently slide the application tip along the parting line to gradually dissolve and remove it. Caution is necessary to ensure enough hot cement is in the applicator to act upon the raised parting line without wetting the overall part surface.
Repeated back-and-forth movement with the cement applicator on the seam will gradually remove the parting line.
Difficult parting lines can successfully be removed by this method.
🚧 ProTip: Use with discretion. Wetting the part with excessively hot cement will dissolve the part causing it to deform or disintegrate. The part will deteriorate without warning.
⚠️ Hot and exHot Super Power Plastic Cement have high seeping and capillary fluid dynamics. Apply sparingly as they may continue softening styrene for an extended period after application.
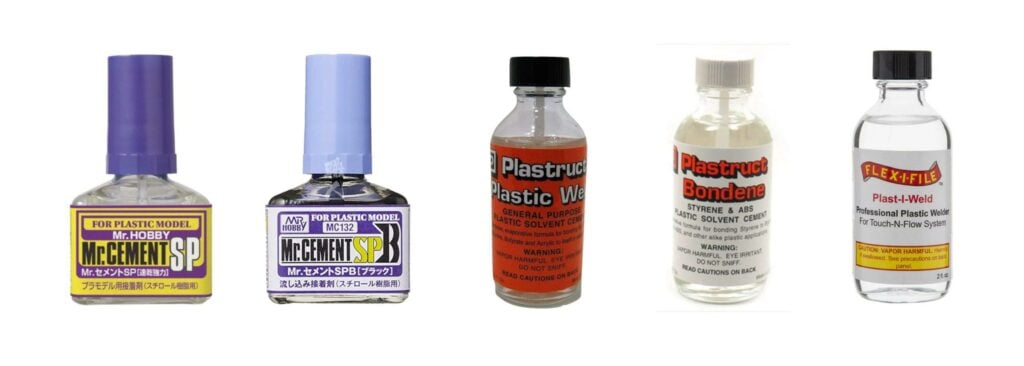
🟥 xHot Super Power Plastic Cement – Instant Flash-off
- Mr Cement SP Super Power
- Mr Cement SPB Super Power Black
- Plastruct Plastic Weld Cement PLA-2
- Plastruct Bondene Styrene and ABS Plastic Solvent Cement PLA-3
- Flex-i-File Plast-I-Weld
💡 Mr.Cement SPB Super Power Black contains a black dye that makes the application location easy to identify.
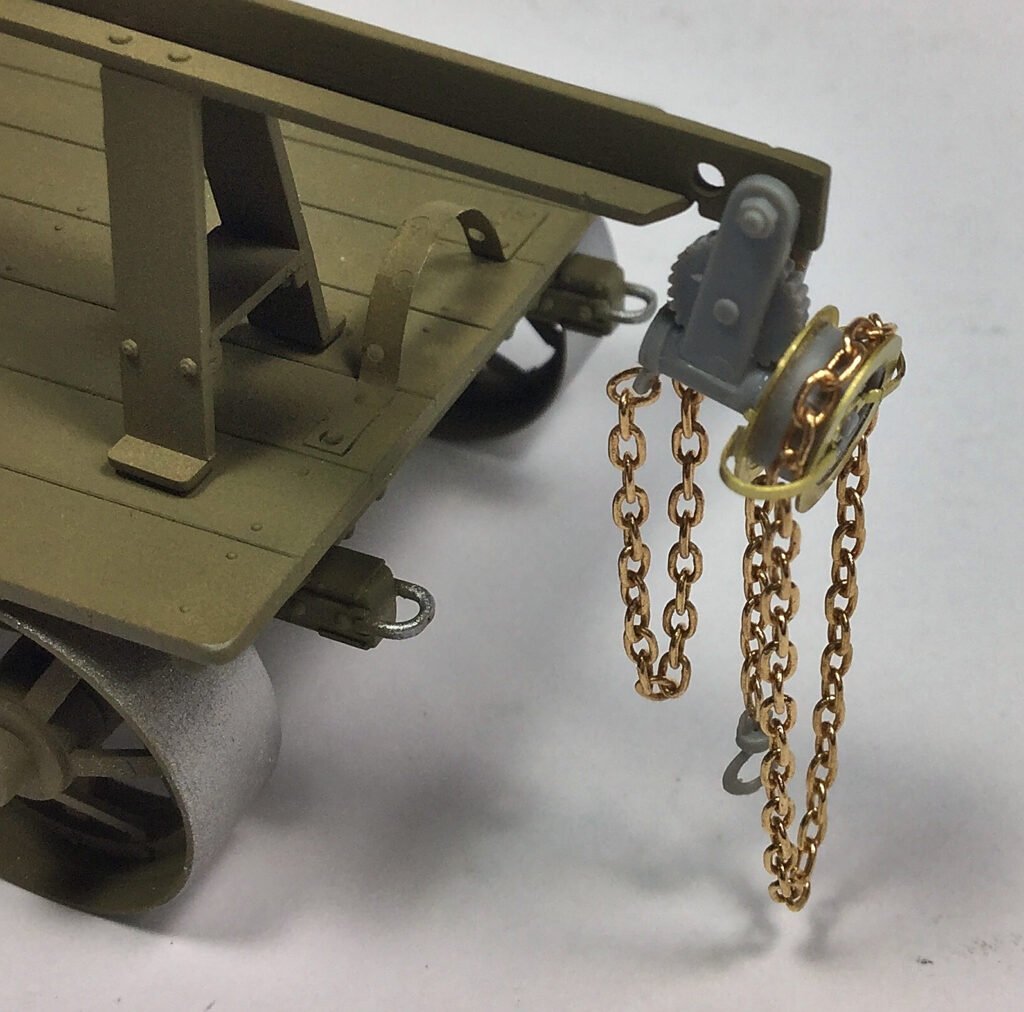
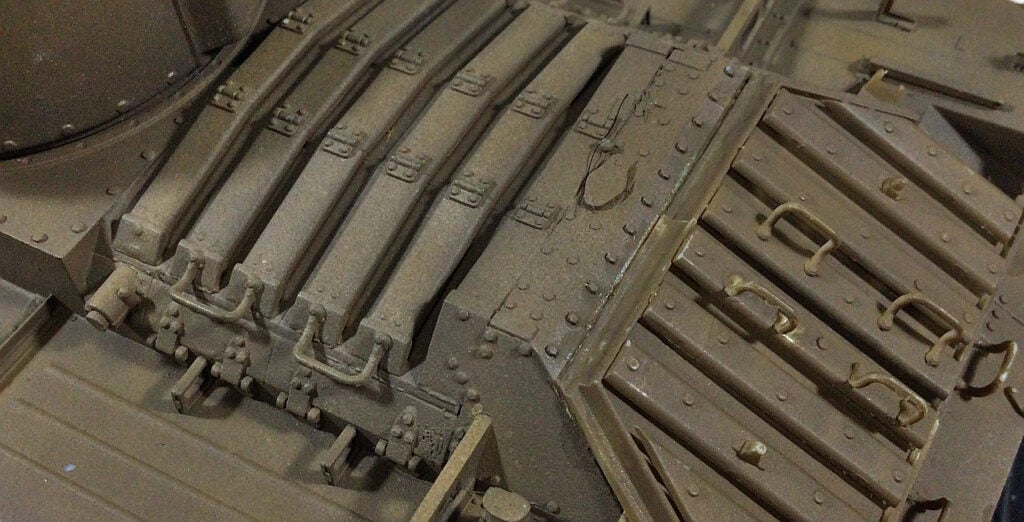
Forming and Shaping Link and Link Tank Tracks: Problematic Bonds
For whatever reason, some connection points, especially on link and link tank tracks, sections may want to separate after cementing, painting, weathering or handling. In this situation, hotter cement is applied to the connection point for an instant solvent weld.
General-purpose plastic cement bonds will have styrene surface and joint disruption and scarring that interferes with reassembly with when using the original assembly plastic cement. Hot or xHot plastic cement will dissolve the disruption, deformation and scarring forming a fresh, intact, strong solvent weld.
Link and Link or Link and Length track segments cemented with general purpose or resin-reinforced cement may instantly separate when xHot plastic cement is applied to the joint to soften it for reshaping.
No worries, reattach using xHot cement, and the separated section will securely bond together in seconds.
Plastic cement that has created a soft bond is gently formed to follow the radii of drive rockets and idler wheels. Dead tracks, those that drape with their own weight between return rollers are easily but carefully formed into a droop with gradual pressure.
🟥 Adjusting Cured Cemented Parts
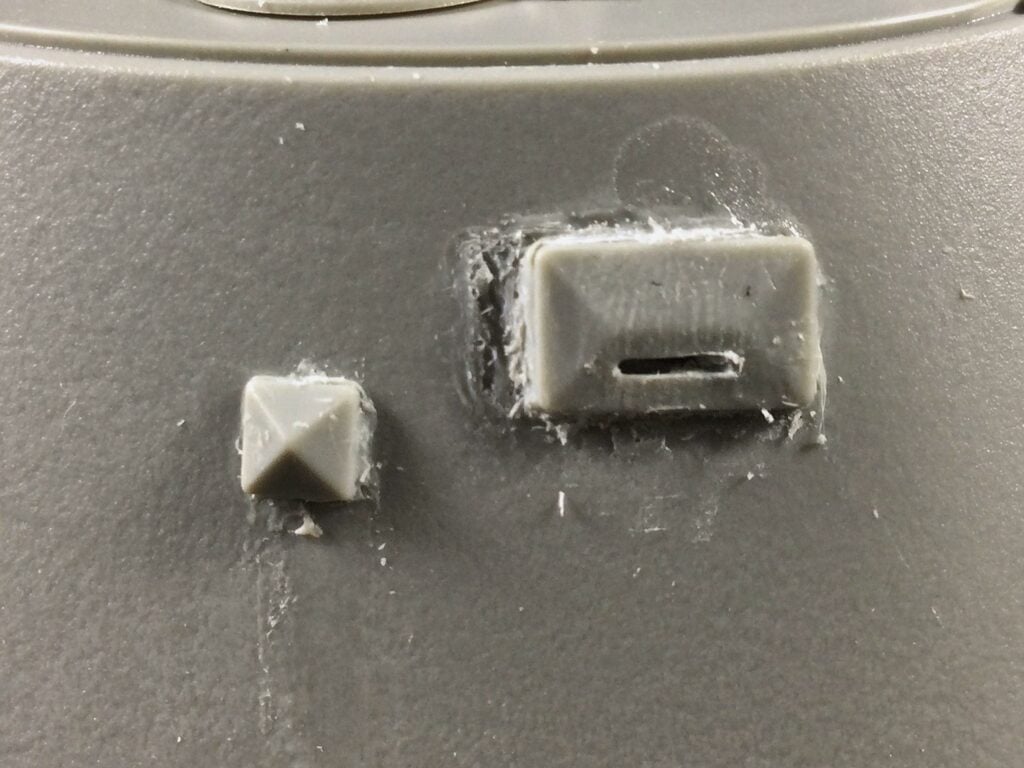
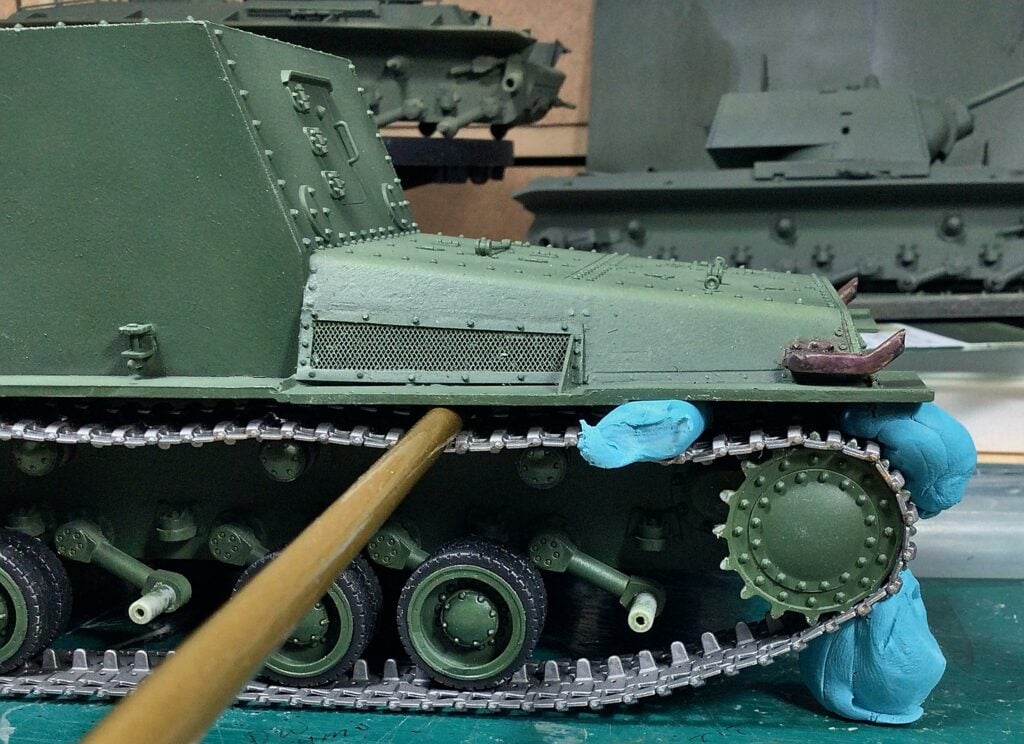
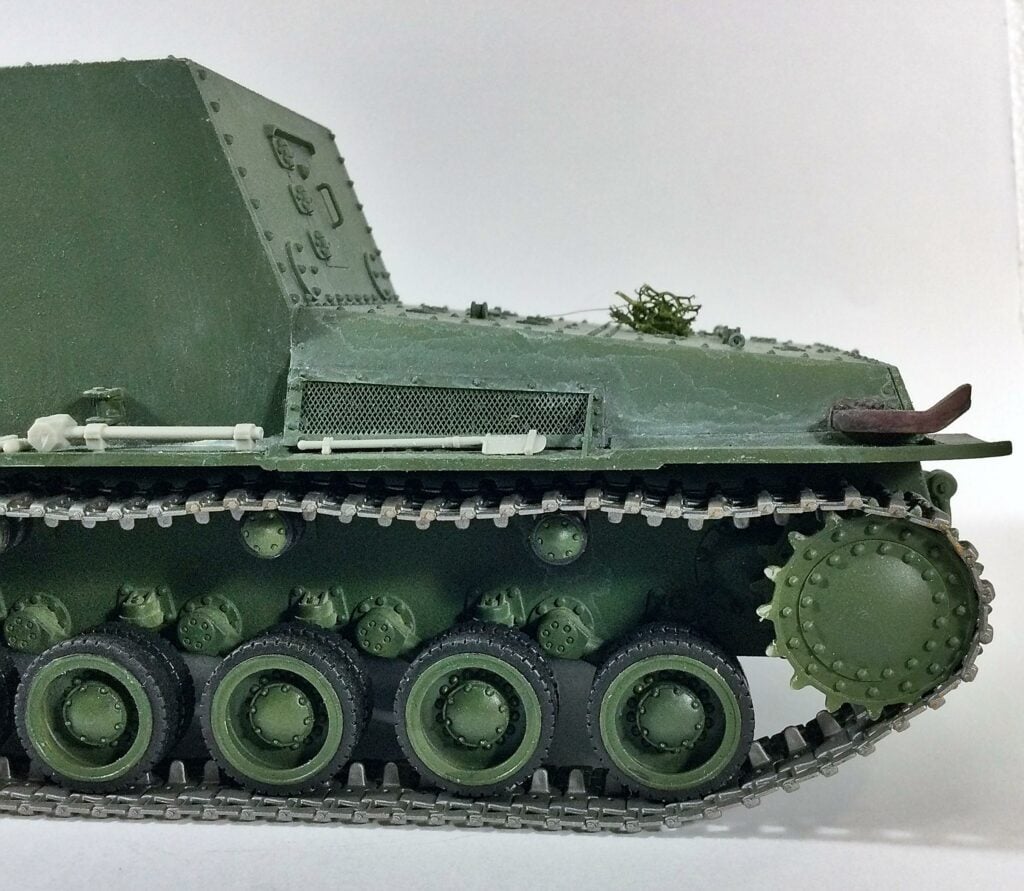
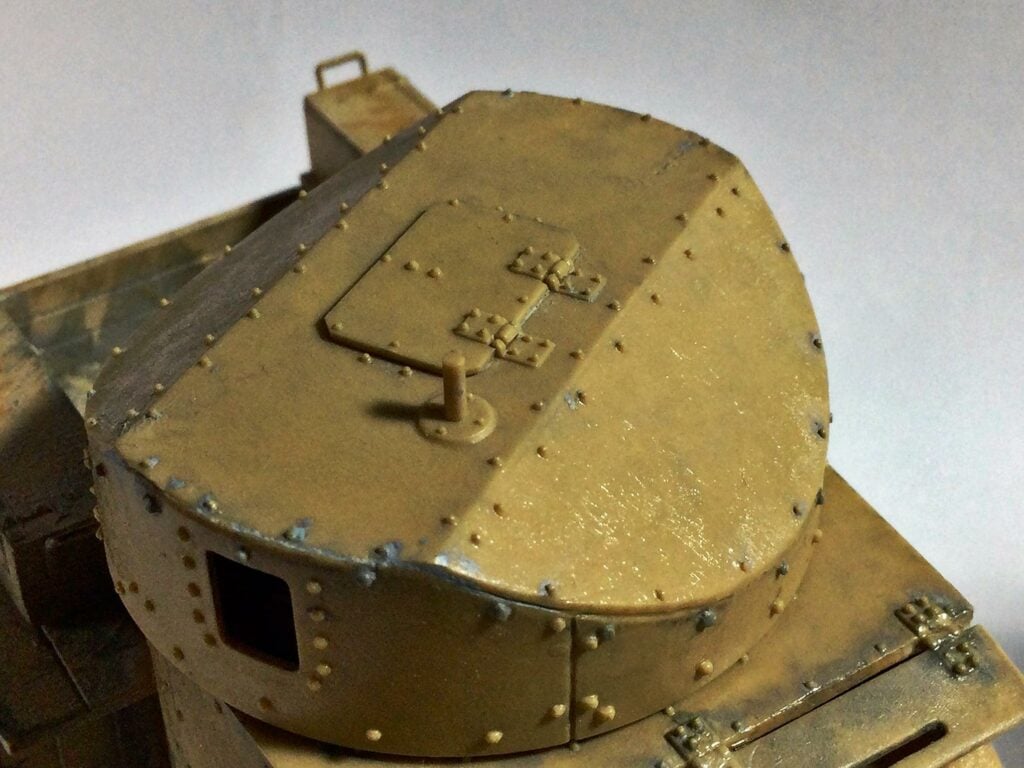
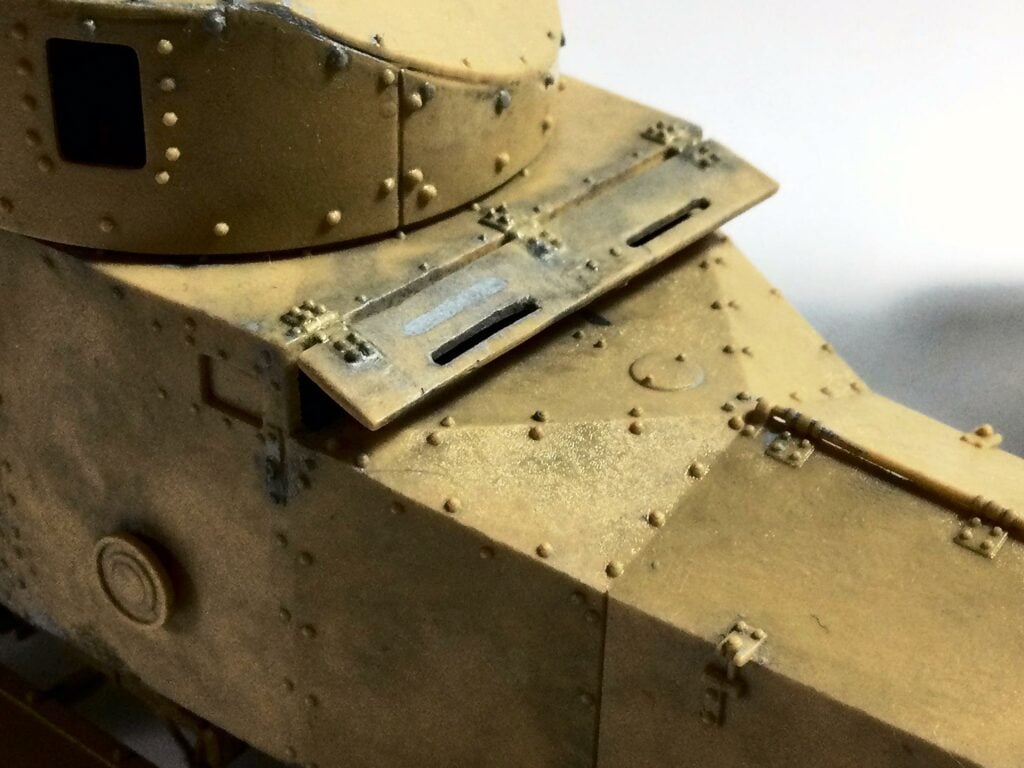
Often manufacturers’ assembly instructions are confusing with unclear mounting locations for parts. When in doubt, refer to reference pictures, sometimes manufacturers get it wrong.
In the examples above, following instructions, the vision slot and pistol port were cemented in place on the turret. After consulting reference pictures of the actual vehicle, it was determined the parts needed to be relocated.
Using Mr. Cement SP Super Power the part seams soon softened and were removed with a hobby knife chisel blade. The parts were correctly relocated and cemented in place.
Apply a small amount of hotter plastic cement to the bond seam to soften it enough for proper adjustment or alignment.
Creating Rivets
WWI Rolls Royce Model 1914 Modification

The roof of the armoured car needed to be lowered from a Model 1920 height to the 1914 original design. In the process of modification, cutting elliptical material away from the turret wall, many moulded rivets had to be removed during the process.
Proper rivet replacements are easy to scratch-build using the following techniques.
Making Rivet Slugs
- The proper diameter rivets can be made by extruding sprue runners to the correct width with heat, using the correct diameter white styrene rod or a proper rivet punch.
- Cement the rivets at desired locations leaving enough length for ease of placement.
- Cut rivets to the desired length using a spacer shim for the proper and consistent rivet height.
- Round off the rivet slug using Mr. Cement SP Super Power to form a rivet cap.
🗜️ ProTip: Extruded sprue runners are of harder plastic and are more difficult to obtain the desired diameter. White styrene rod is softer and much easier to work with. For scratch-builders, the RP Toolz Punch and Die Sets are a must-have.
Continued in Part 3
Advanced Plastic Cement and Cyanoacrylate Use for Styrene continued in Part 3.
Previous Post: Part 1
James Wooldridge is An enthusiastic scale modeller, researcher, amateur historian, and contributor to scale modelling sites, including Scalemates. He is an active and progressive Facebook Group Expert, Presenter, and Scale Modelling Club Video Host.