

Thinning Lacquer, Varnish, 2K Clear, Enamel, and Polyurethane
Skill set: Experienced to Advanced
Time to read:10 minutes
Introduction to Paint Thinners and Reducers: Getting it Right
Paint thinners and paint reducers are one and the same, the only difference is the vernacular. Airbrushing has a lot of moving parts, figuratively speaking. Knowing the fundamentals of airbrushing and thinning paint and clear coats goes hand-in-hand.
The universal two-part problem facing modellers is obtaining the correct thinner-to-paint ratio, and using the proper thinner for the brand of paint or type of clear coat.
In this article, we will fast-track the learning curve for obtaining the optimum paint and coating viscosity for airbrush use. Because thinning paint and coatings is a major industry problem, many manufacturers pre-thin their paint products to eliminate the solvent-to-paint ratio. The second major component of the paint thinning difficulty is cross contamination by using incompatible thinners, altering the chemistry of the product.
The Elephant in the Room: Cross-Contamination
The Brand Ecosystem: Stay In Your Lane
Best Practices
Facebook Groups abound with newbie and inexperienced users encountering paint and airbrush issues. The biggest problem is when they think they know, or so-and-so said this or that worked, and stray outside their lane and use cross-product solvents, rather than remaining faithful and trouble-free within the Brand’s ecosystem. That’s when the party really gets going.
Just because a product may smell like it contains a certain alcohol, doesn’t mean we add what we think it is to dilute it.
Solvent Blends
Paint thinners typically contain three or more alcohol blends. There are twenty-eight (28) alcohols, any number makes up the thinner chemical composition.
Adding Isopropyl Alcohol, Rubbing Alcohol (ethanol-base), Windex, Windshield Washer or generic lacquer thinners to paint are sub-optimal reducers because the paint chemistry itself is unknown. The result is adverse and unexpected chemical reactions producing less than desirable outcomes.

Paint and Thinner Chemistry
Our paint and thinner composition is best described as chemical soup, a broth we are best advised not to season to taste.
Stay in the fast lane and purchase the Brand’s product silo ecosystem solvent and airbrush cleaner to avoid an unexpected, off-road jaunt into the swampy quagmire of tall weeds.
Master builders understand and appreciate how easy it is to go off the rails and end up with a train wreck messing around with DIY thinners. Advanced users will do everything not to derail their projects.
How and Why of Clear Coats and Varnishes
There is a lot to unpack when it comes to what is referred to as Clear Coats.
Clear coats, often referred to as varnishes, have a multitude of uses with amazing modelling painting and finishing versatility. There is a learning curve to apply them correctly. Clear coats are notorious for revealing surface irregularity and producing off-gassing orange peel.
Once mastered, beautiful finishes are achievable, along with surprising surface applications to up your project’s sophistication. Clear coats are used to great effect as textures on movie science fiction practical effects and many others. We’ve seen them in Star Wars, Star Trek, The Expanse and Mandalorian to name a few.
Clear coats are used to protect: 1) metallic finishes; 2) protection between various layers of weathering effects on military and civilian vehicles; and 3) surface preparation for the placement of decals.
💡 Our favourite opaque colour(s) are easily converted into translucent colours using clear coats, adding complex and difficult-to-accomplish depth and volume effects to builds.

The Vague Dairy Reference
Social media abounds with decision fatigue when making up one’s mind as to properly thin paint for the perfect airbrush ratio. Often a vague reference is made about thinning paint to the consistency of milk to topping up the new glass bottle of paint with thinner.
Once working viscosity ratios are obtained, other factors present themselves when it comes to applying a professional-looking coating.
It’s important to note that what works for one type of paint or Brand will not necessarily work for another. Ideally, become invested in a preferred product line to become proficient with their use, understanding the paint formulation characteristics and how best to apply them.
We love to try the newest products and often end up with disappointing results by using our standby thinners and mixing methodologies that are not suitable for modern hybrid paints. When trying new products, purchase the proprietary thinner and airbrush cleaner to ensure the best possible results.
A case in point, what works with Vallejo will not work with AK Interactive 3rd Generation Acrylics, furthermore, what works with Mr Color will not work with Mr Hobby Aqueous. It’s important to thoroughly understand the paint you want to use.
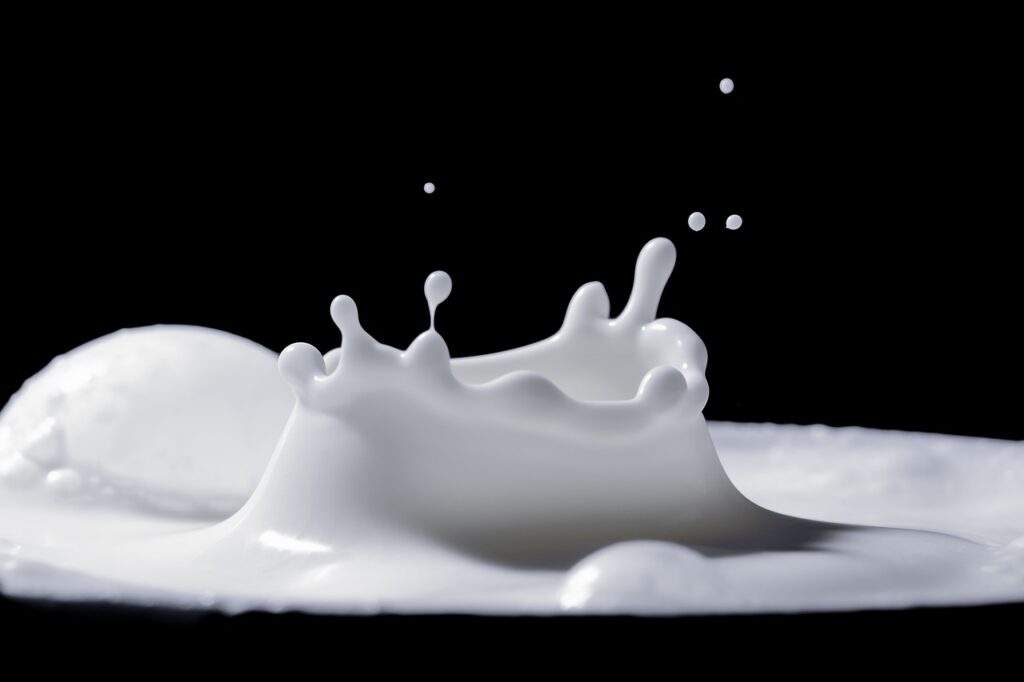
Thin to the Consistency of Milk‽
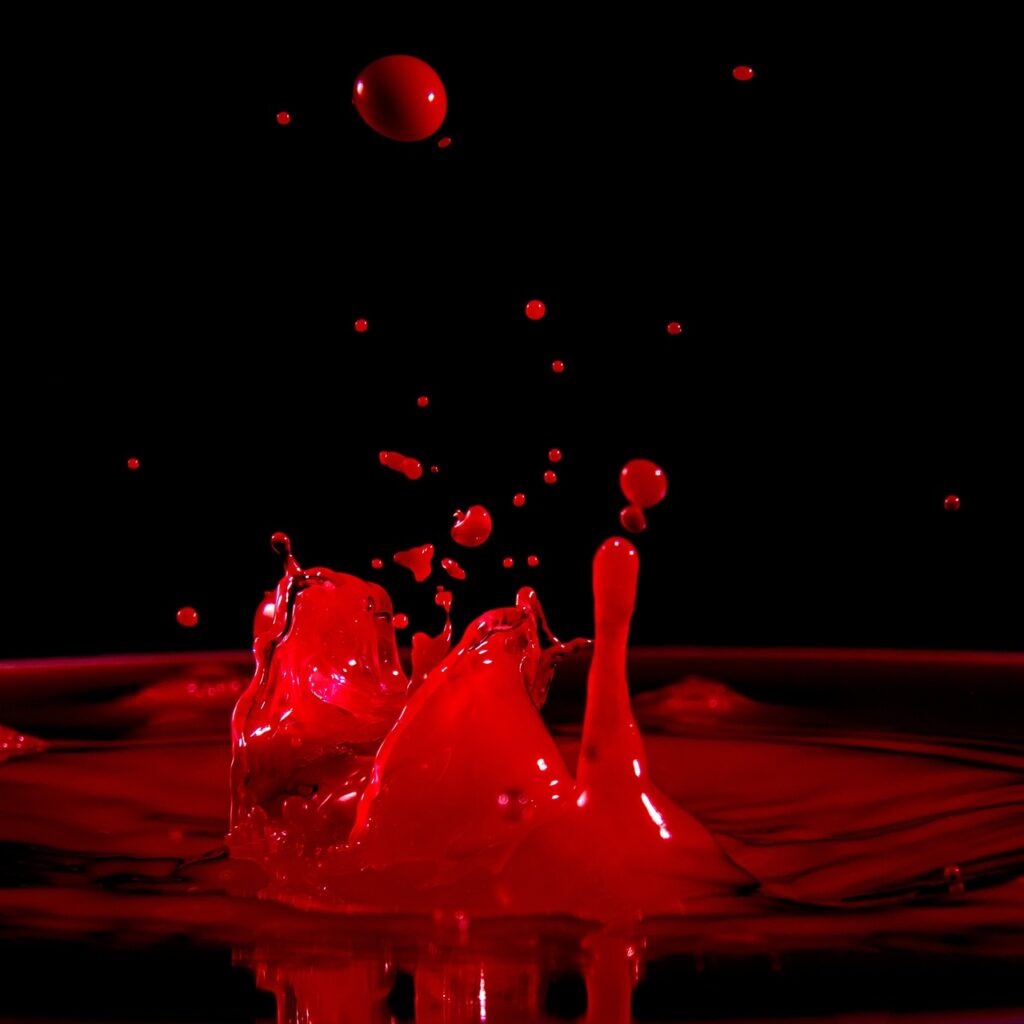
Forget about the concept of thinning paint to replicate the vague reference to a dairy product’s consistency, rather thin to the point prior to where the paint or clear coats want to spider.
Adjust the degree of viscosity from that calibration point to fine-tune the paint-to-thinner ratio, correcting where necessary to work with the air pressure set by the pressure regulator on the air compressor.
Always test using a styrene test card to confirm the proper clear coat to thinner ratio prior to applying it to your build.
⚠️ Thinning paint to replicate a vague reference to a dairy product’s consistency produces unpredictable results and inconsistent viscosity.
Application Variables: What Works for One Doesn’t Work for Another
An airbrush can be difficult to learn and often users experience great frustration in attempting to learn and ultimately give up in exasperation. Fortunately, I was taught by three airbrush masters, for which I am eternally grateful. There are many variables that come into play when mastering the airbrush. Here are some of the major variables. Either you master your airbrush or you will adapt to it.
Either you master your airbrush or you will adapt to it – James Wooldridge
- airbrush type
- nozzle design
- spray pattern
- needle size
- air pressure
- air compressor type; with or w/o air tank
- airflow volume
- MAC Valve
- paint viscosity
- thinner type
- solvent-based paint
- water-based paint
- thinner/paint ratio measurement
- paint age
- paint type
- paint pigment
- paint quality
- how well the colour is thoroughly mixed
- pre-thinned airbrush-ready paint
- single action
- double action
- trigger control and/or double-action discipline
- experience
- airbrush proficiency
Paint and Clear Coat Thinner to Paint Ratio
1) Thinner to Paint Ratios: 1:1 – 8:1
Dialing in the ideal thinner-to-paint ratio requires consistency of measurement, as opposed to rolling the dice and guesstimating the outcome.
We are dealing in drops—20 drops per millilitre (0.05 ml per drop)—when it comes to modelling volumes, not litres. The size of the drop is not important, the consistent count is. Count the paint and thinner drops.
Most airbrush paint cup capacities are 7 ml or 140 drops to spillage capacity. Typically, the paint cup is about ½ to ¾ full, depending on whether back bubbling is used for mixing.
2) Air Pressure Regulator – Set it Once
While depressing the airbrush trigger for airflow, about halfway, adjust the regulator to 1.5 bar or 21 psi and leave it there.
It may read more pressure when the airbrush trigger is off, but when resuming airbrush operation, the compressor should operate at the defined setting.
3) Measurement Consistency
Here is where measured volumes convert to consistent paint application.
We need to get a data point to work from, so a 1:1 thinner-to-paint ratio is best to start with.
Increase the amount of thinner for the desired consistency, using styrene test cards with notations kept for future reference. Conversely, if more paint is required, add a drop at a time. Test with each graduated step. Season to taste.
4) Styrene Test Card
Make several 3 in (72 mm) square test cards from a sheet of Evergreen-type bulk styrene sheets for test spraying your favourite paint.
Styrene is superior to absorbent paper towels or sheets of paper for assessing thinning and spray pattern characteristics because it has a slippery, nonabsorbent, smooth surface, replicating the actual model about to be painted.
White styrene has a soft textured surface that you can test on bare, or experiment using surface products for a super smooth finish. In the test samples below, aside from lint finding its way onto the surface, orange-peel-free coats are applied to perfect specularity and hard-edge reflectivity.
💡 Purposeful practice and mistake experience develop skill sets and build confidence. Purchase an extra bottle or two of the intended coating along with the appropriate thinner and experiment with it until you master its application characteristics. Don’t let the fear of making mistakes guide your hand.
🧰 Styrene test cards reveal a lot about your airbrush skills too. Strip them with whatever plastic-friendly thinner you are using and reuse them endlessly. Better yet, write notes on them e.g. paint brand and thinner-to-paint ratio and keep them for future reference.


5) It’s All About Data Points
- When the air compressor delivers consistent airflow at a predefined pressure, the air coming out of the nozzle is a known data point.
- The measured thinner-to-paint ratio is the 2nd data point.
- Confirming how the paint is flowing on the styrene test card is the 3rd data point.
- Making any adjustments and retesting is the 4th data point.
- Making a note on the styrene test card for future reference is the 5th data point.
- Testing the paint ratios on styrene test cards develops airbrush trigger control muscle memory for consistent airbrushing results, the 6th data point.
- Being mindful of the airflow and how much trigger pull for paint is required—muscle memory development—the 7th data point.
- The spray pattern, overlap, and nozzle distance from the surface is the 8th data point.
Airbrushing Consistency
Armed with 8 data points, we now have paint mastery in our hands. If the paint results are not as expected, examine the data points to see where the process went off the rails.
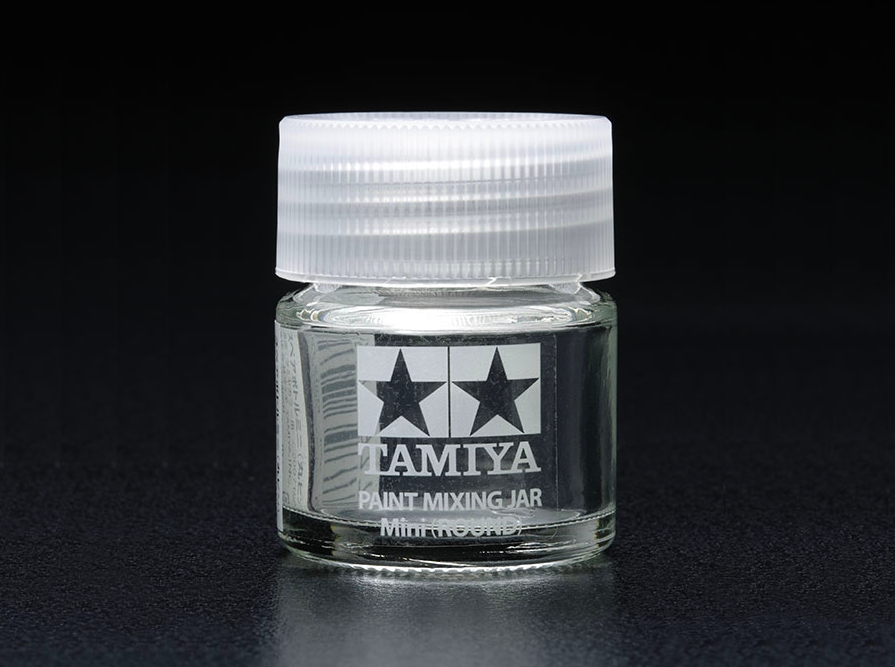
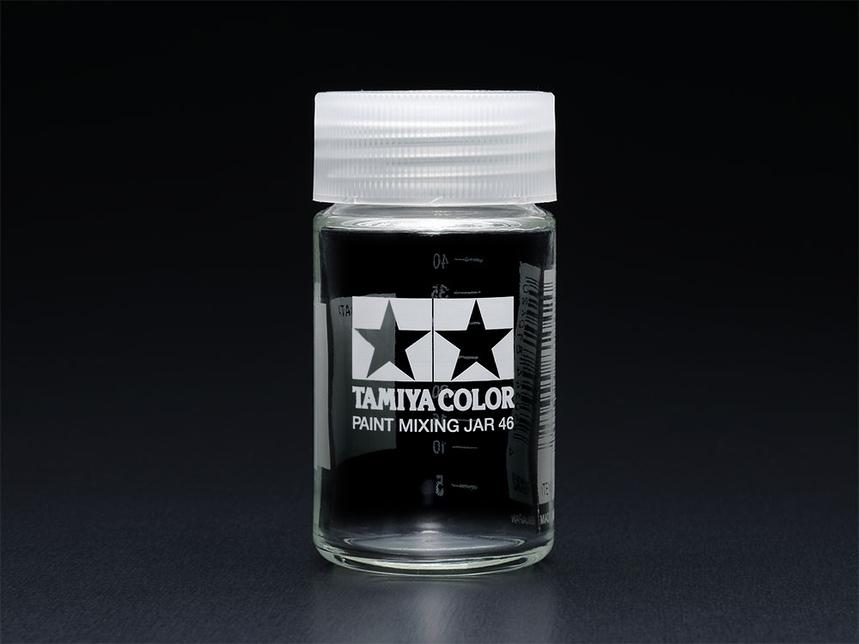
TAMIYA PAINT MIXING BOTTLES
Learn to measure your coatings
Graduated bottles in millilitres (ml) are the perfect scientific laboratory way to determine the thinner-to-paint ratio that best works for you, the type of airbrush and the air pressure setting. Available in 10 ml; 23 ml; 46 ml sizes. Solvent-based acrylic lacquers and varnishes store almost forever without turning to sludge in tightly sealed containers.
⚠️ Not for coatings mixed with a hardener.


Measure and Record: Notes, Millilitres and Drops
Paint is chemistry, much like baking a cake. Add the correct consistent measurements from a tested recipe and the outcomes are always predictable, something you can count on and trust. Unlike cooking, some of this and some of that, season to taste, produces variable and inconsistent outcomes.
Take notes to create way points, in other words, data points to refer back to. The random addition of this and that offers no way to review what went wrong or where.

Applying Clear Coats: Part 3
Mastering high gloss clear coats is challenging. We take a deep dive on how-to achieve super finishes in Part 3.
Subscribe to be notified when Part 3 is published.
Previous Post: How-to Apply Clear Coat Finishes: Part 1
James Wooldridge is An enthusiastic scale modeller, researcher, amateur historian, and contributor to scale modelling sites, including Scalemates. He is an active and progressive Facebook Group Expert, Presenter, and Scale Modelling Club Video Host. James is also the Executive founding member and KSM Group Expert – Kawartha Lakes Scale Modellers