

Lacquer, 2K Gloss, Varnish, Water-Based and Polyurethane Clear Coats
Skill Level: Beginner to Advanced
Time to read: 8 minutes
Part 1: Understanding the Airbrush: Setting Yourself Up for Success.
There are two ways to approach painting a model, the first is to apply a colour coat and optionally, top it off with a clear coat, or secondly, apply a technically excellent finish. This series of articles is for the latter, those who want to become proficient with their airbrush and learn how to apply masterful finishing techniques. By adhering to the outlined methods and techniques, learning advanced airbrush proficiency techniques will elevate your modelling to new heights of accomplishment.
Clear Coats are difficult to apply at the best of times and require special attention and surface preparation. Dust and humidity have a negative effect on Clear Coats. Some Clear Coats are soft and rubbery making sanding and polishing difficult, while others cure to a very hard, durable, workable finish.
In this series, you will learn how to apply Clear Coats successfully for an outstanding finish whether it be matte, semi-gloss or high-shine gloss. The same approach applies to paints, both Acrylic Lacquers, 2K Clear Gloss, Water-based Acrylics and Polyurethane.
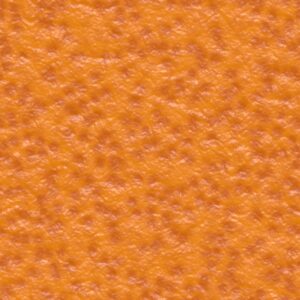
Orange Peel Effect
A common problem with gloss paint and clear coat finishes is the dreaded orange peel effect.
It’s caused by improper airbrush use, dilution rate, coat application and solvent off-gassing.
In this series of articles, you will learn how to apply blemish and irregularity-free gloss paint and clear coats.
Airbrush Mastery: Control or Adaption
Regardless of what brand or type of clear coat or paint, if the airbrush application technique is not mastered, a poor finish will result.
There are ten parts to airbrush mastery:
- Main Lever (Trigger) Control
- Double-actioning finger control
- Clear Coat and Paint dilution rate
- Air pressure
- Nozzle distance from the surface
- Spray swath direction
- Application overlap
- Light semi-wet coats
- Wet coats
- Product off-gassing
It’s important to understand that either you learn how to master your airbrush or you will conform to it. It takes time to develop “the feel” and muscle memory.
Proper airbrush mastery takes time and purposeful practice. Many individuals rely on YouTube for guidance and frequently encounter inaccurate information or inadequate techniques. A case in point, the majority of YouTube content creators exhibit poor airbrush methodology. Telltale signs are the needle cap and handle removed from the airbrush, clouds of wafting overspray, stabbing airbrush movement, bursts of paint, and squiggly, circular spray patterns delivering uneven paint layers. In addition to the latter, the most significant airbrush indicators differentiating the Pro from the Amateur are double-actioning finger control and MAC Valve use.
If YouTube content creators in the scale modelling world are to be taken seriously by those in the know, proper airbrush technique is imperative. The airbrush is often used to apply paint like an aerosol rattle can.
Improper Airbrush Trigger Use
Think of your airbrush as a fine writing instrument, a fountain pen with a metal nib.
In order to write, the pen needs to be positioned in the fingers with the nib orientated at the correct angle to dispense ink.
Your airbrush needs to be held correctly with proper finger positioning for fine motor control and outstanding results.
We either learn to master our airbrush or we conform to it.
Finger and Hand Muscle Memory
Learning how to correctly control an airbrush is like learning how to play a musical instrument. It doesn’t matter how well you know the lyrics or melody if you can’t master finger discipline.
Finger Position
We can be lazy and hold the airbrush in whatever way is comfortable, with a finger laying over the trigger or using a thumb. Like playing a musical instrument, we must learn how to correctly use and position our fingers until purposeful practice makes perfect, and muscle memory takes over. It takes about thirty days of wilful practice before the brain gets the memo.
Like A Pen: Double-Action Airbrush
- Hold your airbrush like you would a pen with your index finger resting on the trigger, taking advantage of the anatomy of the finger.
- Our fingertip nerves permit delicate touch and fine motor skill adjustments.
- The bone structure of our finger, a natural fit, allows for fine mechanical control.
Holding the airbrush like a pen, properly positioning of the fingertip permits fine motor control of the air and paint flow.
- Step 1: Trigger down for air, and pull back for paint.
- Step 2: Trigger forward for paint off
- Step 3: Trigger release for air off.
Single-Action Airbrushes
Although paint flow volume is set separately from airflow on single-action airbrushes, fine motor control and proper finger position are important for consistent results.
💡 Remember, either we learn to master our airbrush or we learn to adapt to it.

Practice Double-Actioning with Food Colouring
Practice double-actioning finger control using water and food colouring on sheets of paper.
Holding the airbrush like a pen and properly positioning the fingertip permits fine motor control of the air and paint flow.
It may feel awkward initially, but it takes purposeful practice to develop muscle memory.
Soon a relaxed feeling will prevail without holding your breath as you airbrush. Your airbrush will begin to feel natural, an extension of your hand.
Practice develops confidence, confidence develops skill sets.
Practice Finger Control
Step 1: Trigger down for air, and pull back for paint.
Step 2: Trigger forward for paint off
Step 3: Trigger release for air off.
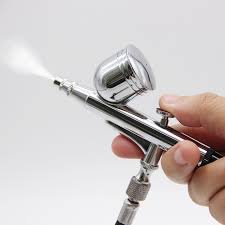
Understanding Airbrush Fluid Dynamics and Atomization: Linear & Chaotic Flow
Airbrush Science: Linear & Chaotic Air Flow: Paint Atomization
In short, when airbrushing, we are dealing with high and low air pressure intermingling and affecting paint atomization flow.
Our airbrushes use interesting science to operate. Both the Venturi Effect and Bernoulli Principle are in play, impacting fluid dynamics. You may be wondering what that has to do with applying clear coats.
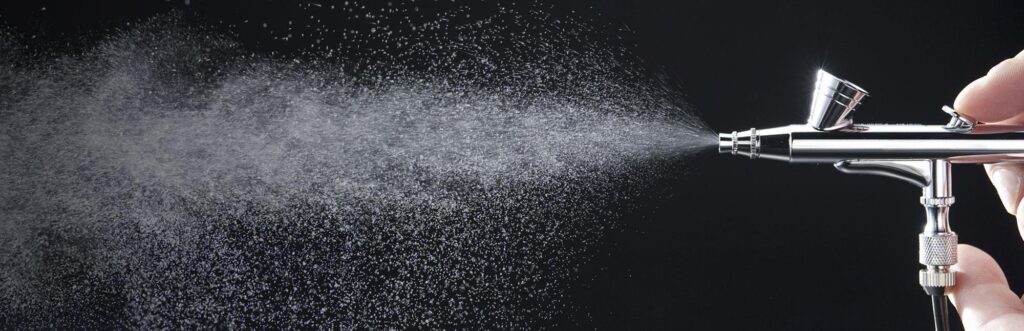
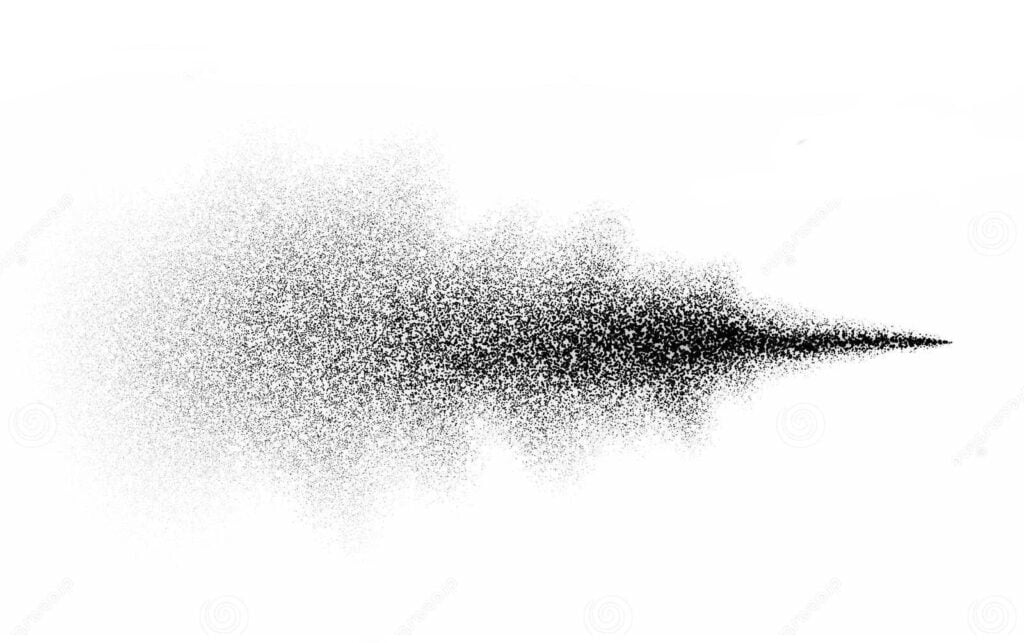
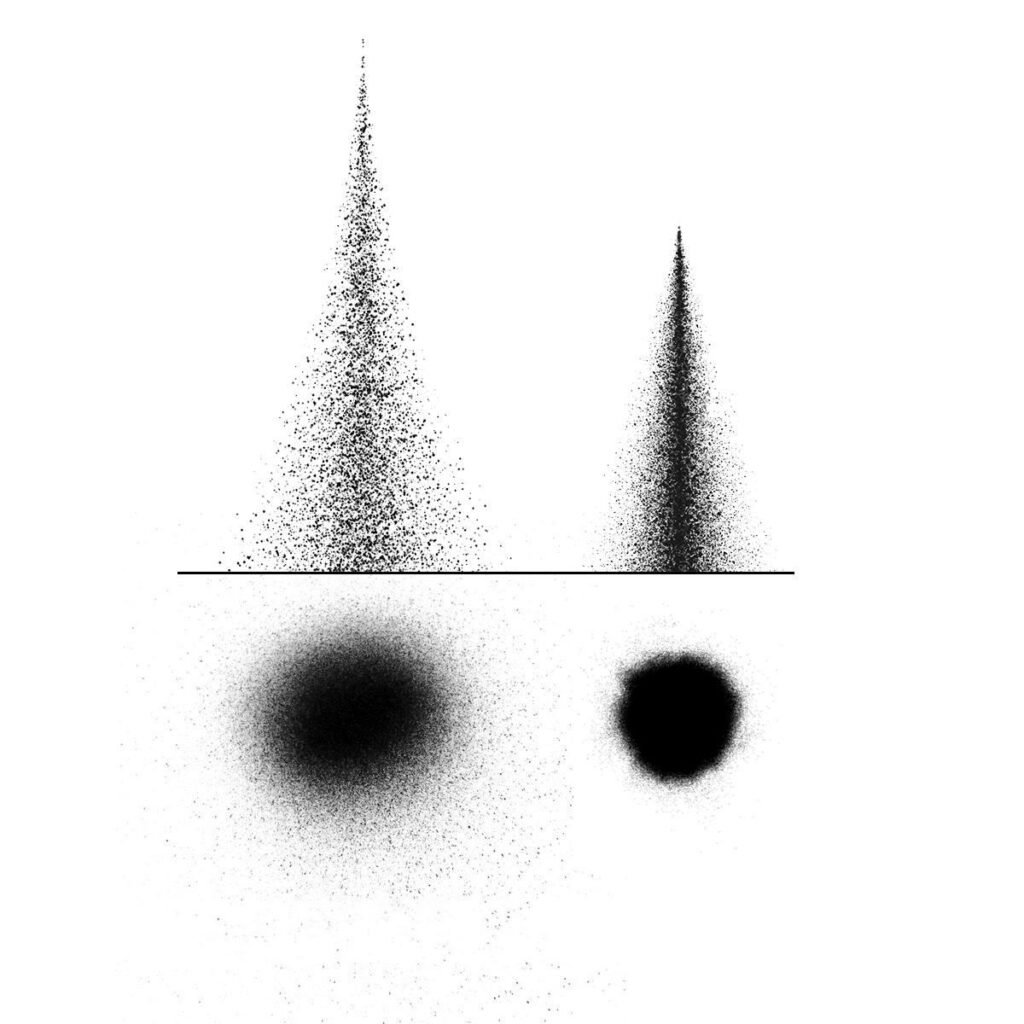
There is a point, a distance from the airbrush nozzle when the paint atomization ceases to be linear and becomes chaotic creating paint dust in the process. It’s a combination of high and low pressure combining to create an atomization storm.
In short, paint flowing within the airbrush paint channel is linear. Once it mixes with air (venturi effect) the paint flow becomes accelerated linear atomization mixing with surrounding air to create increased turbulence… greater chaotic flow as the distance from the needle increases.
Airbrushing where the atomized paint is focused produces pebble and dust-free smooth surfaces.
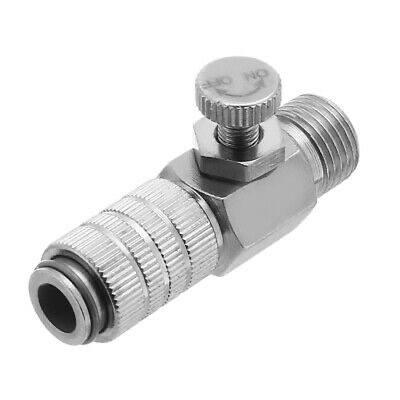
The MAC Valve
MAC Valve vs Air Pressure
In short, the MAC Valve air pressure is at the nozzle, the Venturi Effect on fluid dynamics, not the air pressure set by the compressor pressure regulator. The latter is a regulator compressor run time automatic on/off switch.
With the MAC Valve, paint splatter, spidering, flooding, pooling, tidal marks, and paint powder are things of the past; so is paint on your hands and clouds of atomized paint particulate floating around the Vigiart spray booth and workbench.

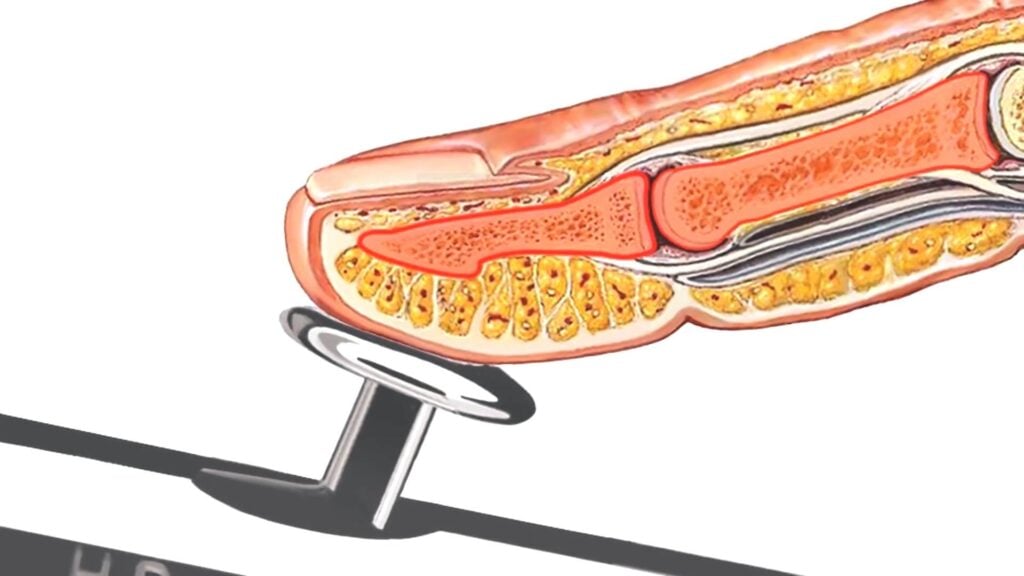
Needle Caps
Have you ever wondered why $450 and $650 airbrushes come with needle caps… even specialized ones? Yet, less expensive airbrushes come with needle caps too.
YouTube abounds with airbrush tutorials where the content creator uses their airbrush without the needle cap. Is it a sign of ignorance or a cool professional look? Do they know something we don’t?
The answer is, that most airbrush users do not understand how Crown Needle Cap or Condenser Needle Caps work in conjunction with a MAC Valve.
💡 Pro-Tip: A MAC Valve does not regulate air pressure. It utilizes the Venturi Effect.
Tip Dry and Bent Needles
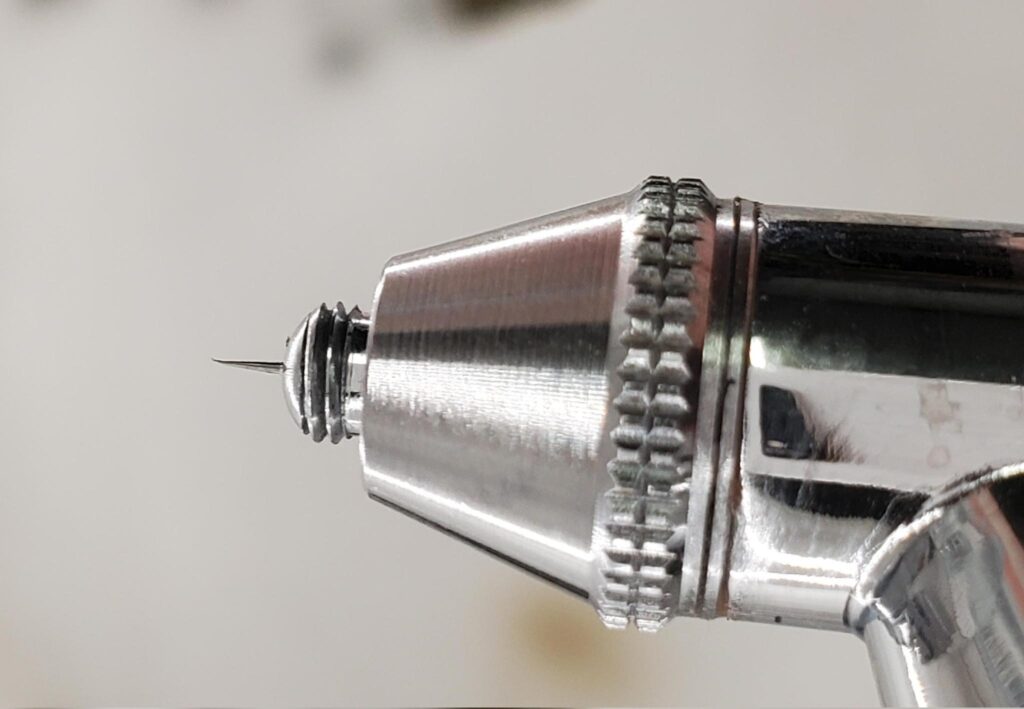
There are four primary reasons why content creators remove the protective and scientifically designed needle caps.
- Tip dry: quick removal of dry paint accumulation on the tip of the needle, distorting the spray pattern
- Close detail work: air pressure is reduced, so the needle can get close to the object being painted for fine lines or small areas of coverage
- The MAC Valve: absent or, if built-in, not understood and never used
- Fluid dynamic linear and chaotic flow: limiting the distance of atomization from the needle tip to the object’s surface
Bent airbrush needles are a predictable outcome of this practice.
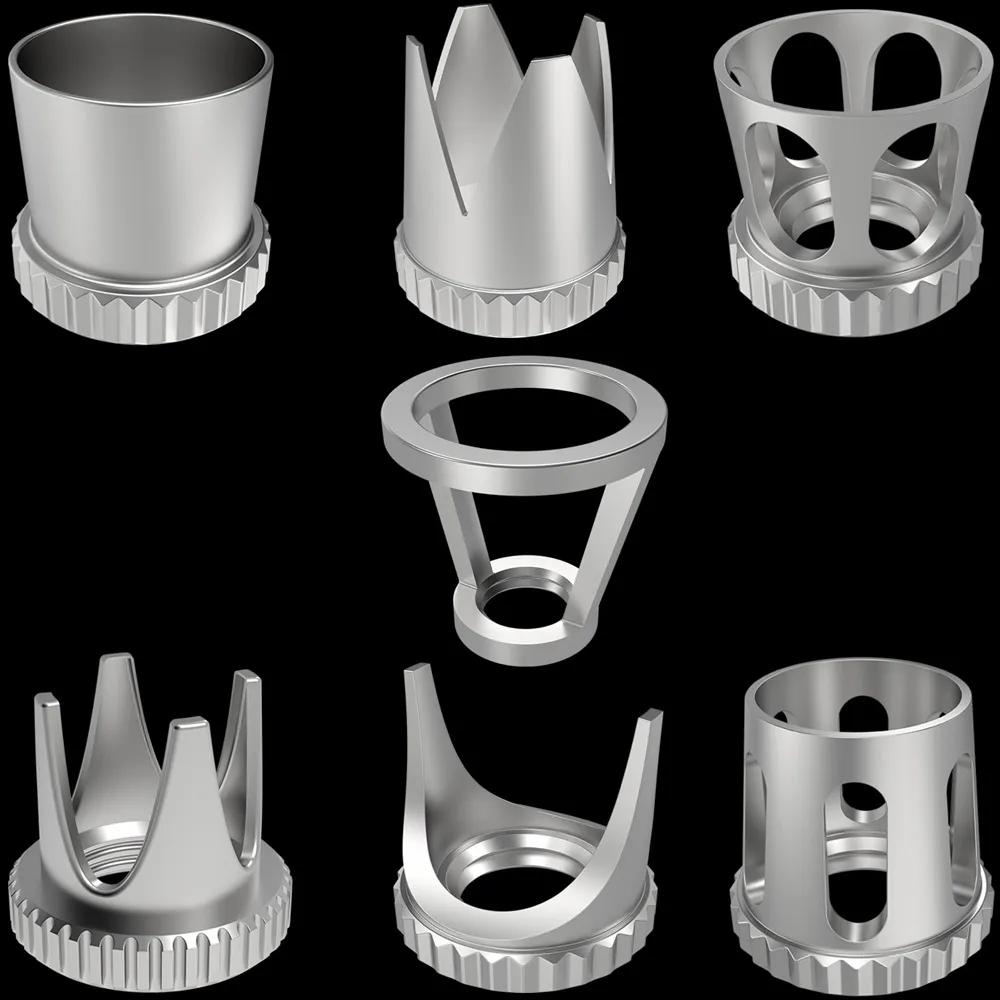
Managing Tip Dry and Preventing Bent Needle Tips
There are a couple of options:
- Use a special cutaway needle crown cap to easily remove paint accumulation drying on the needle tip. Its design also helps protect the needle tip from being bent.
- Use premium paint, such as Tamiya Acrylic Lacquer LP, Mr.COLOR, REAL COLORS, Alclad II, Xtreme Metal, Tamiya Enamel Paint, or 3G Acrylics etc.
Airbrush Needle Crown Caps
A MAC Valve and optional, specialized Crown Caps are required for the modeller who wants to learn advanced precision airbrushing.
Part 2: Advanced Paint Thinning: Lacquer, 2K Gloss, Varnish, Water-Based and Polyurethane Clear Coats
Learn how to properly dial in your paint with thinner, and how to troubleshoot when it goes wrong.
Next Post: Part 2
James Wooldridge is An enthusiastic scale modeller, researcher, amateur historian, and contributor to scale modelling sites, including Scalemates. He is an active and progressive Facebook Group Expert, Presenter, and Scale Modelling Club Video Host. James is also the Executive founding member and KSM Group Expert – Kawartha Lakes Scale Modellers