
Ford Bronco Bass Boat & Trailer Build Part 3
In this Sunward Hobbies article I’ll be continuing with this super fun build of the Revell nineteen eighty Ford Bronco and bass boat with the trailer. You will get plenty of construction tips and ways to make the process glide smoother. Plus, you will see easy tape masking methods to get a nice clean look. The Revell 1980 Ford Bronco with Bass Boat and Trailer Set Gone Fishin 1/24 Scale 17242 85-7242
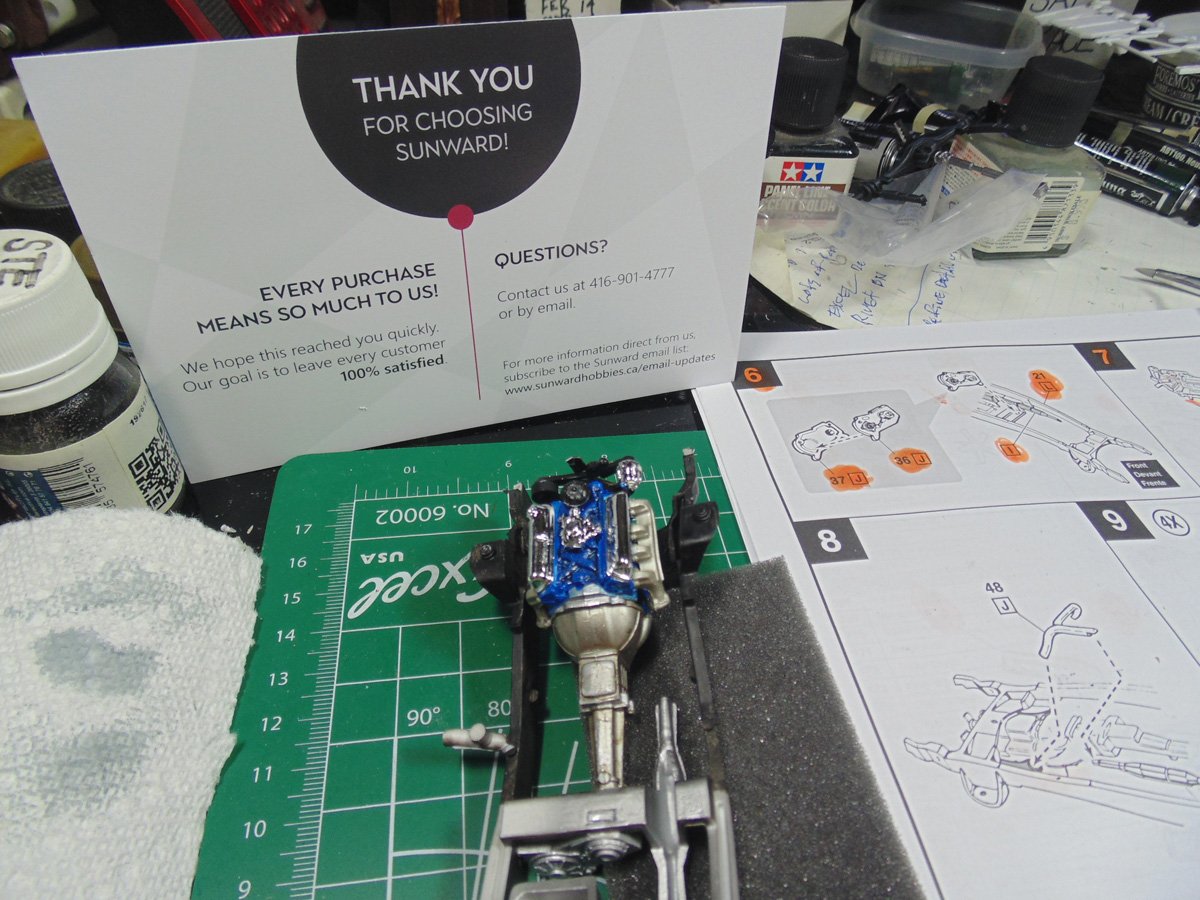
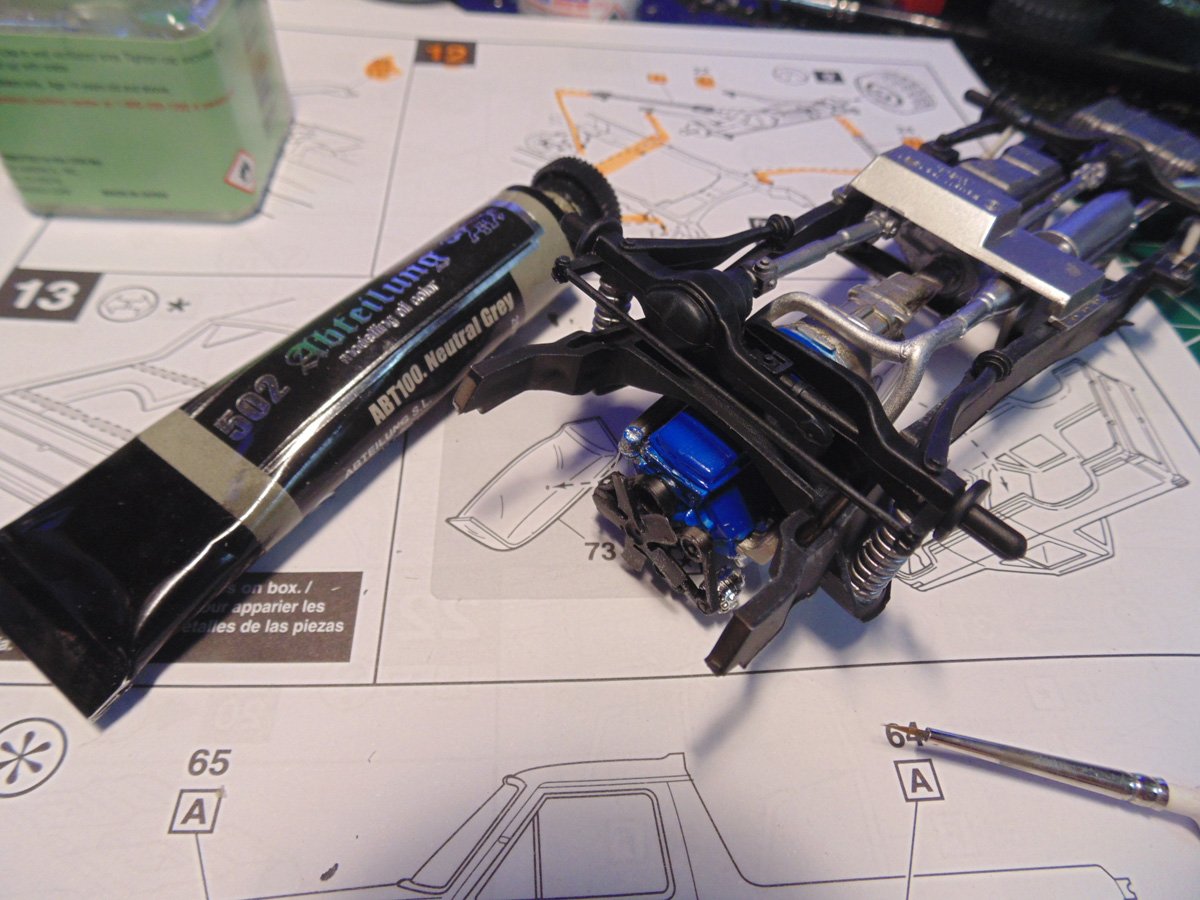
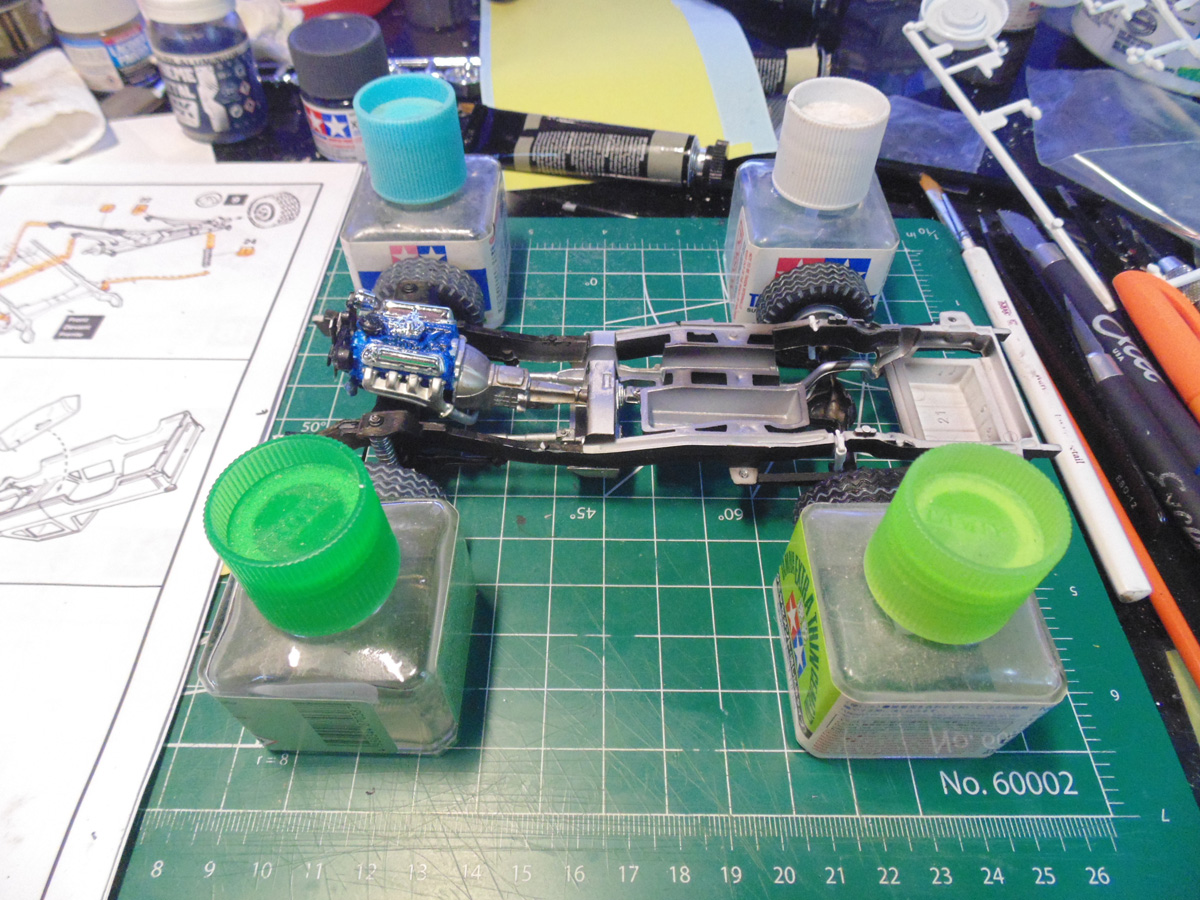
I capped off the previous article with most of the engine and frame work. Now I’ll finish that work with some more dry-brushing. You definitely see the results when showing this replica to your family and friends. It’s easy to do. Go back to previous Sunward Hobbies articles to get advice on this method.
I thought this exhaust part was going to be simple to install. It was a bit tricky to even test fit. Here is a tip, attach the end connected to the molded pipes on the main frame with an ample amount of cement on an angle and let that set up for five minutes. Then fold the part into place and secure it with your desired adhesive. Sunward Hobbies have all these glues and cements in stock.
The part rests nicely once you work from the back connection point to join up with the exhaust manifolds. To get a nice tight fit you will have to scrape off all the plastic flash from every area. It only takes a few minutes and will save you much frustration.
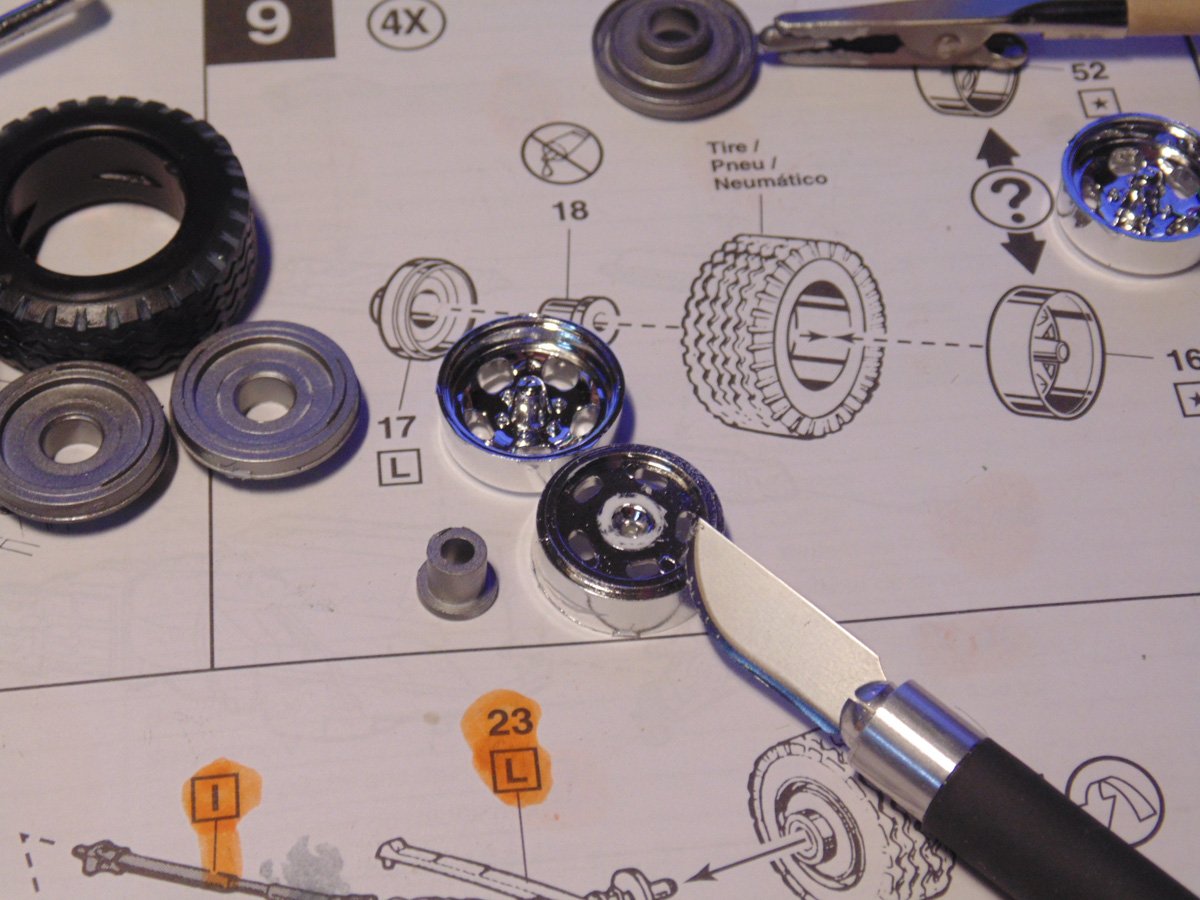
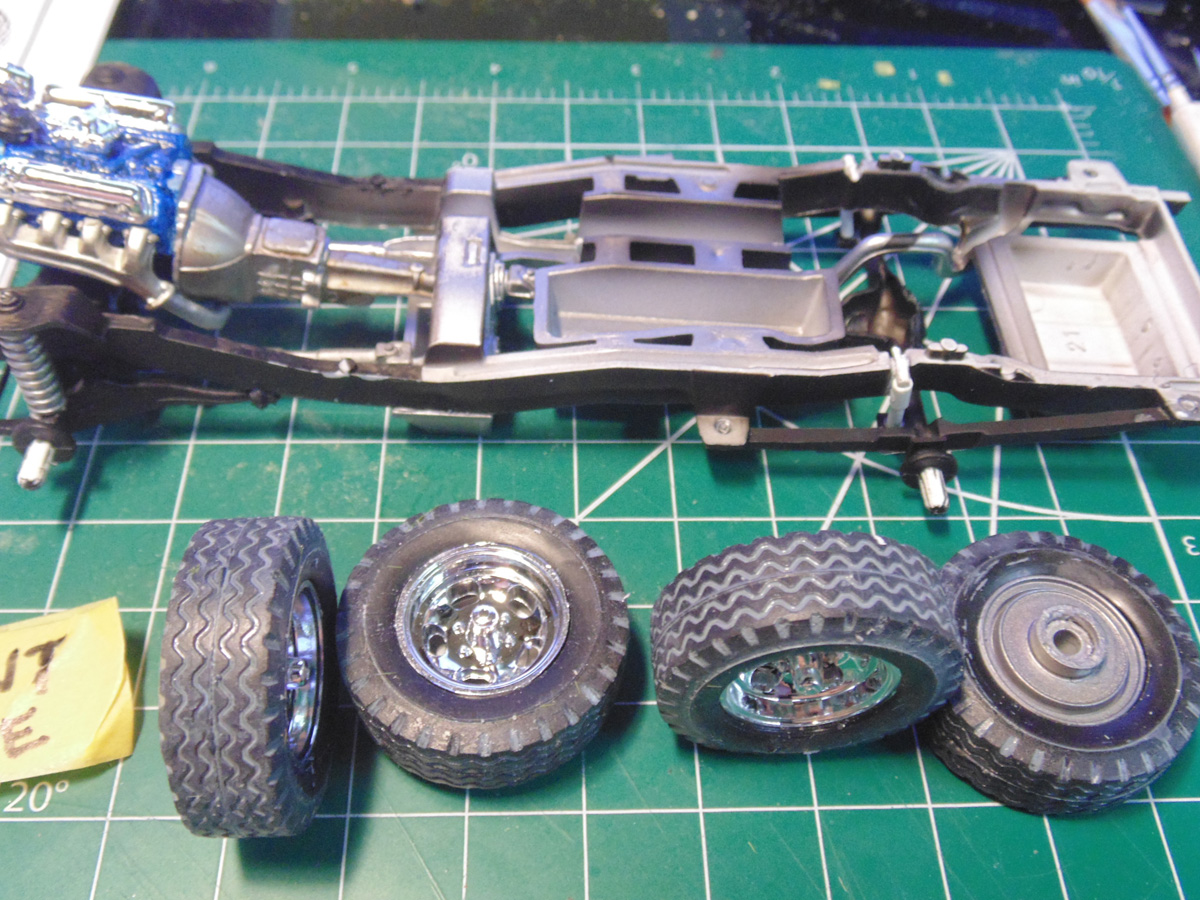
You must remove the chrome plating and plastic flash from the ends of wheel rims or they will not fit. Pick up a tube of rounded blades from the store to clean these parts free of the unwanted excess. They also come in mighty handy on any future projects.
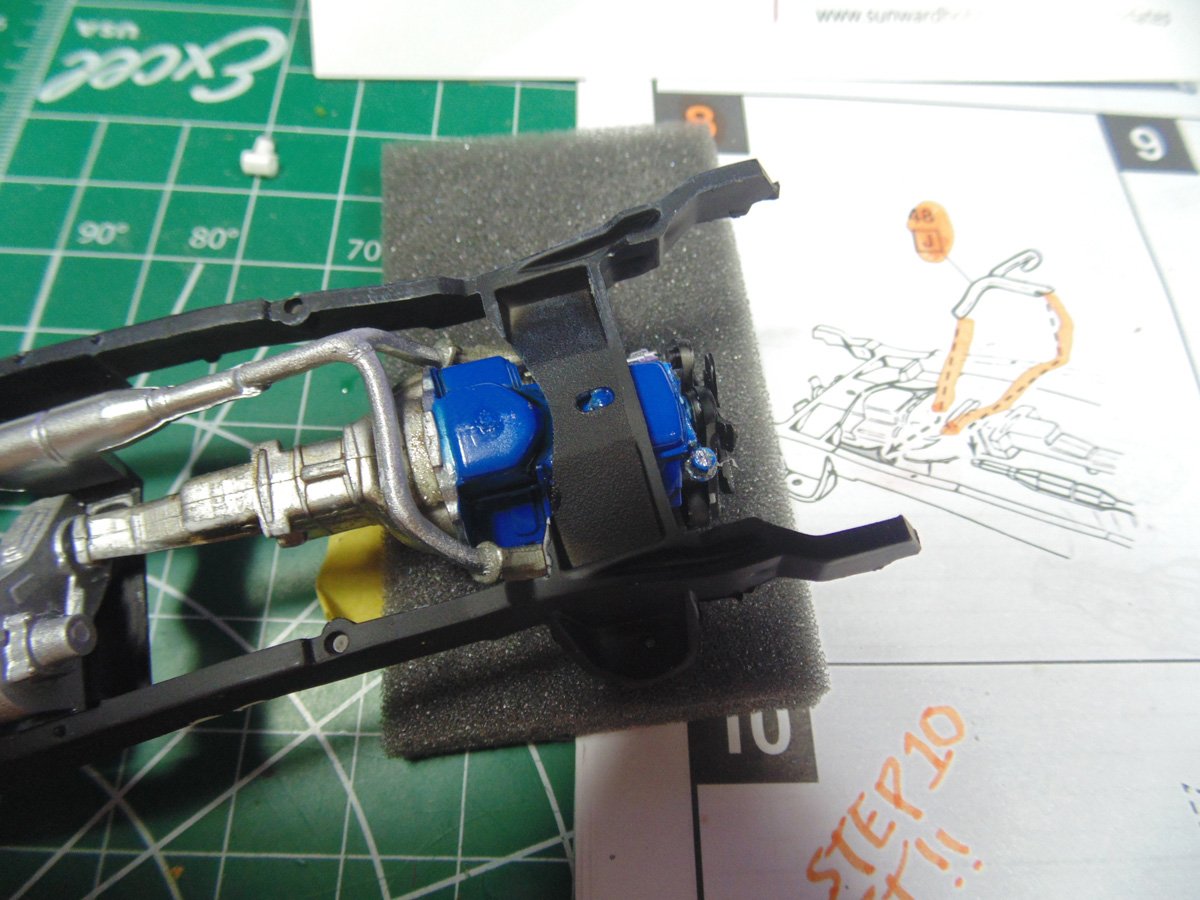
Attaching the back axle is an easy task provided you bend the shocks into place correctly. The base of where these small parts are connected is not directed to the points on the axle part, so be gentle when you are pulling them into position.
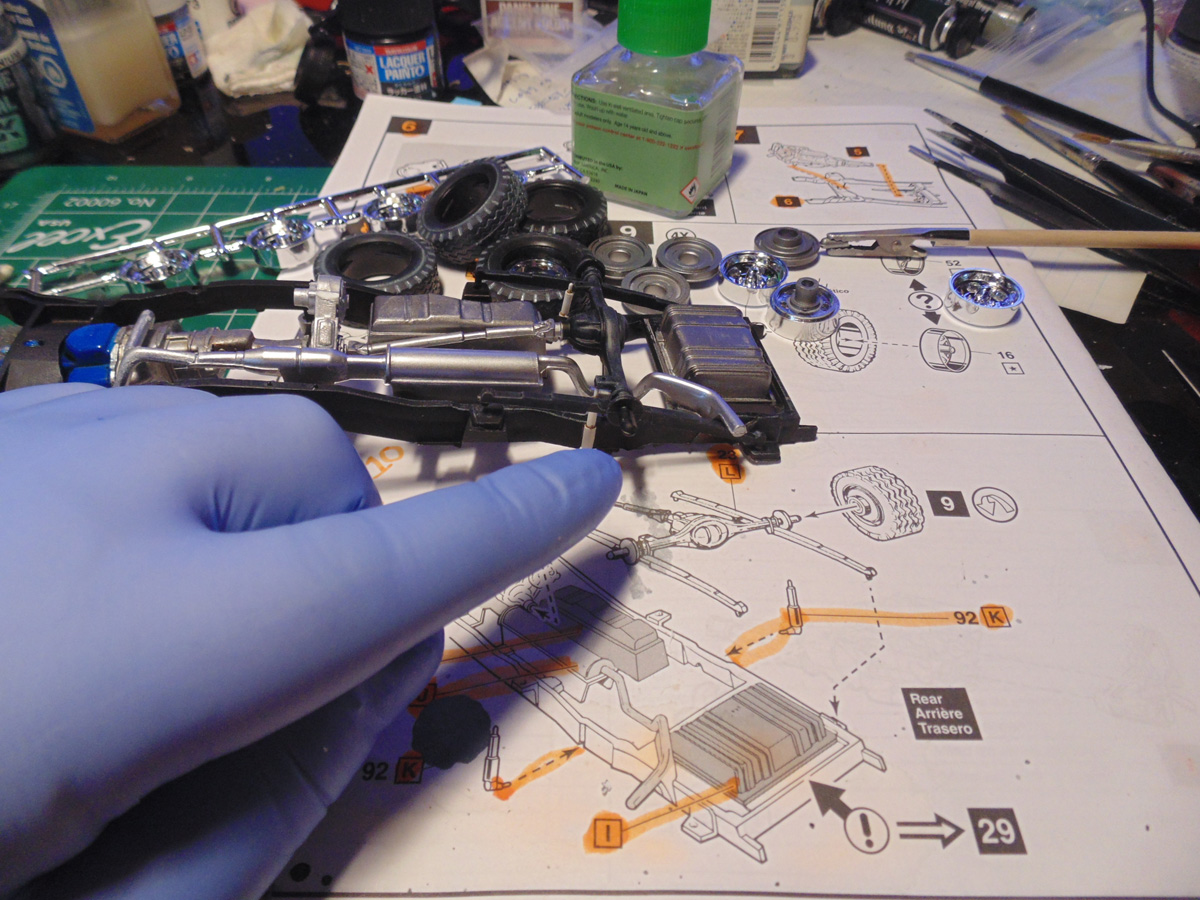
You will need to clamp the axle part down firmly on one side and let the cement set-up for at least an hour. Then repeat the same thing on the other side. Revell added plenty of detail into this model kit back in the early eighties, but it is not without some minor issues.

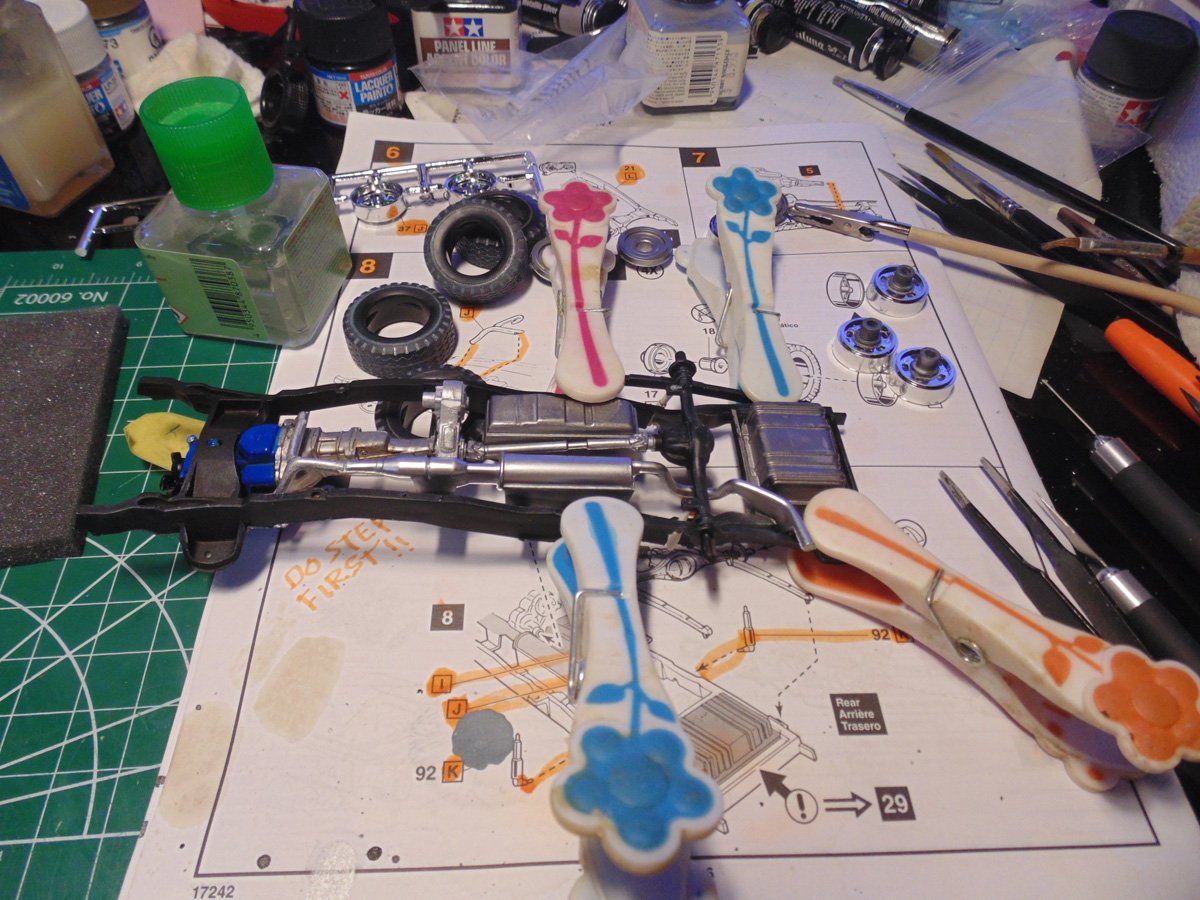
Here, you can see the clamps on both sides. It is critical that you allow this part to fully harden to the frame, otherwise the entire look will be offset. Thankfully the is frame true to help you out. Please excuse the clutter on my desk, there are a dozen things going on with this project at the same time.
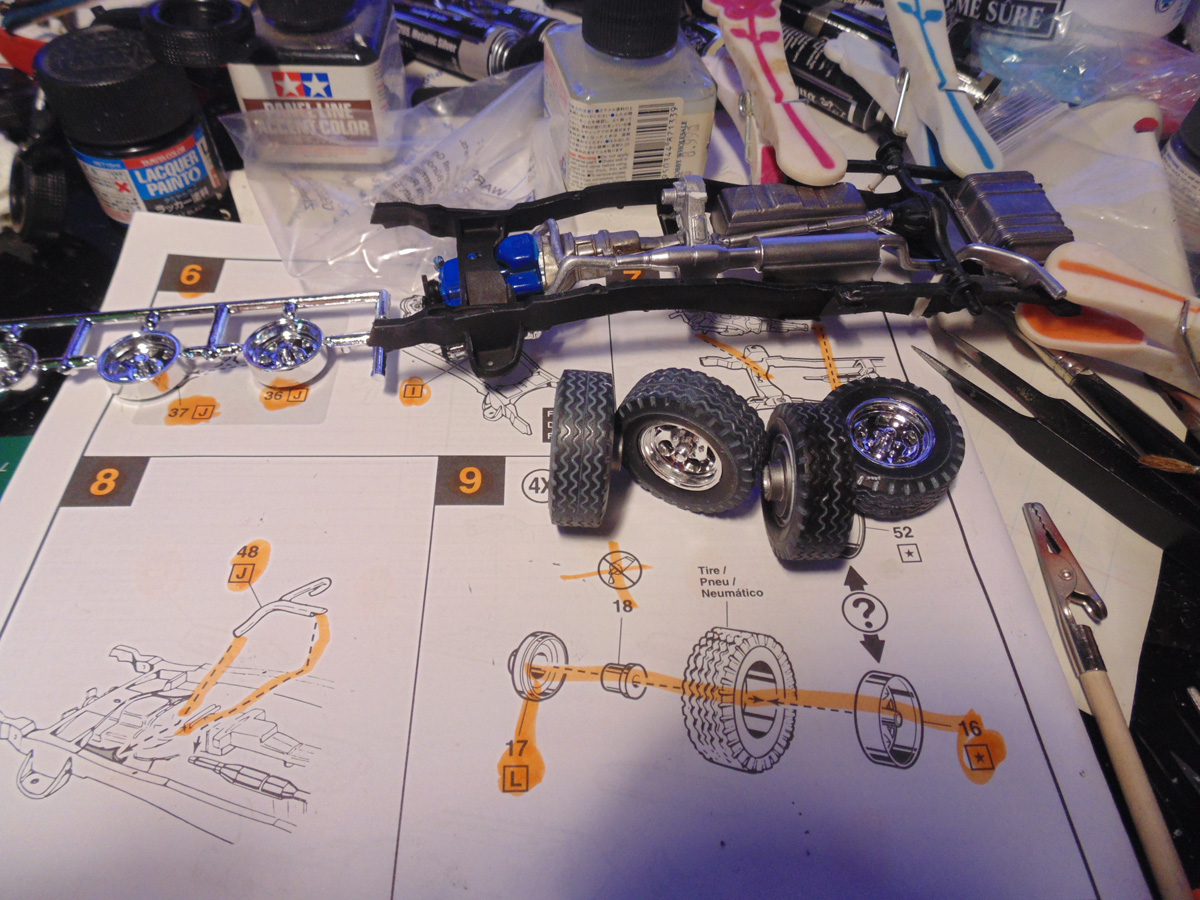
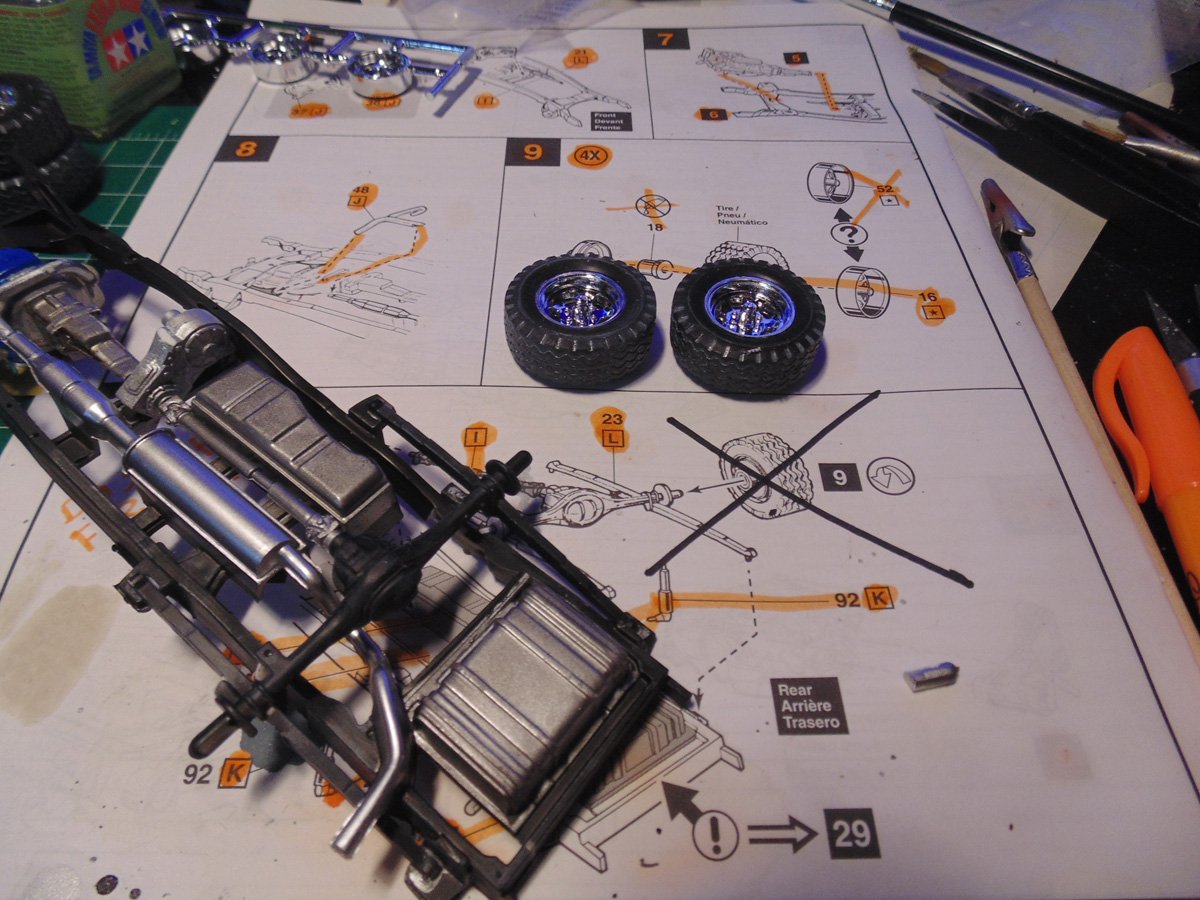
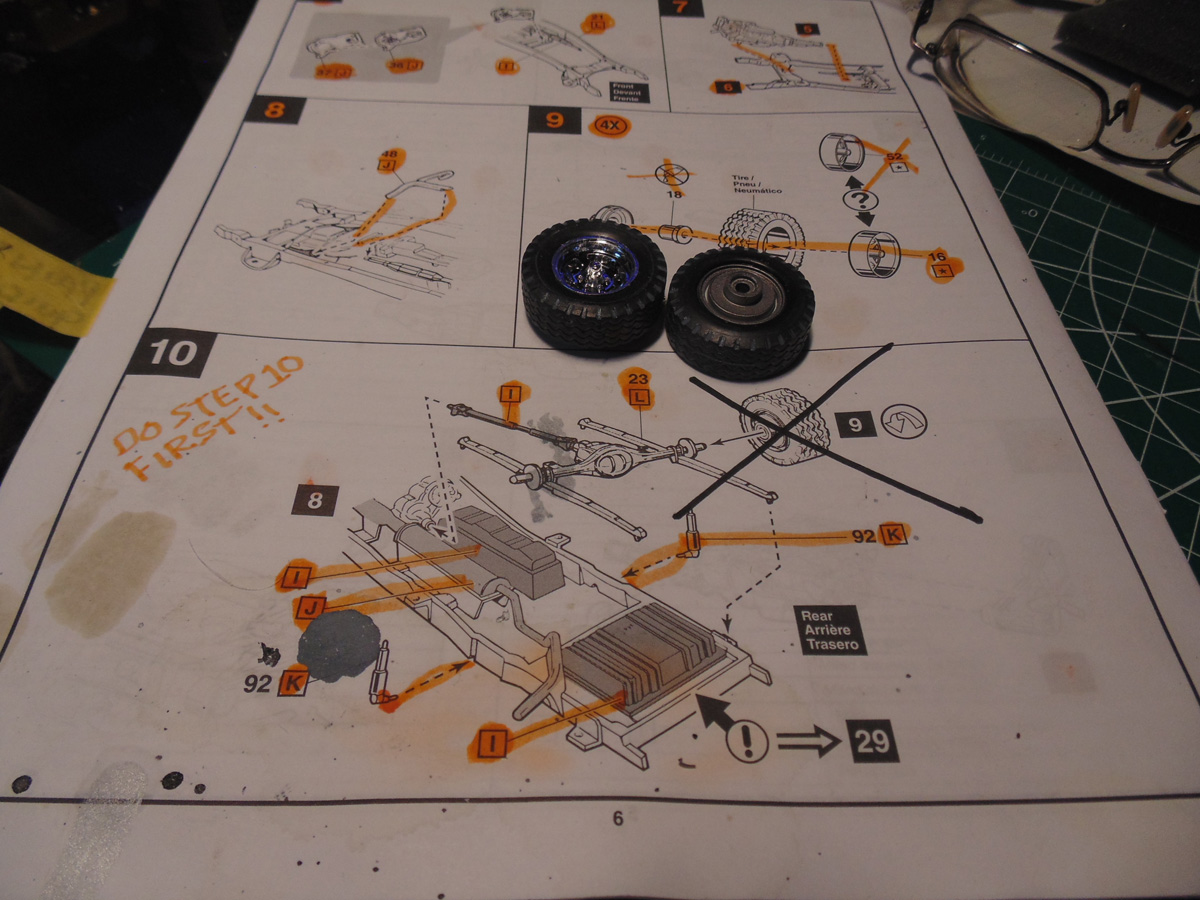
Now you can get your wheels setup for installation. The inside of the black rubber needs to be slightly cored out for the chrome rims to slip in. Also, you must widen the inserts of the binding pin to get a full connection. You see I have added a bit more Tamiya grey paint into the tire tracks for an added highlight.
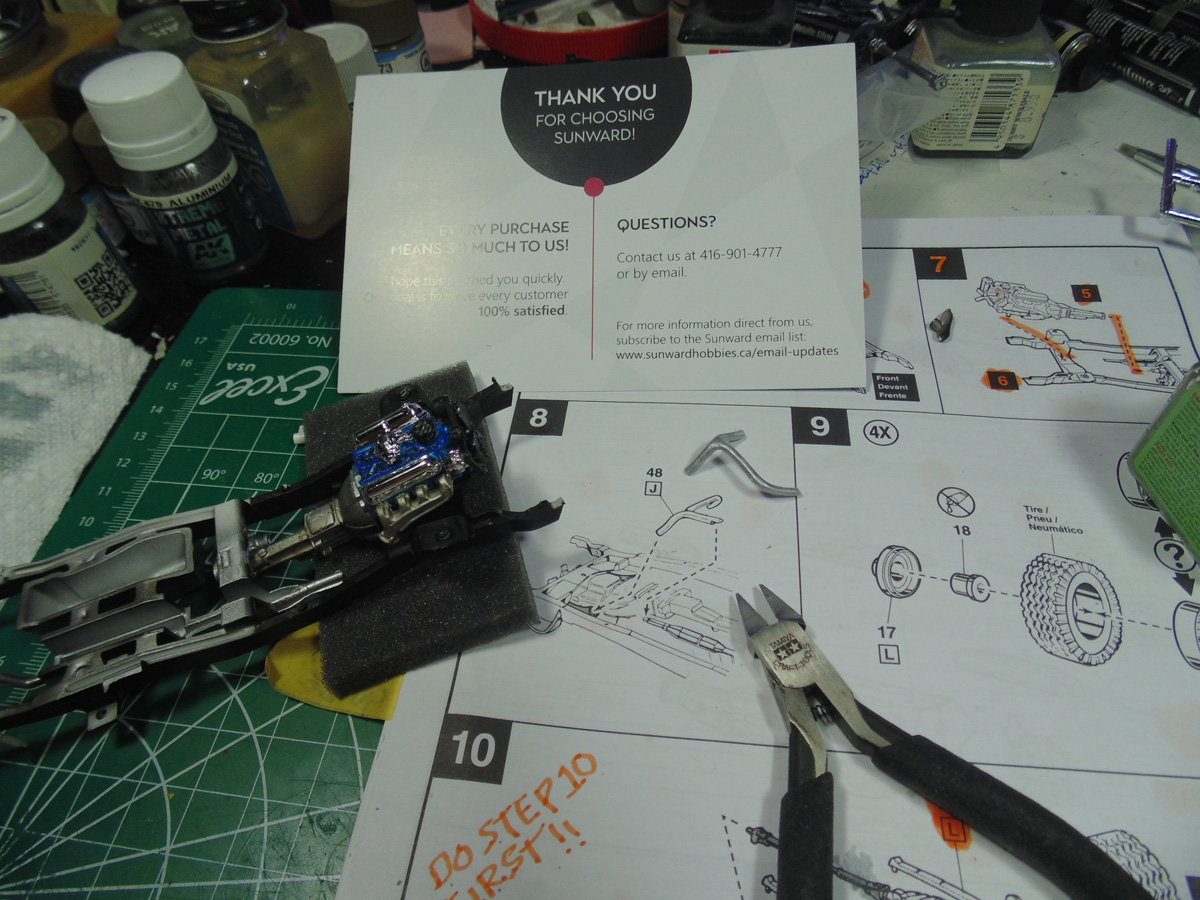
It is always wise to read through the instructions thoroughly because you will have to take further steps before completing previous ones.
Don’t be afraid of being creative with your colour tones. It is your model and your replica. I am using references from an old “Hazzard” television show to go by, but obviously it is your choice. There are plenty of ways to bring this kit to life.
Part eleven is a nice touch to the underbelly. I am using AK Interactive metal for this part because it has a very unique tone that differs from the other metal tones. Hence when the replica is picked up the viewer will notice all the different shades, plus it is fun.
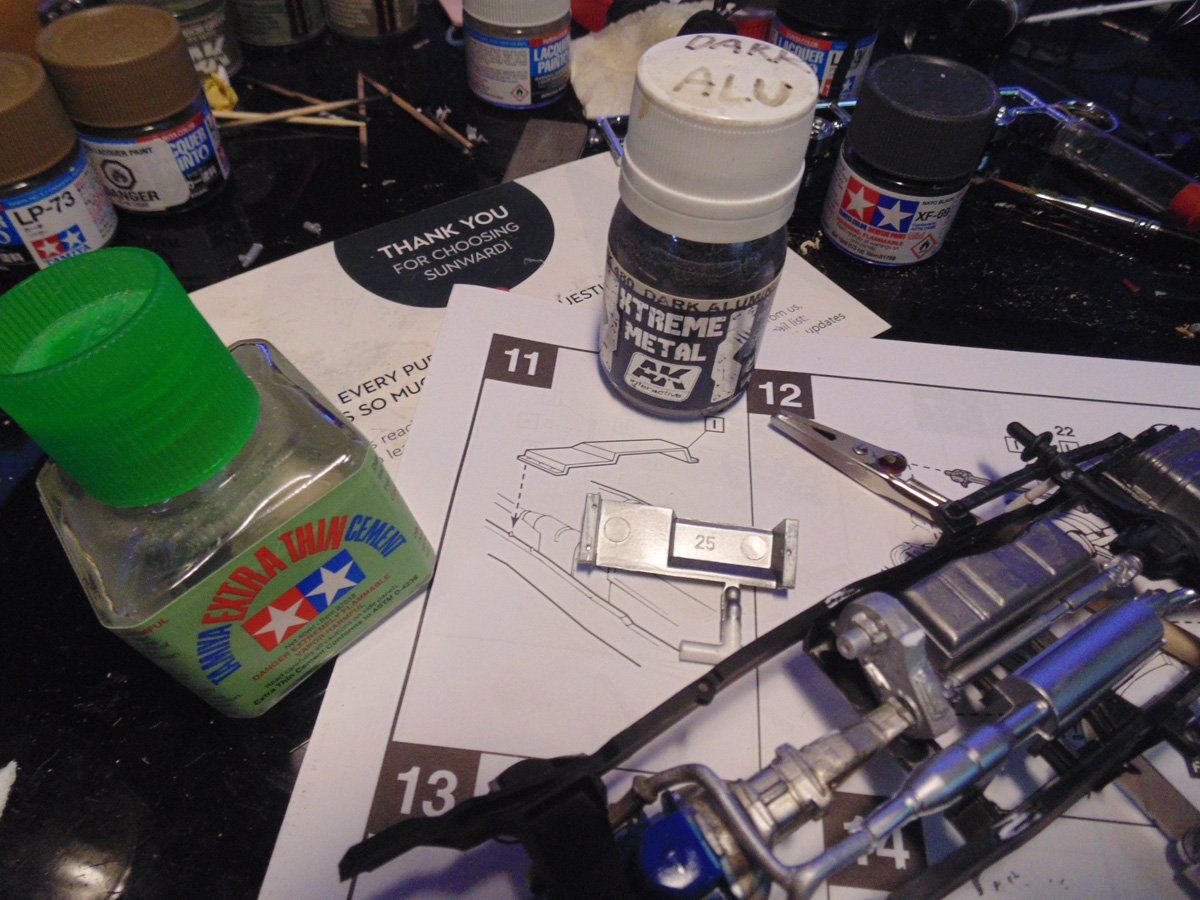
You can add more of a dusty look with some neutral grey being dry brushed. Reduce the amount on your brush with AK Interactive thinner AKI 470 and use a paper towel to sop up any excess. Then lightly feather the high points and edges. Don’t fret over the amount of pigment which is lost, it is all part of the process.
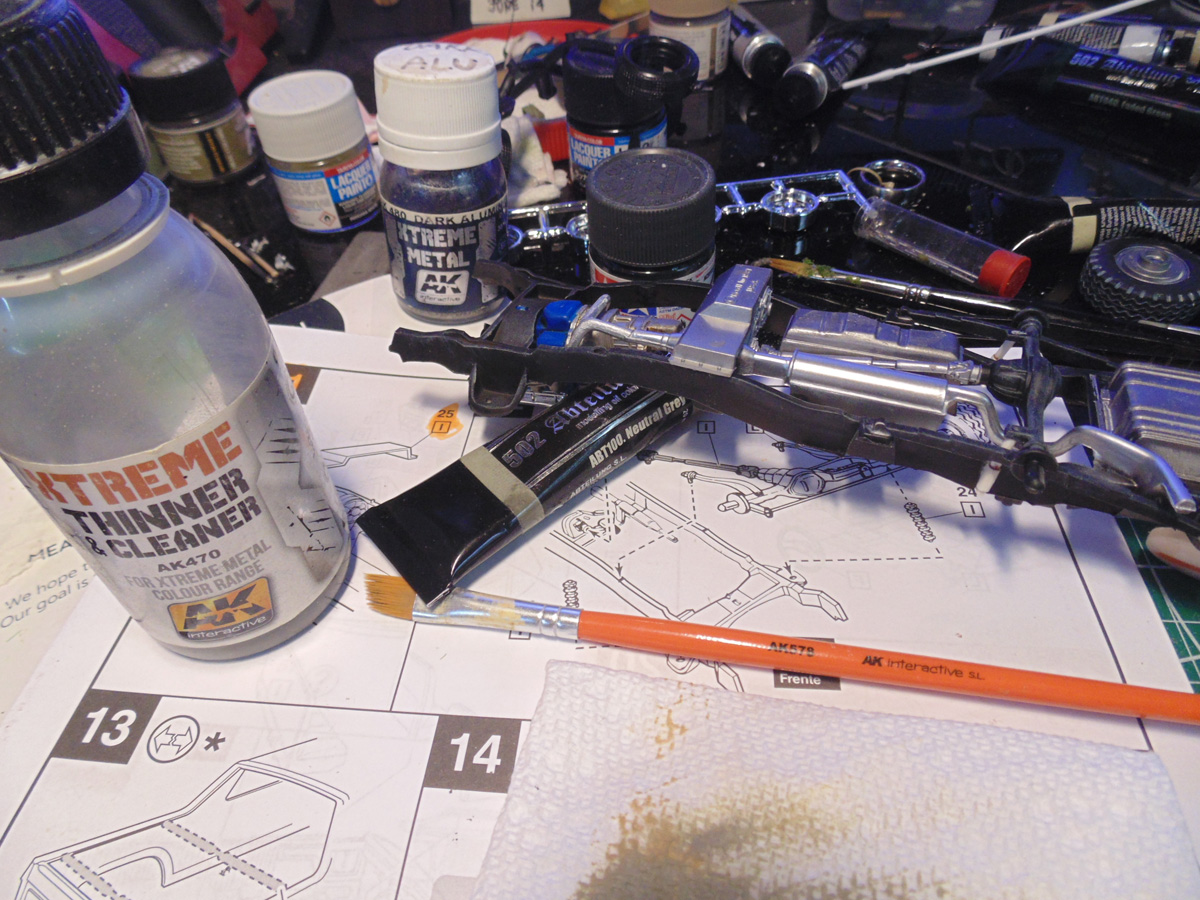
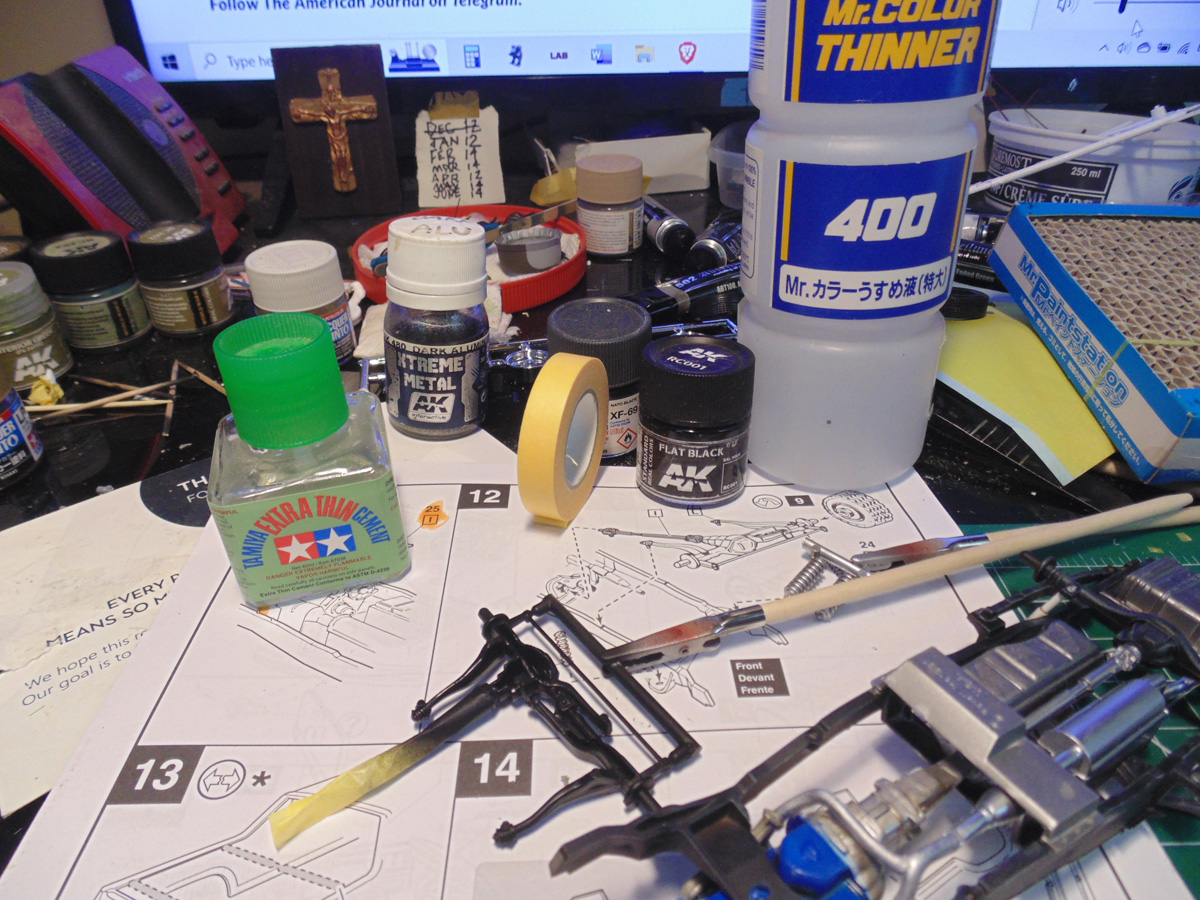
Naturally, you have to mask off the front axle to protect it from the flat black. Some of these parts are smooth and shiny and should be lightly sanded in order for the primer and paint to adhere. Sunward Hobbies have all the sanding tools you will need to get the job done and looking super good.
With parts completed on the frame, I feather brushed some pigments on all the dark areas to bring out detail. Again, it is a simple yet effective way to add realism to your replica.
Now it is time to add the wheels. You will have to scrape the thick connection pins. Just remove the paint and primer layer and be mindful of the amount of plastic which is pulled off. You will get a better fit this way.
When you add each wheel make sure to spin them around once the cement is added. The cement will fill into any small scrape marks to form a much stronger bond. Wear gloves to prevent the oil pigment getting on your fingers and then on to other spots of your project.
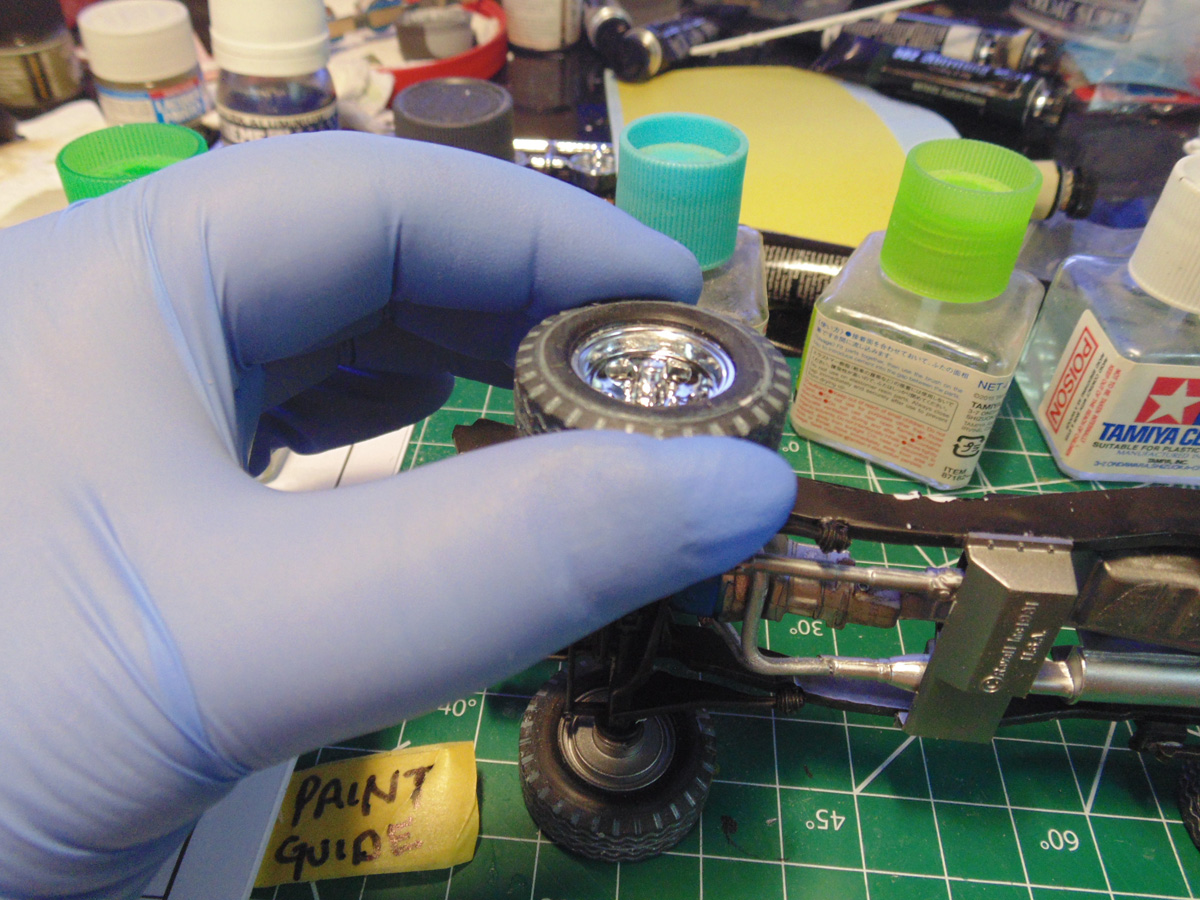
I use the Tamiya cement with the white label and cap for this task because there are multiple points to address. You can get a general idea if the wheels are straight by resting the replica on one side. Remember, this cement is slow acting, yet gives a very sturdy bond. This means there is plenty of time to get everything lined up.
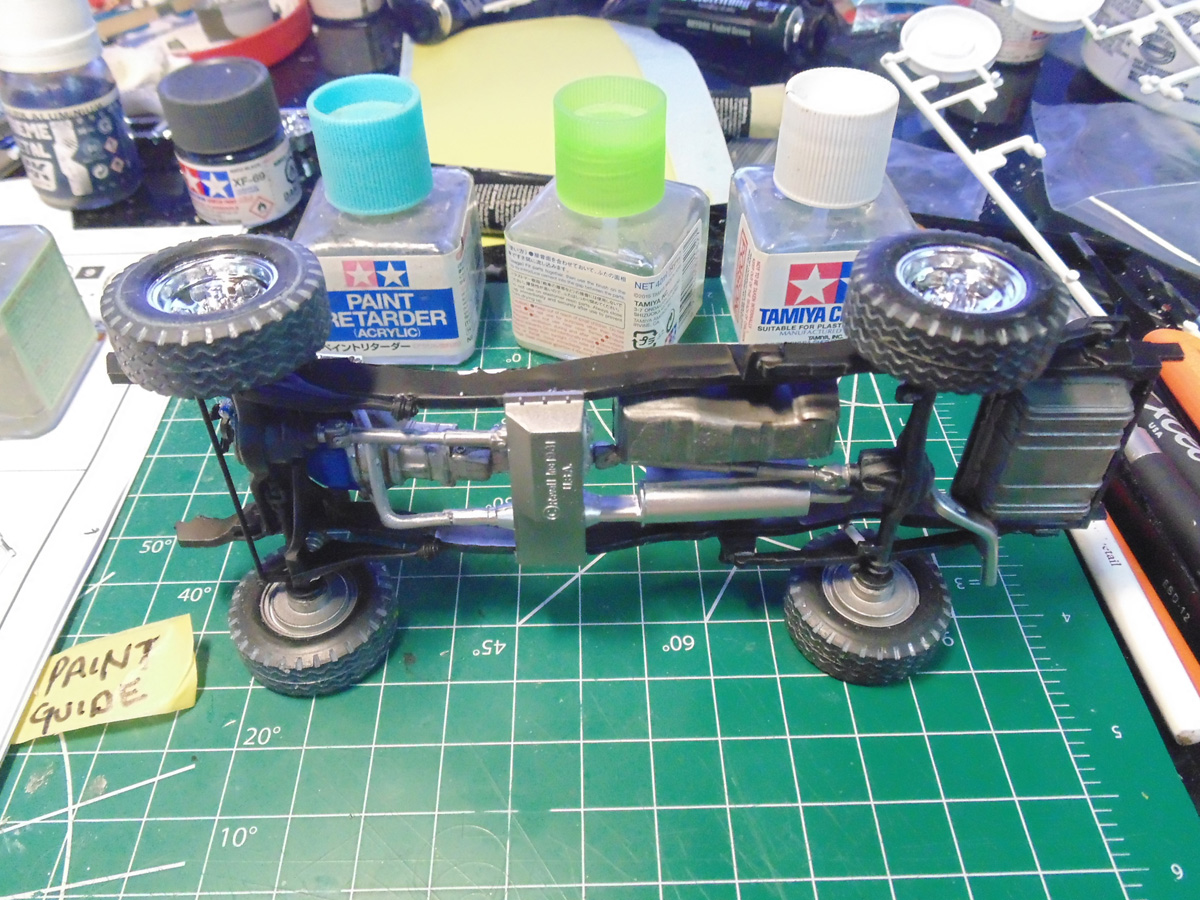
Here is another tip. Use your cutting mat lines and some flat edges to get the alignment you want. These are, obviously, jars I buy from the Sunward store and believe me they have many uses other than what is in them.
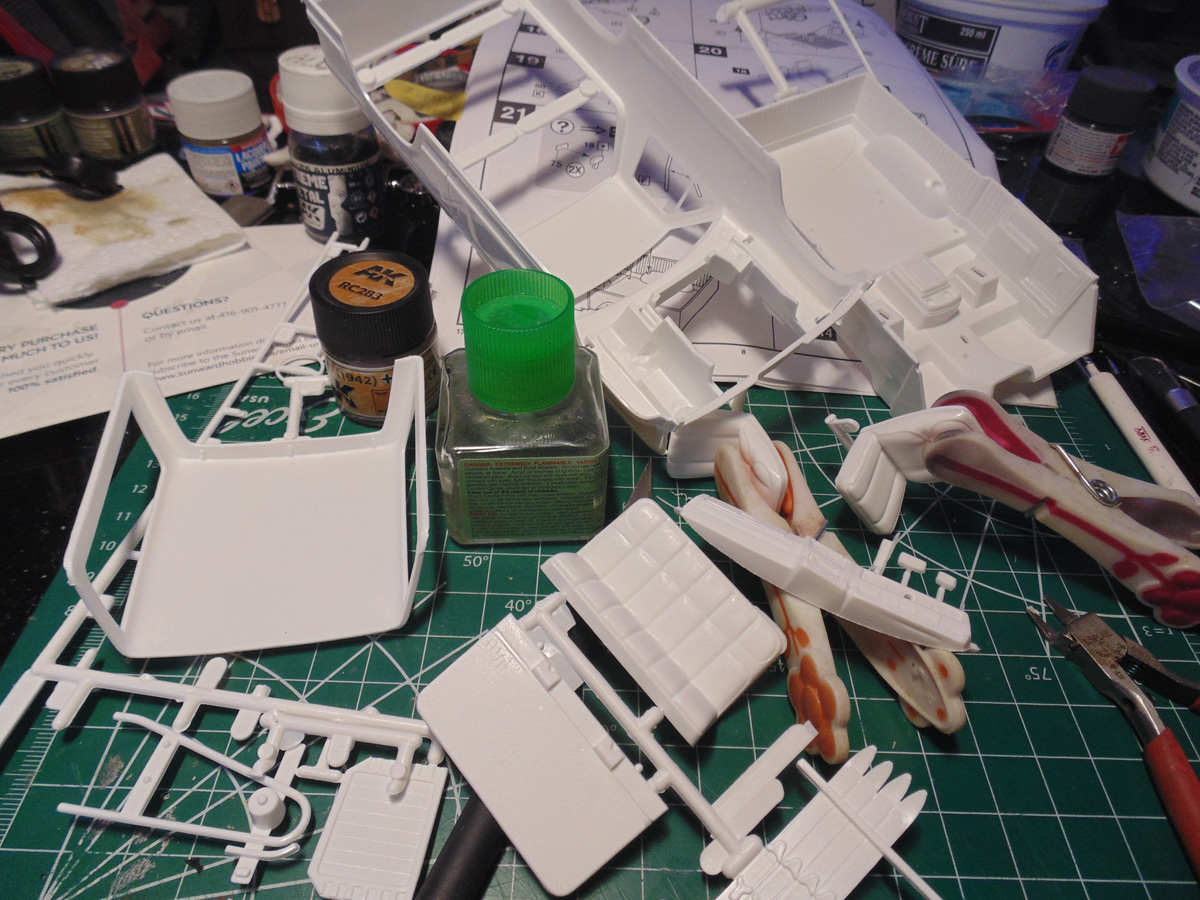
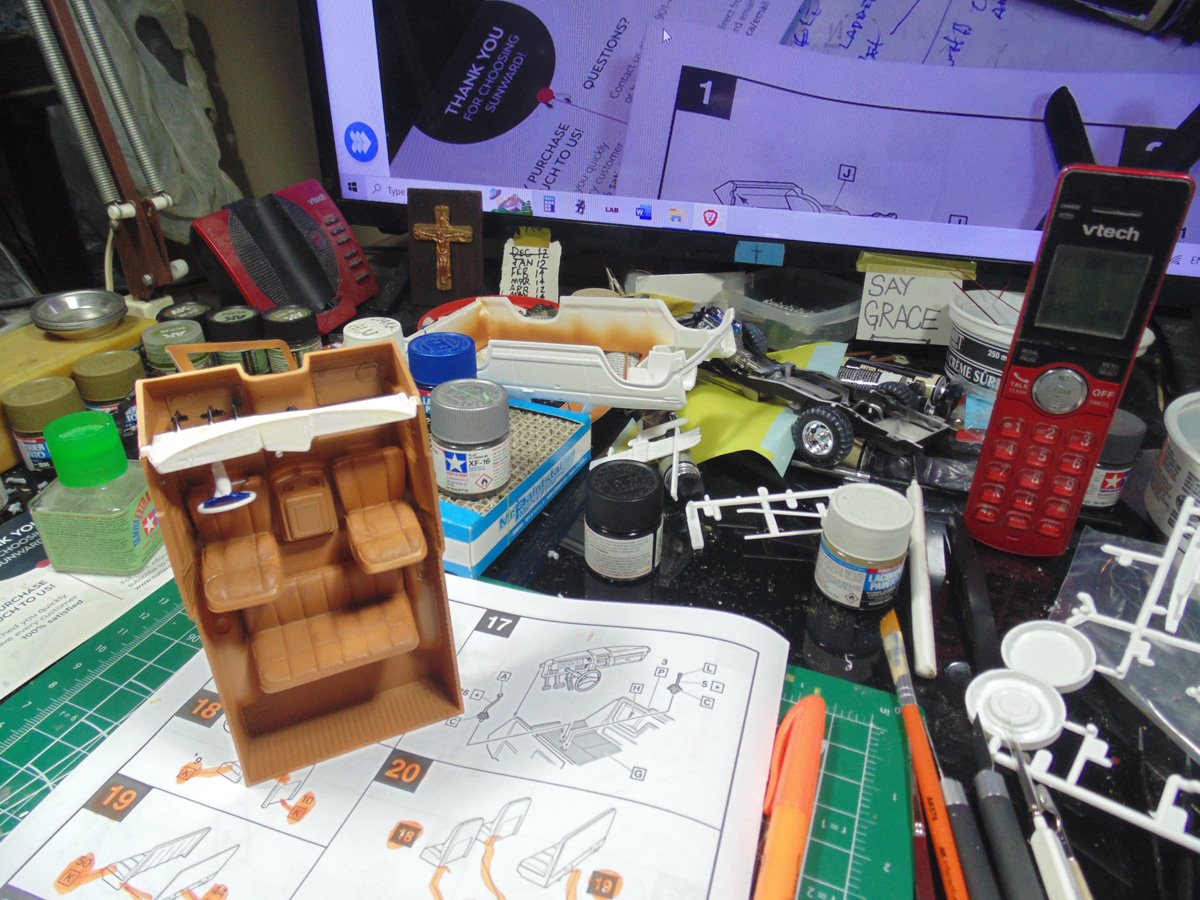
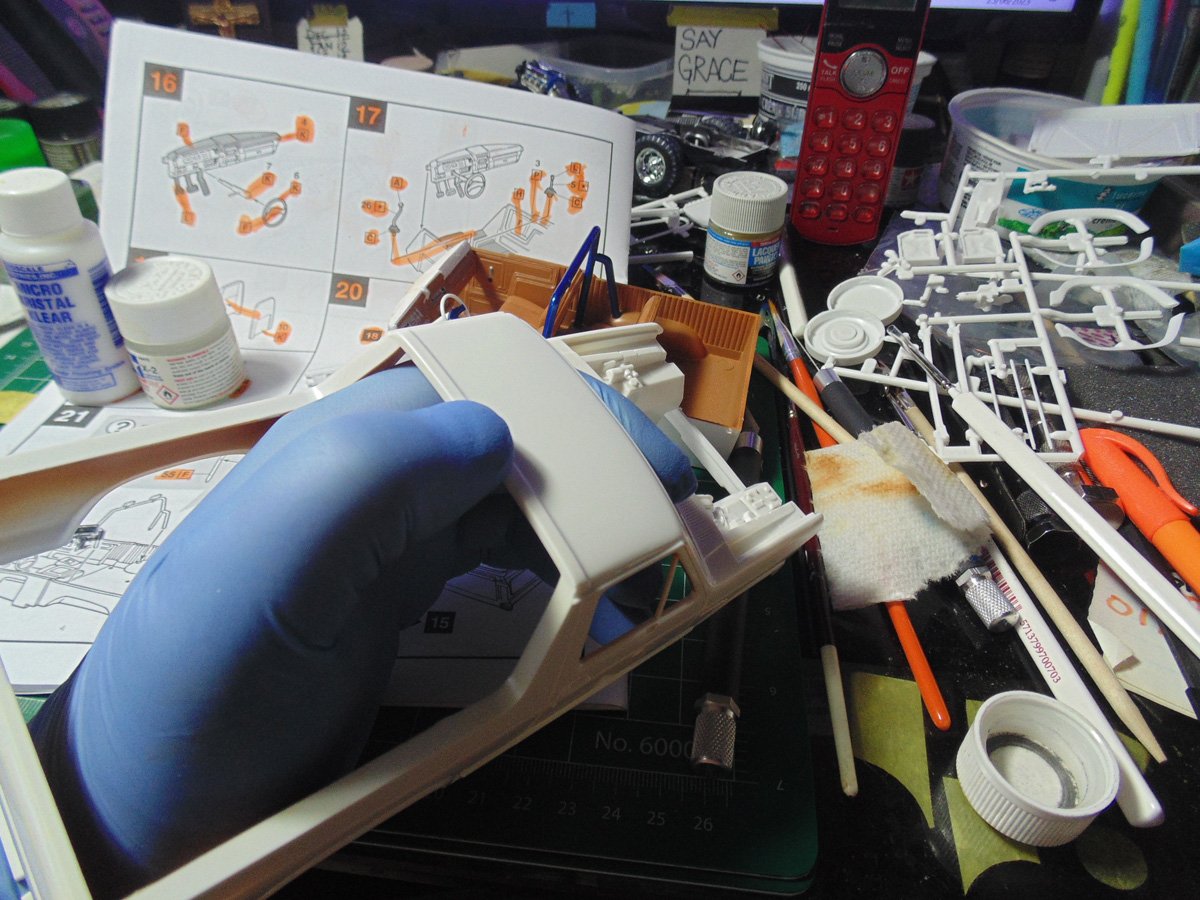
When you are getting ready to paint the interior parts the flash has to be removed. Use a new number eleven blade to hog away the plastic. It is a much easier way and leaves a slightly rough look as with real leather. Plus, it saves you time cleaning and washing your sanding tools.

Make no mistake, there is a lot of cleaning up to do because this is a model kit from the early eighties. And while it is still an excellent product the molds have not been updated, frankly they don’t need to be. Just have some fun working away. Clamp your parts where needed.
RLM seventy-nine from nineteen forty two has a terrific tanned leather look. When you reduce AK interactive “real colours” with Mr. Thinner four hundred lacquer thinner they cling to the surface extremely well. Also, you only need two millilitres of each in your airbrush to lay down two thick coats. If you are hand brushing this work let the first coat dry for two hours before adding the next one.
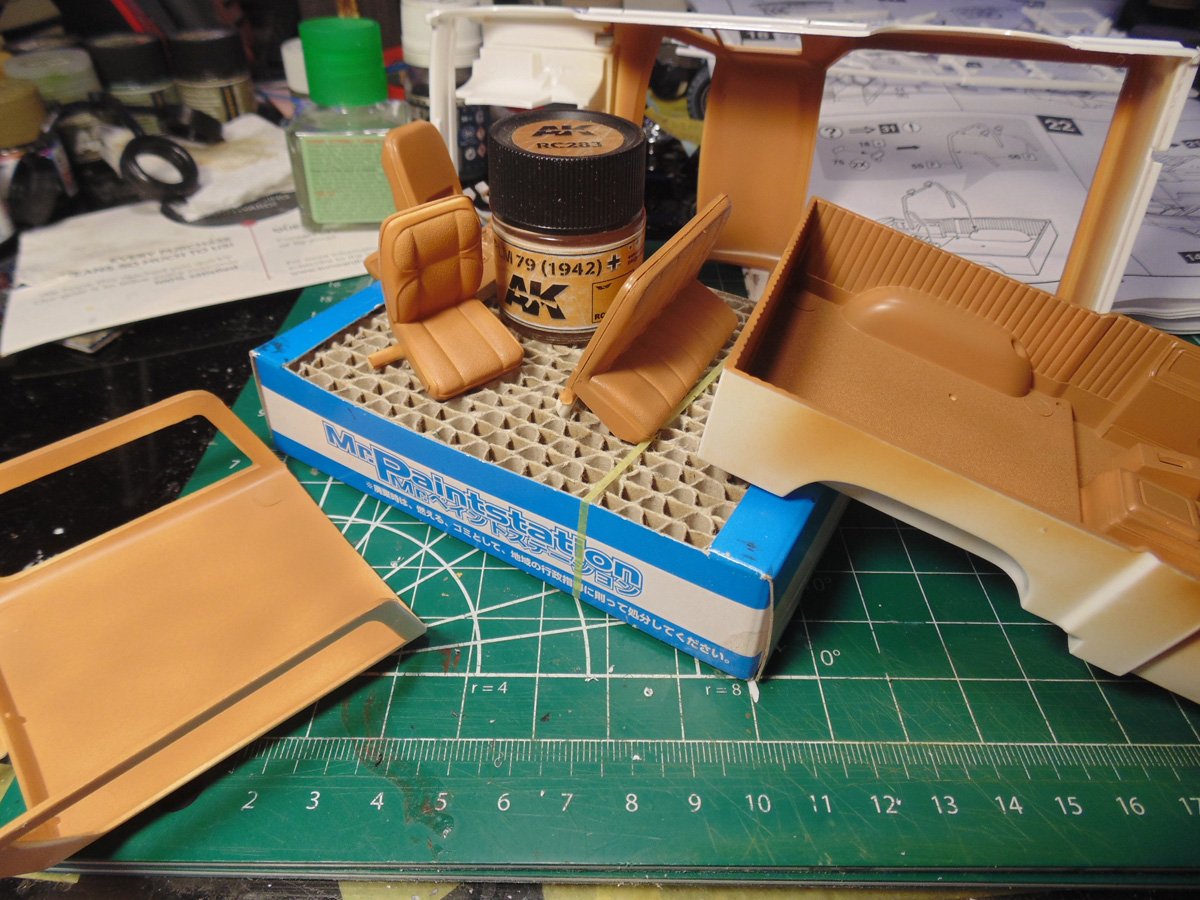
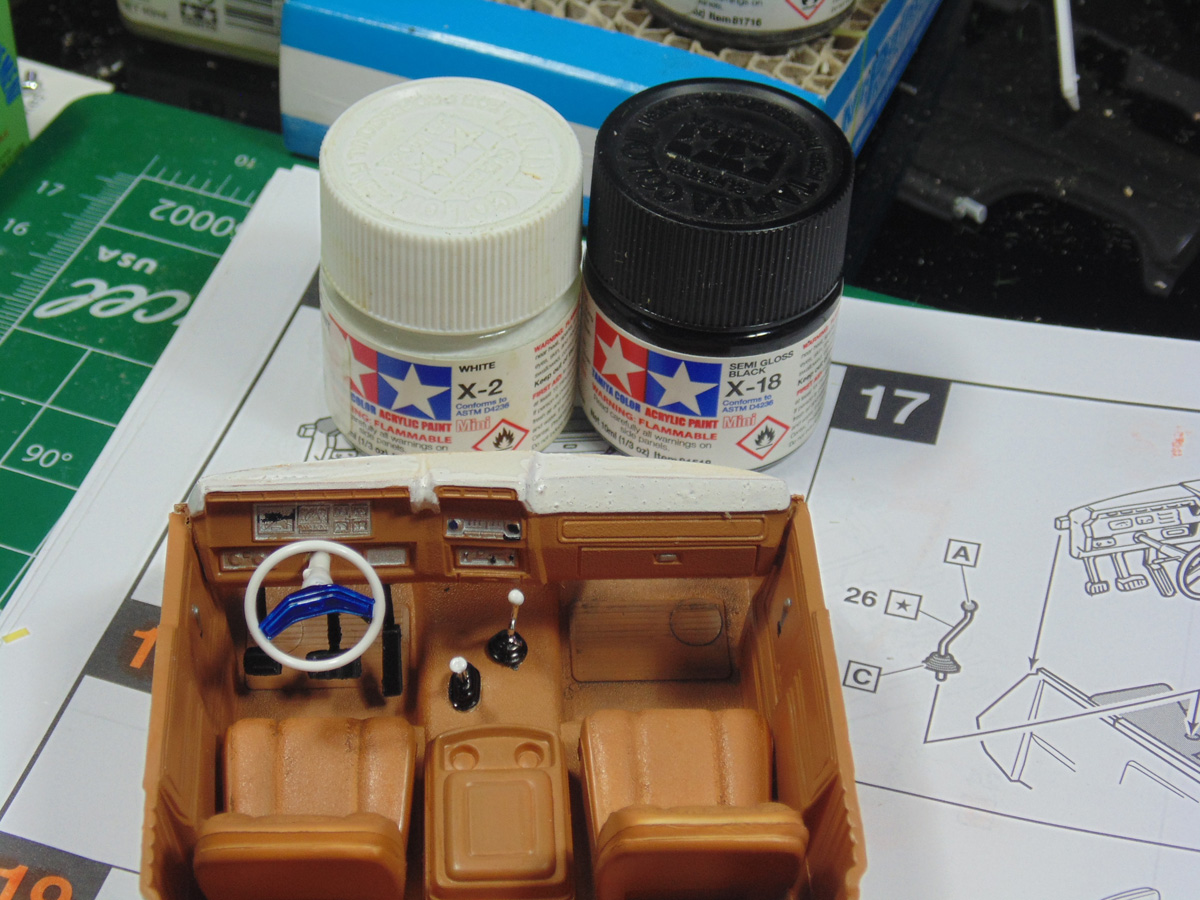
The dash was hand painted, as you can see. Always use a retarder when doing work like this. A second coat has to be added because you are adding a lighter coat over the darker one. I find that Tamiya are nicer for this type of task. Revell calls out for these paint colours in the assigned spots, thus I’m following the directions. Ultimately, you choose how the model looks.
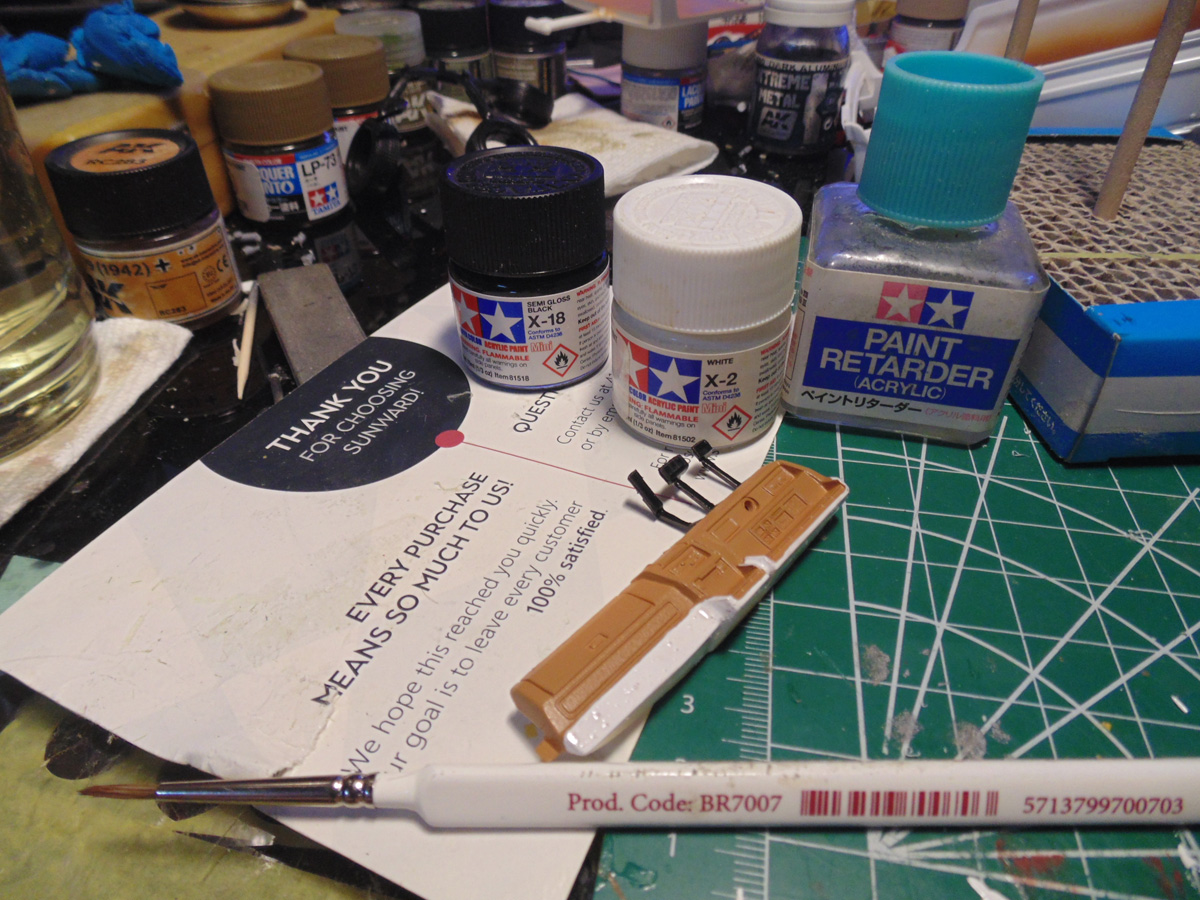
Some careful hand painting will bring the dash to life. Wargamer products are super high quality and great for all themes within the hobby. You can buy a set of these brushes at Sunward Hobbies for a very good price and they last a long time if you are gentle with them. The Tamiya XF-16 aluminum I used did not have to be reduced, just shake the jar for a minute and you are good to go.
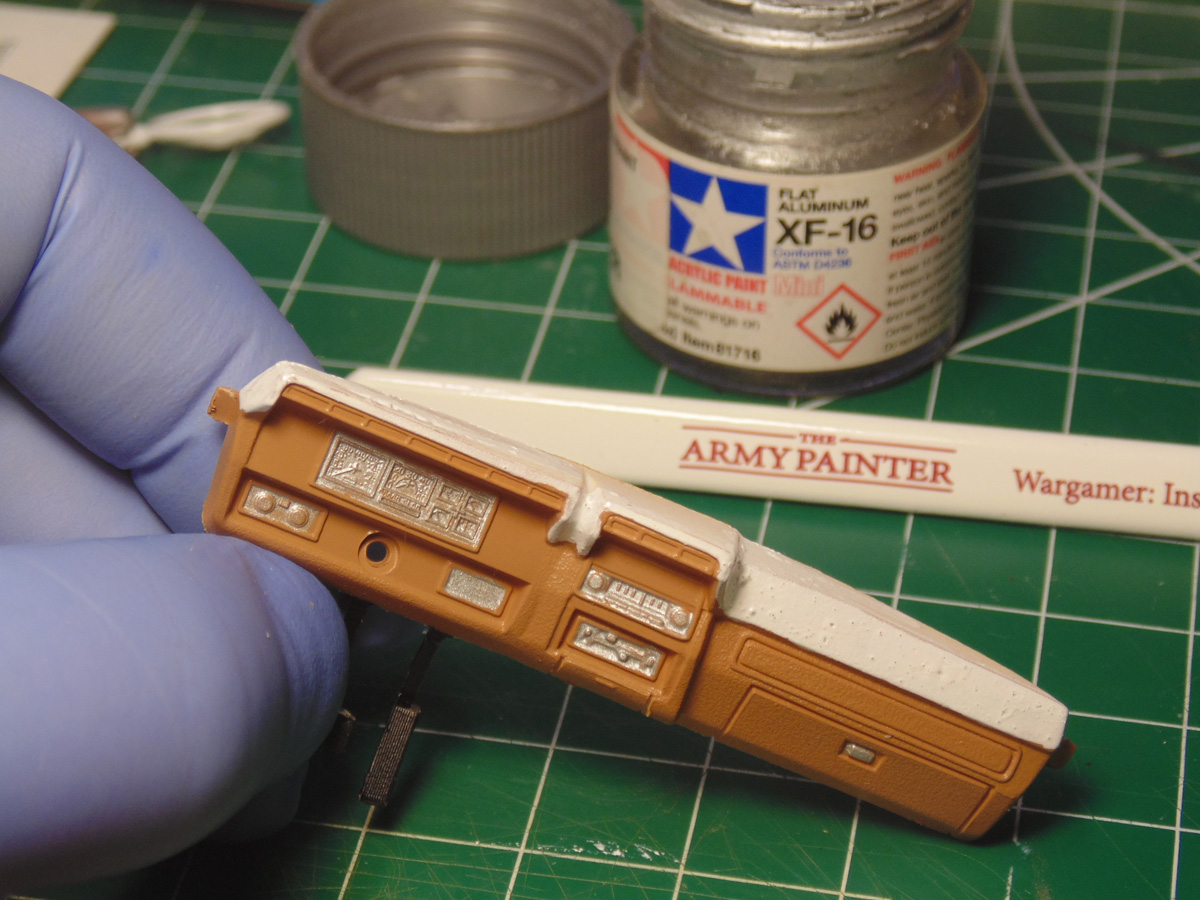
Revell want you to paint certain spots in metallic blue. LP-41 has a slight metal flake in it. I know the white and blue look odd, but FORD did lots of this sort of thing back in the eighties. Use your own creative judgement. Note, I have added droplets of black to the buttons and switches. It just made sense to add more character.
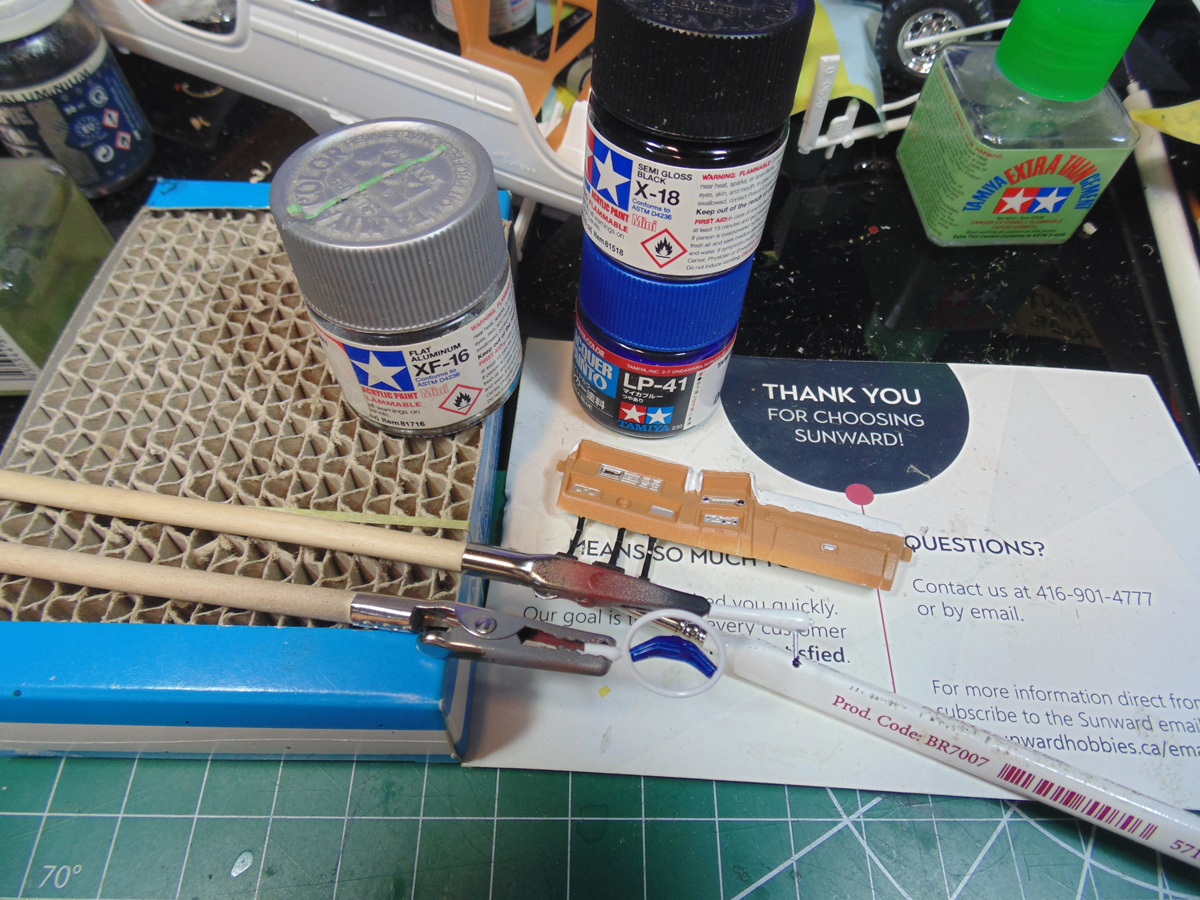
Adding some pigment to the low spots of the interior will also add a great deal of dimension to the look. Tamiya Panel line Accent products are very inexpensive and are pre-mixed with enamel thinner to quickly run along the deep lines.
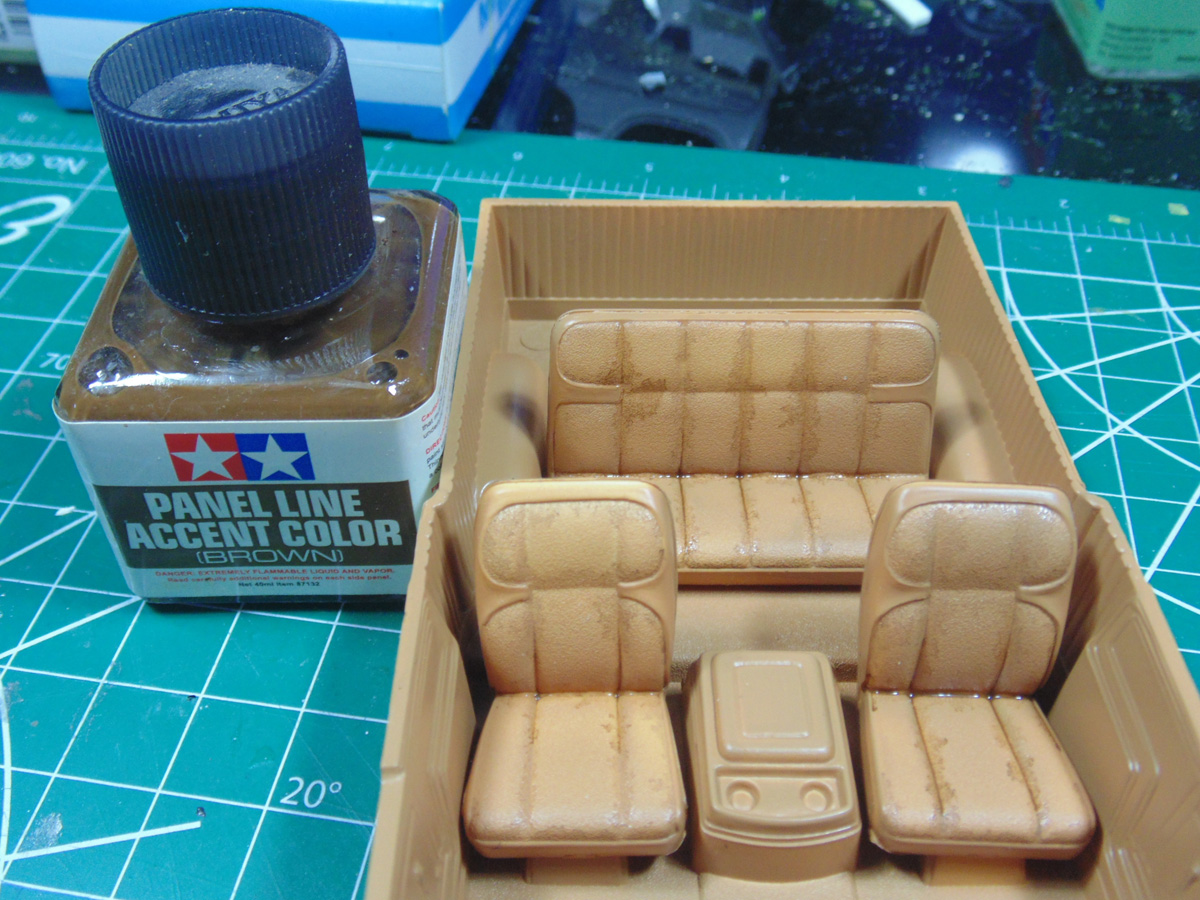
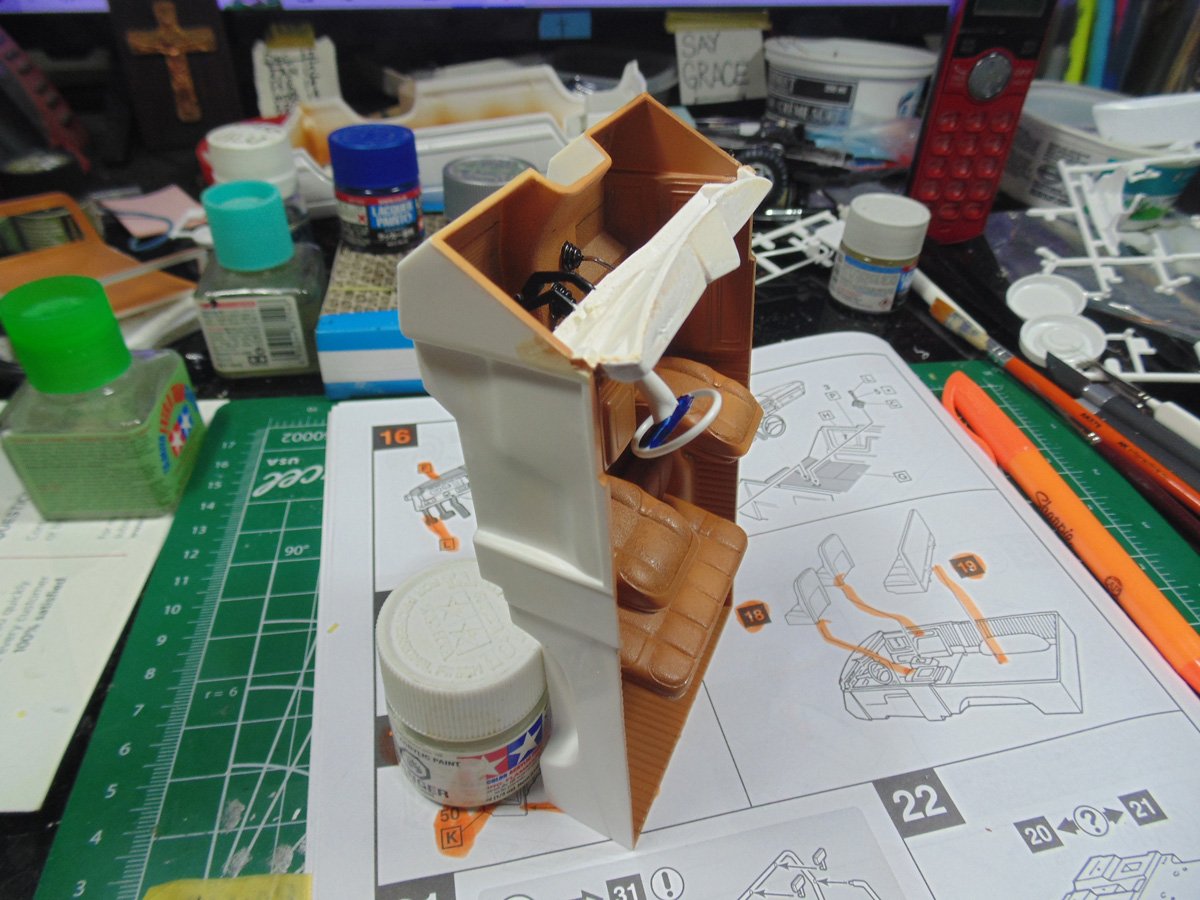
While the brown is drying you can add the steering wheel and do any necessary or desired touch-ups to the dash. There are five different colours and brown wash in this subsection which really looks cool.
Use some AK “Xtreme” thinner and cleaner on the tip of your brush to remove the excess brown wash. Take a look at the top of the back seat. You can see the majority has been removed, yet there is still a noticeable colour shift from just being painted. I’ll be doing the same thing for all the seats and dash.

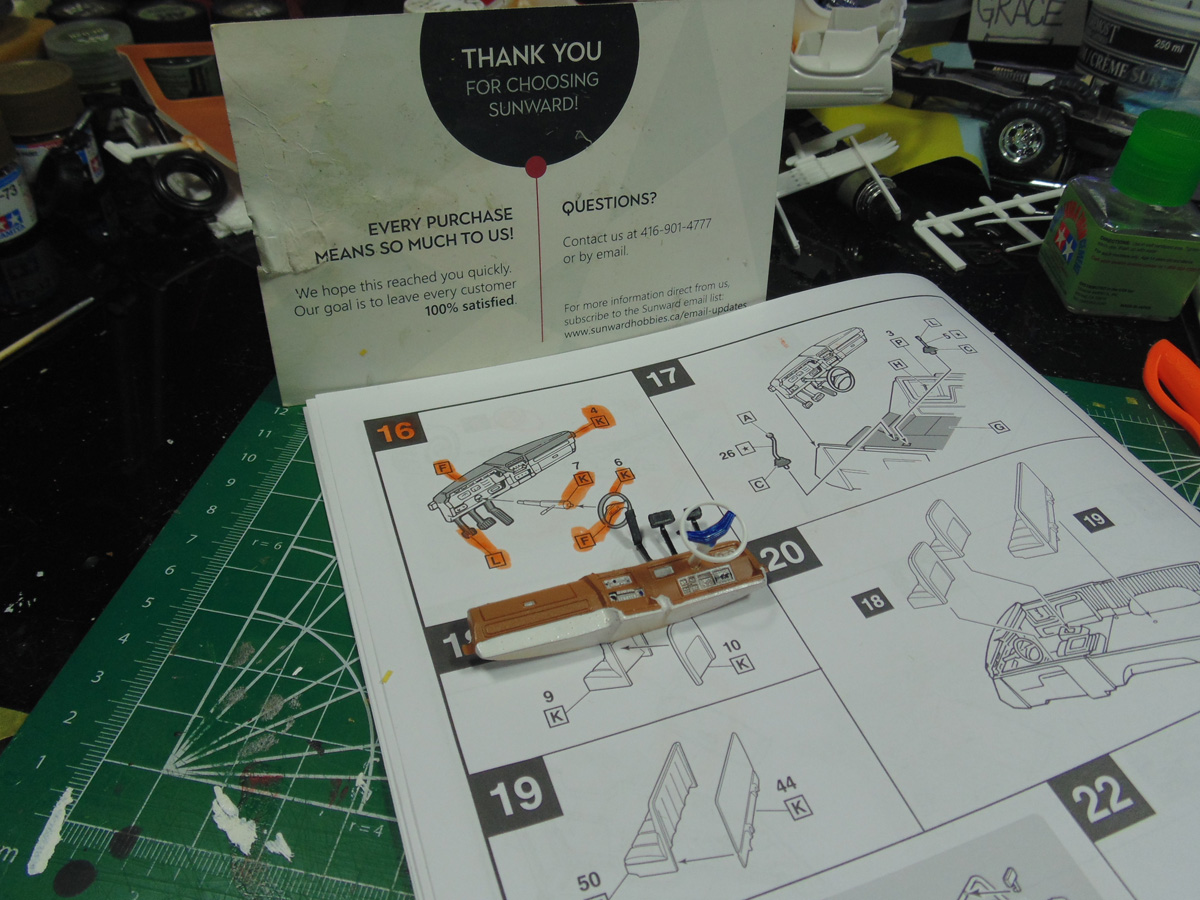
When attaching the dash to the tub you need to remove the paint and plastic flash from connection points. The angle of the molded parts may look correct but there is a lot of rocking and play. You must hold this component in place for five minutes until the cement has enough time to insularly harden and bond. Then you can rest it upright to fully dry.
The other stick handles were hand painted as the instructions suggested. The floor mats I left a little filthier, yet the rest has a look of being cleaned. Keep in mind the project is about someone going fishing and not to a car show. Again, for tiny tasks you do not need to add a paint retarder to the colour you are using.
Make sure to prop up the interior tub with something because it will fall over. A jar or two of paint will help with this. The dash component still needs several hours to stay in place in order to be ridged enough for the body section not to snap it free.
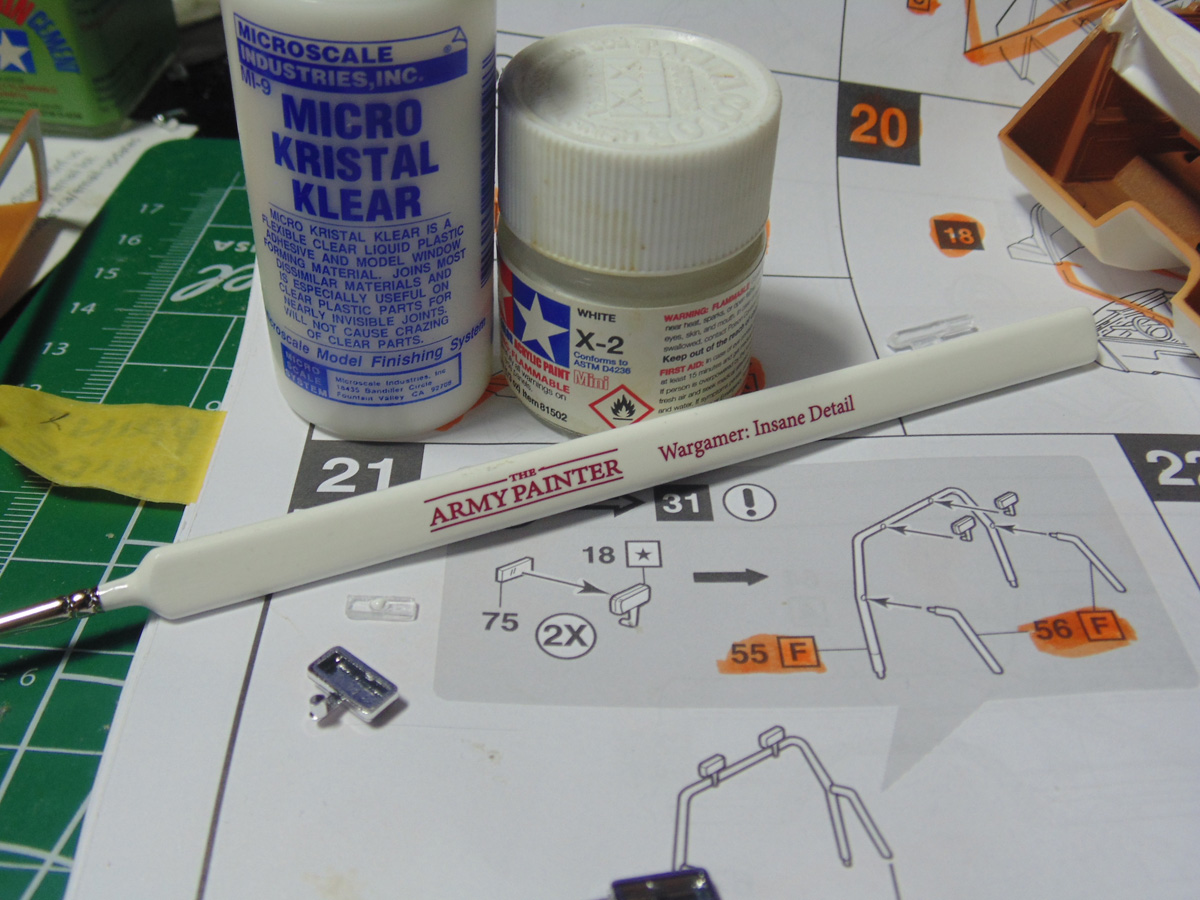
As I have mentioned, the clear parts are splendid. I will not use styrene cement to affix them. First the chrome parts have to be cleaned of the flash.

The ejector pin mark is, surprisingly, a perfect place to add a touch of white as a light bulb. The Microscale kristal klear will not harm the clear styrene since being a water-based product. It is an item you can pick-up or order from Sunward Hobbies and something all modelers should have on hand.
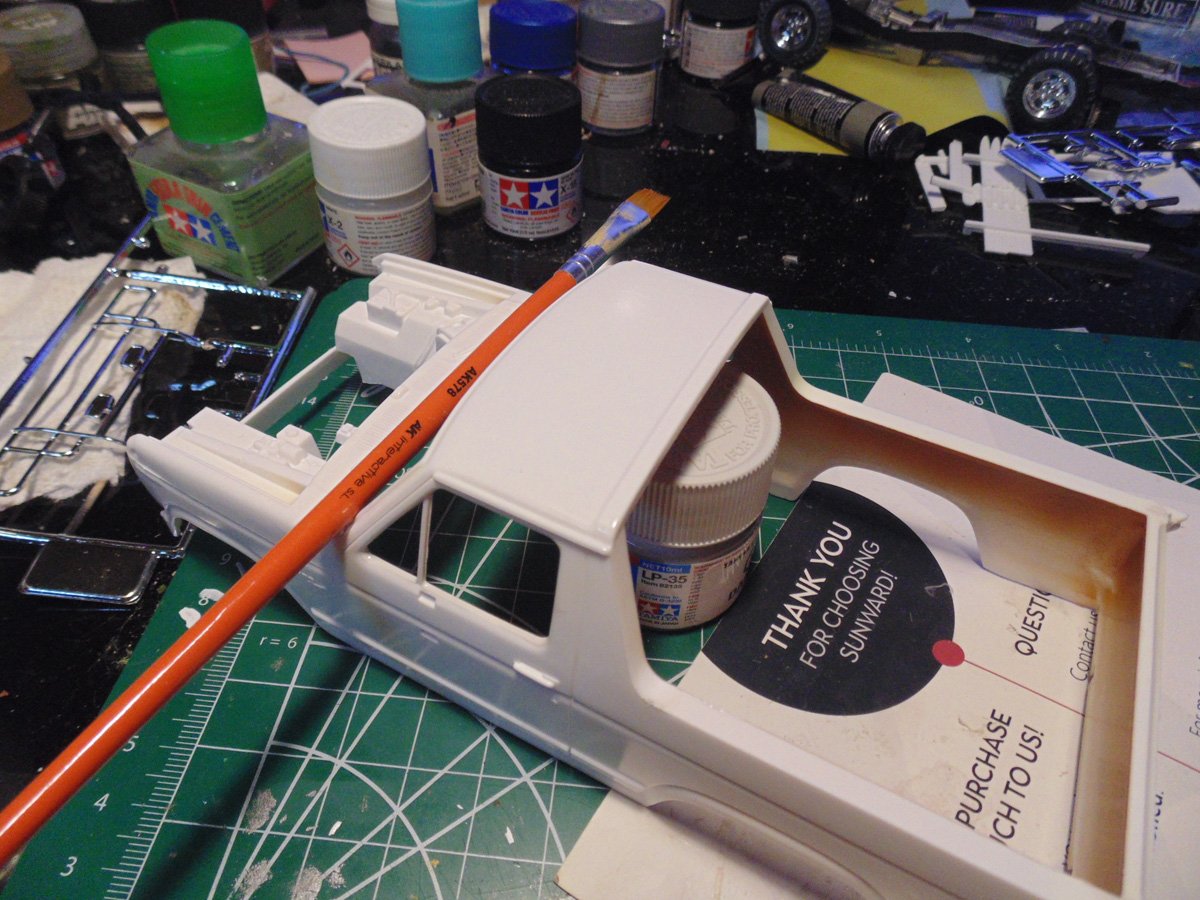
Wear gloves when painting the exterior. This will prevent any finger marks getting on the already painted interior surfaces. Note the blue painted roll cage under my hand. Because the plastic is so nice, I opted not to paint it, yet add a few layers of clear coat varnish.
Any touch-up places can be easily done with some insignia white you can buy from the Sunward store. This colour matched the plastic and clings well to any clear coat. Make sure you clean your brushes right away after any use.
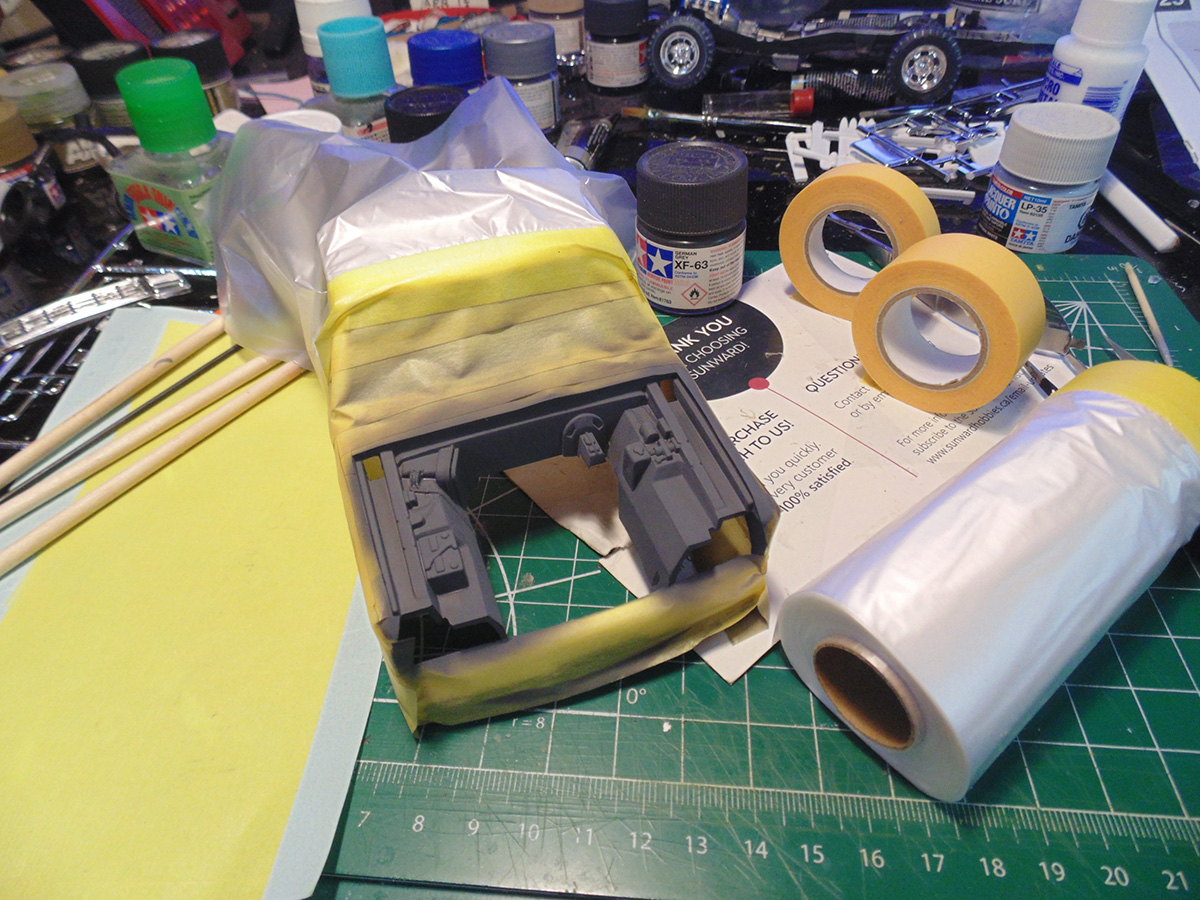
When masking specific places, it is always a good idea to place thinner strips at the edges and then add wider ones on top. Dark colours, like this German grey, will go everywhere you don’t want it to appear. Be mindful to press gently on the edges you want to protect.
As you can see there is a lot going on with this project, but you decide as to which length suits you. I have completed well over a thousand replicas for client’s world wide and need to simply steps because of time. That experience is what I hope to show you and make modeling more fun.
If you have any questions about the products used in this article, please feel free to ask the staff when you pick up or place your next order from Sunward Hobbies.
H.G. Barnes is a former voice-over artist and retired sales and marketing professional. He’s the author of two large volume science fiction adventure romance novels with many more in the works. For well over 40 years he’s been building scale model replicas and now does commission work for clients in Canada and the USA, plus completes projects for companies in Asia and Europe.
Currently H.G. is involved as an Associate Editor with KitMaker Network’s Online Magazine Channels.