
Ford Bronco Bass Boat & Trailer Build Part 4
In this Sunward Hobbies build tutorial article I’ll be showing part four of the project. At this point you can have an amount of fun completing a few steps and learn some tips.. The Revell 1980 Ford Bronco with Bass Boat and Trailer Set Gone Fishin 1/24 Scale 17242 85-7242
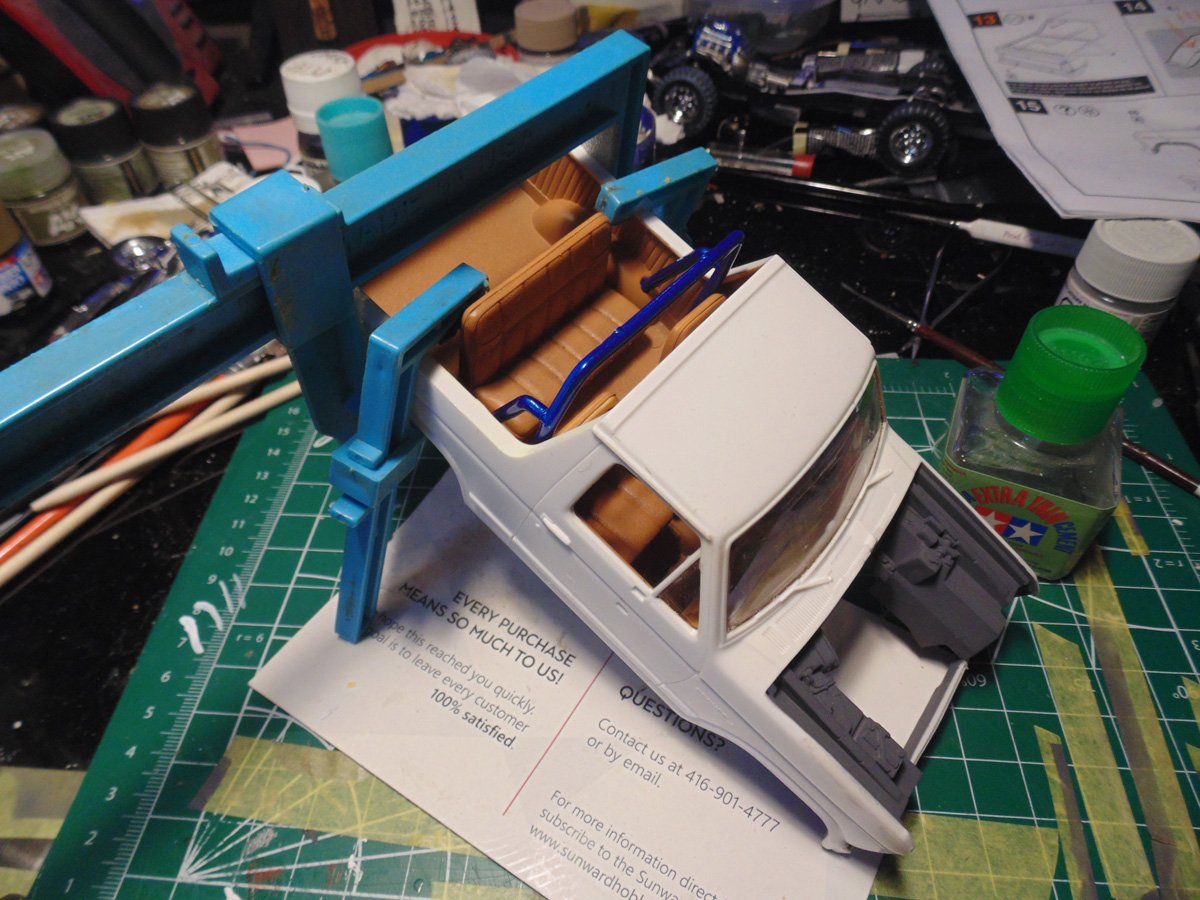
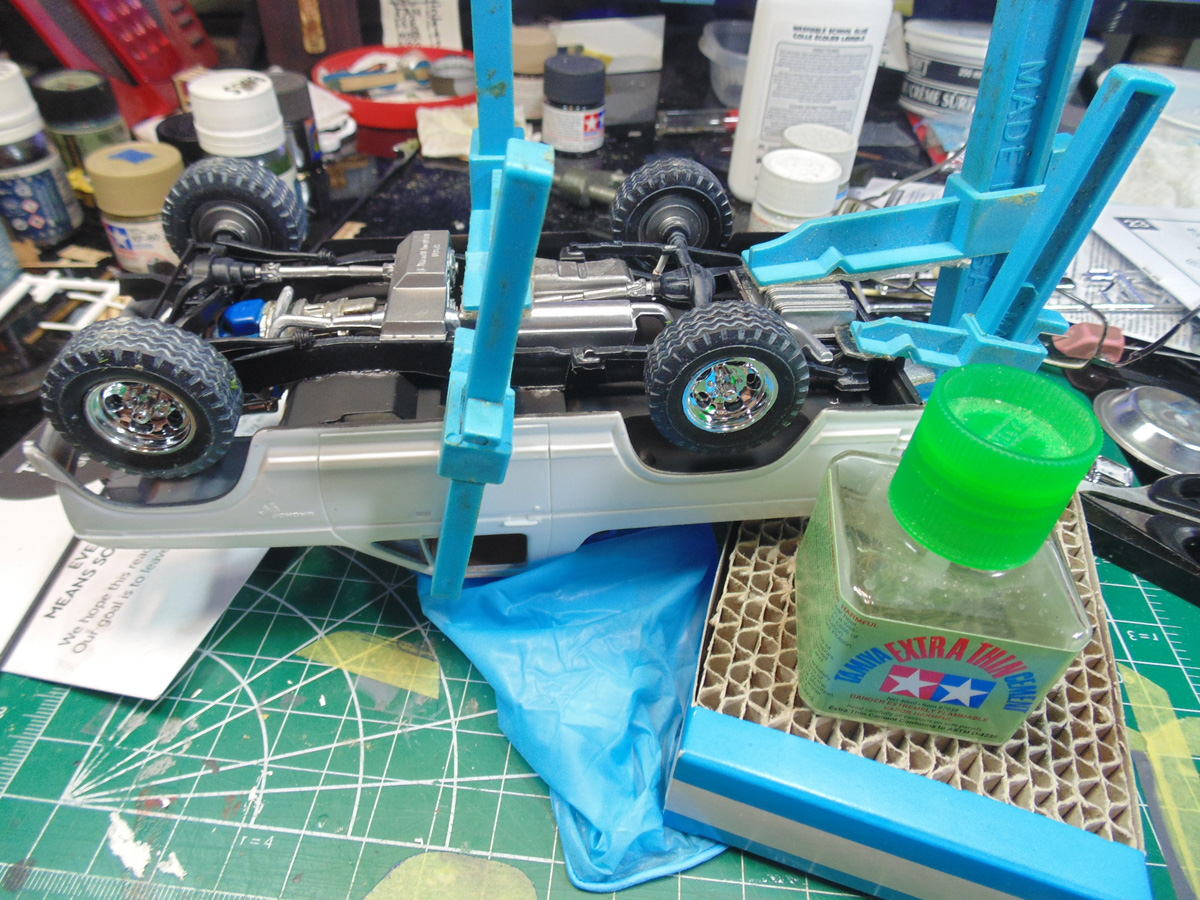
Assembling the inner tub to the outer body is easily done with some clamps you can buy at the Sunward store. The ones I purchased from them are seriously worn down, so consult the staff when to refurbish your tools. Believe me, it makes the task go quicker and more enjoyable. Here I’m crimping the sides of the body frame to the interior hub.
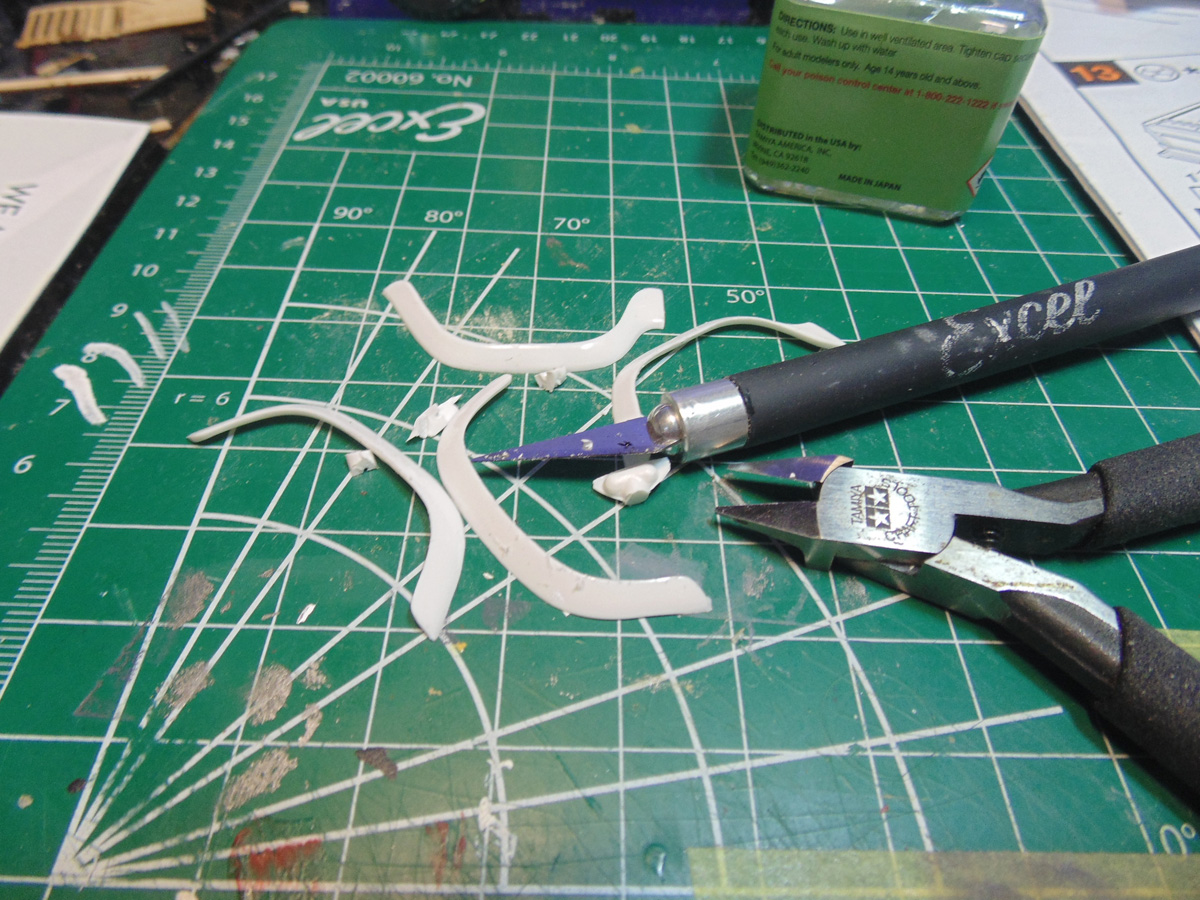
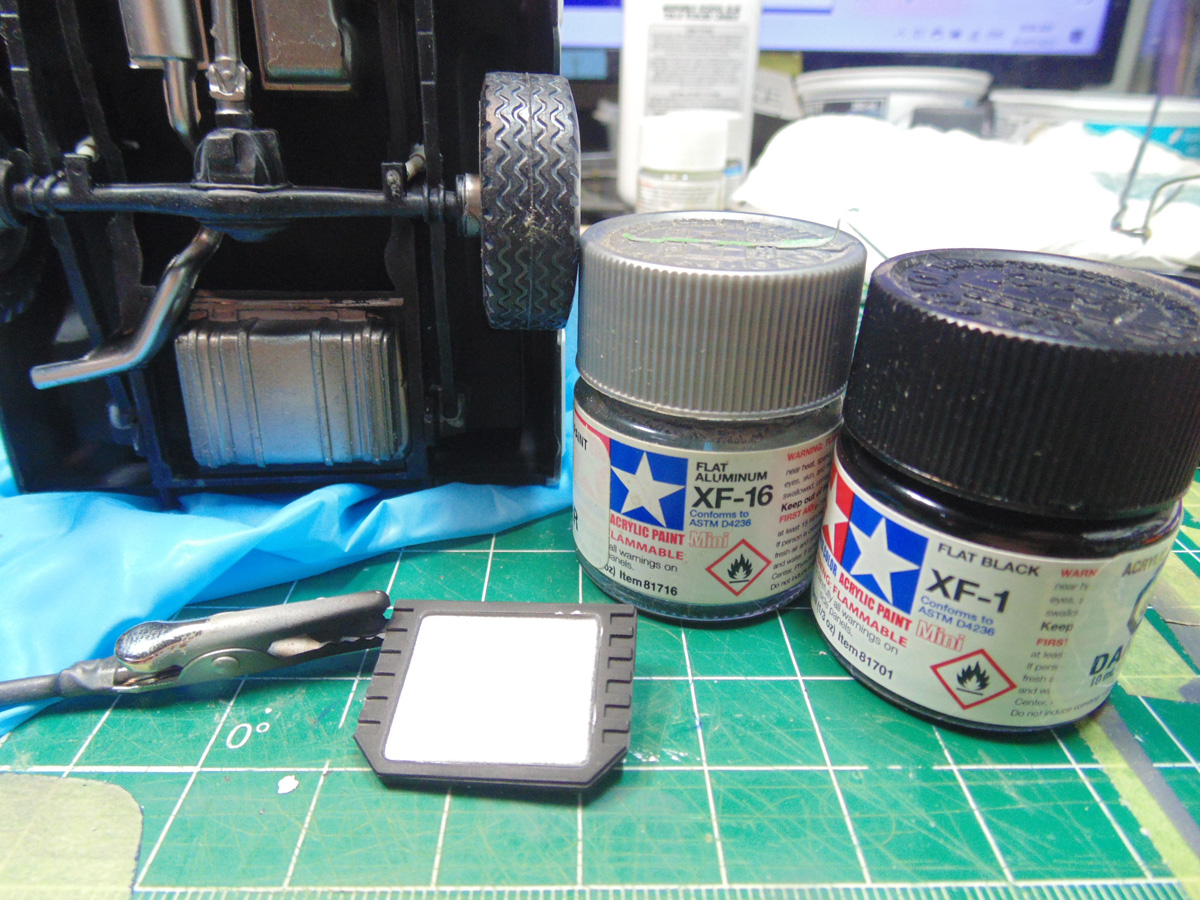
Paint the wheel rim side skirts before you add them, because they have to fully dry. Then take the time to cross laterally snip away the connection points, otherwise you will break these parts if you cut them laterally. Just go little by little and you’ll be fine.
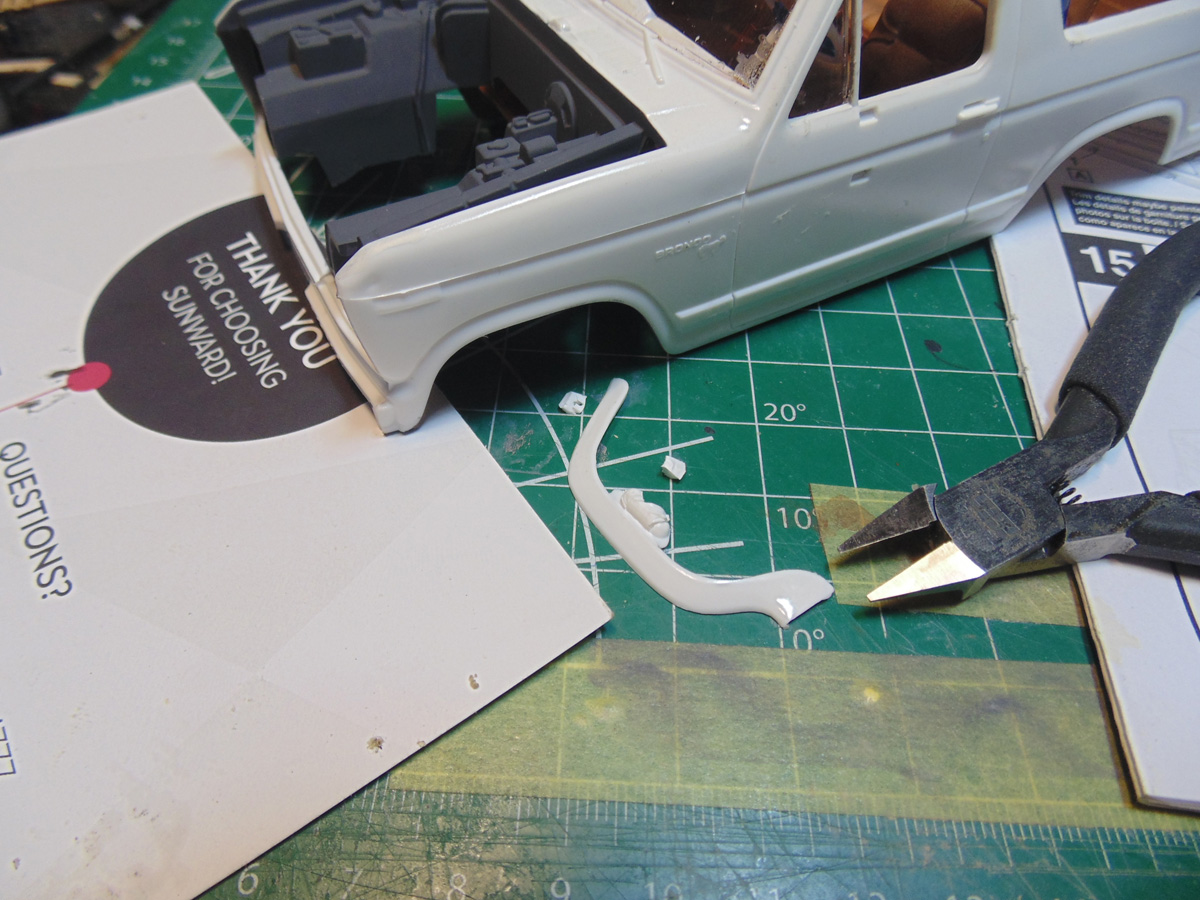
You will need to test fit them, obviously, because this is an older model kit. Some of these parts will bend, thankfully, to get them into place. Take each one cemented at a time for an hour then move on to the next. Make sure to use high quality side cutters for the task and trim off and excess plastic flash
While those skirts are paint drying you can now swing back to compressing the inner tube to the outer body. Yes, some minor clamping has to be done, if you wish, to get a tighter fit. Doing this will give a much better placement with the frame in further steps of the build.
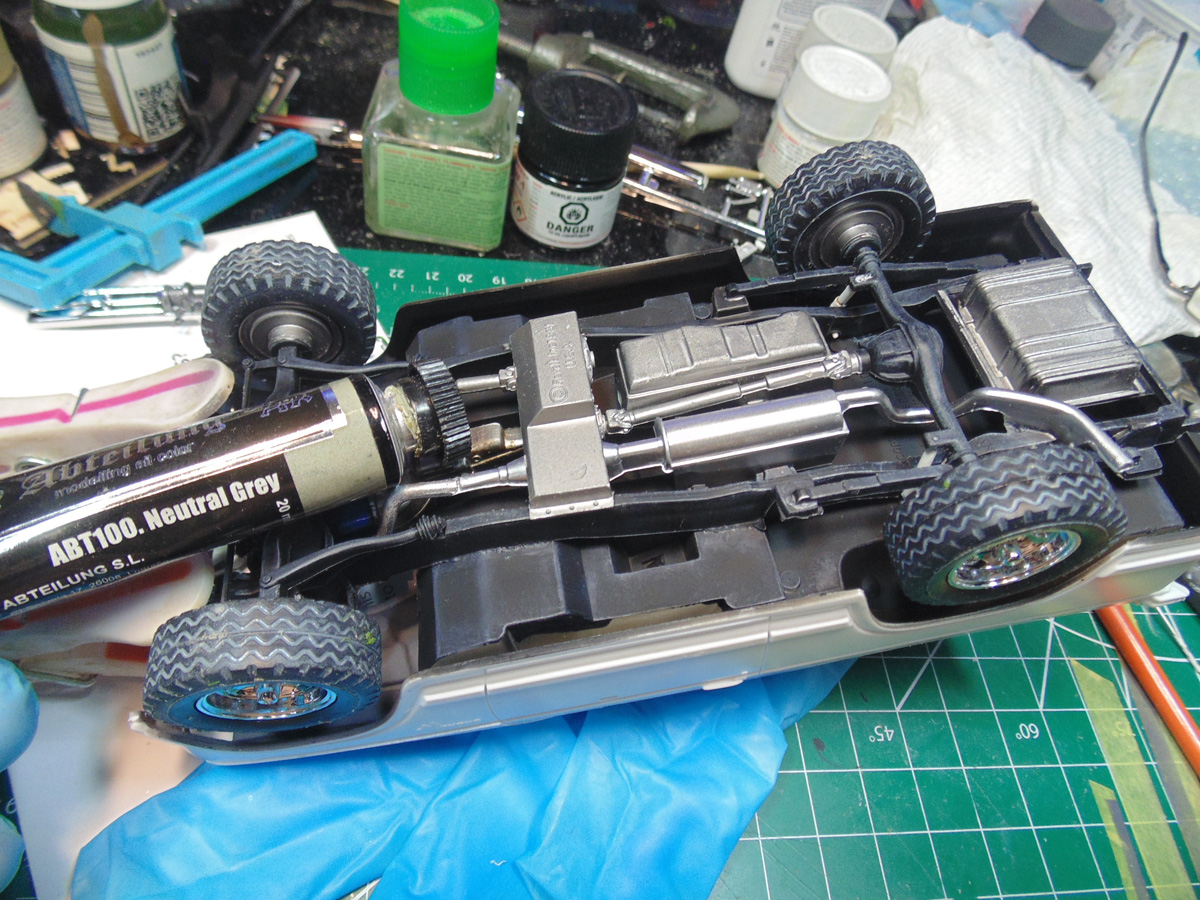
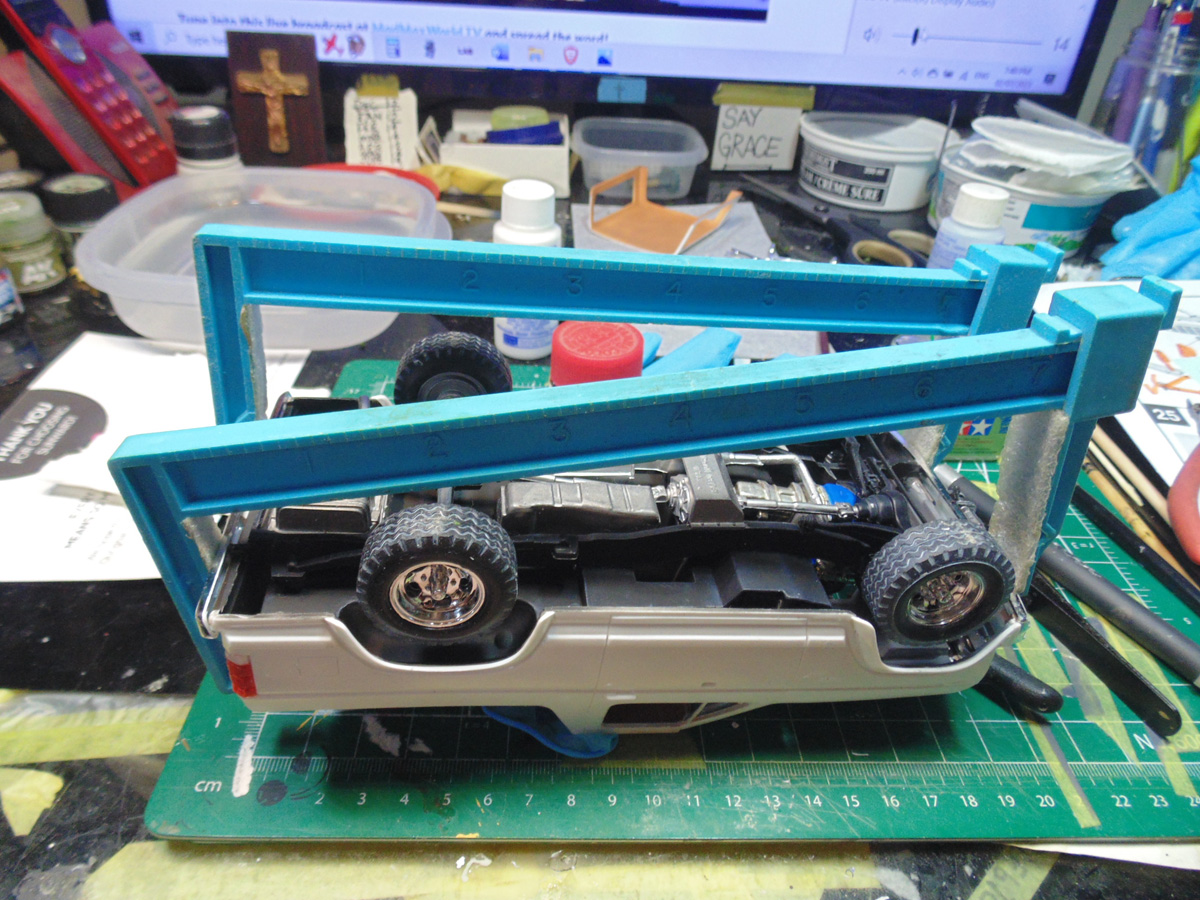
To get the underside painted because it is always viewable from all angles, no matter where you’re going to display it. The top side will have to be masked off. A basic fine marker will help with getting the curves you need to mask around the wheel wells.
Naturally, it is your choice of colour for the underside. I went with NATO grey because I will be adding pigments to the high points later. Make sure to press down on the edges prior to airbrushing or hand painting this huge area.

Attaching the frame section to the body is a slow process of beginning from one to the other. You need to flood the connection areas with cement after these points are scraped of paint and primer. Do not worry about any mishaps because they can be touched up later.
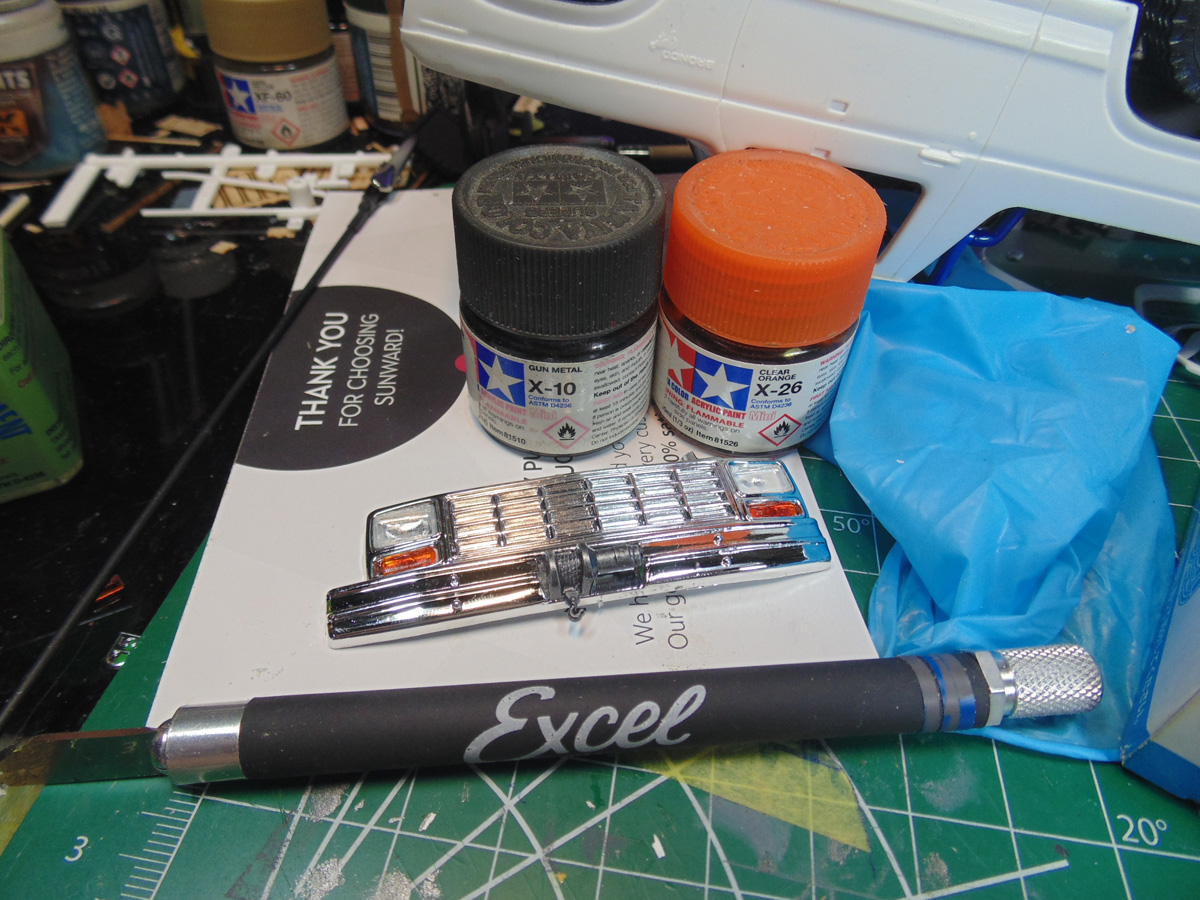
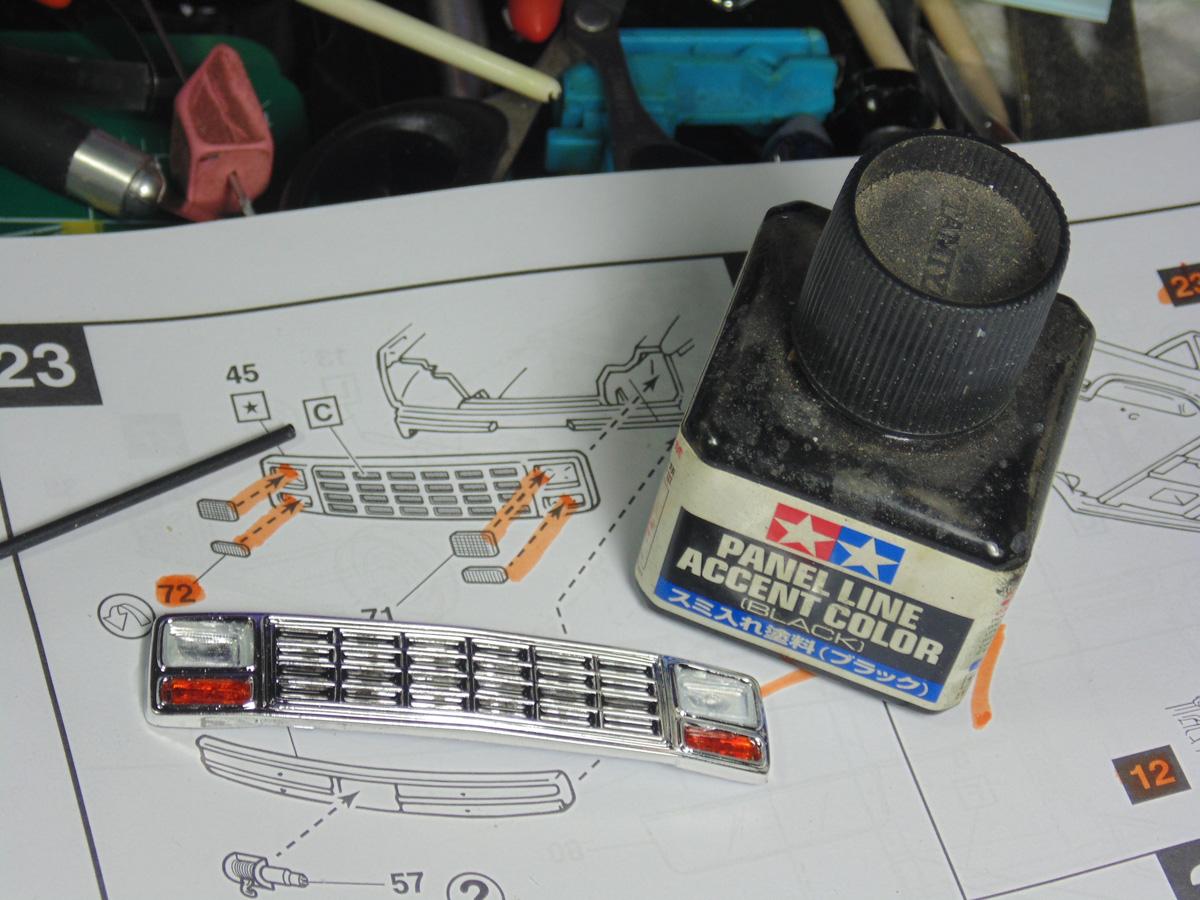
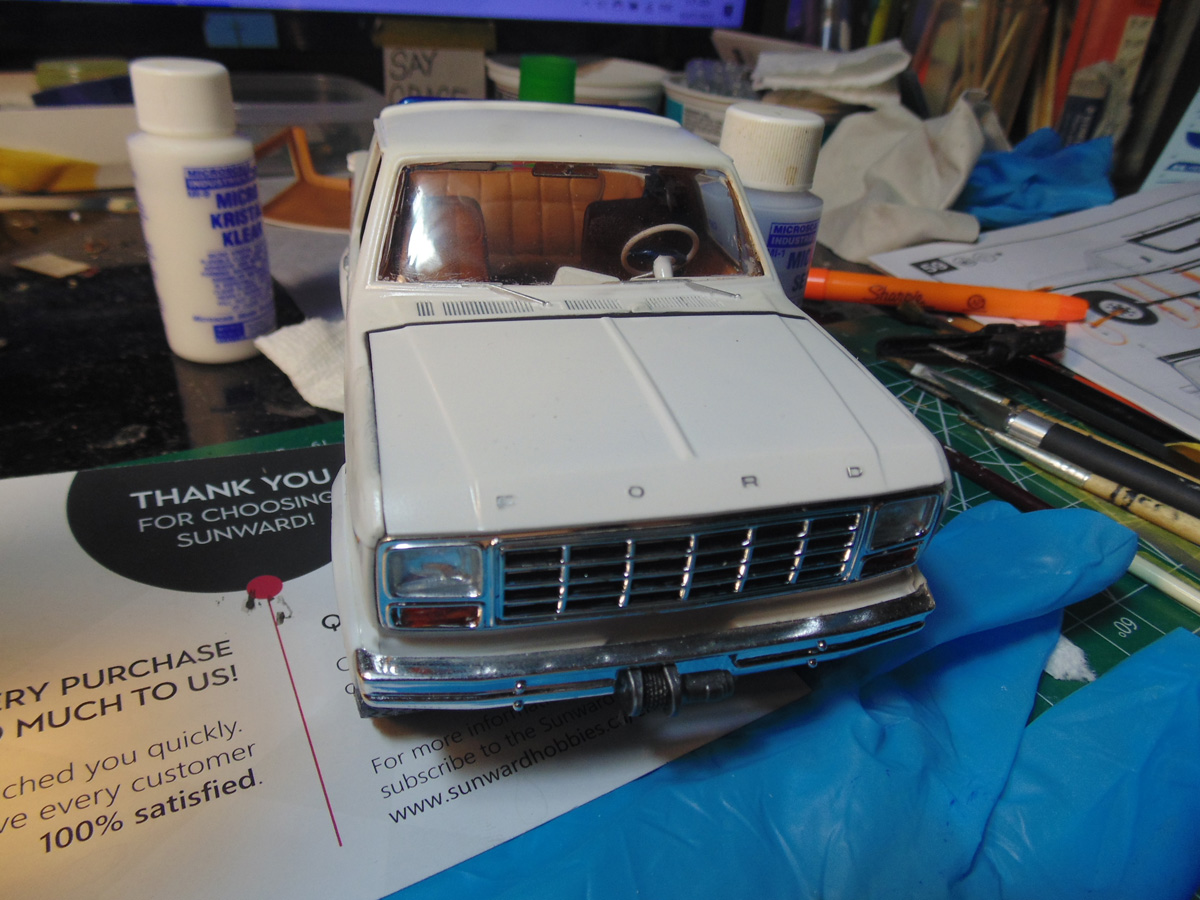
While that task is hardening you can complete some minor, yet colorful areas. Sunward Hobbies have all the translucent Tamiya paints you will need to easily pull off the task. Inside the grill has to be painted a darker colour. I went with a gunmetal tone due to the fresh look it has of a vehicle freshly car washed.
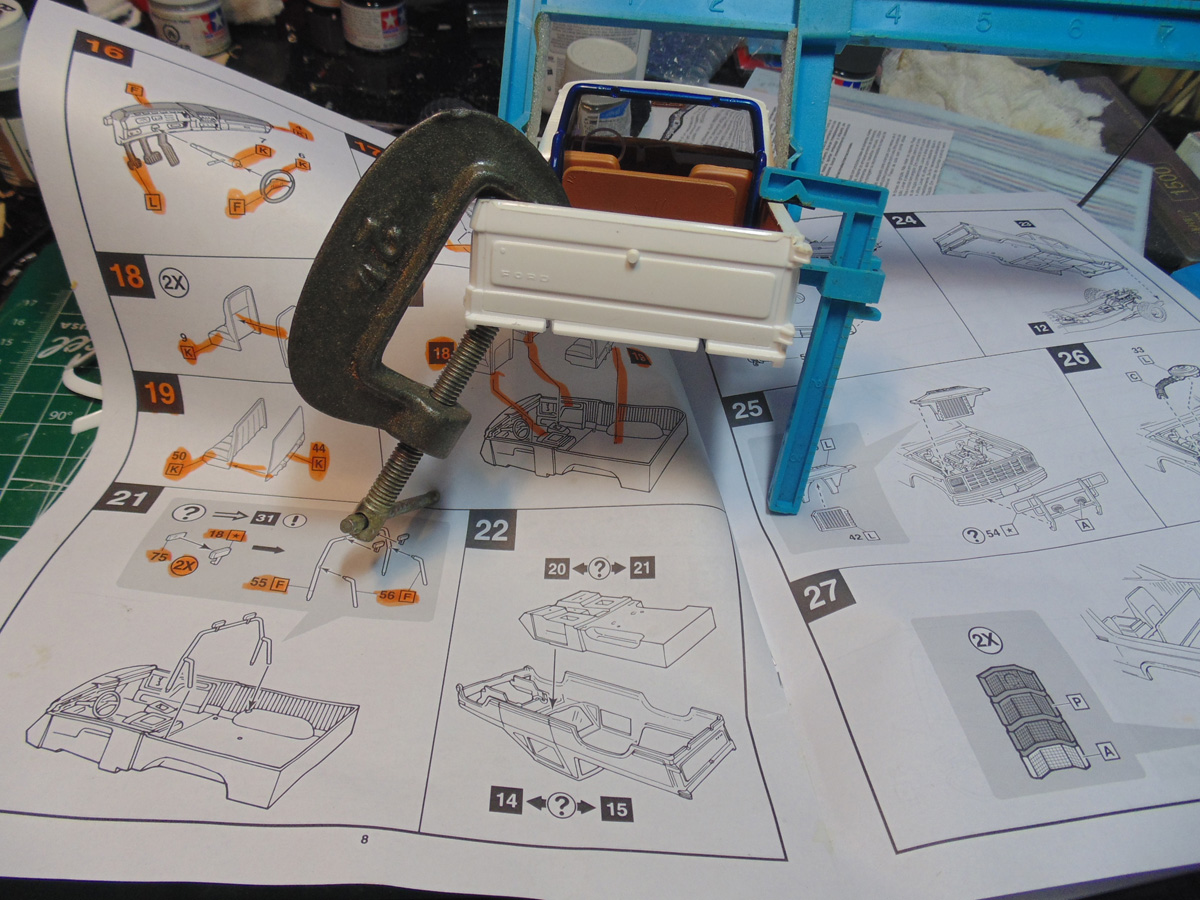
You must clamp down the front end. This is kit form nineteen eighty and has a few flaws, but nothing you can’t quickly deal with, with some patience. The good news is that there are only two points of connection. This has to rest for four hours.
Because of the bow in the joining parts, I would strongly suggest adding a little sliver of epoxy to the edges of the connection points. This firm up the build for all decals you are going to be adding. Also, there are many parts to be added as well, so get the framework nice and solid.

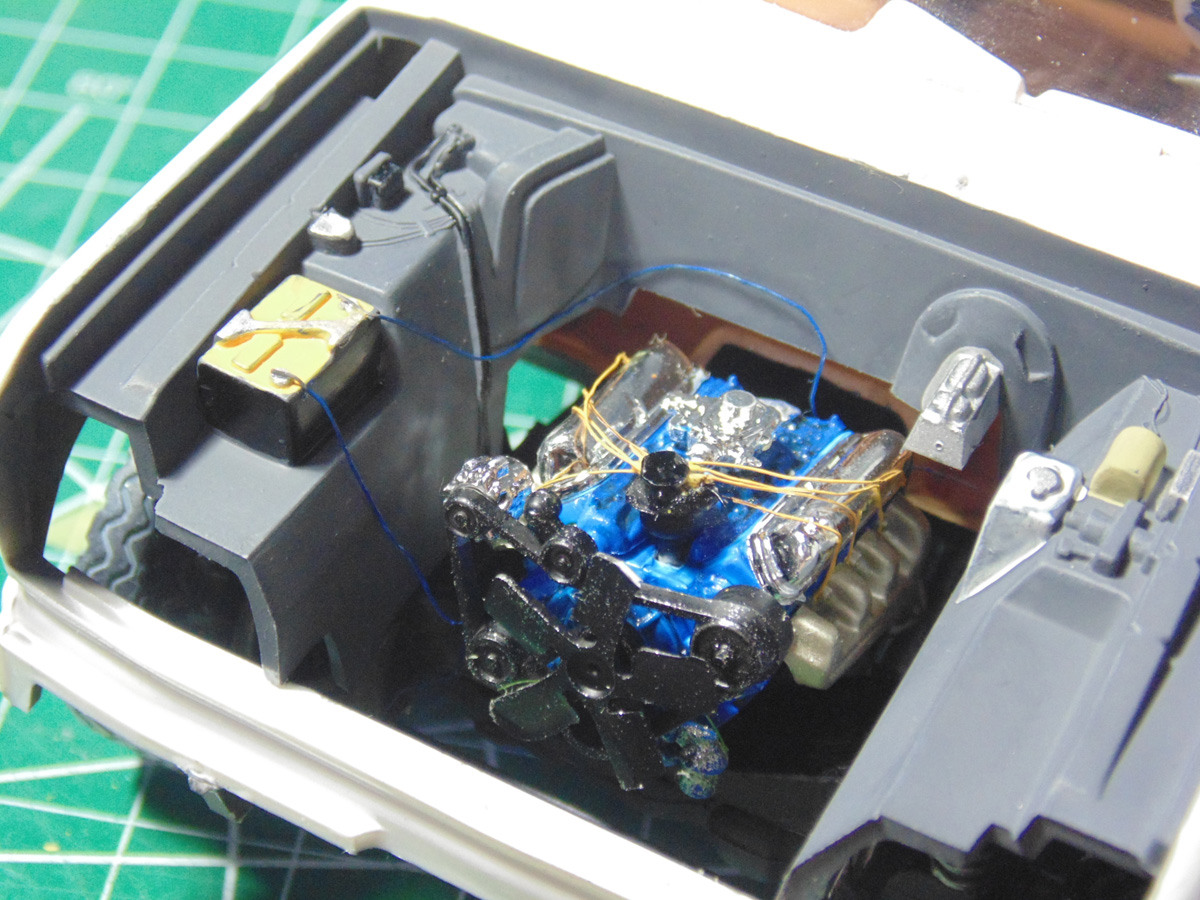
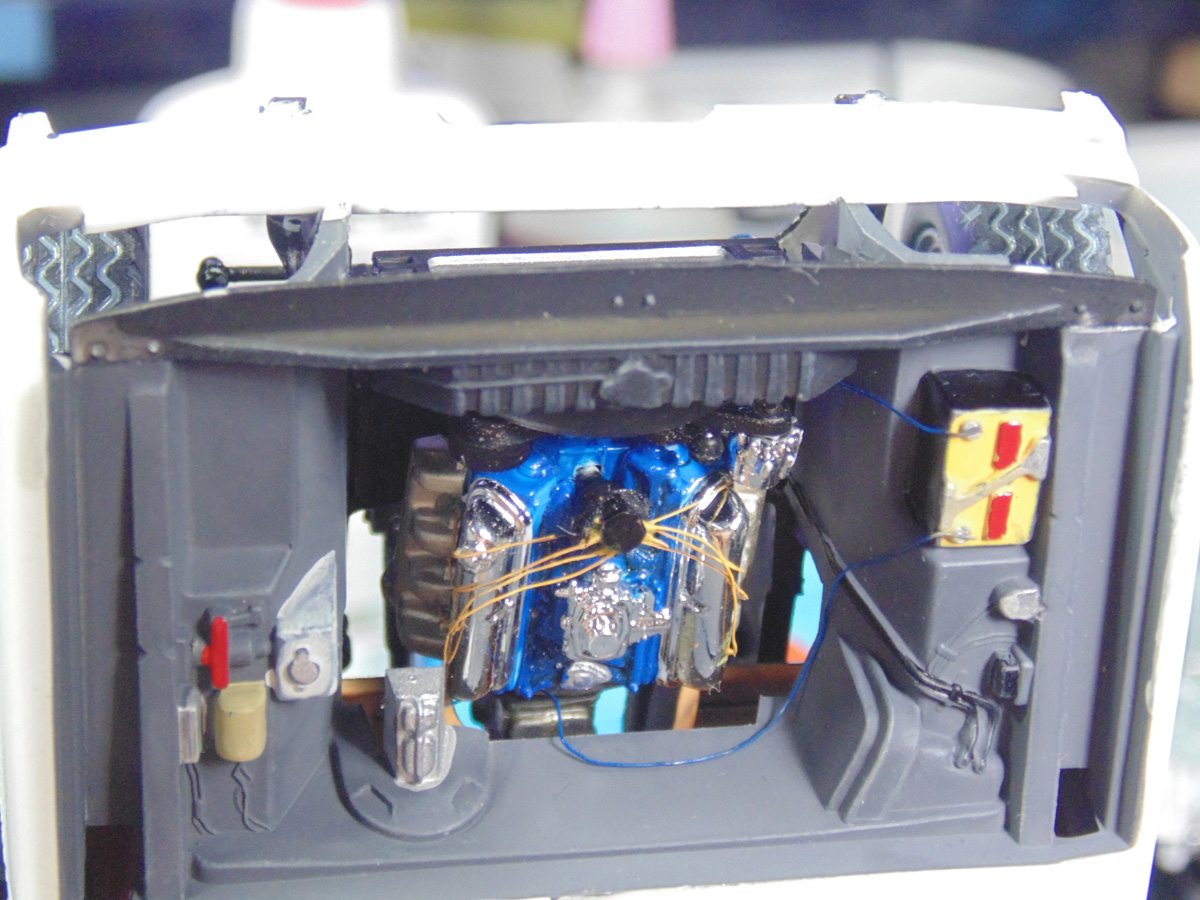
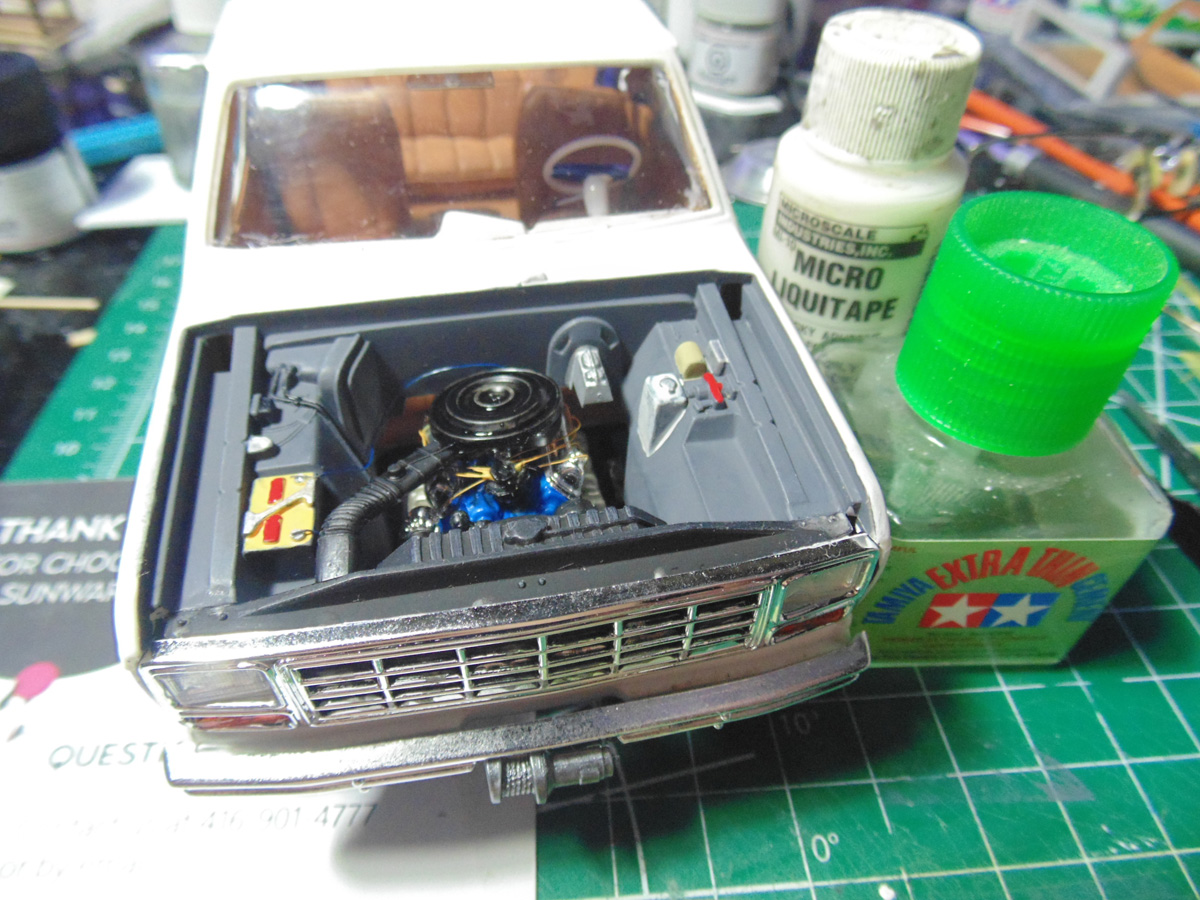
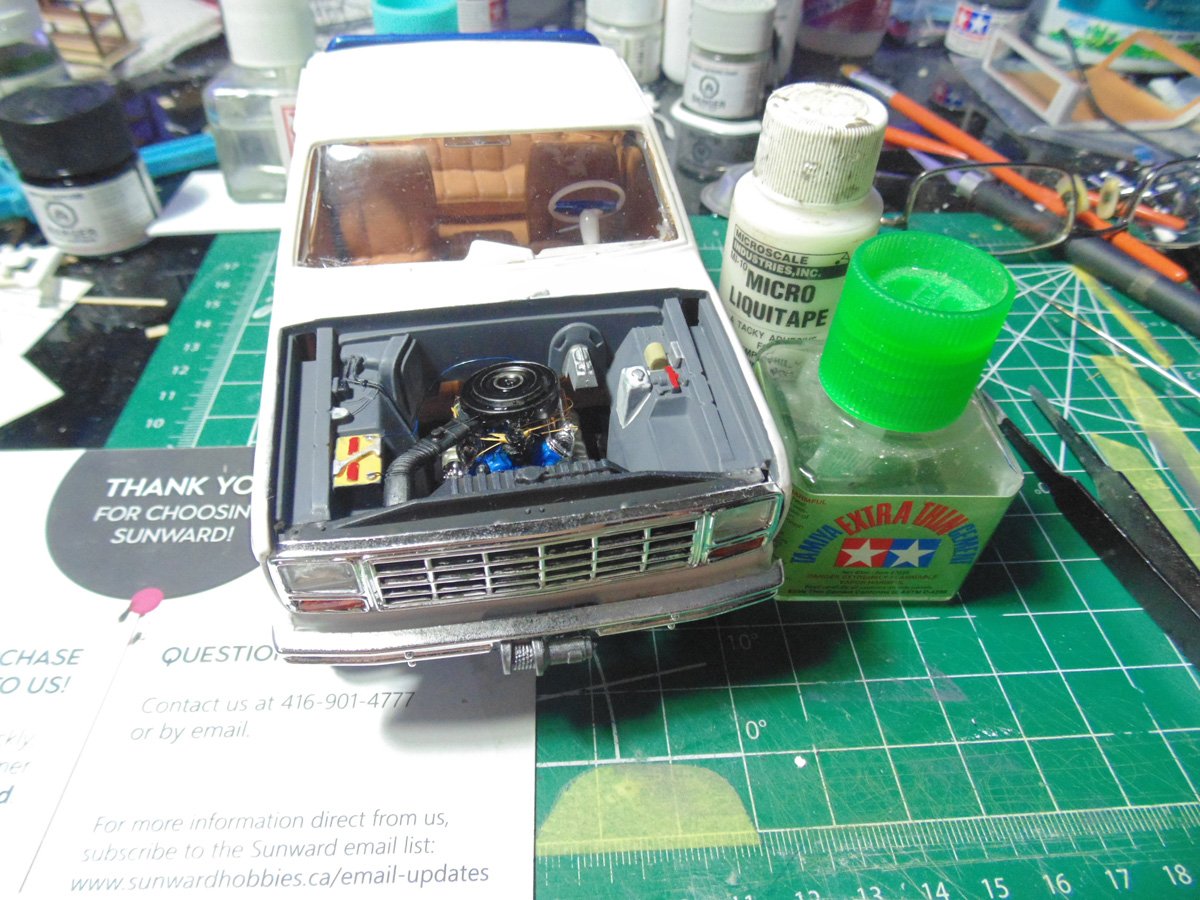
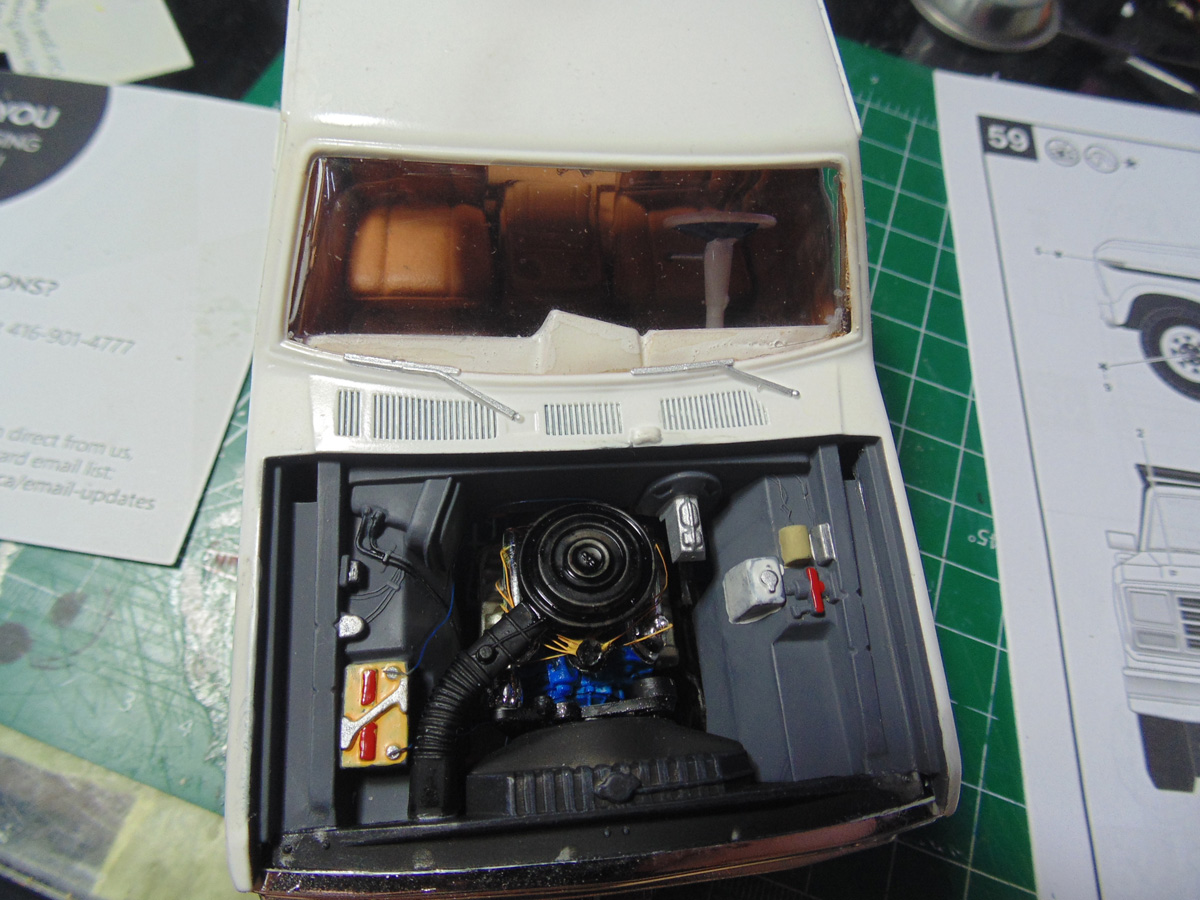
The engine bay will be open on this project since I have done a great deal of work on it. Please consider painting the grills aluminum to off-set the darker colour. The hood will be removable and viewers can see the difference.
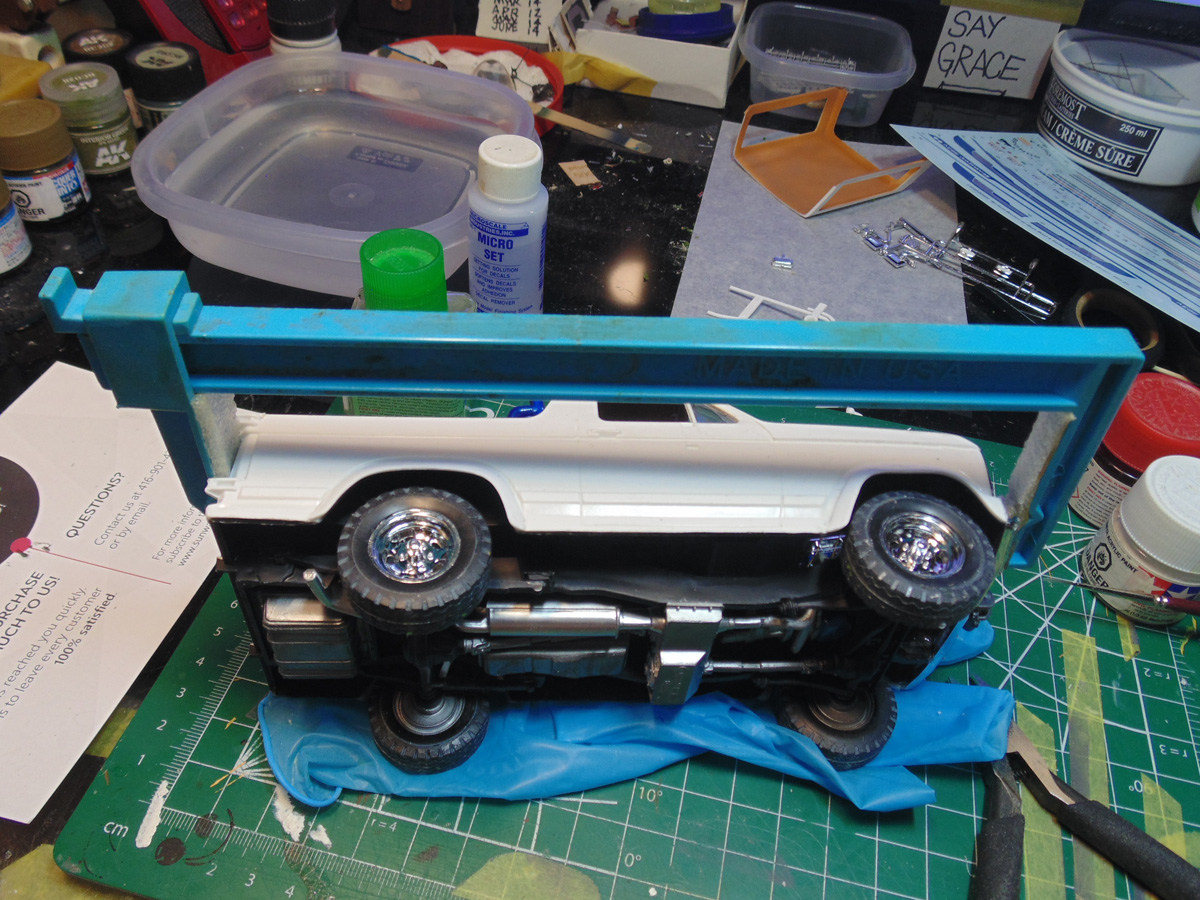
The underside is too stark; thus, I’m going to use a method that was displayed earlier. Later I will be adding more dirt pigments I bought from the Sunward store. Consider using a soft surface to place your replica on to protect it.
Adding some wiring to your replica is easy. Grab an old unused electrical device and use the fine wire in its cord. Paint it up and use CA glue to fasten it. You can go to town with how much detail is involved, ultimately the choice is yours.
To add greater highlight to the front grill you can overlap the previous colour with highlight tone. Tamiya panel line are perfect for this. Again, be sure to wipe off the excess on the tip of the included brush.
You can also dry brush the details should you wish to have an open bay. Here, I have added some colour to the battery and spruced up a few parts. There are plenty of different tones for your friends and family to enjoy when they look at it.
To get a better fit you must remove all the excess flash plastic from both the joining points. It is critical at the chrome points of connection that remove this paint. Use a blade to scrape this off before assembling the parts.
Adding the air cover is a cinch. I would recommend painting and highlighting before you attach it. You can not join this part with tweezers, it must be done by your fingers. Let the part rest for a few hours to dry and then you will be able to safely handle it. I use Microscale liquid tape as a starter then Tamiya extra thin cement to finish the job.
Be sure to test fit and remove the flash plastic from the front end to get a decent fit. It is a wonderful kit and deserves the attention.
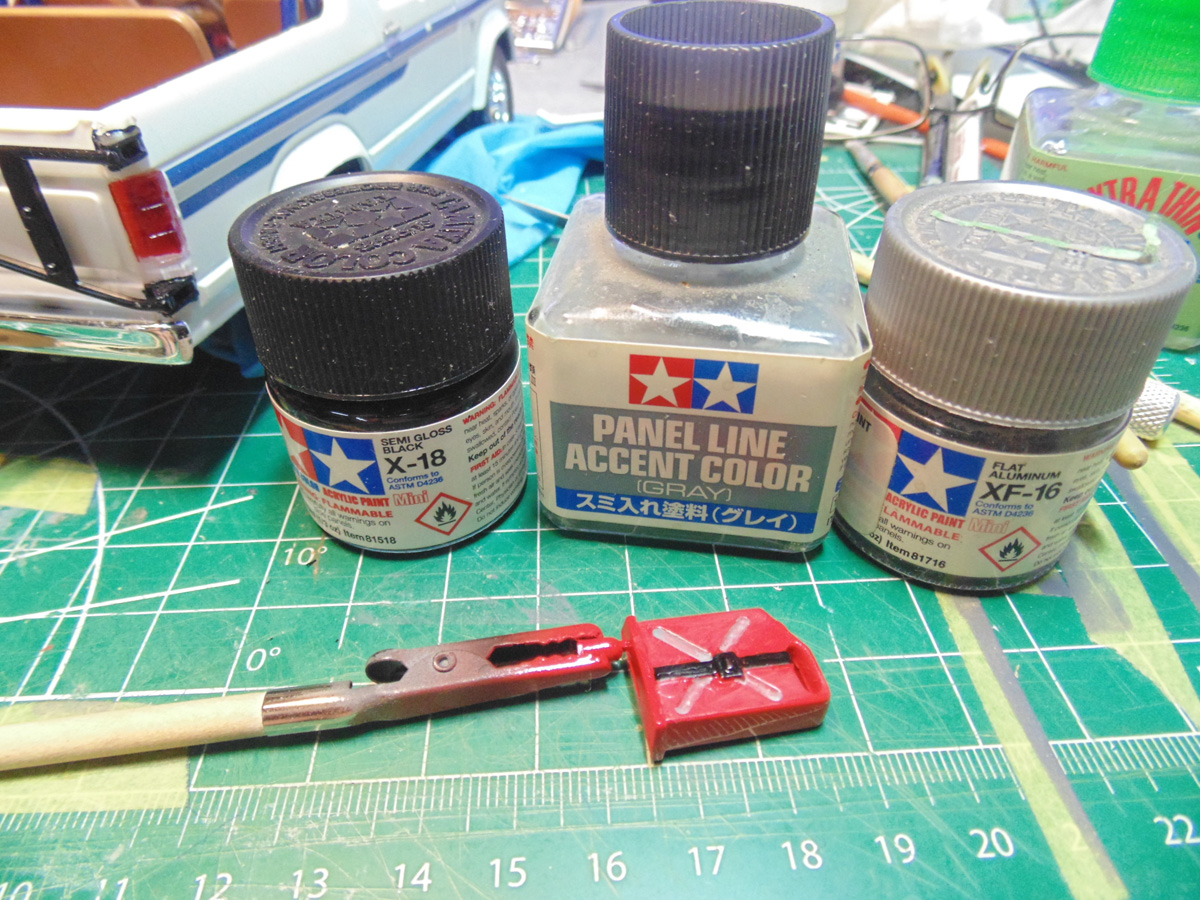
To add some more life, you can dab a little Tamiya grey panel line accent into any crevasse. These vent lines, for example, really draw out the overall look of the project. With a fine tipped brush the windshield wipers can be done as well.
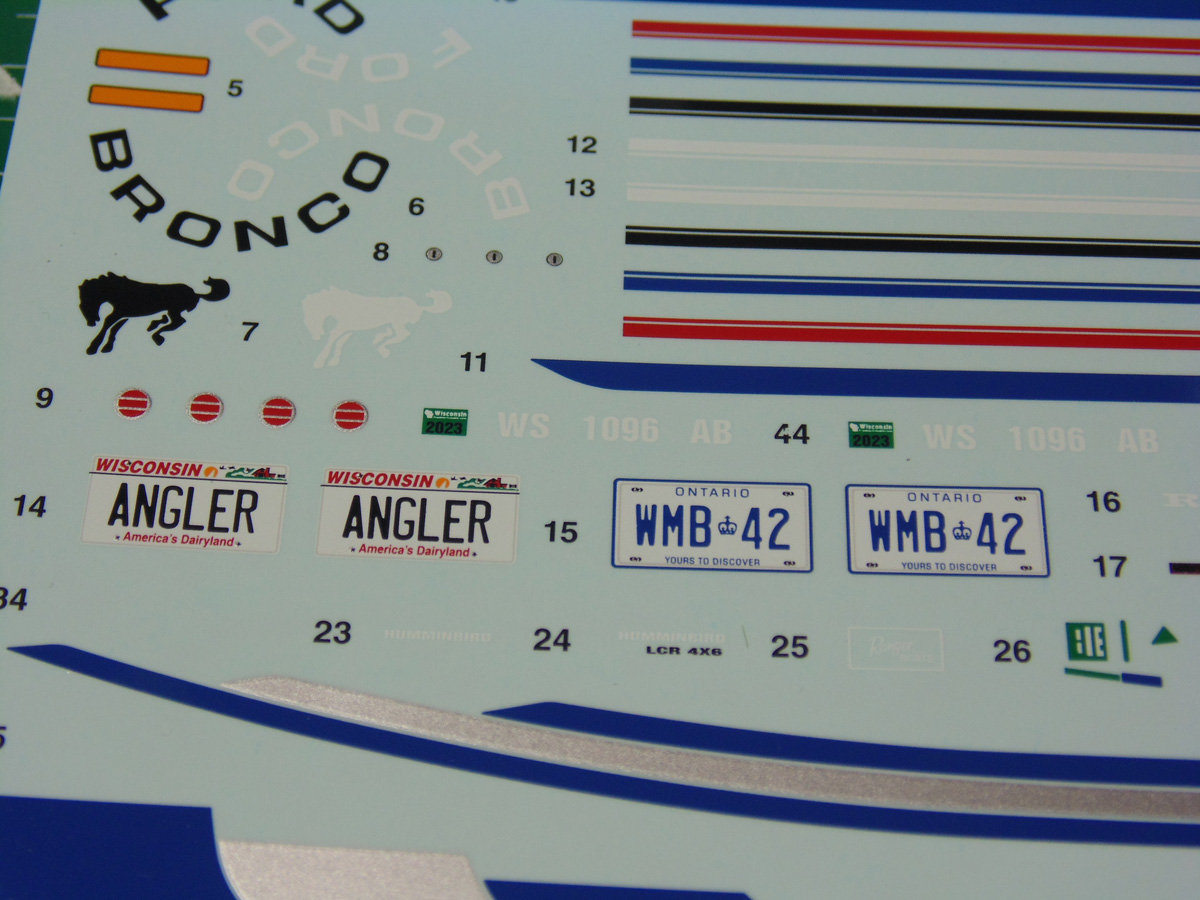
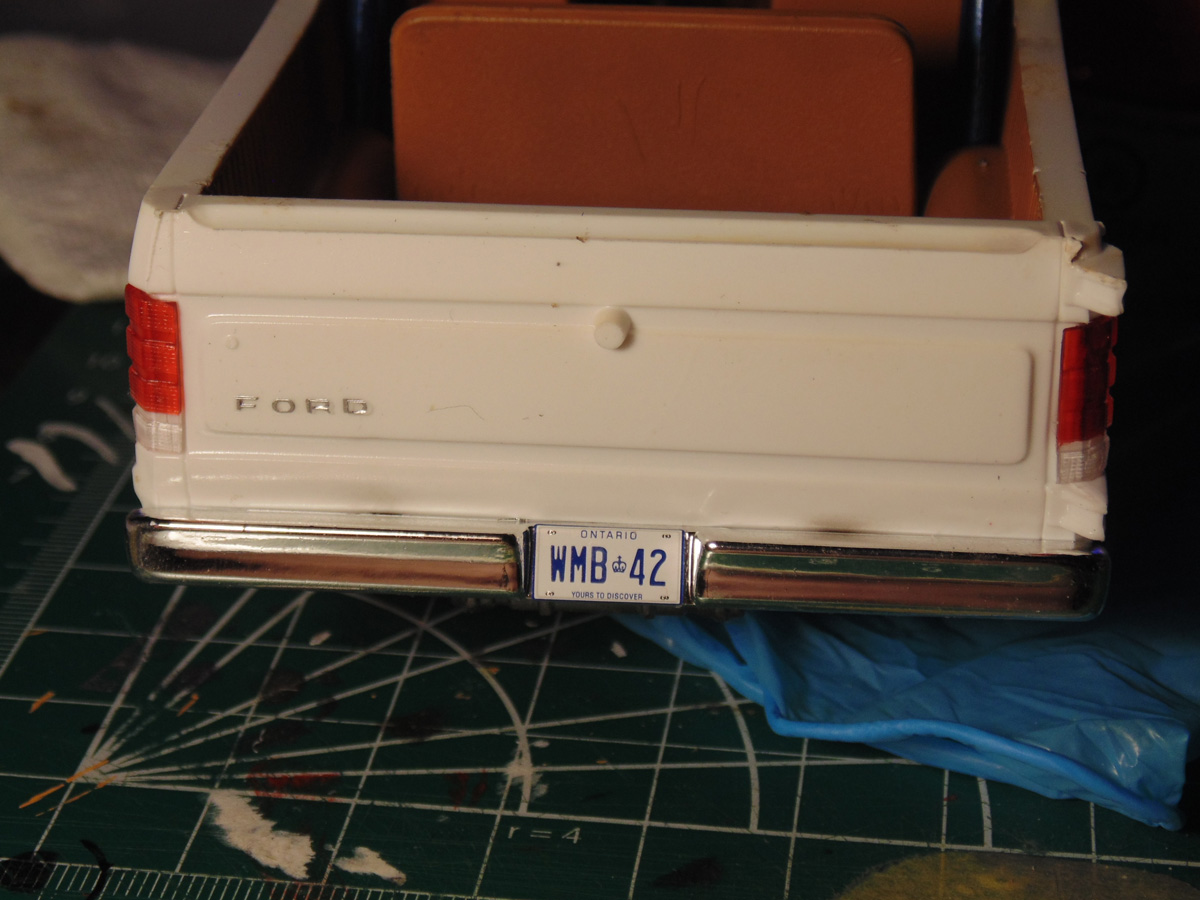
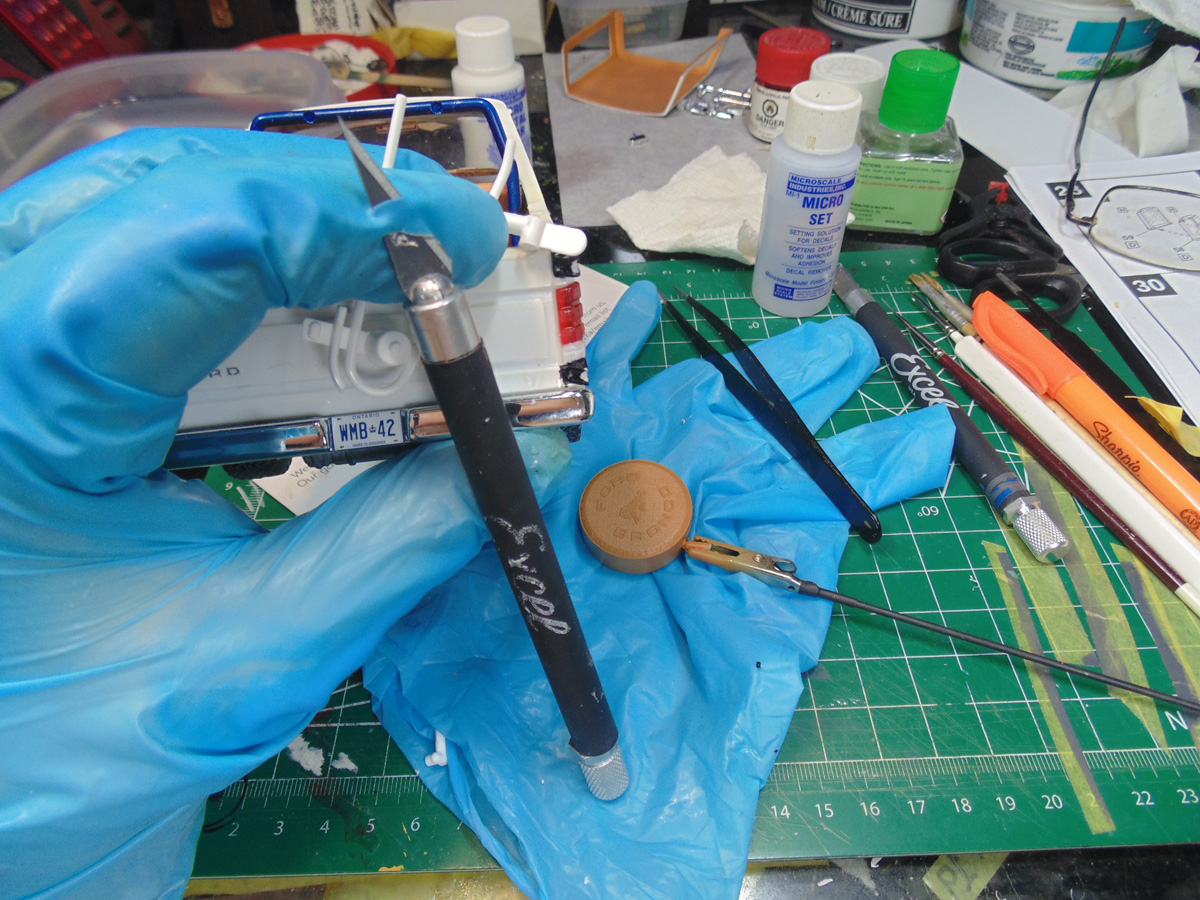
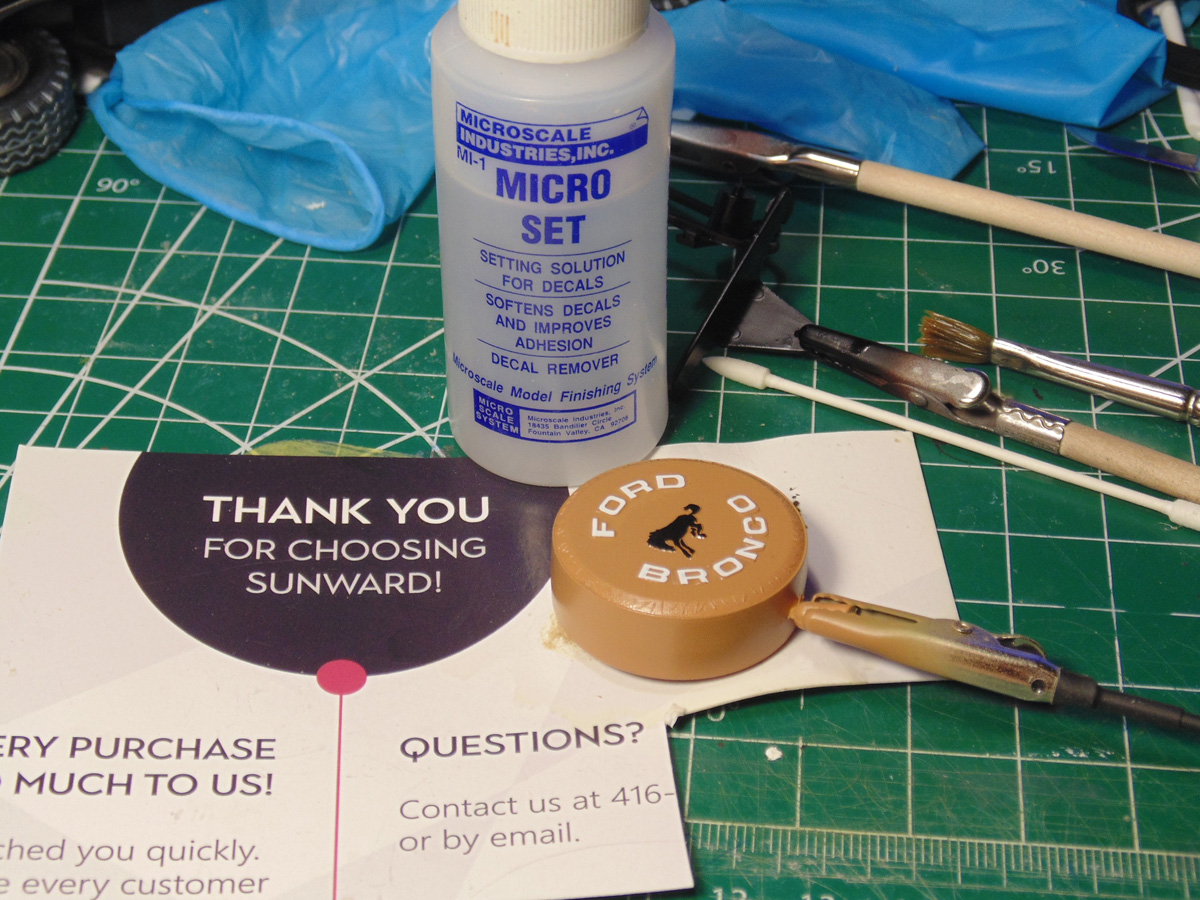
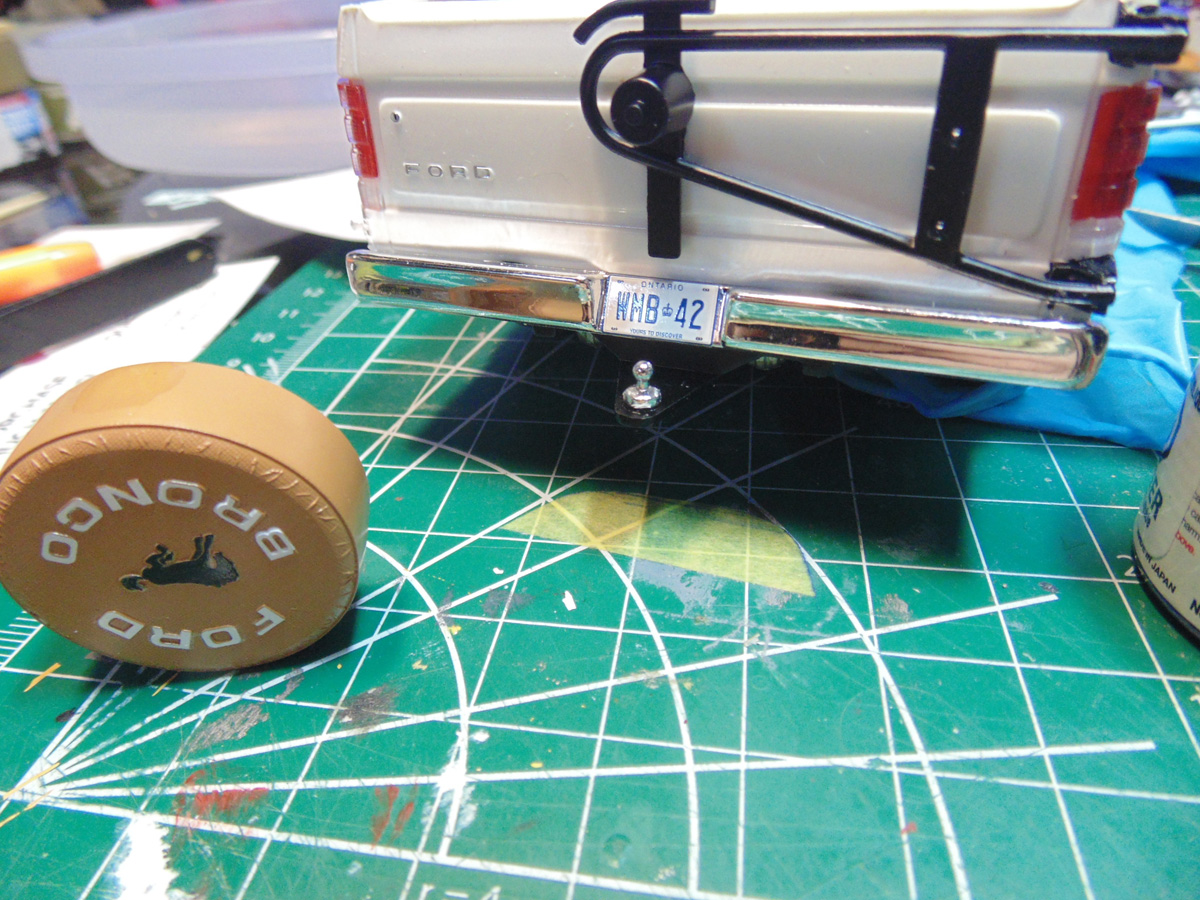
Sunward Hobbies wanted an Ontario Canada licence plate; thus, I will begin the decal adventure with that. These stencils, as mentioned, are incredibly well printed and coloured. If you want to bring any replica to life, make sure you add them.
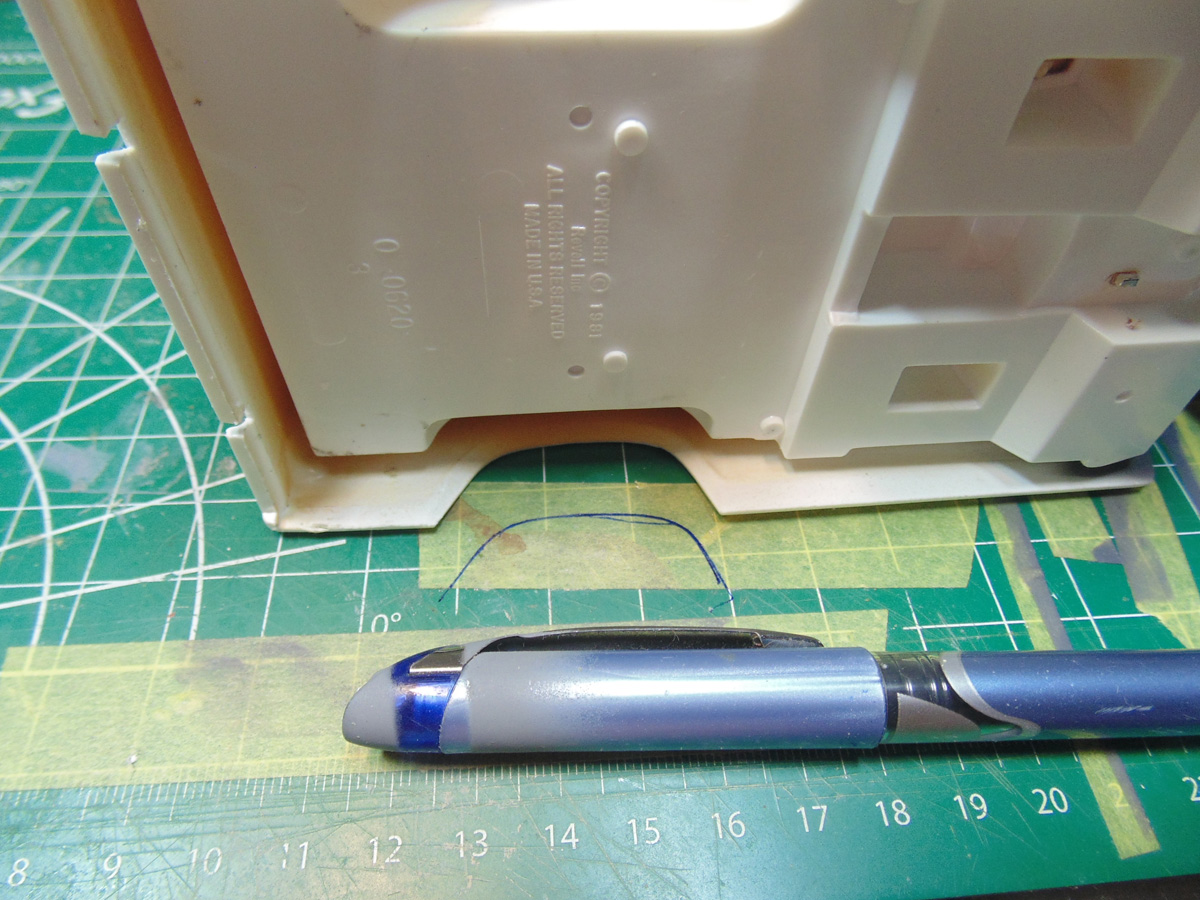
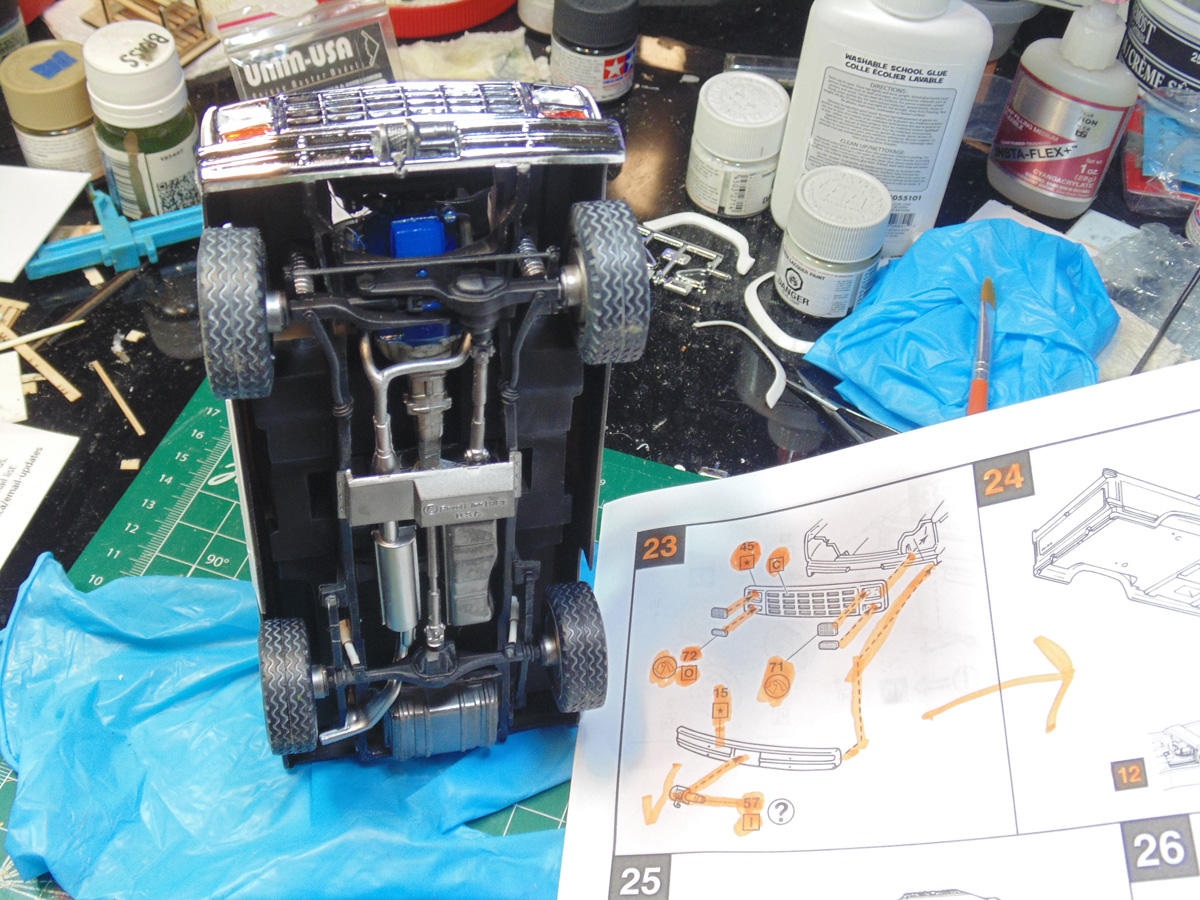
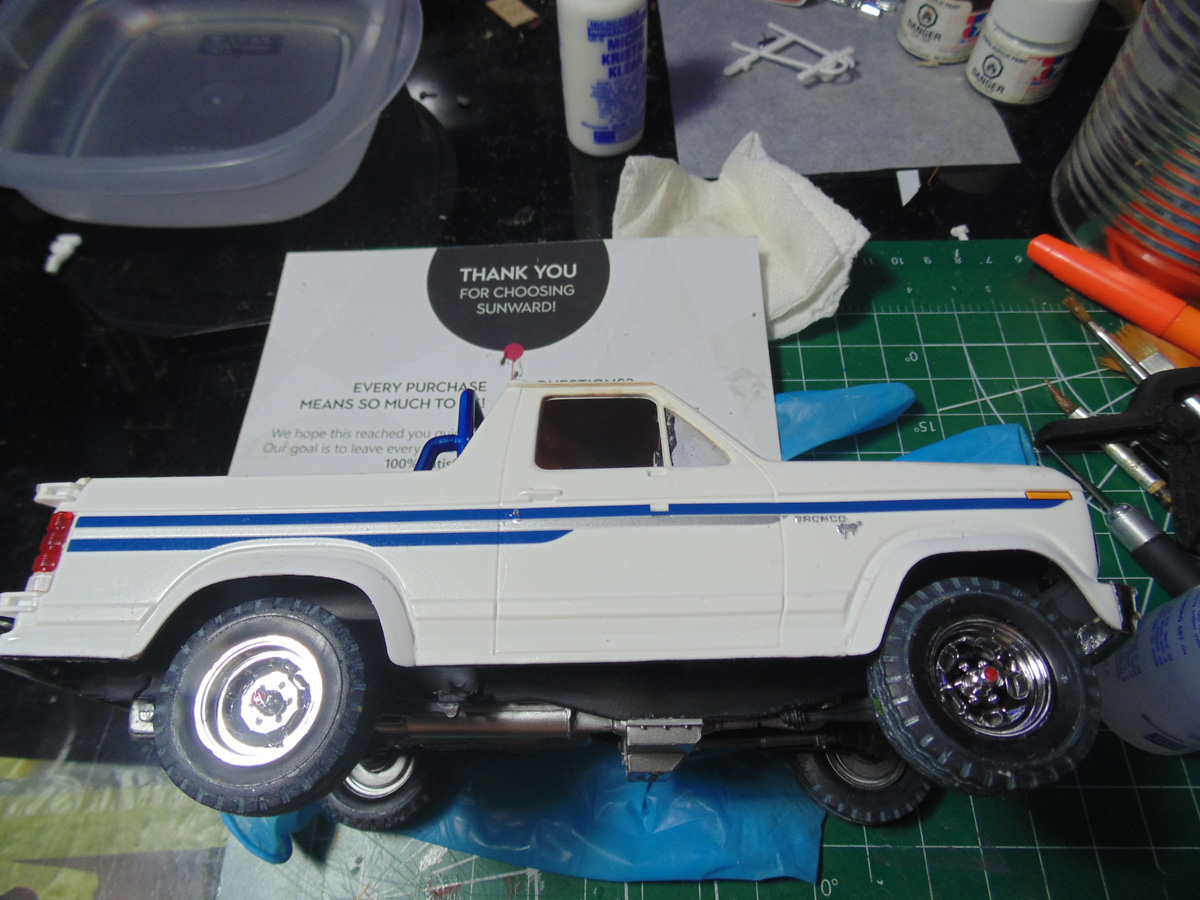
Before you go full force into applying decals there are some features to add on. The side skirts have to be bent to align up to the body. Just hold one place and wait a few minutes for it to firm up. Then gently bend the part until it marries up with the other side.
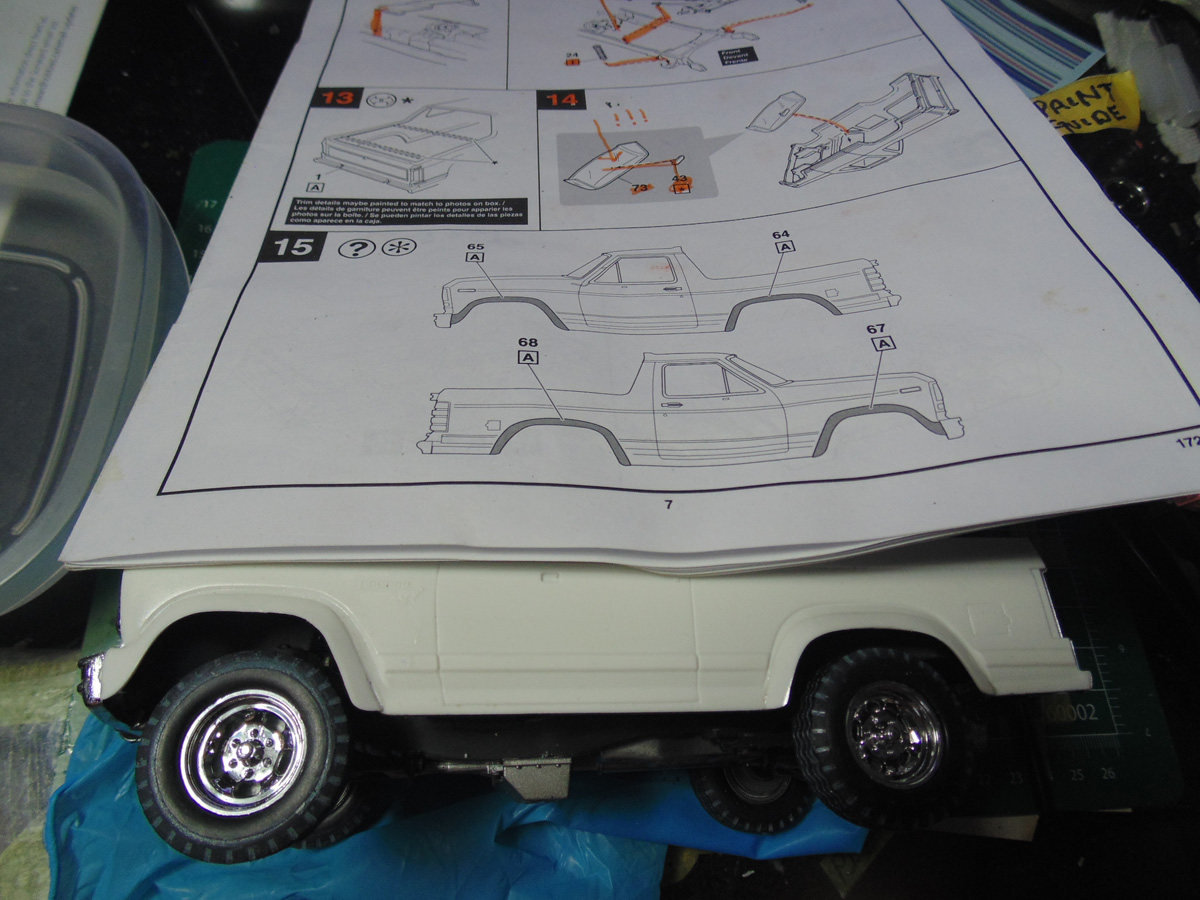
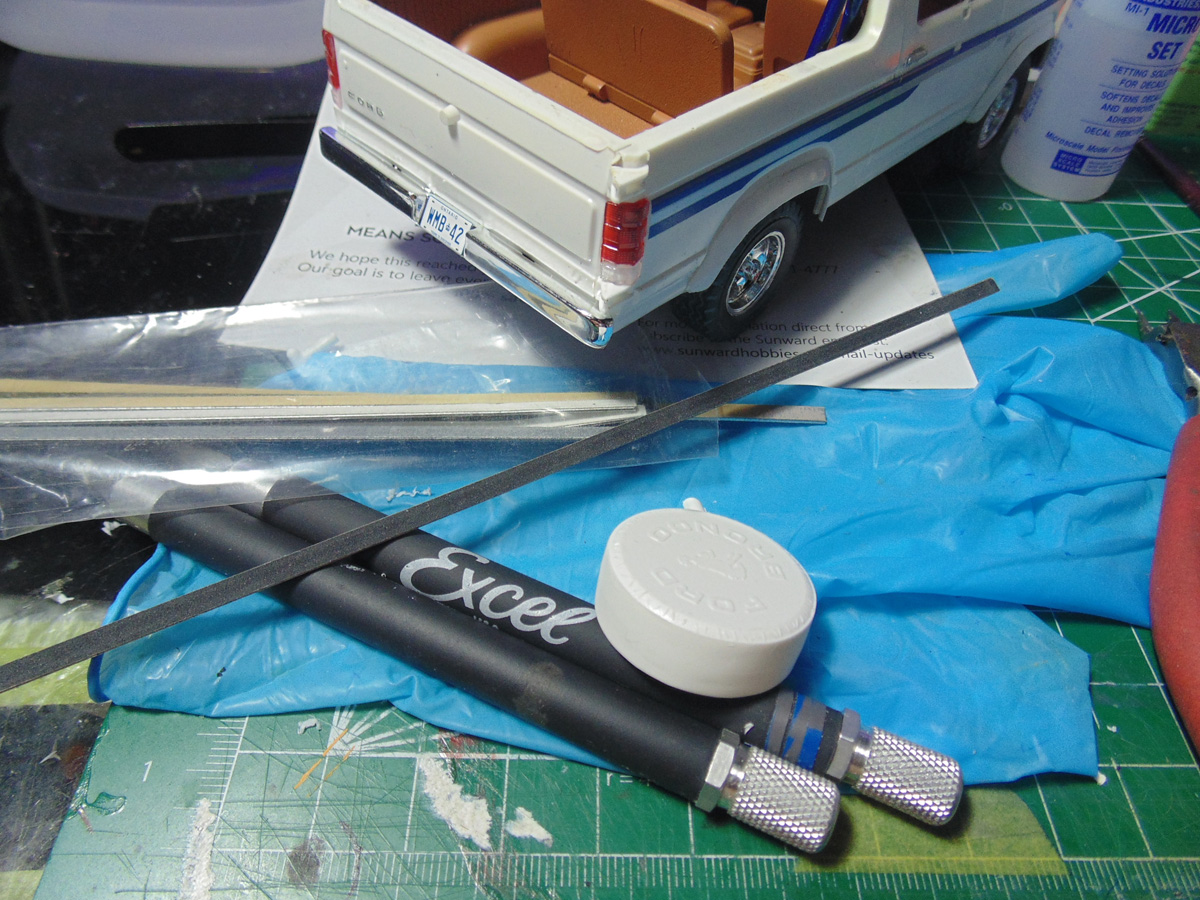
To get these skirts to fit well and look right you’ll need to clamp them. Now that they are in place you can draw together the skirts with the bumper. Pick up some long Excel blue clamps from the Sunward store to assist you in this. They sure do come in handy for many projects.
The same goes for the other side. Here is a tip, always wash these clamps after every use. They glide much more smoothly and clamp better when they are clean. There is a slight bow in the frame in order for the side skirts to match up with the bumper. You need to clamp them as tight as possible and let the cement harden for a few hours.
And now for some more fun by adding decals. The licence plate looks really great and white contrasts perfectly with the tone of the truck colour. The added decals of the insignia are a welcomed addition. These slip off the backing paper super quick and make the process enjoyable.
I always use warm filtered water when applying decals. Naturally you will have to add a setting solution prior to placing them. This acts as a way to move them around and letting them cling to the painted surface once they are drying.
There are four letters for the bonnet front. Use the least amount of setting solution so you can line up the edges. It is immensely easier to add a decal than to hand paint these fine details.
To attach the rear parts, you must first clean away the plastic points. Also, to bring more realism into your project, consider sanding down the back tire part. It is easily noticed and something you can point out to your friends and family after the build is completed. Use some thin sanding sticks you buy at the Sunward store to complete this task.
The frame rail of the back tire and fuel tank need to be cleaned away of plastic flash. Wear gloves when doing this to save yourself a bunch of time polishing the chrome parts. Please note that I airbrushed the spare tire cover in the same tone as the interior, it just made sense.
Revell provided you with plenty of options when it comes to the look of your replica. All I’m doing is to showcase some of the ideas you might hand in your mind as to how yours will appear. The back tire namesake are very detailed, yet need some slight careful placement. Flood the area with setting solution so you can work these stencils around.
Let us finish up the back end. Some panel line accent will complete the job. You can pick up all these products at Sunward Hobbies.
Make sure you test fit the spare tire. It gave me some trouble; thus, I hollowed out the inside of the tire inside. The pivot point at the back has to be completely shaved off of any flash in order to fit. Take your time when doing this, remember it is a kit from the early eighties.
And here you have it. Let us go fishing. Oh, wait, I forgot the boat.
If you have any questions about the products used in this article, please feel free to ask the staff when you pick up or place your next order from Sunward Hobbies.
H.G. Barnes is a former voice-over artist and retired sales and marketing professional. He’s the author of two large volume science fiction adventure romance novels with many more in the works. For well over 40 years he’s been building scale model replicas and now does commission work for clients in Canada and the USA, plus completes projects for companies in Asia and Europe.
Currently H.G. is involved as an Associate Editor with KitMaker Network’s Online Magazine Channels.