
Ford Bronco Bass Boat & Trailer Build Part 5
In this Sunward Hobbies build tutorial article I’ll be showing part five of the project. At this point you can have an amount of fun completing a few steps and learn some tips. The Revell 1980 Ford Bronco with Bass Boat and Trailer Set Gone Fishin 1/24 Scale 17242 85-7242
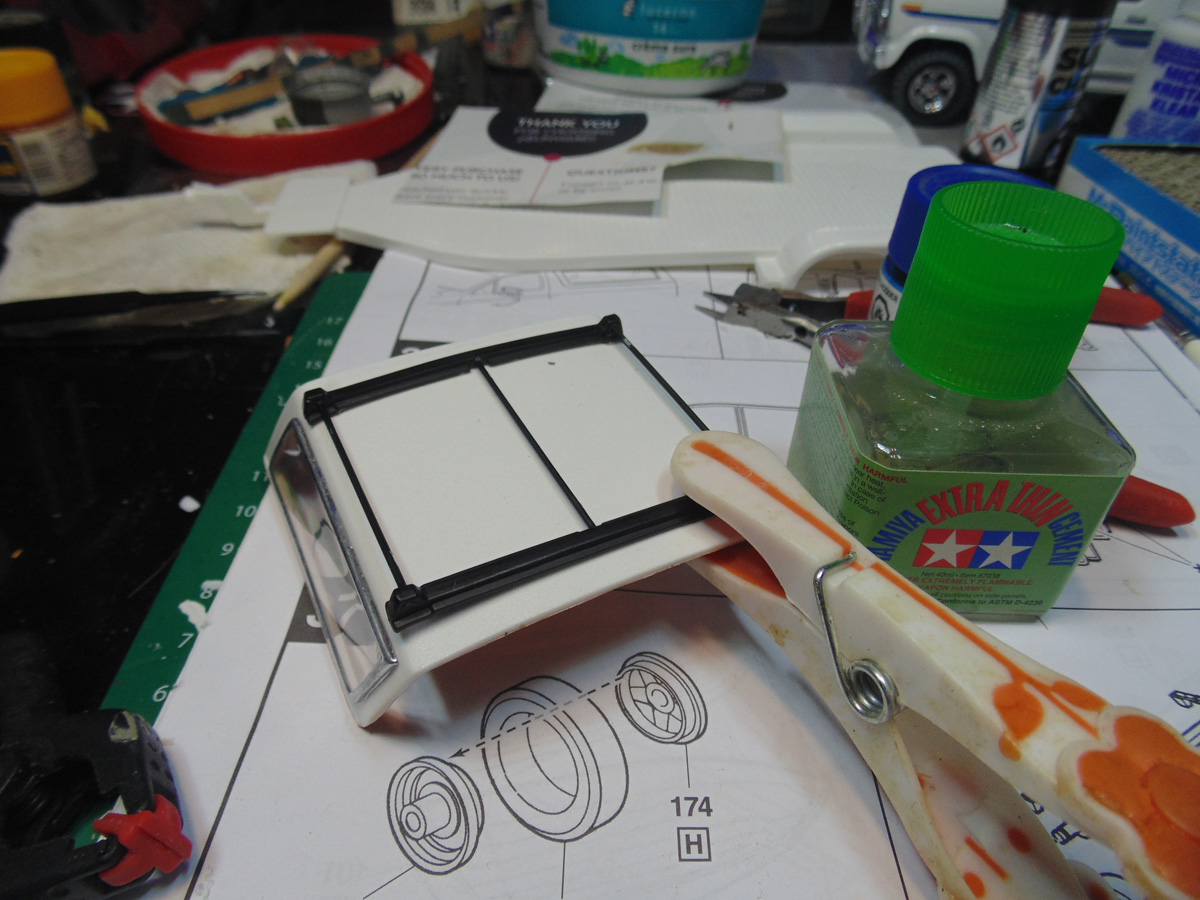
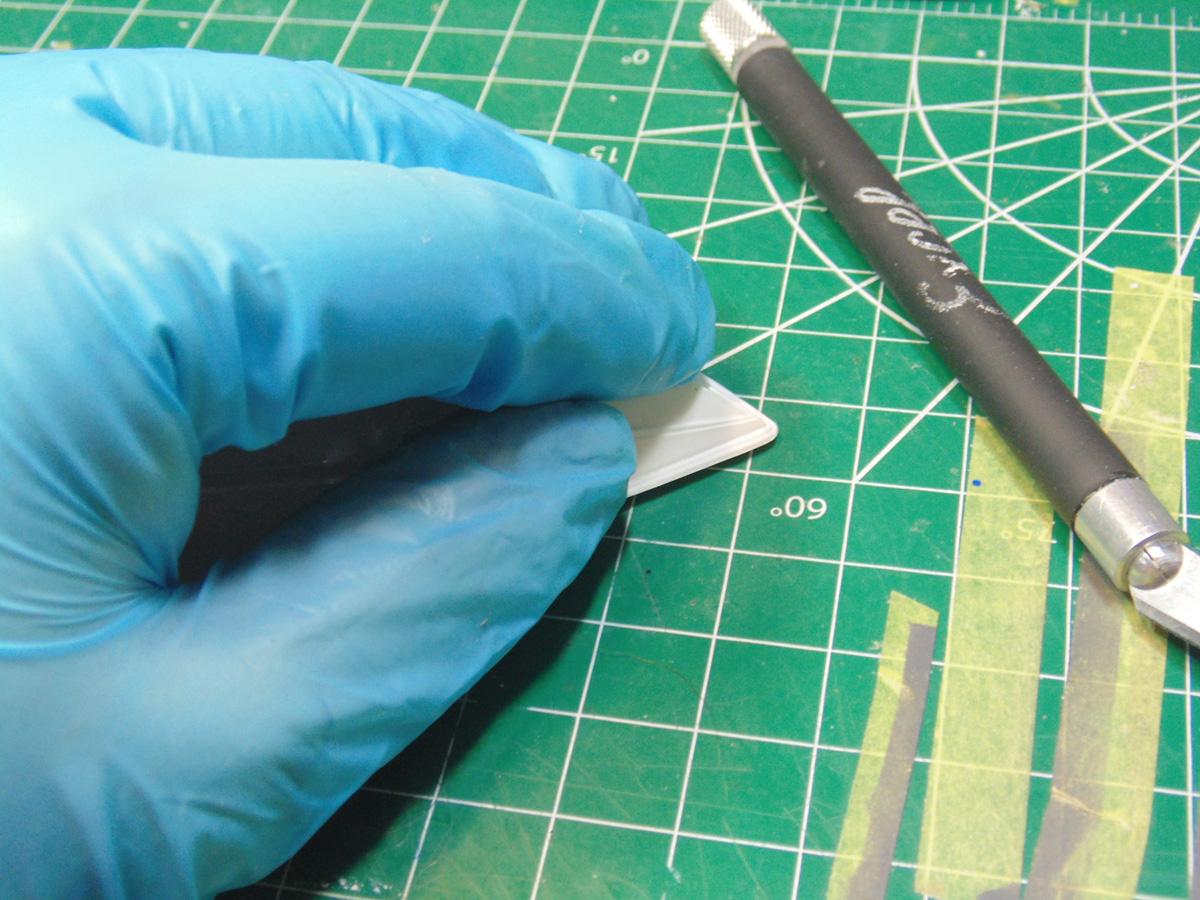
I’ll be showing you the alternatives of the look. After all, it is your model. For the clear parts on the back soft-top, I would suggest using Microscale Kristal Klear MI9 in a few tiny spots to help you align each part. Once this PVA glue has hardened you can use Tamiya Extra Thin Cement or Mr. Hobby extra thin cement to make the final bond.
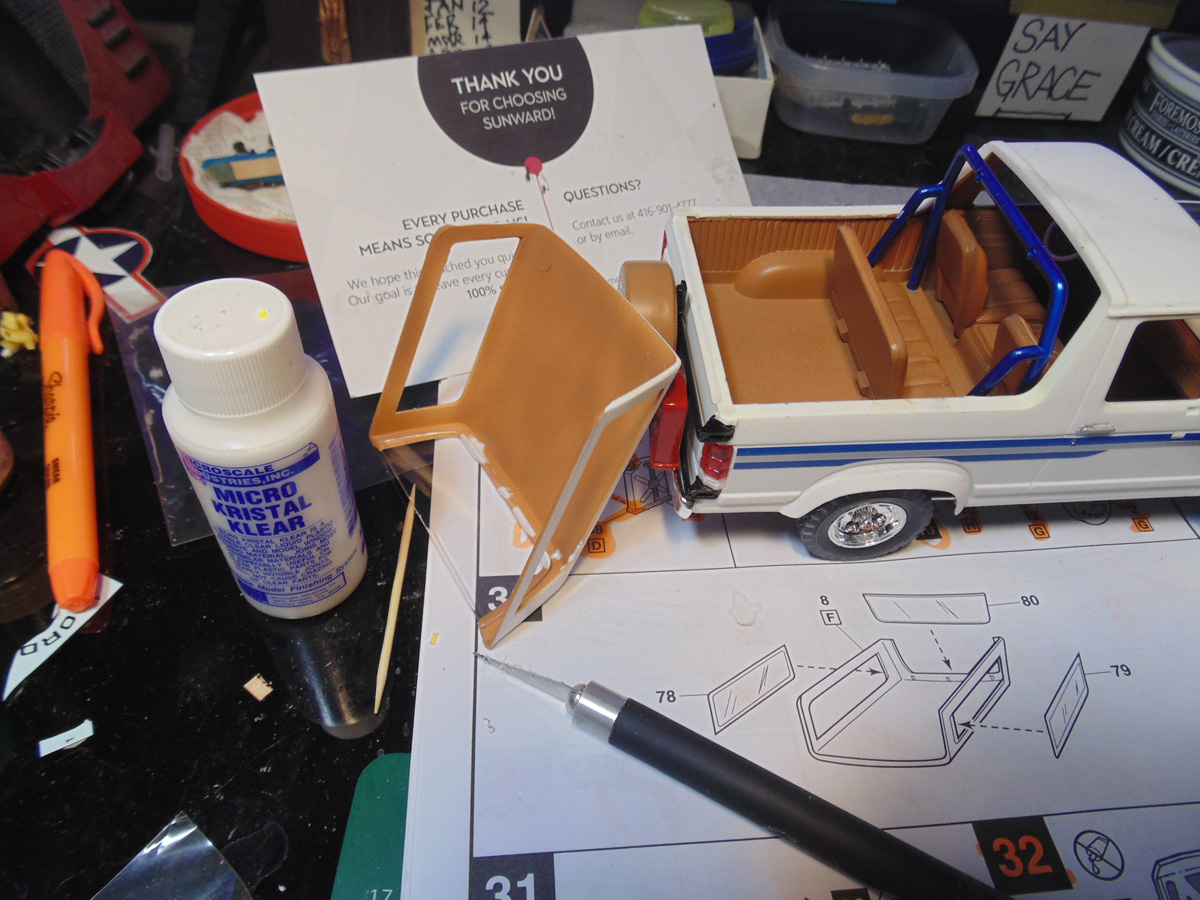
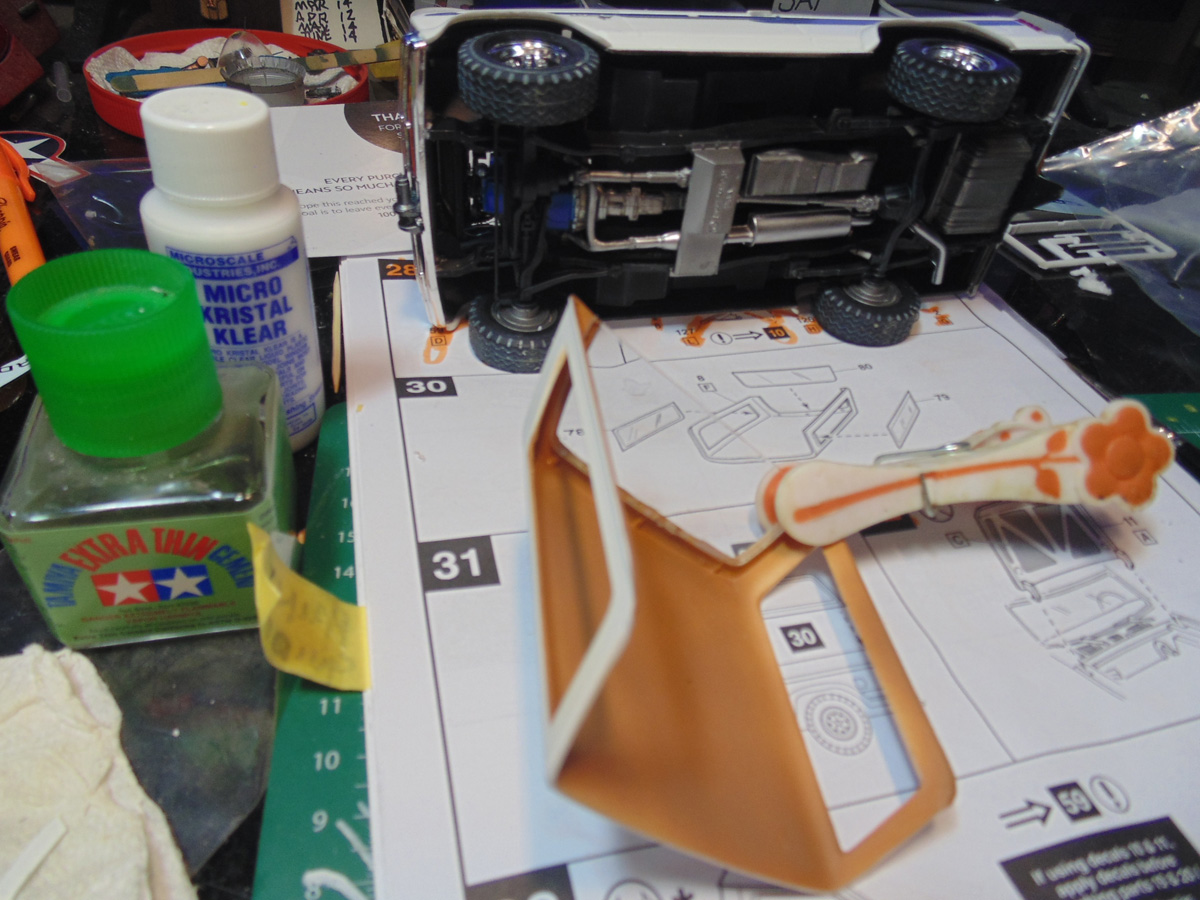
The parts have a little flex in them. Use some clamps to bind them. Do not fret about any excess PVA inside the plastic part because it will never be seen, should you opt to go with this option. The excess which can be seen on the outside can be easily removed with a blade and a toothpick.
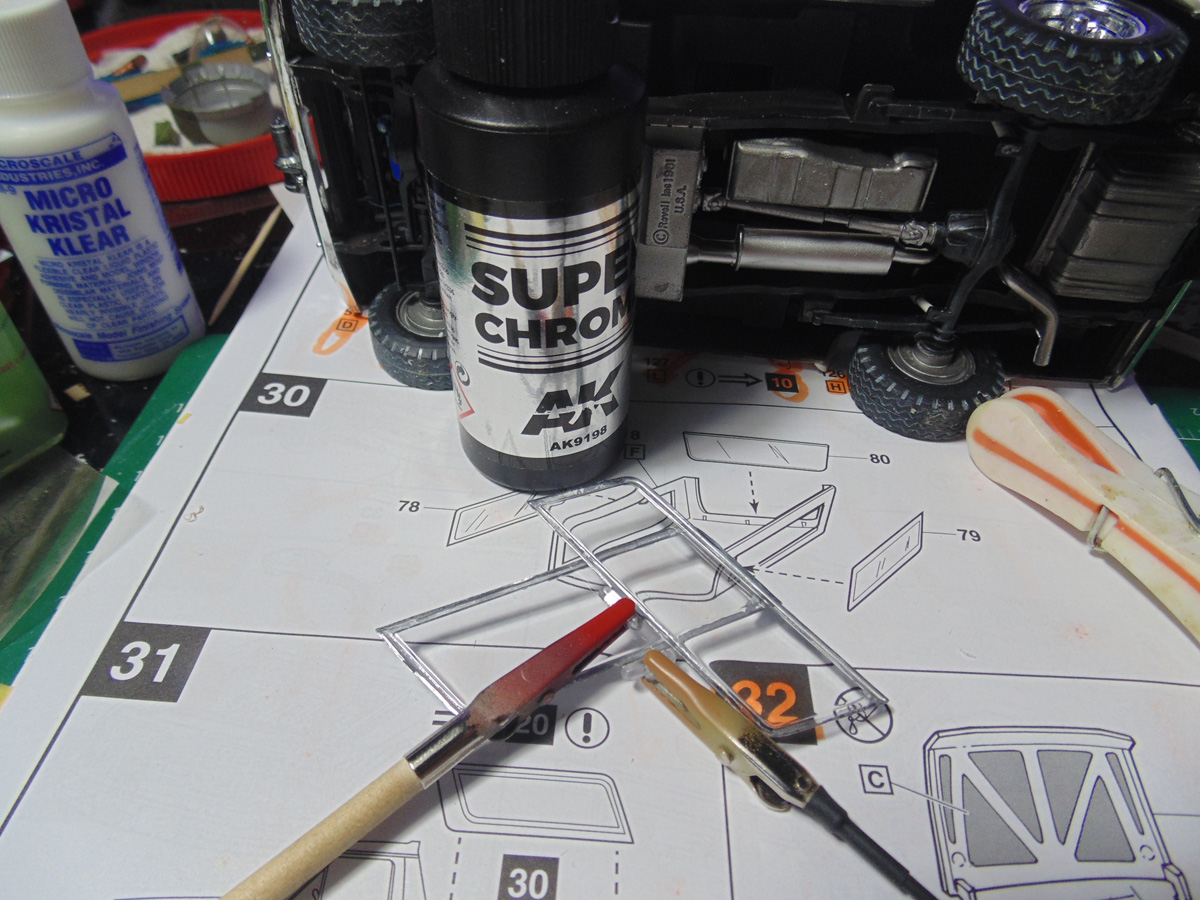
Here I am using AK Interactive Chrome for the edges of the side windows. Keep these items on part sticks you can buy from the Sunward store. It is much easier to handle them when free-painting. Rest the stick against the edge of your bench for greater control and use a minimal amount of the paint on your brush.
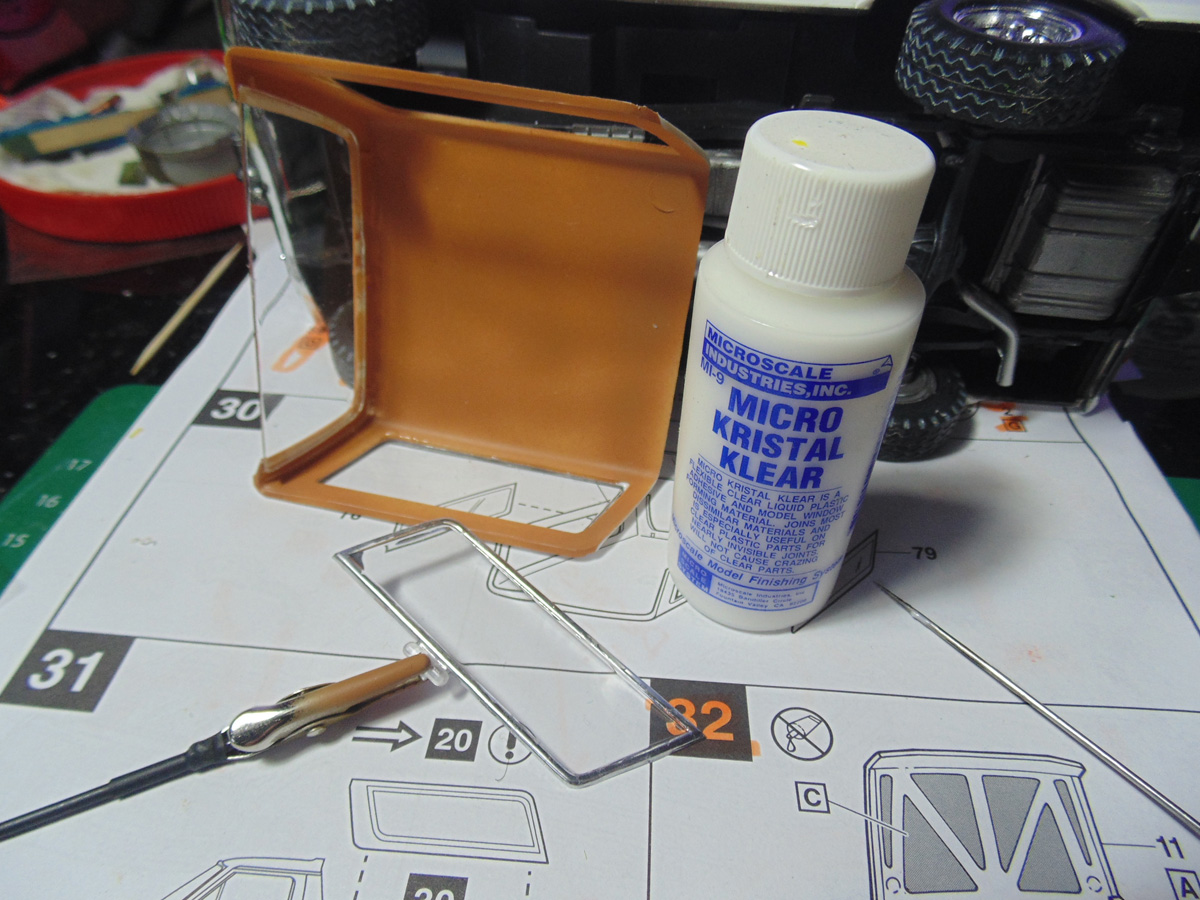
The windows have to be placed on the outside of the soft-top, so make sure you have the alignment right. There are no connection points. Use some more PVA at the very edge of the outer opening of the plastic part and let it dry for a few minutes. Then you can rest the clear part carefully in place and make minor adjustments.
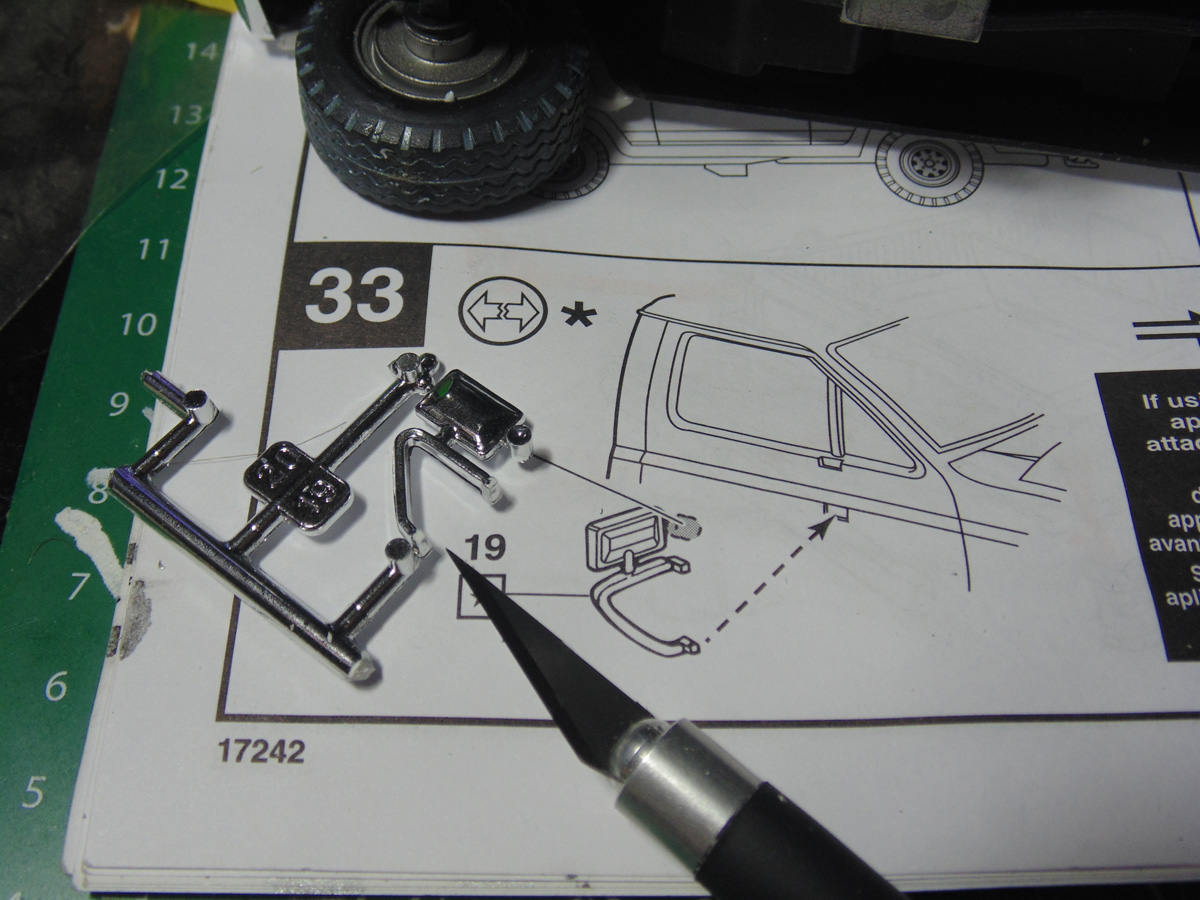
In step thirty-three you absolutely have to remove the factory chrome plating from the connection point of the side mirrors to get a solid bond. Use the back of a number eleven blade to do this and remove the flash plastic for it to fit into the slots on the door.
In step twenty five there is a lot of plastic flash to remove from the chrome parts and radiator assembly. This is a model kit from the early eighties, so that should be expected and excused. That said, you must slowly remove it and continue to test fit until the parts fit to your liking.
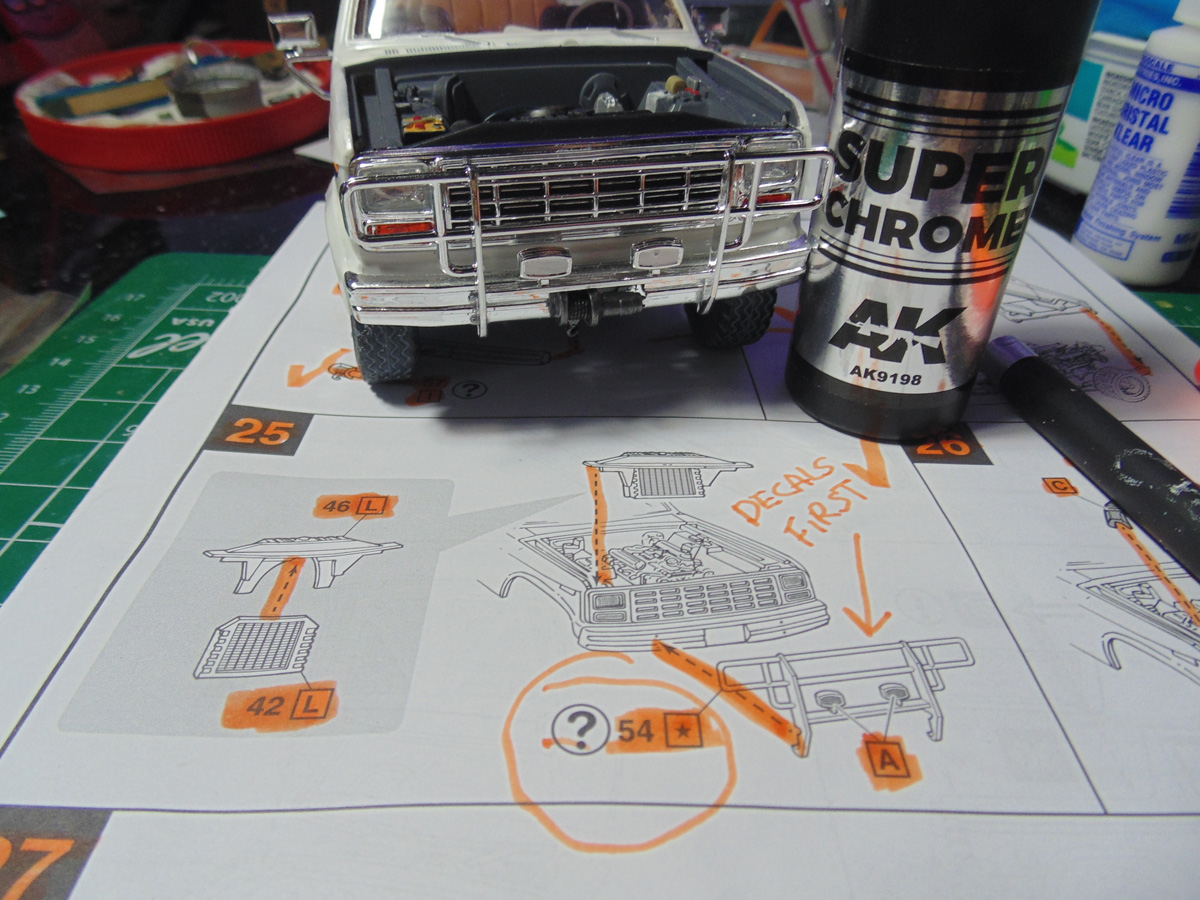
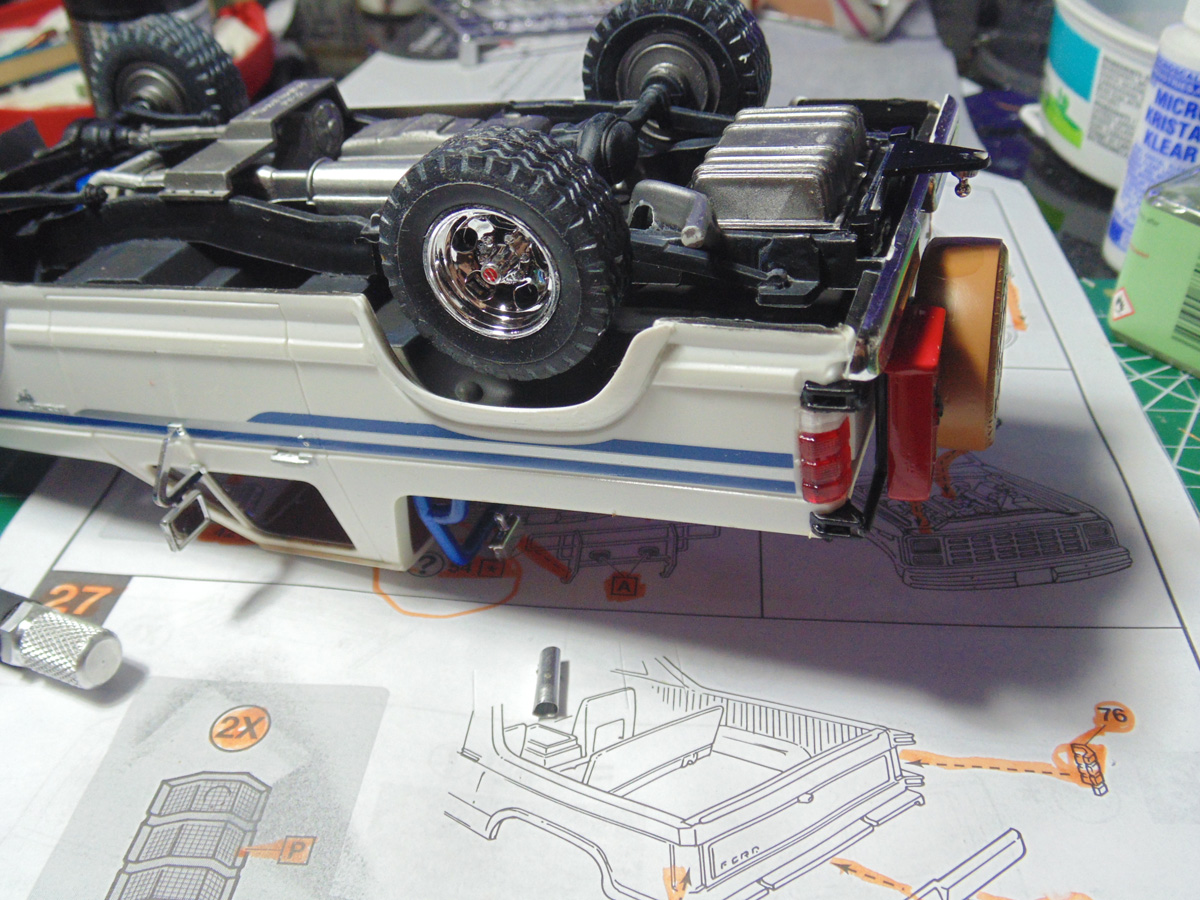
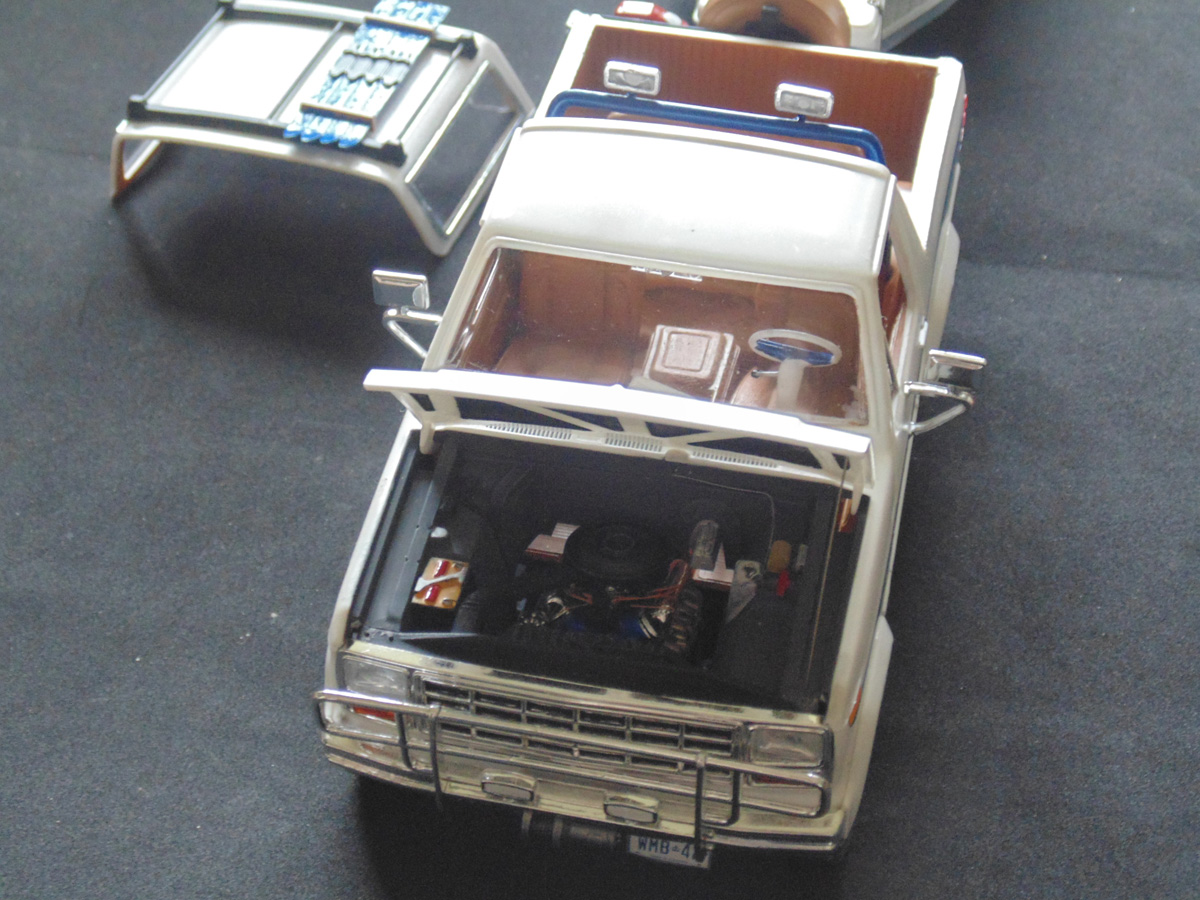
A nifty little idea is to drill a partial hole into the side of the engine bay and hood and add a metal rod to hold open the bonnet to display your work. A little bit of wire for the windshield wipers is another easy thing to pull off. Simply drill a hole.

Because the winch was placed where the licence plate would go, I am offsetting it below the bumper. Scuff up some common tin or aluminum then snip away the unwanted areas.
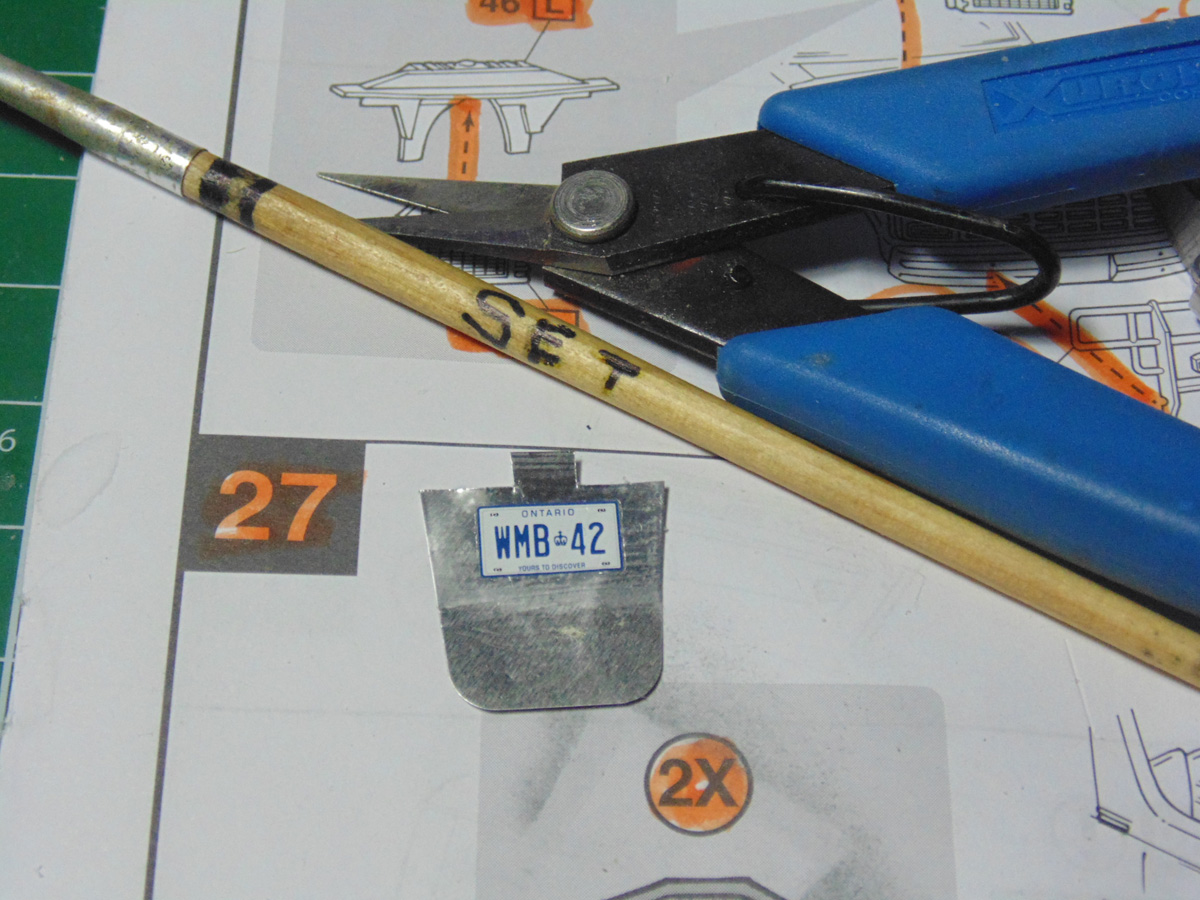
Use a high-quality BSI CA glue you can purchase from the Sunward Hobbies store to affix this metal and make sure to scrape chrome plating from the bumper part.
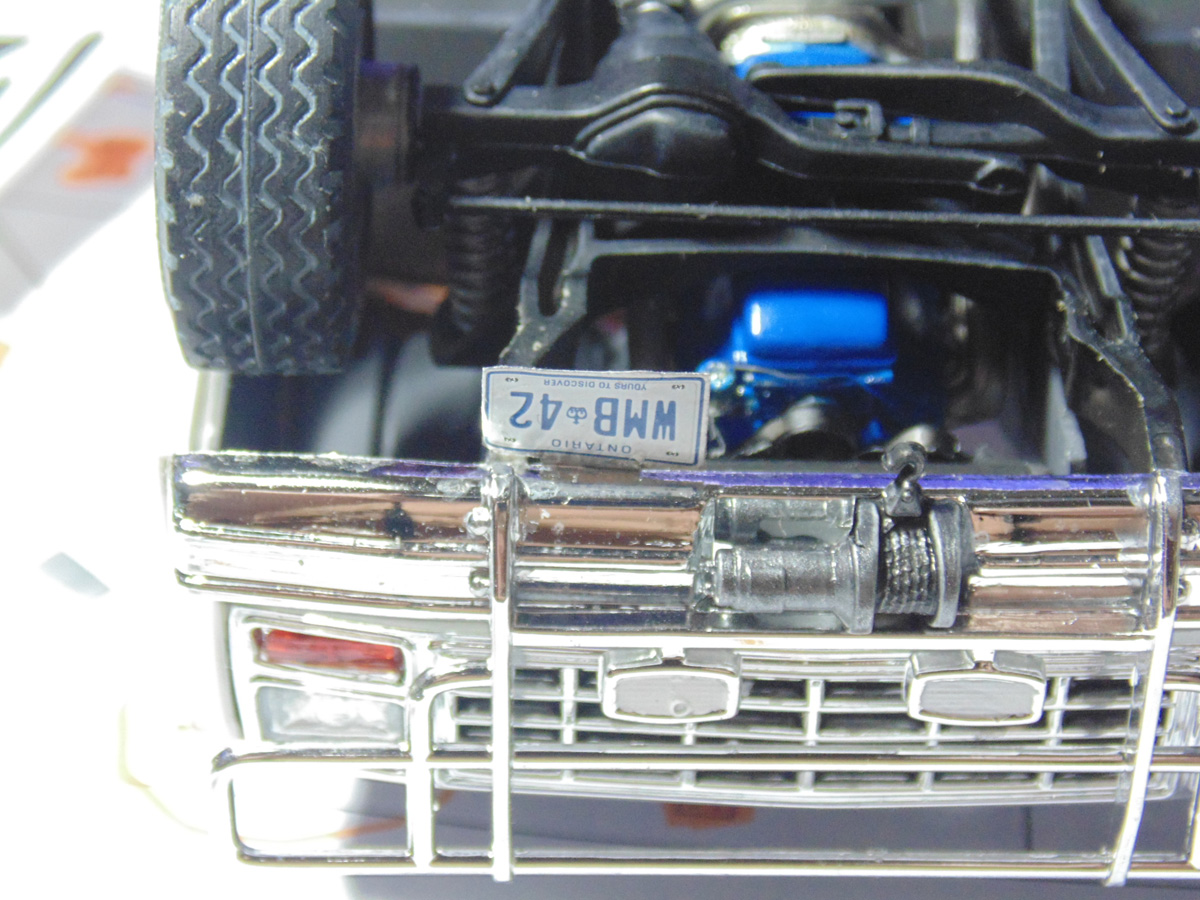
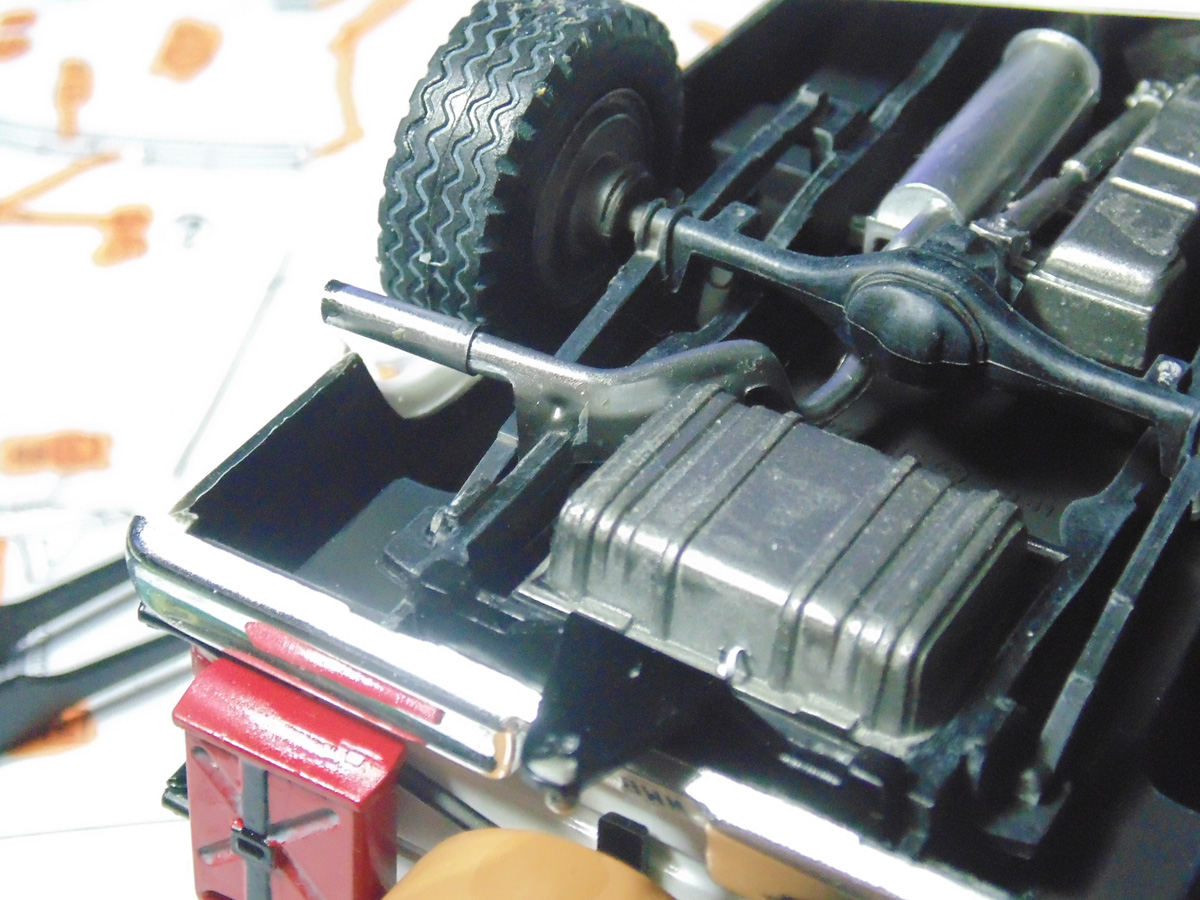
Another cool thing you do is make an extension to the plastic exhaust part. To my eyes the part is way too short. Use the same tin or aluminum and wrap it around one of the sprue trees.
It is a very simple thing to do and adds so much more life to the project. Besides, this is already a tricked-out truck and something I always added to my vehicles. A bit of dark weathering will add even more realism.
In step 34 the roof rack parts need to be glued in place on one side and left for a few minutes. They are delicate but will flex for you to assemble them.
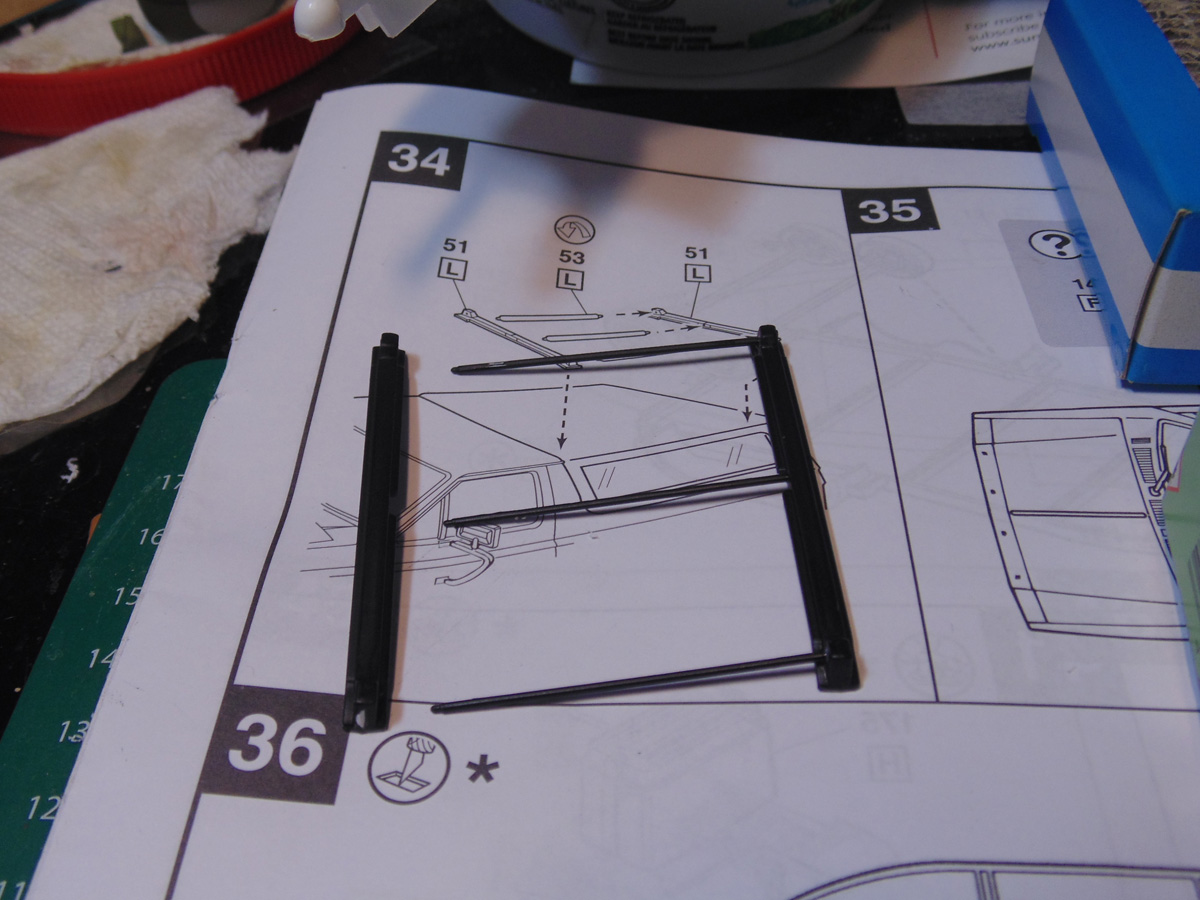
You will also have to carefully remove some material from the connection points to get a better fit on the roof. There are no guide pins so use your best judgement.
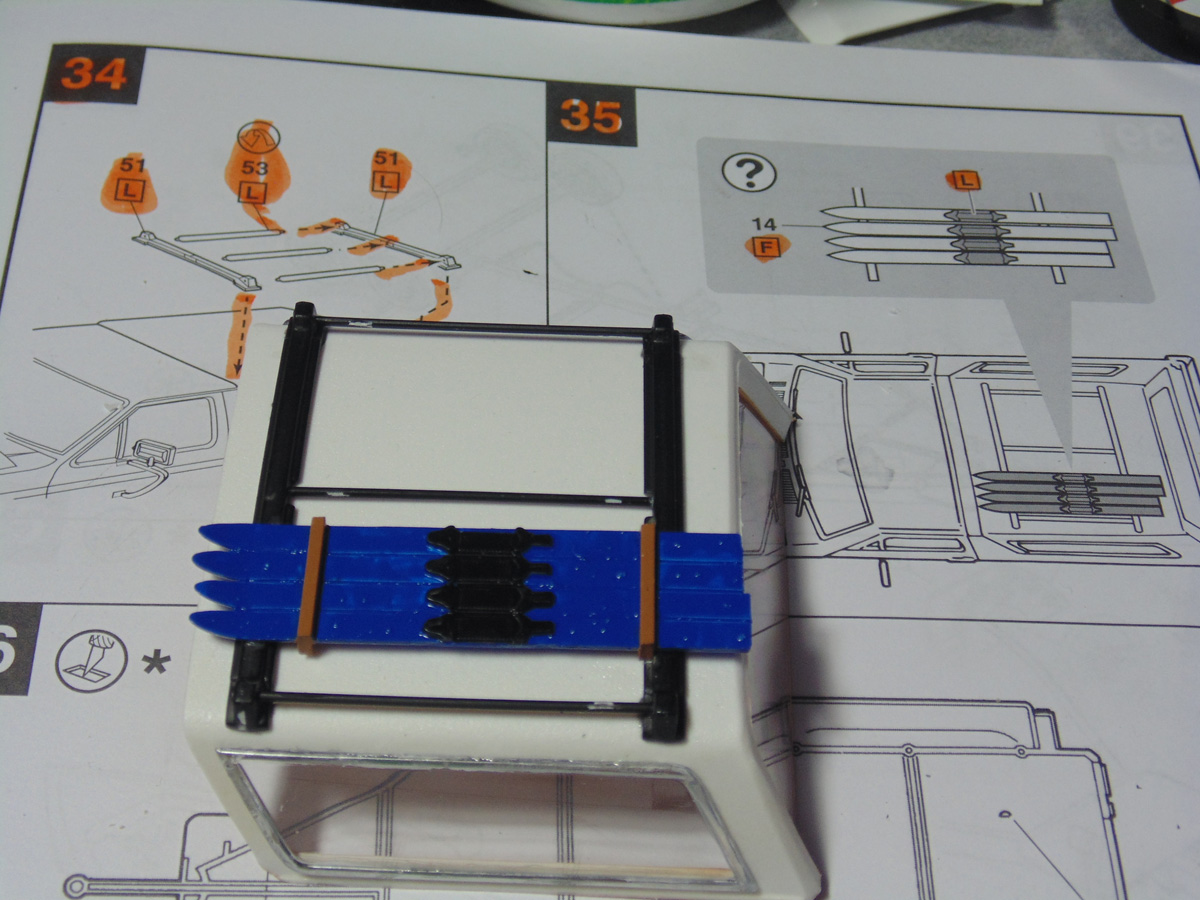
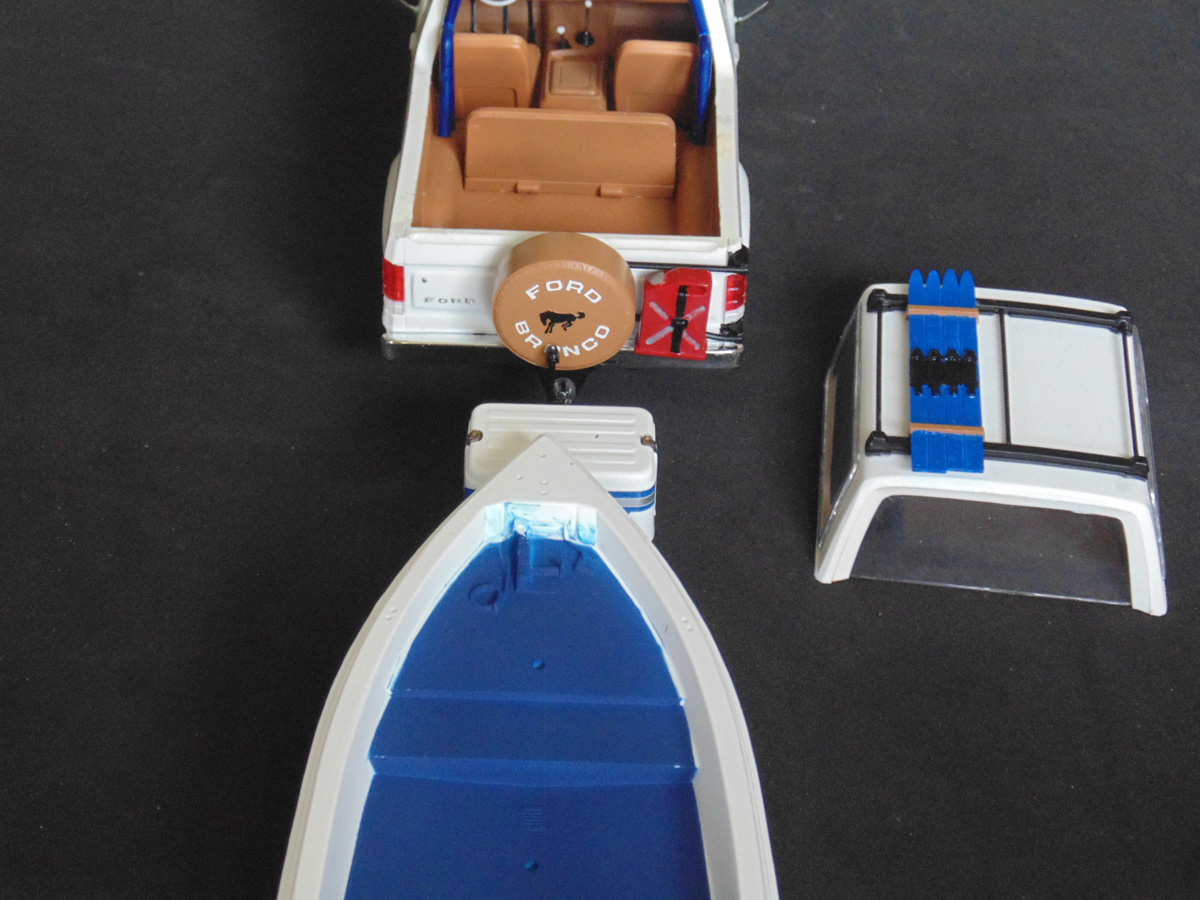
The water skies part look nothing like the ones in the instructions. You will have to modify this in order for it to rest flat on the roof rack.

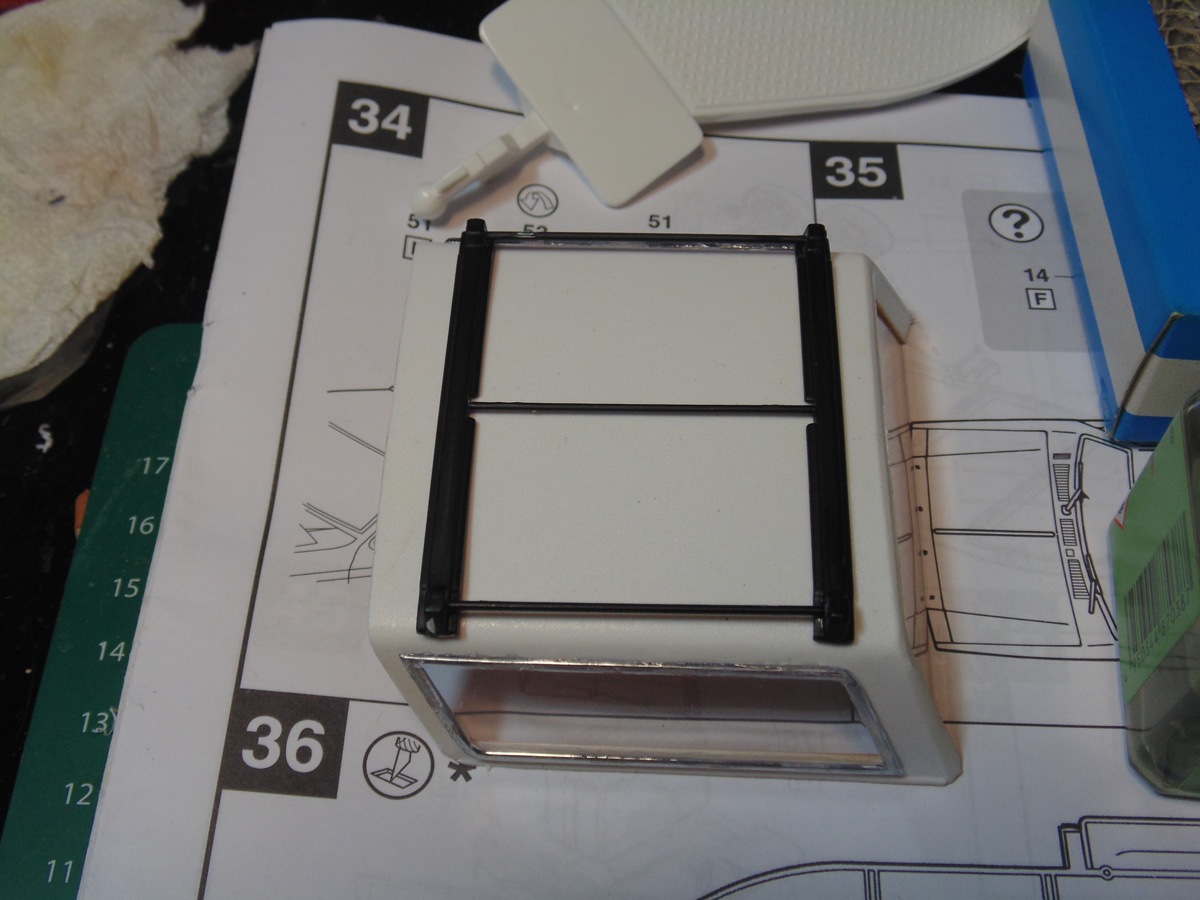
Now that you worked out the roof arrangement, attach one corner and clamp it down. Let that setup for thirty minutes or more before moving to the point. The fit on this subassembly is poor and to be persuaded to conform to the curve of the top.
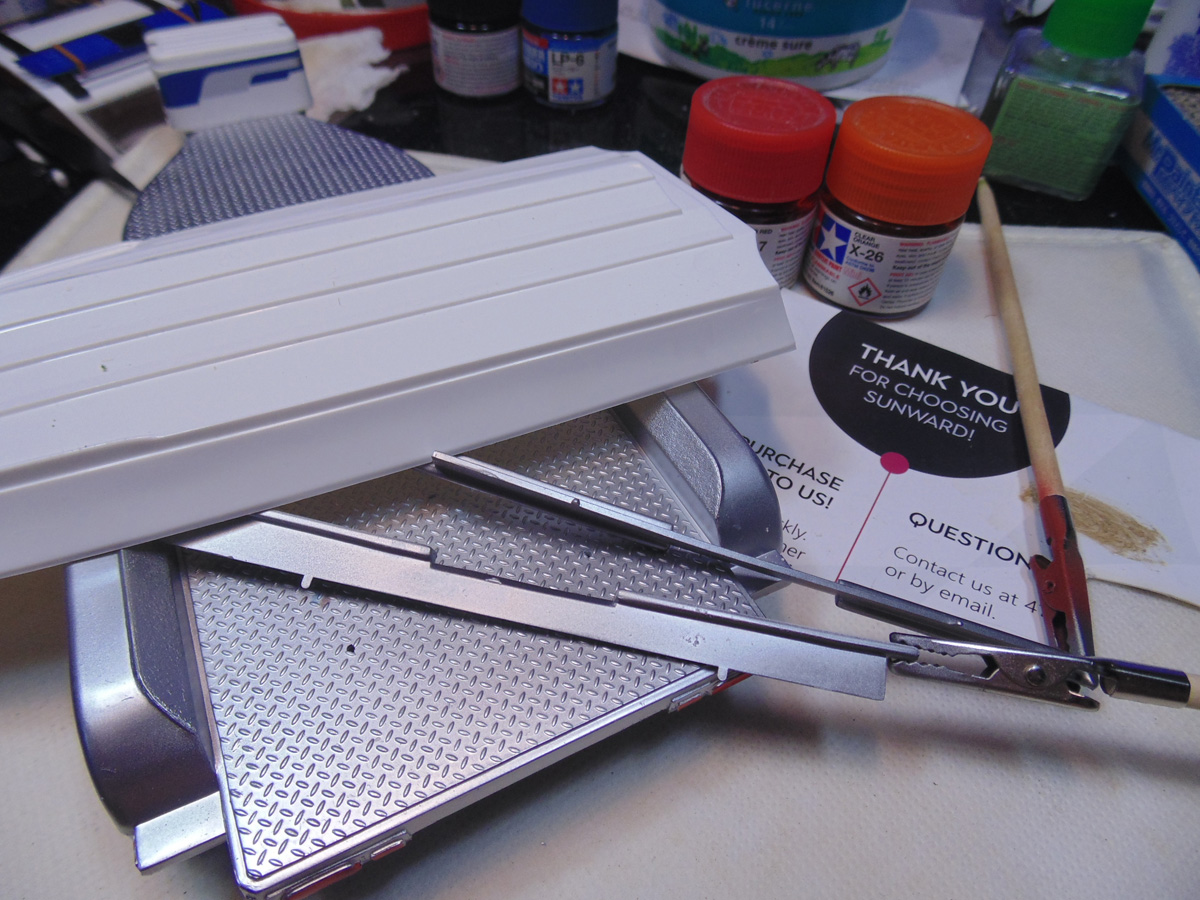
The boat carrier was molded in 1990 and has its share of flash to remove as well. Use your blades to hog away the majority of the material before using the sanders you bought from the Sunward store. You have to do this in preparation for the lights and colour to come.
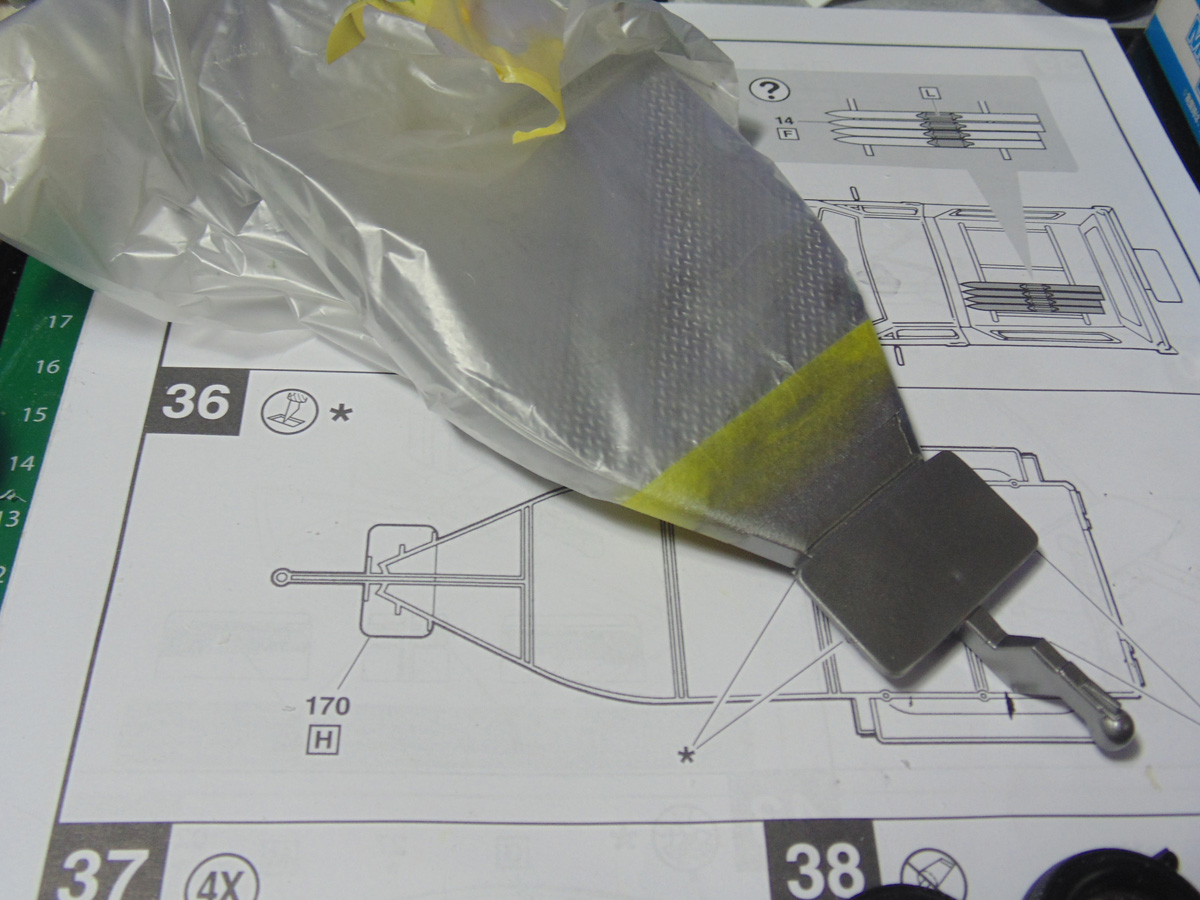
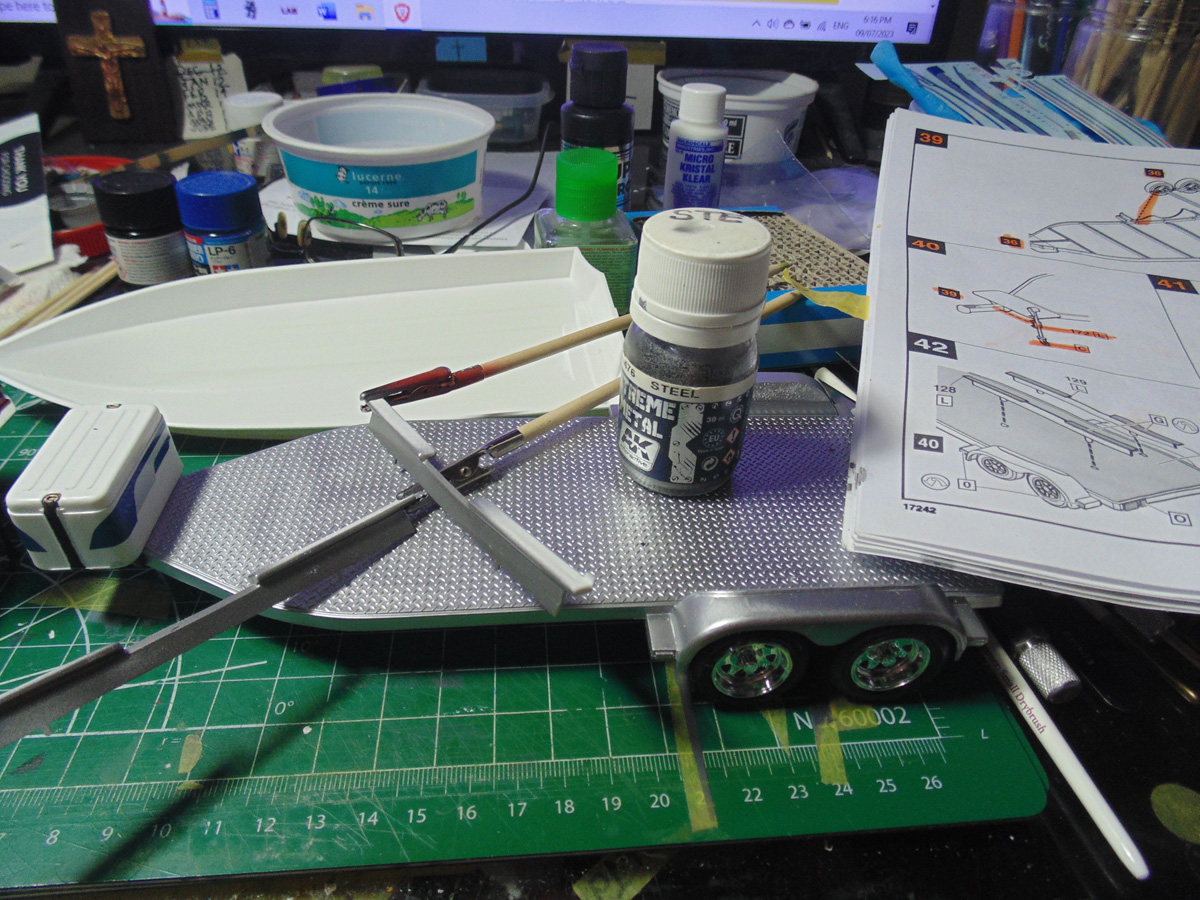
The trailer was sprayed with AK aluminum then steel for the hitch area. Mask this area off for the best-looking result. Consult a member of the Sunward Hobbies staff about the different tape masking products to help with your project.
With metal paint drying on the trailer, I can finish the roof rack. The excess plastic was removed and the different colours added. Use the back step in the roof rack to cement this part then run some more under the front.
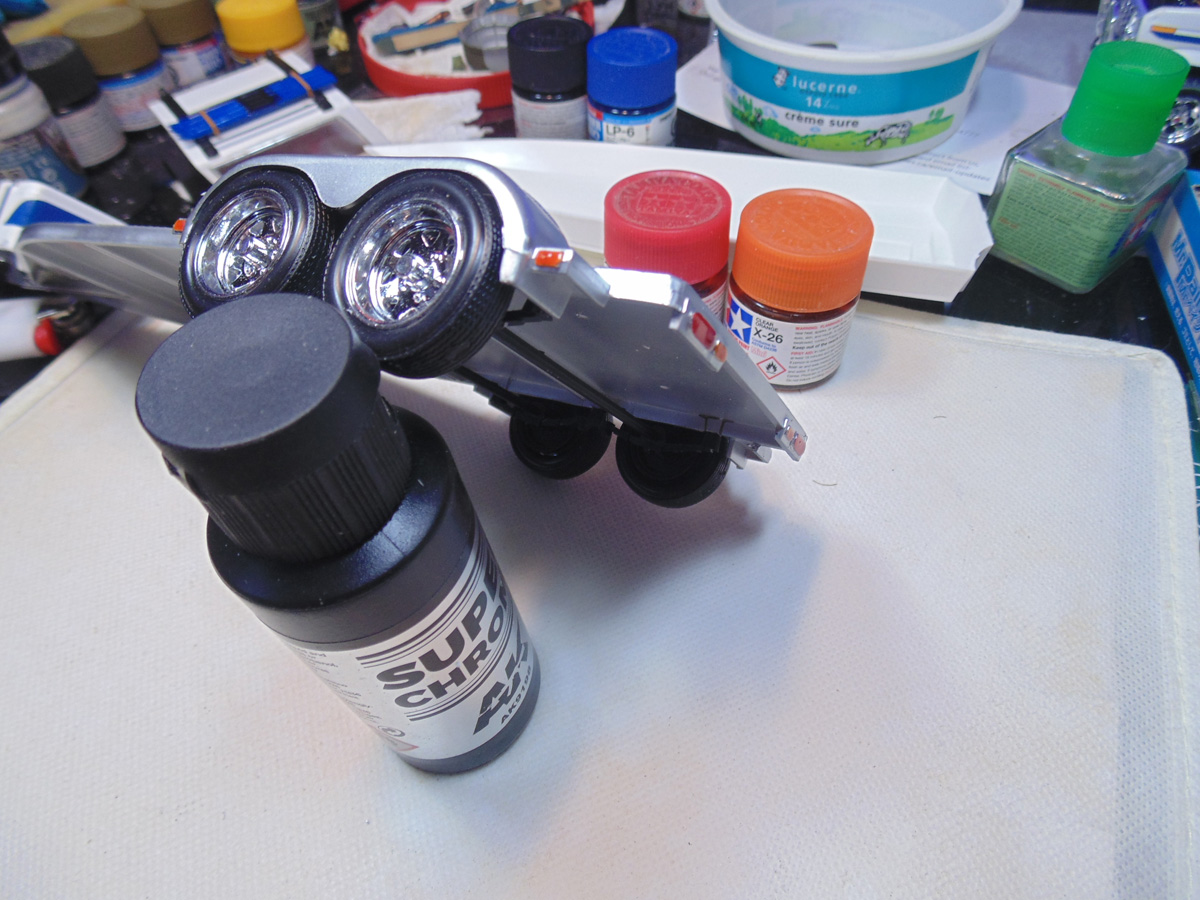
For the trailer wheel rims you can use the unpainted plastic ones or opt to use the alternative rim style for the truck. I like the chrome bling look. Use a new blade to remove some rubber from the inside of the tires and then the plating from the chrome connection points.
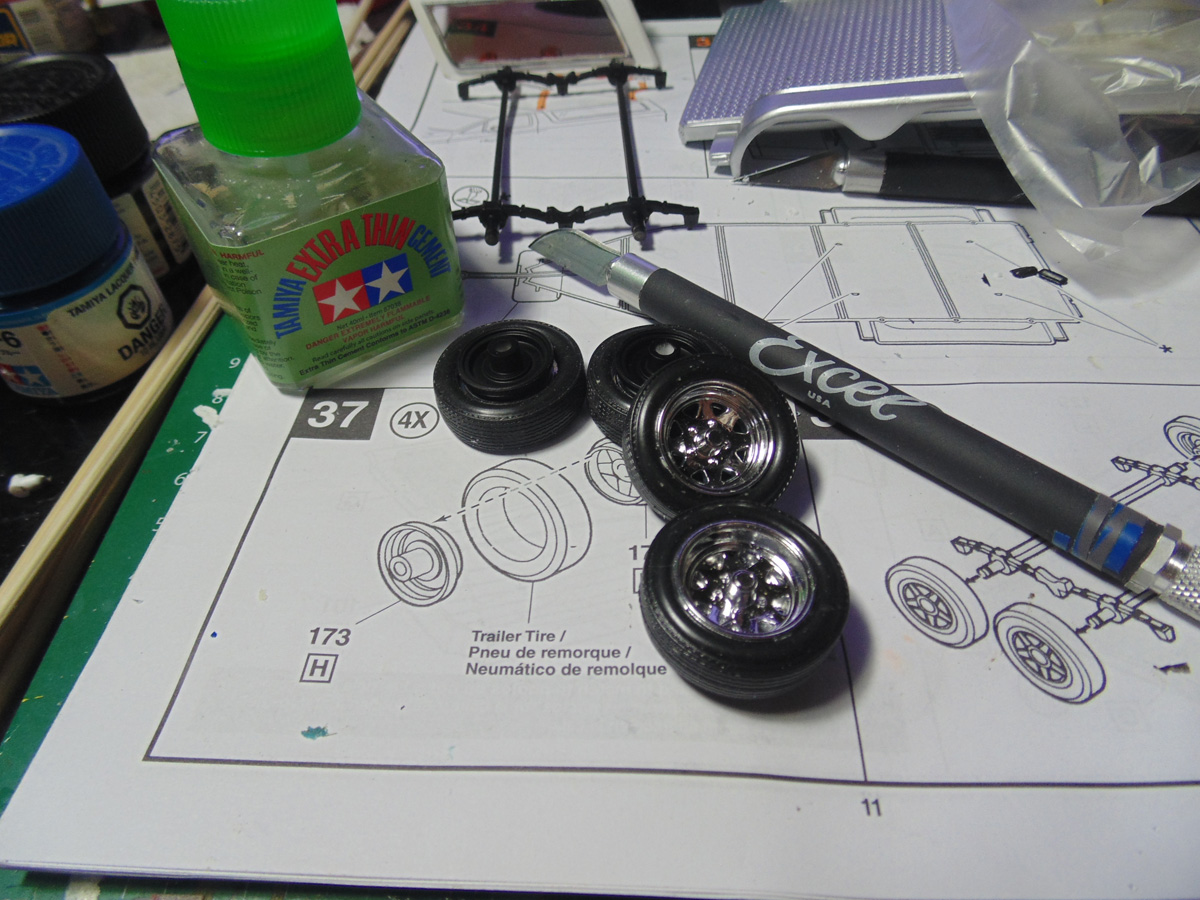
I would strongly advise to remove as much paint from the joining points where the rims meet the axles. These are keyed to be a pressure fit and can take a bit too much force to snap into place. The worry is that you may snap off the fragile axles.

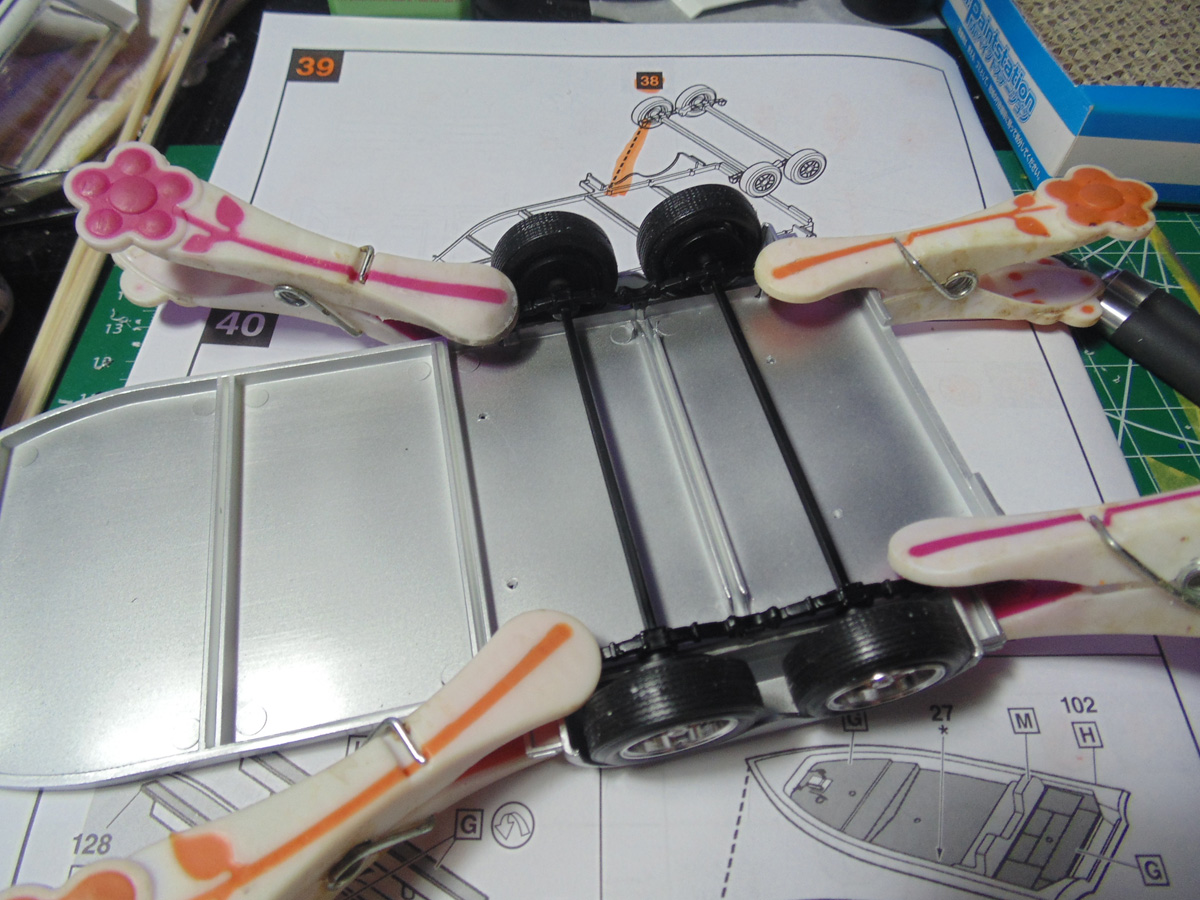
There are six points to cement on the trailer, but all have to be clamped down. These connection points are really small, so leave this area dry for an hour or more.
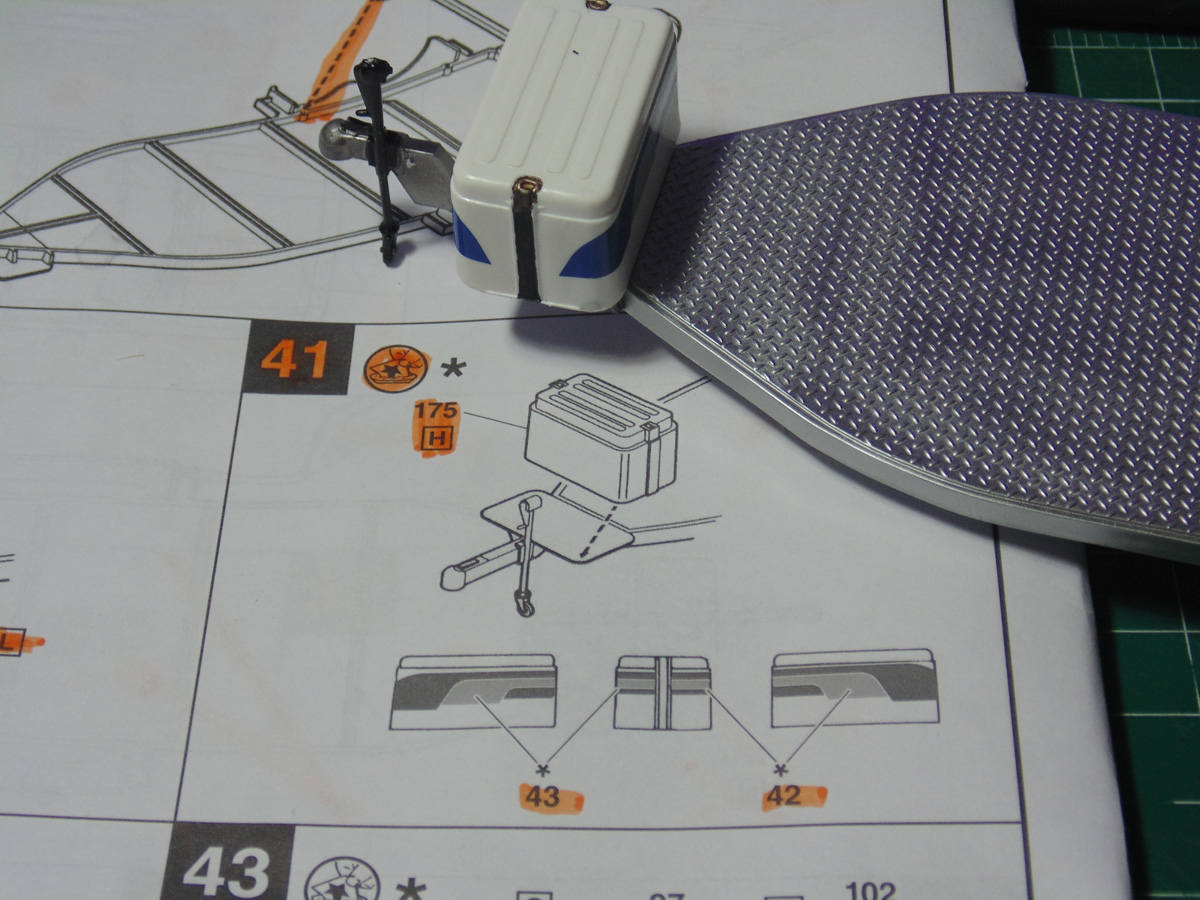
The hitch area is a great little addition. You can see the decals and hand painting that was done to spruce it up including the black straps and brass clasps. Also note the two tones in the front wheel rod.
The boat holders are a different metal colour to add some contrast. I used AK steel because these items take cement super well without spoiling the previous metal colour.
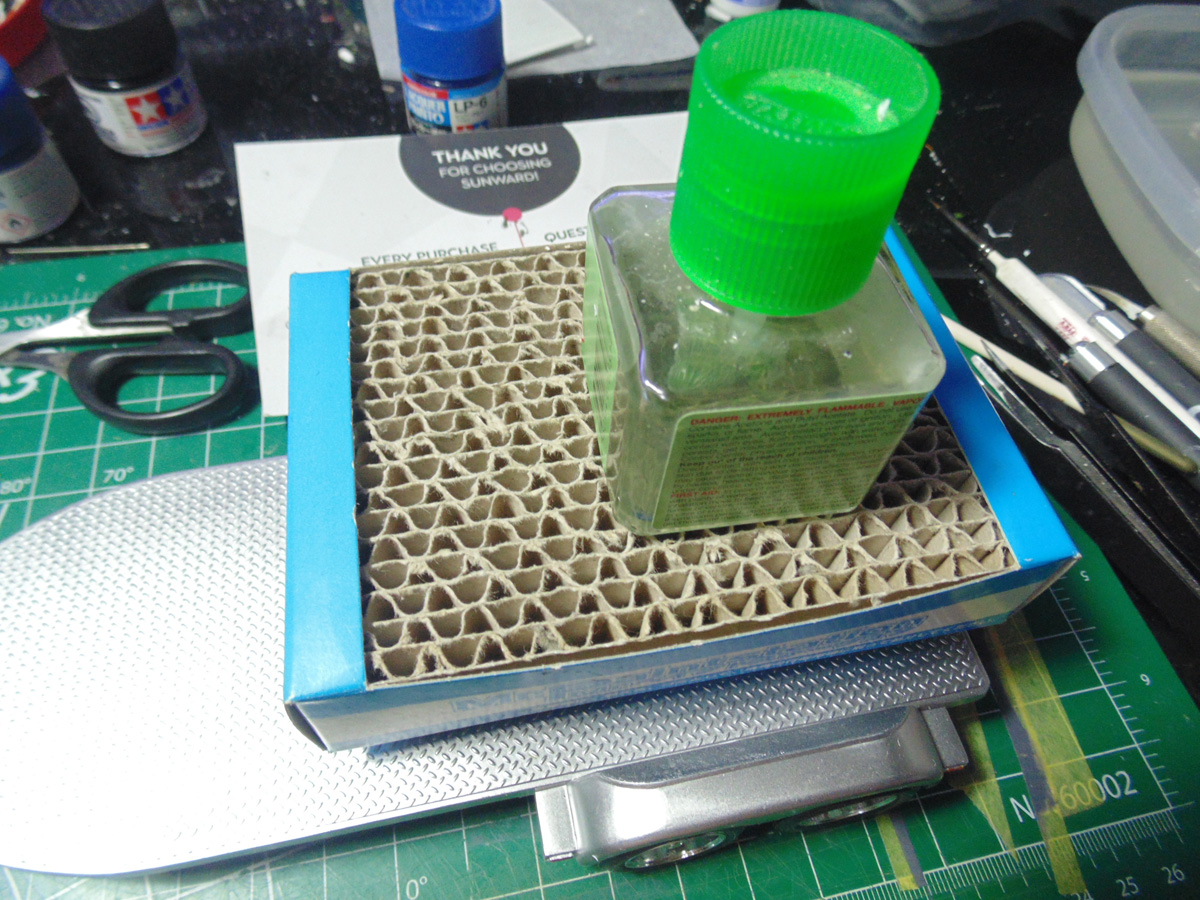
Here you can see the lights being painted. I have used these Tamiya products for decades with awesome results. Again, make sure the surface is nice and flat for the best appearance.
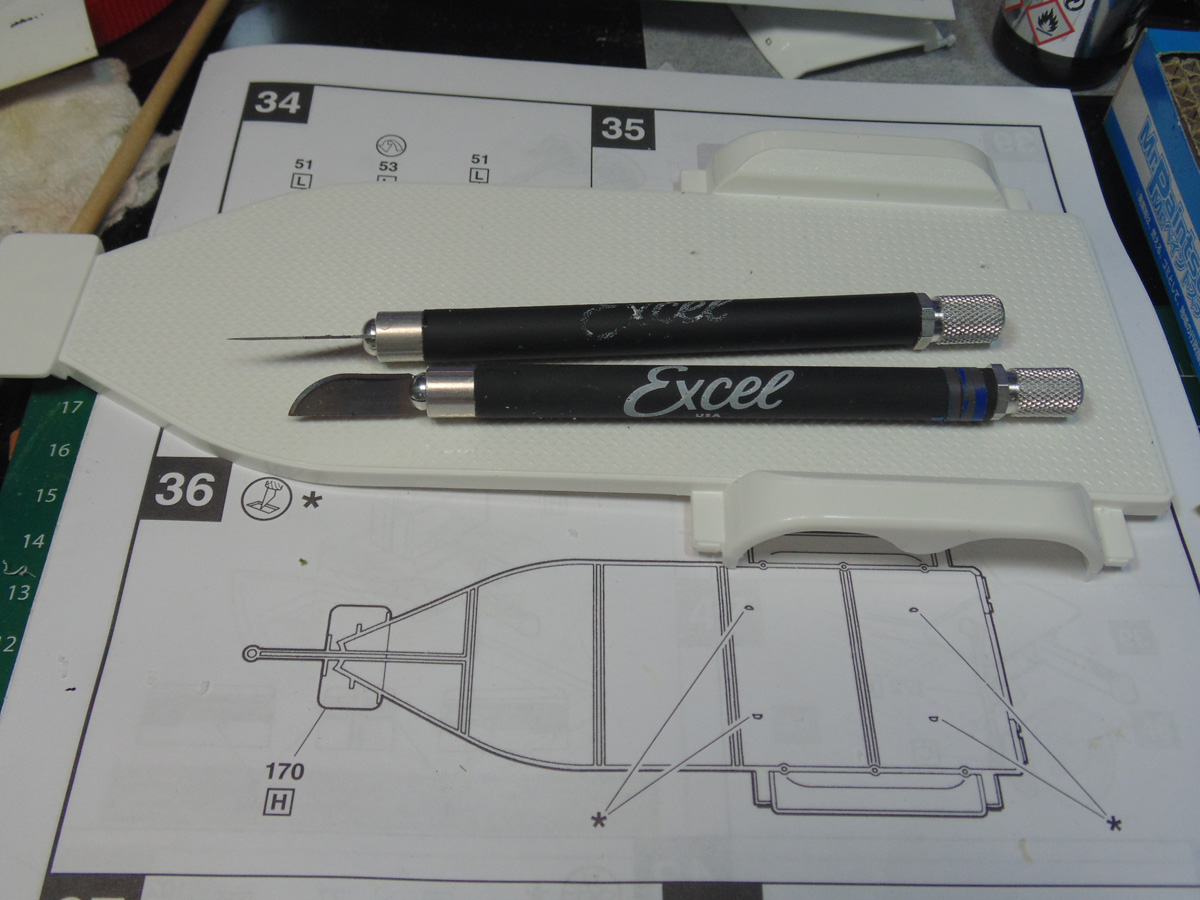
To get the boat holders to fit in place you must core out the connection holes. Use a drill bit or the tip of a sharp Excel number eleven blade.
Hand painting the forward hull cushions would be a pain. Consider masking them to protect the metal colour. I airbrushed these spots. Sunward Hobbies have many fine quality airbrush devices and equipment on hand to help you with this.
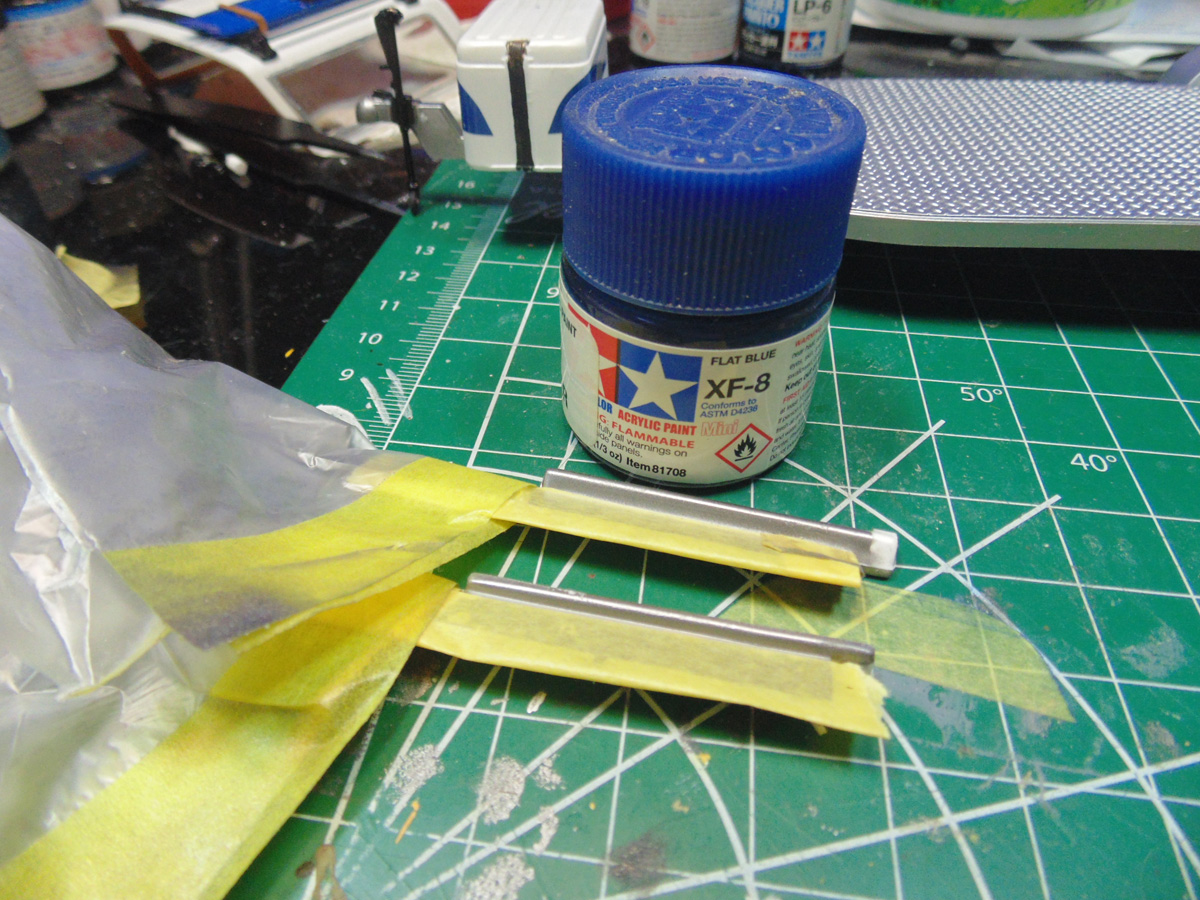
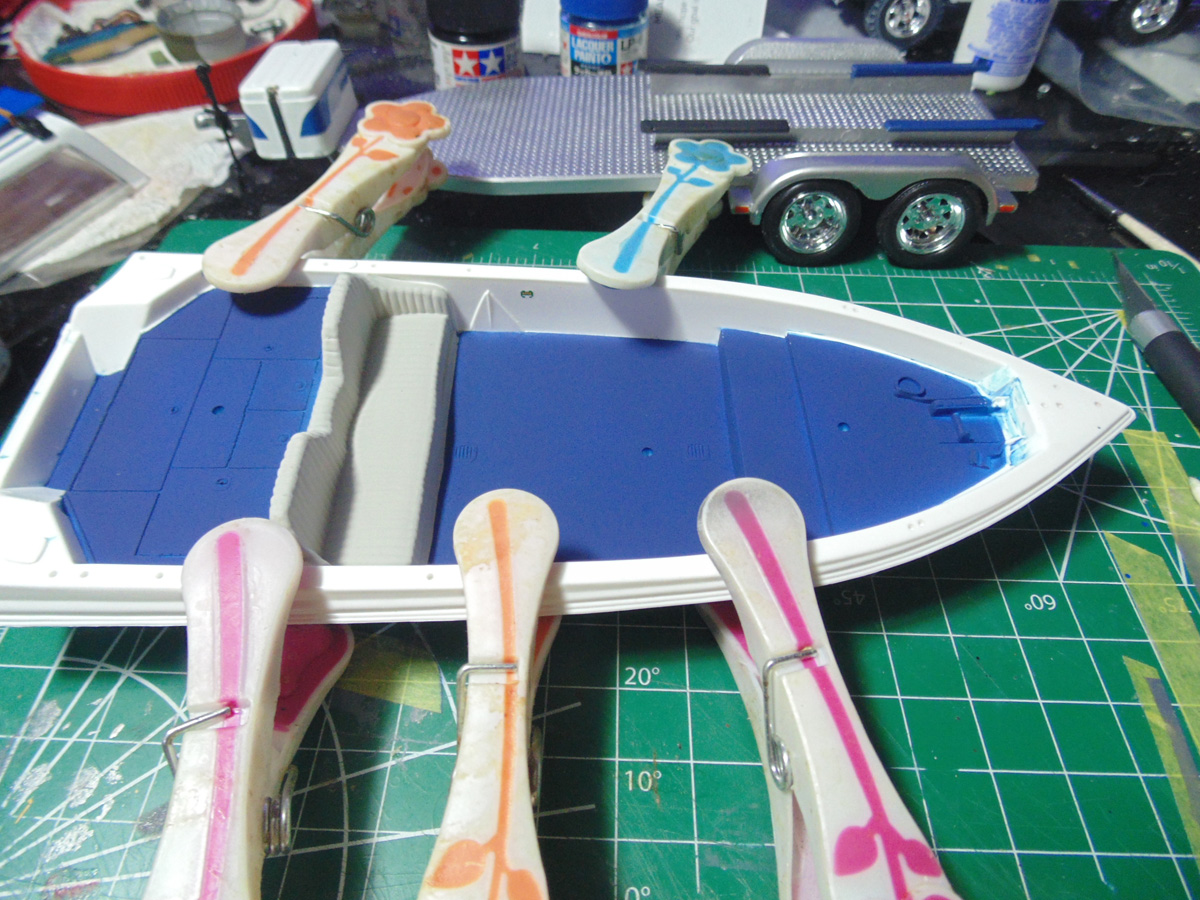
There are two tones called out in the instructions, blue for the back and black for the front. The look is wonderful and yet another layer of depth.
Once they are painted a little weight will help them conform to the surface of the trailer. Just let this set up for twenty minutes and then you can make your final positioning.
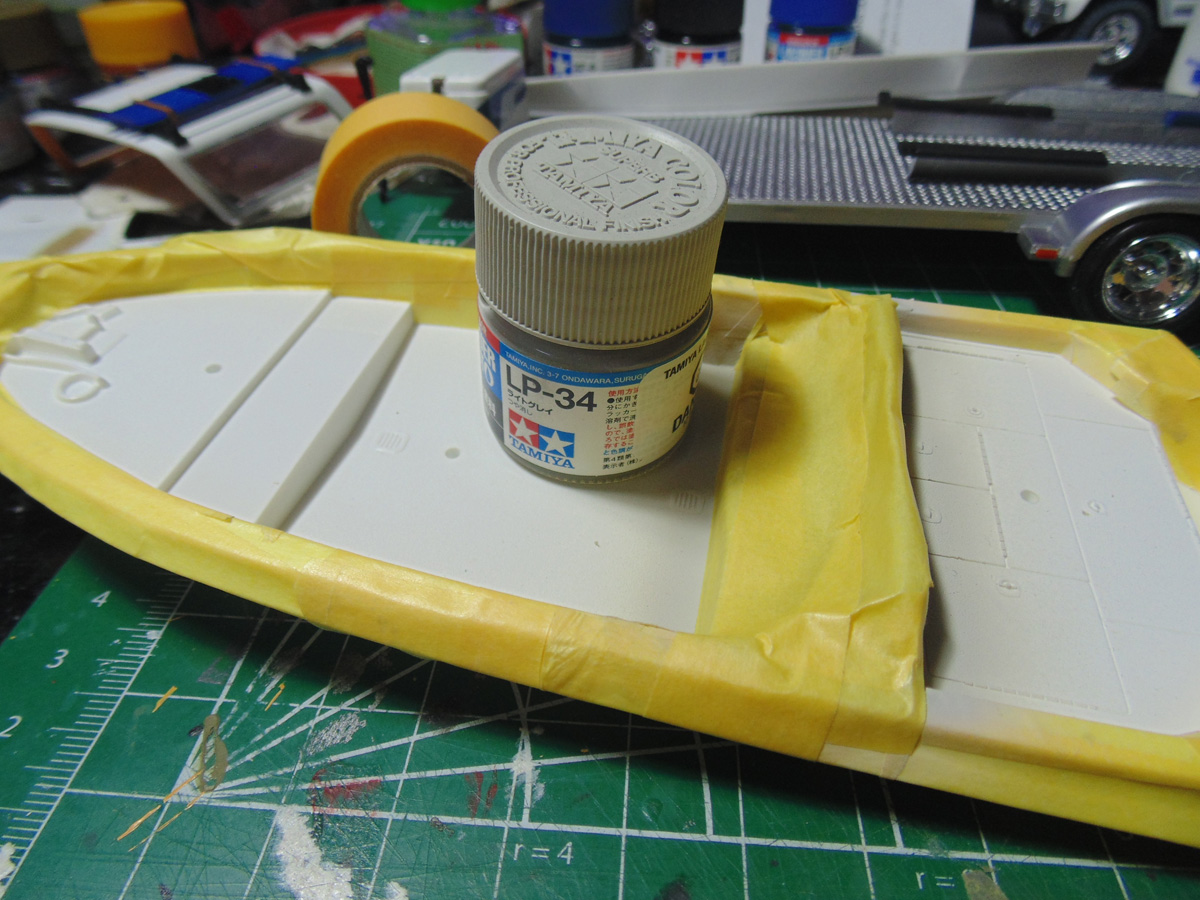
Invest the time to mask the white edges of the deck area. Sure, it will take a few hours, but you forget about that once they are pulled free. I use six different products that I bought from the store, so ask one of the staff for help with this.
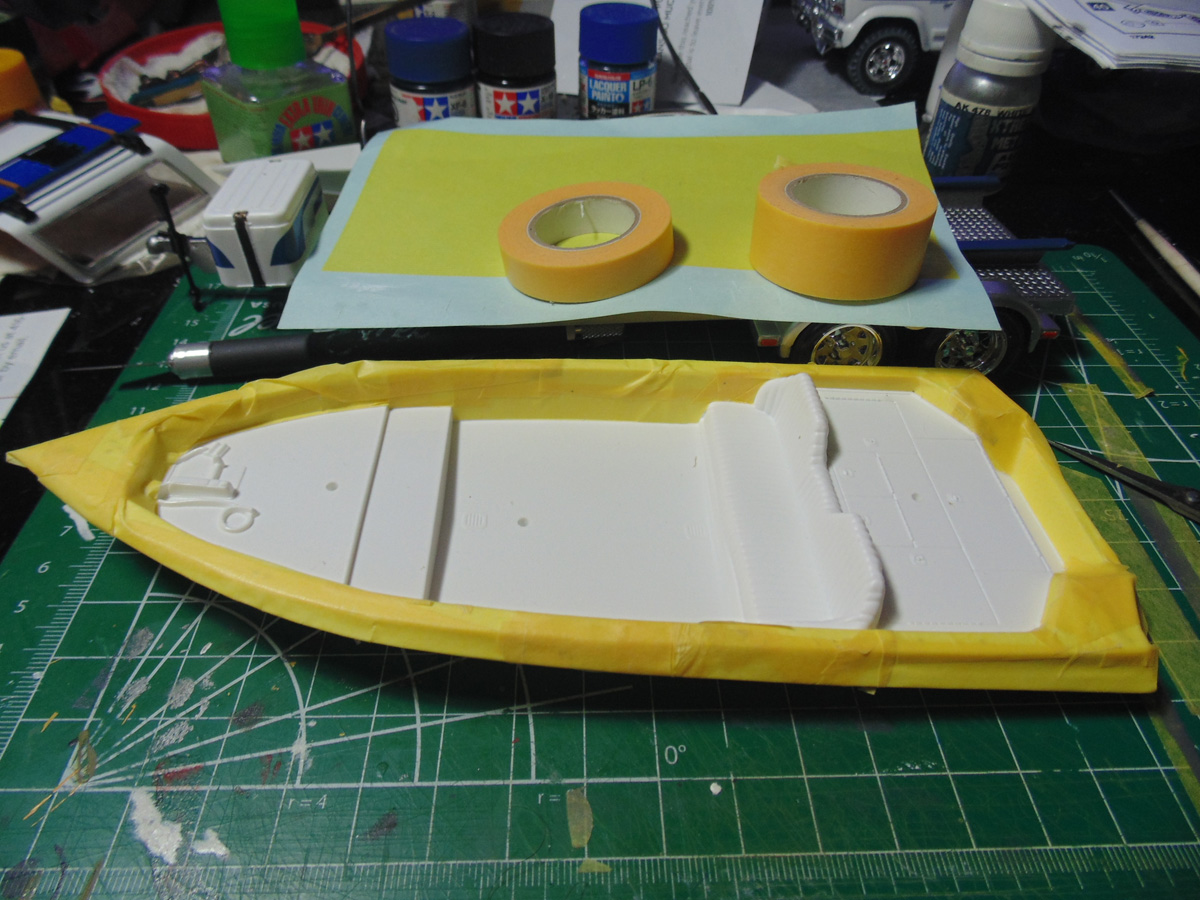
The couch seat area was sprayed with light grey as per the instructions. Yes, I added a bit of my own flare to this project yet for the most part it was following the build guide. Naturally, you have to mask off this area after the paint has a good hour to dry.
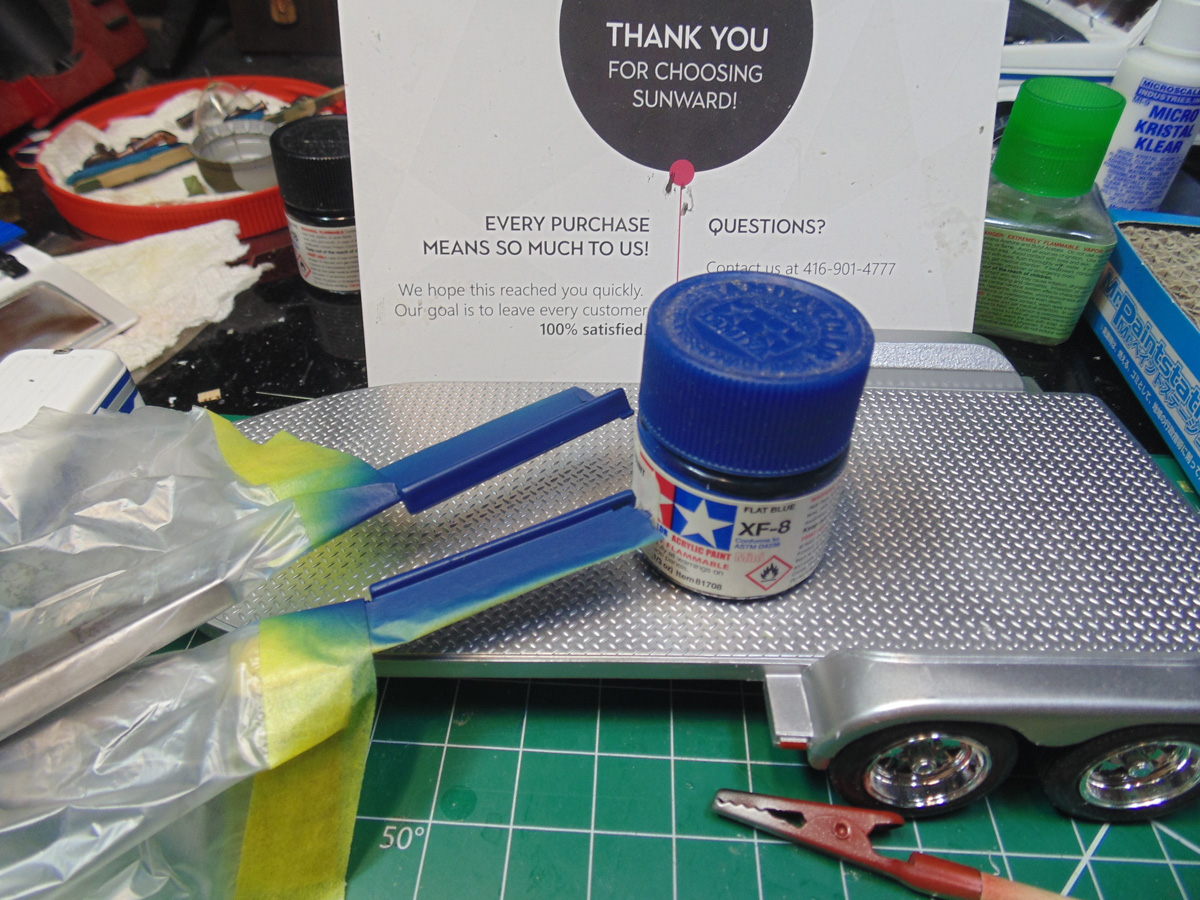
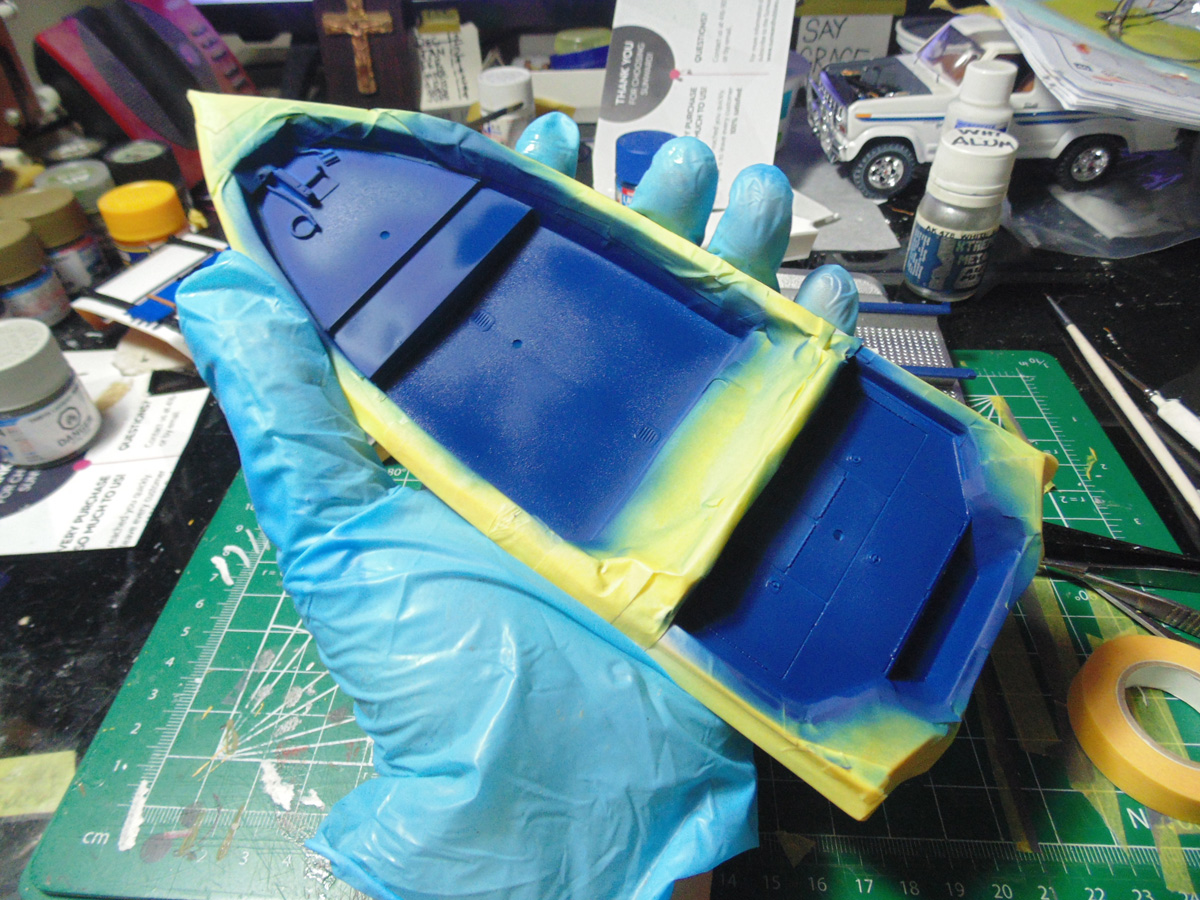
Here you see the flat blue having been just sprayed on and why masking is so important. Please wear a glove when doing this colour. It takes quite a bit of hand washing to remove it from your skin, I learned that lesson long ago.
To get the hull and deck to join properly you must modify the tip in order for the hull to slip into the relief of the deck seam. A blade or sander will easily fix this. Then you can commence clamping and cementing the two parts.
There is a small decal to be added on the right inner wall. Do this before clamping everything down and cementing. Hold the warped parts with one hand and add the cement and then clamp that spot.
And here is where we are at with this project. There is still more work to be done, but it looks nice.
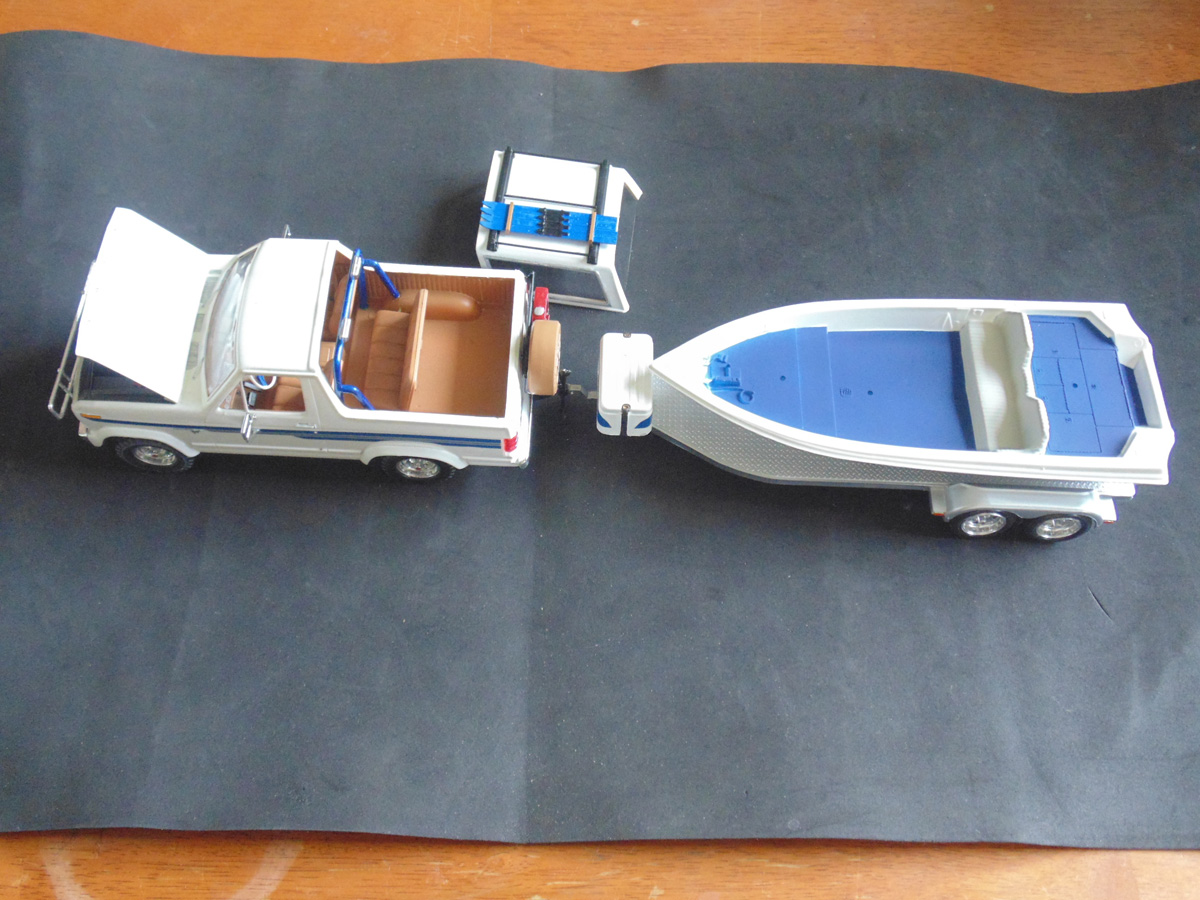
There are plenty of options within this model kit for you to have hours of enjoyment with.
If you have any questions about the products used in this article, please feel free to ask the staff when you pick up or place your next order from Sunward Hobbies.
G. Barnes is a former voice-over artist and retired sales and marketing professional. He’s the author of two large volume science fiction adventure romance novels with many more in the works. For well over 40 years he’s been building scale model replicas and now does commission work for clients in Canada and the USA, plus completes projects for companies in Asia and Europe.
Currently H.G. is involved as an Associate Editor with KitMaker Network’s Online Magazine Channels.